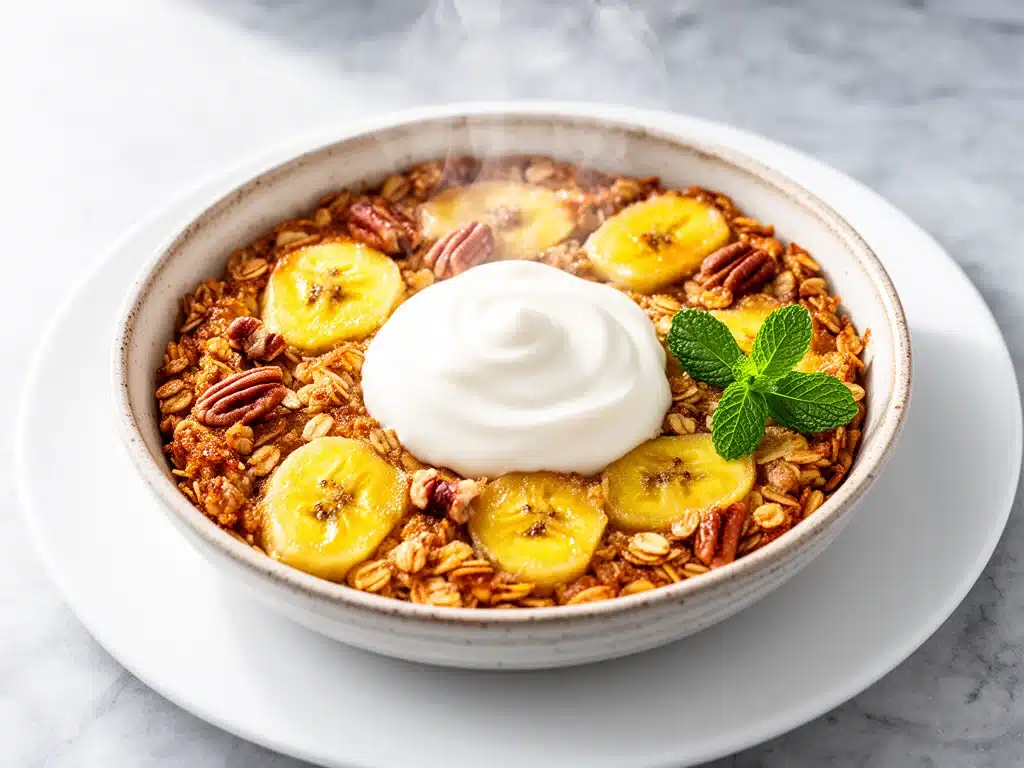
Last Tuesday morning, the house was still dark, but my brain was already racing. I had a meeting at 9, my son had soccer practice at 4, and I knew my usual routine of scrambling eggs and burning toast was going to fail spectacularly. I was tired. The coffee pot was empty. And the thought of standing over a hot stove while my kids rushed around in mismatched socks made me want to order takeout for breakfast. Again.
That was the breaking point. I couldn’t keep relying on cereal that lacked nutrition or bagels that left me hungry by 10 AM. I needed something that felt like comfort food but actually fueled us. I needed something that tasted like my favorite weekend treat but could be made on a Tuesday when I’m running on three hours of sleep.
That’s when I decided to hack my way into the perfect compromise. I wanted the cozy, sugary, cinnamon-spiced vibe of banana bread but the speed and health benefits of oatmeal. I didn’t have time for a 45-minute bake, and I definitely didn’t have time for a complicated multi-step batter. I needed Banana Bread Baked Oatmeal to be the hero of my weeknight mornings.
I tested this recipe seven times in two weeks. I tried using steel-cut oats (too chewy for a quick bake). I tried skipping the brown sugar (too bland). I tried baking it in a muffin tin (dried out too fast). But the eighth time? The eighth time was magic. It was creamy, it smelled like a bakery, it took exactly 30 minutes from start to finish, and it tasted so much like actual banana bread that my husband asked why I hadn’t been making it for years.
Now, this dish is my non-negotiable. It’s the answer to “what’s for breakfast” when I’m stressed. It’s portable enough for car rides to practice. And it’s the kind of meal that makes you feel like you’re treating yourself, even when you’re rushing out the door. If you’re tired of the same old oatmeal rut, trust me on this one. It’s about to change your mornings.
Why You’ll Love This Banana Bread Baked Oatmeal
There are about a dozen reasons I keep coming back to this recipe, but let’s be real: you’re busy. You need breakfast that works as hard as you do. This isn’t just another bowl of oats; it’s a texture-packed, flavor-loaded experience that bridges the gap between healthy and indulgent. Here’s why this specific version has earned a permanent spot in my weekly rotation.
It Tastes Like Dessert (But Isn’t) — Seriously. The combination of ripe bananas, brown sugar, and cinnamon creates that deep, caramelized flavor profile you associate with weekend brunch. But because it’s oats and fruit, it’s actually nutritious. I’ve had family members close their eyes and swear they’re eating a slice of warm banana bread. They are not. It’s oatmeal. But it’s the best kind of oatmeal.
Lightning Fast Prep — Most baked oatmeal recipes require chilling or overnight soaking. Not this one. You dump ingredients in a bowl, mix, bake, and eat. The total time is 30 minutes, and only 10 of those minutes are active. I can have this in the oven while I’m brushing my teeth or helping the kids with their backpacks.
Meal Prep Friendly — This is my secret weapon for Sunday. I bake a whole dish on Sunday night, store it in the fridge, and reheat individual squares all week. It tastes better on day two anyway—the flavors meld together and it gets even more pudding-like. I deliberately make extra for my own lunch when I need a quick energy boost in the afternoon.
Texture That Actually Works — I’ve tried baked oatmeal that turned into a brick. I’ve tried baked oatmeal that stayed liquidy. This recipe hits the sweet spot (pun intended). It’s set enough to hold a square shape but soft enough to be creamy. The key is using the right ratio of wet to dry ingredients, which I’ve nailed after plenty of failed attempts.
Pantry Staples Only — You don’t need to go to the store for this. If you have oats, bananas, milk, and eggs, you’re good. I keep this recipe stocked because it saves me from the morning panic. It’s budget-smart, too. Feeding a family of four costs less than $5 in ingredients.
This is my go-to when I need breakfast to just work. No complicated techniques, no weird ingredients you can’t pronounce, just reliable, delicious food that makes everyone happy before noon.
Ingredients You’ll Need
Here’s the best part: you probably have most of this already. I’m particular about three ingredients here, and I’ll tell you exactly why they matter. This isn’t a complex list, but getting these right ensures that perfect banana bread flavor and texture.
Rolled Oats (3 cups / 270g) — I use old-fashioned rolled oats, not quick oats or steel-cut. Quick oats turn to mush, and steel-cut take too long to bake. Rolled oats give you that chewy, substantial bite. I buy the store brand; it’s identical to the name brands for half the price.
Ripe Bananas (3 large / about 350g) — The riper, the better. I mean brown-spotted, almost black ripe. These bananas are naturally sweet and mash easily into the batter. If your bananas are yellow, you’re missing out on that deep banana flavor. I keep a bag of bananas in the fridge once they’re ripe enough to bake—they freeze perfectly for this recipe.
Brown Sugar (½ cup / 100g) — Packed. This gives the caramel notes that mimic banana bread. You can use white sugar, but you’ll miss that molasses depth. If you want to cut sugar, reduce to ¼ cup, but I don’t recommend it. The sweetness balances the tartness of the banana.
Butter (¼ cup / 57g, melted) — Unsalted is best so you control the salt. Melted is easier than cubed for mixing. I use real butter; margarine just doesn’t give the same richness. If you’re dairy-free, coconut oil works, but it changes the flavor slightly.
Eggs (2 large) — These bind everything together. Don’t try to skip them or use a flax egg unless you’re desperate; the texture suffers. Room temperature eggs mix easier, but straight from the fridge is fine if you’re rushing.
Milk (1 cup / 240ml) — Whole milk makes it creamiest. Almond or oat milk works too, but the result is slightly less rich. I use whatever is in my fridge. If you want extra indulgence, swap half the milk for buttermilk—that tang mimics the sour cream in banana bread.
Baking Powder (1 teaspoon) — This is what makes it rise. Don’t skip it, or you’ll have dense, flat oats. Make sure it’s not expired; old baking powder is the silent killer of baked goods.
Cinnamon (1 teaspoon) — The soul of banana bread. Use ground cinnamon, not sticks. If you’re a cinnamon lover, I bump this to 1½ teaspoons. It’s not too much.
Salt (½ teaspoon) — Crucial. It enhances the sweetness and banana flavor. I always use fine sea salt.
Optional: Walnuts or Pecans (½ cup / 60g) — Chopped. I add these for crunch. If you’re making this for picky kids, skip them or hide them in the mix. My kids hate nuts, so I leave them out, but my husband insists they stay.
Optional: Chocolate Chips (¼ cup / 40g) — Semi-sweet or dark. These melt into pockets of goodness. It turns it into a dessert-oatmeal hybrid. I sometimes add these when I want to feel extra decadent.
Equipment Needed
You don’t need fancy equipment for this. Here’s what I actually use.
8×8 Inch Baking Dish — I use a ceramic dish because it heats evenly and retains heat well, keeping the oatmeal warm longer. Glass works too, but watch the baking time closely—it can brown faster. Metal pans are fine, but I prefer the rustic look of ceramic.
Large Mixing Bowl — Just a big bowl to mash bananas and whisk everything together. I use a 4-quart bowl. If it’s too small, you’ll spill. Happened to me once. Don’t be like me.
Fork — For mashing bananas. I don’t use a hand mixer; you want some chunks of banana left for texture. A fork gives you that rustic, homemade feel.
Measuring Cups and Spoons — Standard stuff. Dollar store versions work fine. Just be accurate with the oats and liquid.
Wooden Spoon or Spatula — For stirring the batter. Silicone works too. Don’t use metal if your baking dish is non-stick.
Sharp Knife — For chopping nuts if you’re using them. Dull knives make chopping nuts a nightmare. Learned this the hard way with a bruised walnut.
Pastry Brush — Optional, but nice for greasing the pan. I usually just rub a little butter around with my fingers. It’s messy but effective.
How to Make It: Step-by-Step
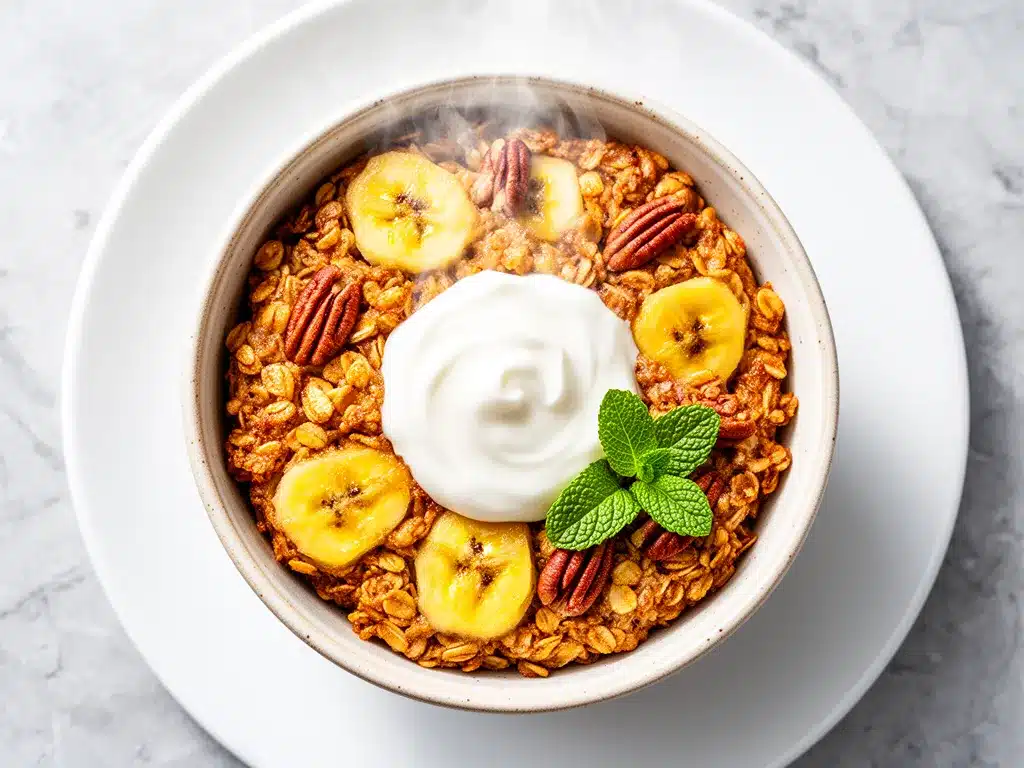
Alright, let’s make this! I’m walking you through exactly how I do it, including the little tricks I’ve picked up over dozens of batches.
Step 1: Prep Your Oven and Pan (2 minutes)
Preheat your oven to 350°F (175°C). This needs to be hot before the batter goes in. Grease your 8×8 baking dish with butter or cooking spray. I like to butter it and then dust it with a little flour or cinnamon sugar for a crunchy top. It’s worth the extra 30 seconds.
Step 2: Mash the Bananas (2 minutes)
In your large mixing bowl, peel the ripe bananas and mash them with a fork. I leave some small chunks in there for texture. You want about 1½ cups of mashed banana. If your bananas are huge, you might need 2. If they’re small, 3. Trust your eyes here.
Step 3: Mix the Wet Ingredients (2 minutes)
To the mashed bananas, add the melted butter, eggs, milk, brown sugar, and vanilla extract (if using). Whisk this together vigorously. You want the sugar mostly dissolved and the eggs fully blended. It should look like a thick, yellowish batter. This step is quick, but don’t rush it—good mixing prevents lumps.
Step 4: Add Dry Ingredients (3 minutes)
Stir in the rolled oats, baking powder, cinnamon, and salt. Fold gently until everything is coated. If you’re adding nuts or chocolate chips, fold them in now. The mixture will look thick and dry at first. That’s normal. The oats will absorb the liquid as it bakes.
Step 5: Bake (20-25 minutes)
Pour the batter into your prepared baking dish. Smooth the top with a spatula. Bake for 20-25 minutes. You’ll know it’s done when the top is golden brown and the edges are pulling away slightly from the pan. A toothpick inserted in the center should come out clean or with just a few moist crumbs. Do not overbake, or it will be dry.
Step 6: Cool and Serve (5 minutes)
Let it cool in the pan for at least 5 minutes. This is the hardest part, I know. It needs to set so you can cut it into squares. If you cut it immediately, it’ll fall apart. Serve warm with a dollop of Greek yogurt or a drizzle of maple syrup. It’s incredible as is, but a little extra sweetness never hurts.
Total Time: 30 minutes (10 minutes active, 20 minutes baking)
Expert Tips & Tricks
Here’s everything I’ve learned from making this dozens of times. These tips will save you from my mistakes.
Use Very Ripe Bananas — This is the #1 tip. Brown bananas are sweeter and mash easier. If you don’t have ripe bananas, you can bake yellow ones in the oven for 15 minutes to speed up the process. I’ve done this when I forgot to buy bananas. It works.
Don’t Skip the Rest Time — I know you’re hungry. But if you cut into it hot, it’s soupy. Let it sit for 5 minutes. It firms up significantly. This is non-negotiable for clean squares.
Room Temperature Eggs — Cold eggs can shock the mixture and make it separate slightly. If you’re in a hurry, microwave them for 10 seconds. It helps them blend smoother into the batter.
Customize Your Toppings — Before baking, I sometimes sprinkle a little extra cinnamon sugar on top. It creates a crunchy, caramelized crust that feels fancy. I also add a few chocolate chips on top before baking so they melt into the surface.
Storage is Key — This keeps in the fridge for up to 5 days. I store it in an airtight container. It actually gets better after day 2. The oats soften and the flavors marry. I make a whole dish on Sunday and eat it all week.
Freezing Works — You can freeze individual squares. Wrap them tightly in plastic wrap and foil. Reheat in the microwave for 60 seconds. It’s a lifesaver for busy mornings when you forgot to prep.
Common Mistake: Dry Oatmeal — If your oatmeal is dry, you baked it too long or used too many oats. Next time, add an extra ¼ cup of milk. Or, cover it with foil for the last 5 minutes of baking to steam it slightly.
Common Mistake: Flat Texture — If it’s flat, your baking powder might be old. Or you didn’t mix the batter enough. Always check your baking powder expiry date. It’s cheap insurance.
Variations & Substitutions
Once you’ve nailed the basic version, here’s how you can mix it up. I’ve tried all of these.
Protein-Packed Version — Add 2 scoops of vanilla protein powder. You’ll need to add an extra ¼ cup of milk because protein powder absorbs liquid. It makes it much more filling and keeps you full until lunch. Great for post-workout mornings.
Apple Cinnamon Twist — Swap bananas for 2 diced apples and use apple cinnamon oatmeal bars style spices. Add a pinch of nutmeg. It tastes like apple pie oatmeal. I make this in the fall when apples are cheap.
Blueberry Lemon — Skip the bananas. Use 1 cup fresh blueberries and 1 tablespoon lemon zest. Add ½ cup milk. It’s bright and fresh. Perfect for spring. I add a lemon glaze after baking for extra zing.
Chocolate Peanut Butter — Add 2 tablespoons peanut butter to the wet mix. Stir in ½ cup chocolate chips. Top with a drizzle of peanut butter after baking. It’s rich and indulgent. My kids love this version best.
Dairy-Free — Use coconut milk instead of dairy milk and coconut oil instead of butter. It’s creamy and delicious. The coconut flavor pairs well with the banana. I use full-fat coconut milk for best results.
Vegan — Replace eggs with 2 flax eggs (2 tablespoons ground flaxseed + 5 tablespoons water). Use maple syrup instead of brown sugar if you want. It binds well. I tested this version for my vegan friend, and she loved it.
Gluten-Free — Use certified gluten-free oats. Everything else is naturally gluten-free. I use Bob’s Red Mill GF oats. They work perfectly. Just make sure your baking powder is GF too.
Low-Sugar — Skip the brown sugar. Use unsweetened applesauce to bind. Add stevia or monk fruit if needed. It’s less sweet but still flavorful. I make this when I’m watching my sugar intake.
Serving & Storage
How to Serve: I usually serve this straight from the baking dish at the table. It looks rustic and stays warm. But here are other ways I’ve enjoyed it:
Side Dishes: I pair it with fresh fruit like berries or sliced apple. A side of Greek yogurt adds protein. Sometimes I just have it black with a little maple syrup. It’s hearty enough on its own.
Toppings Bar: When I have guests, I put out: extra cinnamon, maple syrup, Greek yogurt, chopped nuts, and chocolate chips. Everyone customizes their square.
Wine Pairing: Not a breakfast wine person, but if you’re doing a brunch, a light Pinot Grigio or a sparkling rosé works well. It cuts through the sweetness.
Storage Instructions:
Refrigerator: Store in an airtight container for up to 5 days. The oatmeal will firm up in the fridge. It’s best reheated.
Reheating: Best method: Microwave a square for 60-90 seconds. Add a splash of milk if it looks dry. It revives the creaminess. Oven method: Reheat at 350°F for 10 minutes. It takes longer but heats evenly.
Freezing: Freeze individual squares in freezer bags for up to 3 months. Thaw in the fridge overnight or microwave from frozen. It’s a meal prep game-changer.
Pro Tip: If leftovers are drying out, stir in a teaspoon of milk when reheating. Brings back that soft texture.
Nutrition Information
I’m not a nutritionist, but here’s the breakdown if you’re tracking.
Per Serving (based on 8 servings):
- Calories: 220
- Protein: 6g
- Carbs: 40g
- Fiber: 4g
- Sugar: 18g
- Fat: 6g
- Saturated Fat: 3g
- Cholesterol: 35mg
- Sodium: 180mg
- Calcium: 60mg
What’s Good: High in fiber from oats. Good source of potassium from bananas. Can add protein by topping with yogurt or nuts. More filling than it looks.
What to Know: Moderate in sugar from bananas and brown sugar. Contains dairy and gluten. Can be modified for various diets.
My Take: Look, this is comfort food. It’s not a diet recipe. But it’s way better than a sugary muffin, costs less, and I know exactly what’s in it. When I want to make it lighter, I reduce the sugar and add nuts. But usually? I just eat a square and enjoy it.
Final Thoughts
So that’s my go-to Banana Bread Baked Oatmeal! I’ve probably talked your ear off at this point, but when you make a recipe this often, you have a lot to say about it.
This has saved weeknight mornings more times than I can count. It’s my answer to “what’s for breakfast” when I’m tired, don’t want to cook, and still want something that tastes really good. My kids are happy, my husband’s happy, and I’m happy because I’m not stressed about cooking.
Make it yours! Try different add-ins, swap in your favorite fruits, adjust the spices. The best recipes are the ones you adapt to your family’s tastes. If you need more quick breakfast ideas, check out our soft apple cinnamon oatmeal bars for another oat-based treat, or try these no-bake chocolate oat cookies for a sweet snack.
If you make this, drop a comment and let me know what you think! I love hearing how recipes turn out in your kitchen. And if something doesn’t work, tell me that too—I’m here to help troubleshoot.
Happy cooking! And I hope your kitchen smells half as good as mine does right now.
Frequently Asked Questions
Q: Can I use steel-cut oats instead of rolled oats?
A: You can, but the texture will be very different. Steel-cut oats are chewier and take longer to bake. I recommend soaking them overnight first. For this recipe, I stick with rolled oats for that soft, pudding-like texture. If you use steel-cut, increase the milk by ½ cup and bake for 35-40 minutes.
Q: Can I make this gluten-free?
A: Absolutely! Just use certified gluten-free rolled oats. Make sure your baking powder and other ingredients are also GF. Everything else is naturally gluten-free. I’ve used Bob’s Red Mill GF oats and they work great. The texture is almost identical.
Q: Why did my oatmeal turn out dry?
A: Usually means you baked it too long or used too many oats. Oats absorb liquid, so if you measure them loosely, you might add too much. Next time, pack the oats slightly or add an extra ¼ cup of milk. Also, don’t overbake. It should look slightly underdone in the center when you take it out—it will set as it cools.
Q: Can I freeze this baked oatmeal?
A: Yes! This freezes beautifully. Let it cool completely, then cut into squares. Wrap each square tightly in plastic wrap and place in a freezer bag. They’ll last up to 3 months. Reheat in the microwave for 60-90 seconds. It’s perfect for busy mornings.
Q: Can I use quick oats?
A: I don’t recommend it. Quick oats are finer and will turn the oatmeal into a mushy paste. Rolled oats give you the right chew. If you only have quick oats, you can use them, but reduce the baking time by 5 minutes and expect a softer, less structured result.
Q: How do I reheat leftovers without it getting dry?
A: Add a splash of milk or water to the oatmeal before reheating. Microwave in 30-second intervals, stirring in between. The extra liquid helps restore the creamy texture. If you’re reheating a whole dish, cover it with foil to trap steam.
Q: Can I make this in a muffin tin?
A: Yes! Grease the muffin tin well and fill each cup ¾ full. Bake at 350°F for 15-18 minutes. They make great portable breakfasts. Just be careful—they’re hot inside! I love making these for my kids’ school lunches.
Q: Can I substitute the brown sugar?
A: You can use white sugar, maple syrup, or honey. Maple syrup adds a nice flavor but may make it slightly wetter. Honey is sweeter, so use less. I prefer brown sugar for the molasses flavor, but any sweetener works. Just adjust to taste.
Pin This Recipe!
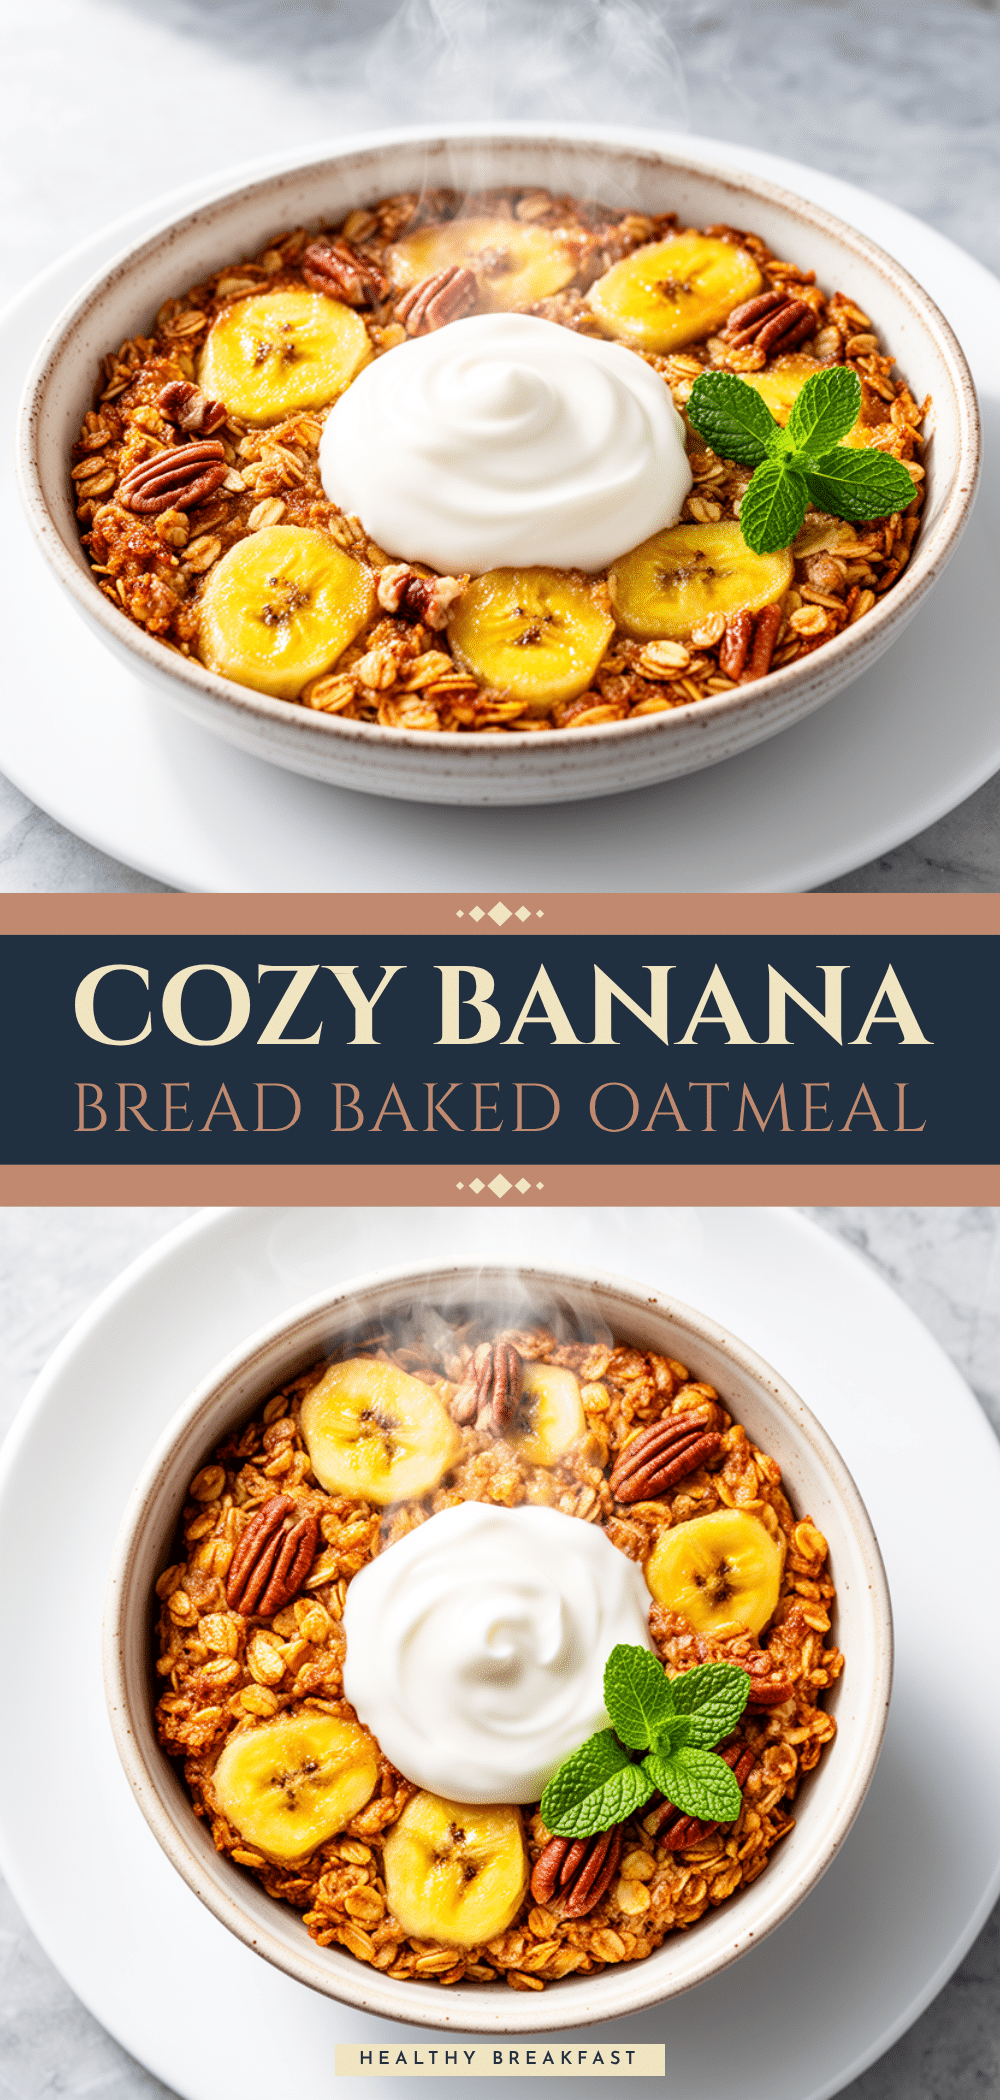
Banana Bread Baked Oatmeal: 30-Minute Easy Breakfast
- Total Time: 30 minutes
- Yield: 8 servings 1x
Description
A quick, healthy, and comforting breakfast that tastes like banana bread but is made with oats. This recipe is ready in 30 minutes, perfect for busy mornings, and can be easily customized or meal-prepped.
Ingredients
- 3 cups old-fashioned rolled oats
- 3 large ripe bananas (about 350g)
- 1/2 cup packed brown sugar
- 1/4 cup unsalted butter, melted
- 2 large eggs
- 1 cup milk (whole milk recommended)
- 1 teaspoon baking powder
- 1 teaspoon ground cinnamon
- 1/2 teaspoon fine sea salt
- Optional: 1/2 cup chopped walnuts or pecans
- Optional: 1/4 cup semi-sweet chocolate chips
Instructions
- Preheat oven to 350°F (175°C). Grease an 8×8 inch baking dish with butter or cooking spray.
- In a large mixing bowl, peel and mash the ripe bananas with a fork, leaving some small chunks for texture.
- Add the melted butter, eggs, milk, and brown sugar to the mashed bananas. Whisk vigorously until the sugar is mostly dissolved and the mixture is smooth.
- Stir in the rolled oats, baking powder, cinnamon, and salt. Fold gently until everything is coated. Fold in nuts or chocolate chips if using.
- Pour the batter into the prepared baking dish and smooth the top with a spatula.
- Bake for 20-25 minutes, or until the top is golden brown and a toothpick inserted in the center comes out clean.
- Let the oatmeal cool in the pan for at least 5 minutes to allow it to set before cutting into squares.
- Serve warm with toppings like Greek yogurt or maple syrup if desired.
Notes
Use very ripe bananas for maximum sweetness and ease of mashing. Do not skip the cooling time, as the oatmeal needs to set to hold its shape. For a gluten-free version, use certified gluten-free oats. For a dairy-free version, substitute butter with coconut oil and milk with almond or oat milk. For a vegan version, replace eggs with flax eggs.
- Prep Time: 10 minutes
- Cook Time: 20 minutes
- Category: Breakfast
- Cuisine: American
Nutrition
- Serving Size: 1 square
- Calories: 220
- Sugar: 18
- Sodium: 180
- Fat: 6
- Saturated Fat: 3
- Carbohydrates: 40
- Fiber: 4
- Protein: 6
Keywords: banana bread baked oatmeal, healthy breakfast, quick oatmeal, meal prep breakfast, gluten-free option, dairy-free option