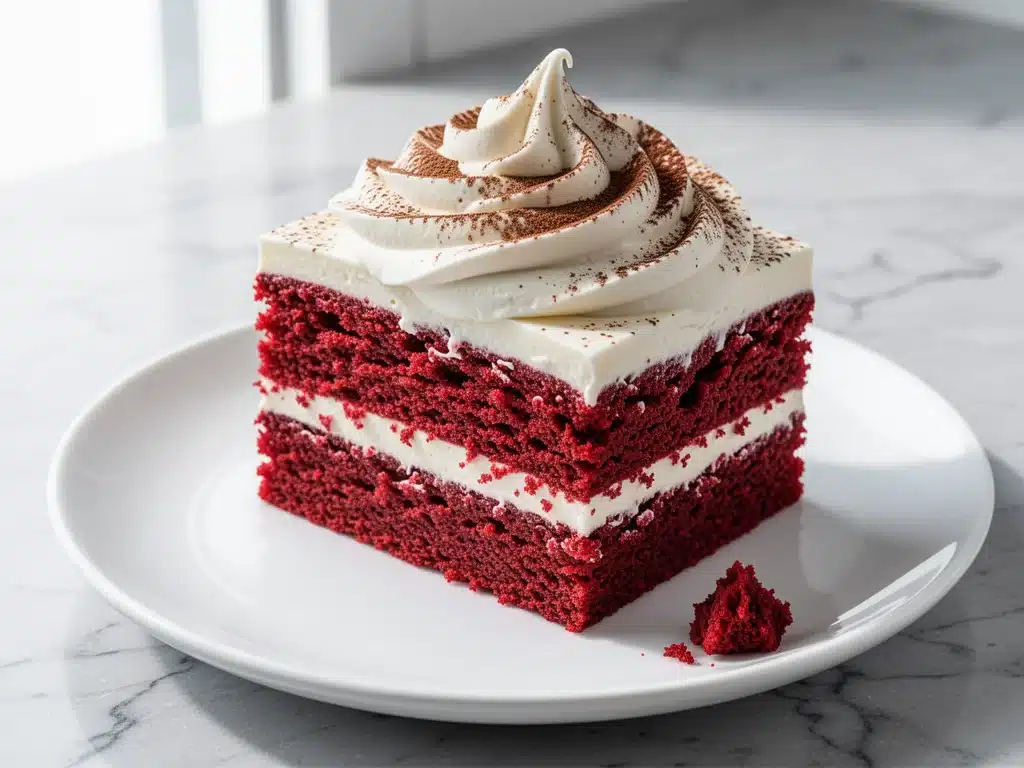
There’s a specific kind of panic that sets in when someone asks, “What are you bringing to the party?” And then, five minutes later, someone else says, “Oh, you’re making the red velvet cake again, right? Can I have the recipe?”
I’ve been there. More times than I can count.
Last month, I was standing in my kitchen at 9 PM, staring at a bowl of batter that looked suspiciously gray instead of the vibrant, deep crimson it was supposed to be. I’d tried to substitute the red food coloring because I didn’t have any on hand (big mistake), and the result was a cake that tasted amazing but looked like it belonged in a horror movie. My husband took one look at it and said, “It’s delicious, but I’m not serving it to your friends.”
That was the moment I realized I needed to get this recipe exactly right. Not just “good enough for a Tuesday night snack” right, but “show-stopping, crowd-pleasing, make-your-guests-ask-for-the-recipe” right.
After testing this ultra-moist red velvet cake with whipped cream cheese frosting about twelve times over the last six months, I finally cracked the code. It’s not just about the red dye (though that helps). It’s about the buttermilk, the vinegar reaction, the exact ratio of cocoa to flour, and—most importantly—the frosting. Too much sugar in the frosting makes it heavy and cloying. Too little, and it’s bland. I found that sweet spot, and now, this cake is basically my signature dish.
People think red velvet is complicated. They think it requires fancy techniques or obscure ingredients. It doesn’t. It just requires a few specific tricks that I’m going to share with you. This recipe is tender, incredibly moist, and has that classic tang that makes you keep eating slice after slice. Whether you’re baking for a holiday gathering, a birthday, or just because you’re craving something sweet, this is the one you want to make.
Why You’ll Love This Ultra-Moist Red Velvet Cake
Let’s be real: there are a thousand chocolate cake recipes out there. But red velvet? It’s different. It’s nostalgic, it’s beautiful, and it’s surprisingly easy once you know the secrets. Here’s why this version has taken over my kitchen (and hopefully, yours):
- Actually Moist, Not Dry — Most red velvet cakes I’ve tried are dry as cardboard. This one stays soft for days. I’ve kept slices in an airtight container for four days, and they still felt fresh. The buttermilk and oil do the heavy lifting here.
- The Frosting Is Light — Traditional cream cheese frosting can be dense and heavy. I whipped mine up with a bit of heavy cream, making it airy and fluffy. It cuts through the sweetness of the cake perfectly without weighing you down.
- Beautiful Color That Stays — I’ve tried natural dyes (beet powder, etc.), and while they’re healthy, they turn the cake brown. If you want that iconic red velvet look, you need gel food coloring. Trust me, it makes all the difference visually.
- Perfect for Any Occasion — Is it Valentine’s Day? Check. Is it Easter? Check. Is it just a random Tuesday when you want to feel fancy? Check. This cake fits every calendar event.
- Make-Ahead Friendly — Unlike some delicate desserts, this cake actually gets better the next day. The flavors meld together, and the frosting sets up nicely. I often bake it the night before a party so I’m not stressed on the day.
This isn’t just a cake; it’s a confidence booster. You walk into a room with this, and people assume you bought it from a high-end bakery. But you made it. And it cost you a fraction of the price.
Ingredients You’ll Need for the Cake
Before we get into the mixing, let’s talk about what goes in. I’m particular about a few of these, so pay attention.
For the Cake Batter
Buttermilk (1 cup / 240ml) — This is non-negotiable. Buttermilk’s acidity reacts with the baking soda to create that tender crumb. If you don’t have buttermilk, mix 1 tablespoon of white vinegar or lemon juice into regular milk and let it sit for 5 minutes. It works in a pinch, but real buttermilk is better.
Vegetable Oil (1 cup / 240ml) — I use vegetable oil instead of butter. Butter can make cakes dense and dry over time. Oil keeps the cake incredibly moist and tender, even after it sits in the fridge for a few days. It doesn’t add any flavor, which is what we want here.
Granulated Sugar (1 ½ cups / 300g) — Don’t skimp on the sugar. It’s not just for sweetness; it helps keep the cake moist. I’ve tried reducing it, and the texture suffers.
Eggs (2 large / room temperature) — Room temperature eggs incorporate into the batter better than cold ones. If you forget, just run them under warm water for a minute.
Vanilla Extract (2 teaspoons) — Use real vanilla, not imitation. It adds that warm, comforting background note that balances the tang.
All-Purpose Flour (2 ½ cups / 315g) — Spoon and level your flour. Don’t scoop it directly from the bag, or you’ll pack it down and end up with a dry cake.
Cocoa Powder (1 tablespoon / 5g) — Just a little bit. Red velvet isn’t chocolate cake; it’s a hint of cocoa that adds depth and color. Don’t use more than this, or it’ll taste like chocolate.
Red Gel Food Coloring (2 tablespoons) — Gel coloring is concentrated. Liquid coloring will make your batter too wet. I use a red gel paste because it gives that deep, vibrant red without changing the consistency.
Baking Soda (1 teaspoon) — This reacts with the buttermilk and vinegar to make the cake rise.
Salt (½ teaspoon) — Enhances all the flavors.
For the Whipped Cream Cheese Frosting
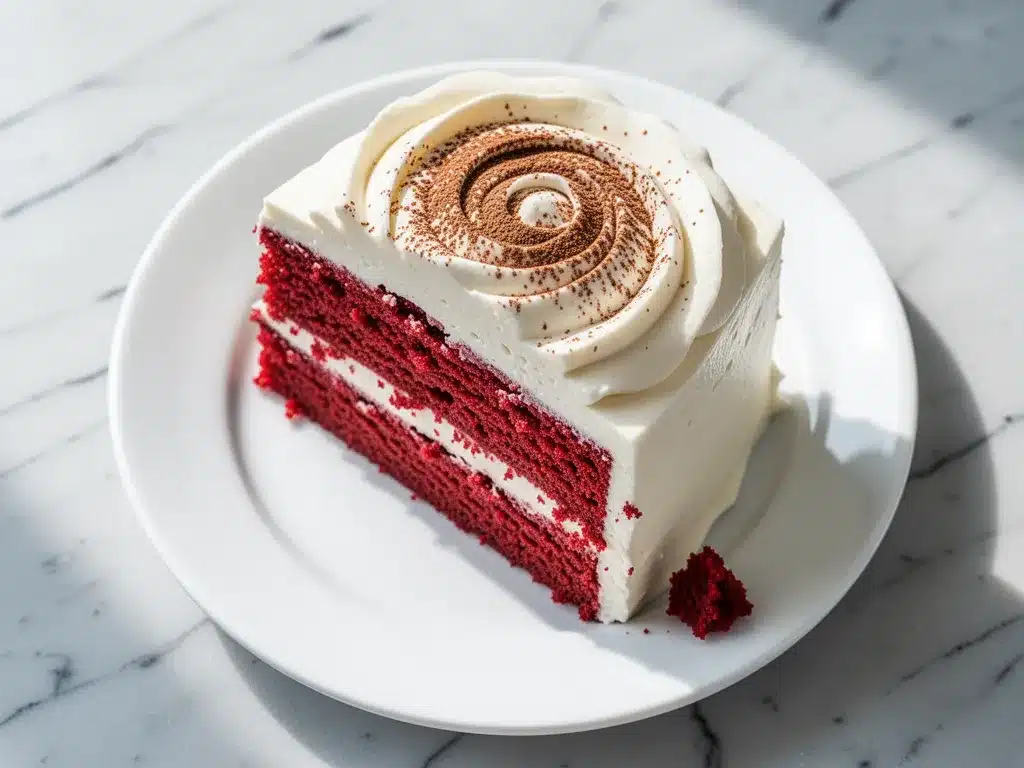
Cream Cheese (16 oz / 450g, full-fat, softened) — This is the star. Use block cream cheese, not the spreadable kind in a tub. The tub kind has more water and stabilizers, which will make your frosting runny. Let it sit on the counter for an hour before mixing.
Butter (½ cup / 115g, softened) — Adds richness and helps the frosting hold its shape.
Powdered Sugar (3-4 cups / 360-480g) — Sift this! Clumps in powdered sugar are the enemy of smooth frosting. Start with 3 cups, taste, and add more if you need it sweeter.
Heavy Cream (2-3 tablespoons) — This is the secret weapon. It lightens the frosting, making it fluffy and airy instead of dense and heavy.
Vanilla Extract (1 teaspoon) — For flavor.
Salt (¼ teaspoon) — Cuts the sweetness.
Equipment You’ll Need
You don’t need anything fancy. Here’s what I use:
Two 9-inch Round Cake Pans — Grease them well and line the bottoms with parchment paper. This ensures the cake doesn’t stick. I hate digging cake out of pans.
Stand Mixer or Hand Mixer — Creaming the butter and sugar (and later the cream cheese) by hand is exhausting and rarely gets it smooth enough. A mixer is worth it.
Mixing Bowls — One large for the wet ingredients, one medium for the dry. I like having separate bowls so I don’t cross-contaminate.
Rubber Spatula — For scraping down the sides of the bowl. You want every bit of batter in there.
Wire Cooling Rack — Let the cakes cool completely before frosting. If the cake is even slightly warm, the frosting will melt and slide off. I’ve learned this the hard way.
Piping Bags (Optional) — If you want to pipe decorative swirls on top, a piping bag with a star tip looks professional. But a knife works fine for a rustic finish.
How to Make It: Step-by-Step
Alright, let’s bake. This is straightforward, but timing matters.
Step 1: Prep Your Pans and Oven
Preheat your oven to 350°F (175°C). Grease two 9-inch round cake pans with butter or non-stick spray. Line the bottoms with parchment paper circles. This is the step that saves your life if the cake sticks.
Step 2: Mix the Dry Ingredients
In a medium bowl, whisk together the flour, cocoa powder, baking soda, and salt. Set this aside. Making sure the baking soda is evenly distributed prevents bitter spots in the final cake.
Step 3: Mix the Wet Ingredients
In a large bowl, beat the softened butter and sugar together until light and fluffy. This takes about 3-4 minutes. It incorporates air, which helps the cake rise. Add the eggs one at a time, beating well after each addition. Then stir in the vanilla and the red gel food coloring. The batter should be a vibrant red.
Step 4: Combine Wet and Dry
Turn your mixer to low speed. Add the dry ingredients in three parts, alternating with the buttermilk in two parts. Start and end with the dry ingredients. Mix until *just* combined. Do not overmix! Overmixing develops gluten, and you’ll end up with a tough cake. Stop as soon as you don’t see streaks of flour.
Step 5: Bake
Pour the batter evenly into your prepared pans. Bake for 25-30 minutes. You’ll know it’s done when a toothpick inserted into the center comes out clean or with just a few moist crumbs. The cakes should spring back when you touch them lightly.
Step 6: Cool Completely
Let the cakes cool in the pans for 10 minutes, then turn them out onto a wire rack to cool completely. This is crucial. If you frost a warm cake, you’re making a mess. I usually bake these the night before and let them cool overnight.
Step 7: Make the Frosting
In a large bowl, beat the softened cream cheese and butter together until smooth. Add the vanilla and salt. Gradually add the powdered sugar, one cup at a time, beating on low until incorporated. Then, turn the mixer to high and beat for 2-3 minutes until fluffy. If it’s too stiff, add the heavy cream, one tablespoon at a time, until you reach your desired consistency.
Step 8: Assemble and Decorate
Place one cake layer on your serving plate. Spread a generous layer of frosting on top. Place the second layer on top. Frost the top and sides of the cake. Use a spatula for a smooth finish or a piping bag for swirls. Chill in the fridge for at least 30 minutes before slicing to set the frosting.
Expert Tips & Tricks for Success
Here’s everything I’ve learned from making this cake dozens of times. These tips will save you from my mistakes.
Don’t Skip the Parchment Paper — I used to just grease the pans. Then I’d lose the bottom layer of the cake when I tried to unmold it. Parchment paper is cheap insurance. It guarantees a clean release every time.
Room Temperature Ingredients Are Key — Cold butter, cold cream cheese, cold eggs—they don’t mix well. They create lumps. If you forget to take them out, soften butter in the microwave for 10-second bursts. Soften cream cheese by cutting it into cubes and letting it sit for 15 minutes.
Gel Coloring Over Liquid — Liquid food coloring adds water to your batter, which can throw off the balance. Gel coloring is concentrated, so you get vibrant color without altering the texture. I keep a jar of red gel paste in my pantry specifically for this.
Sift Your Powdered Sugar — I know it’s an extra step, but clumpy frosting is heartbreaking. Sift the sugar before adding it to the cream cheese. It makes the frosting silky smooth.
Chill Before Slicing — Warm frosting is soft and messy. Chilling the cake for 30 minutes firms up the frosting, making it easier to cut clean slices. It also helps the flavors settle.
Don’t Overbake — Red velvet is delicate. If you bake it until it’s dry, it won’t be moist. Pull it out when the toothpick is mostly clean. The residual heat will finish cooking it.
Variations & Substitutions
Once you’ve mastered the basic version, here’s how you can mix it up. I’ve tried all of these.
White Chocolate Red Velvet — Add ½ cup of white chocolate chips to the batter. It adds a sweet, creamy contrast to the tangy cake. I love this for holiday parties.
Strawberry Red Velvet — Replace ¼ cup of the buttermilk with strawberry puree. It enhances the red color naturally and adds a fruity note. Just make sure the puree is thick, not watery.
Coffee-Infused — Add 1 tablespoon of instant espresso powder to the dry ingredients. It deepens the cocoa flavor without making it taste like coffee. Great for adult gatherings.
Gluten-Free — Use a 1:1 gluten-free flour blend. The texture might be slightly denser, but it still works. I’ve used Bob’s Red Mill, and it’s been successful.
Dairy-Free — Use dairy-free butter and cream cheese, and almond milk mixed with vinegar for the buttermilk substitute. The frosting won’t be as stable, so chill it well.
Mini Cupcakes — Divide the batter into a muffin tin. Bake for 18-20 minutes. These are perfect for potlucks because they’re individual portions. Frost them with a little swirl on top.
Layer Cake vs. Sheet Cake — You can bake this in a 9×13 inch pan. Bake for 35-40 minutes. Frost the whole pan. It’s easier to serve and less prone to collapsing.
Serving & Storage
How to serve and store this cake so it stays delicious.
How to Serve
I usually serve this cake with a cup of coffee or tea. The tangy frosting pairs well with bitter coffee. You could also serve it with fresh berries on the side to cut the sweetness. I’ve also served it alongside our cinnamon roll apple cobbler for a double-dessert spread, and it worked surprisingly well.
Storage Instructions
Room Temperature — If you’re eating it within 24 hours, you can keep it covered at room temperature. But because of the cream cheese frosting, I always recommend refrigerating it.
Refrigerator — Store in an airtight container or covered tightly with plastic wrap for up to 5 days. The cake stays moist in the fridge. Let it sit at room temperature for 20 minutes before serving to soften the frosting.
Freezing — You can freeze the unfrosted cake layers. Wrap them tightly in plastic wrap and then in foil. Freeze for up to 3 months. Thaw overnight in the fridge before frosting. I don’t recommend freezing the frosted cake because the frosting can separate and become grainy when thawed.
Leftovers — If you have leftover slices, store them in the fridge. They’re actually better the next day as the flavors meld. Just remember to take them out 20 minutes before eating.
Nutrition Information
I’m not a nutritionist, but here’s the breakdown if you’re tracking. This is a rich dessert, so portion control is key.
Per Serving (based on 12 slices):
- Calories: 450
- Fat: 22g
- Carbs: 55g
- Sugar: 40g
- Protein: 5g
- Fiber: 1g
This cake is indulgent. It’s meant to be enjoyed in small slices with friends. If you’re looking for something lighter, try our lemon lavender shortbread cookies instead. But for a special occasion, this red velvet is worth every calorie.
Final Thoughts
So that’s my ultra-moist red velvet cake! I’ve probably talked your ear off at this point, but when you make a recipe this often, you have a lot to say about it.
This cake has saved me more times than I can count. It’s my go-to when I need to impress, when I need to comfort someone, or when I just need a reason to eat cake for dinner. My family loves it, my friends ask for it, and I’m proud of it.
Make it yours! Try different toppings, like crushed red velvet cookies or fresh raspberries. Adjust the sweetness to your taste. The best recipes are the ones you adapt to your family’s preferences.
If you make this, drop a comment and let me know what you think! I love hearing how recipes turn out in your kitchen. And if something doesn’t work, tell me that too—I’m here to help troubleshoot.
Happy baking! And I hope your kitchen smells as amazing as mine does right now.
Frequently Asked Questions
Q: Why is my red velvet cake dry?
A: This usually happens if you overbake it or use too much flour. Make sure you’re spooning and leveling your flour, not scooping it. Also, check your oven temperature with a thermometer—ovens can run hot. Pull the cake out when the toothpick is mostly clean.
Q: Can I use liquid food coloring instead of gel?
A: You can, but you’ll need to use a lot more, which will make the batter watery and affect the texture. Gel coloring is concentrated and gives vibrant color without adding liquid. I strongly recommend gel paste for this recipe.
Q: Can I make this cake ahead of time?
A: Absolutely. Bake the cakes a day or two ahead, wrap them tightly, and store them at room temperature. Make the frosting the day you plan to assemble. This is actually better because the cake layers have time to settle and become more tender.
Q: Why did my frosting separate or become runny?
A: This usually happens if the cream cheese or butter was too warm when you started mixing. If it’s too soft, it can’t hold air. Also, if you added the powdered sugar too quickly, it might not have emulsified properly. Chill the frosting for 15 minutes before using it.
Q: Can I use butter instead of oil in the cake?
A: You can, but the cake will be denser and less moist. Oil is the secret to that signature tender crumb in red velvet. If you must use butter, melt it first and let it cool slightly before adding. But I stick with oil.
Q: How do I get clean slices?
A: Use a sharp knife and dip it in hot water between each cut. Wipe it dry with a paper towel. This prevents the frosting from sticking and tearing the cake. Also, chill the cake well before slicing.
Q: Can I make this a sheet cake?
A: Yes! Divide the batter into a greased and floured 9×13 inch pan. Bake for 35-40 minutes. Frost the top. It’s easier to serve and less likely to collapse. Great for potlucks.
Q: What goes well with red velvet cake?
A: I like serving it with black coffee, tea, or a glass of milk. For a dessert spread, pair it with something lighter, like our dark chocolate raspberry truffles, to balance the richness.
Pin This Recipe!
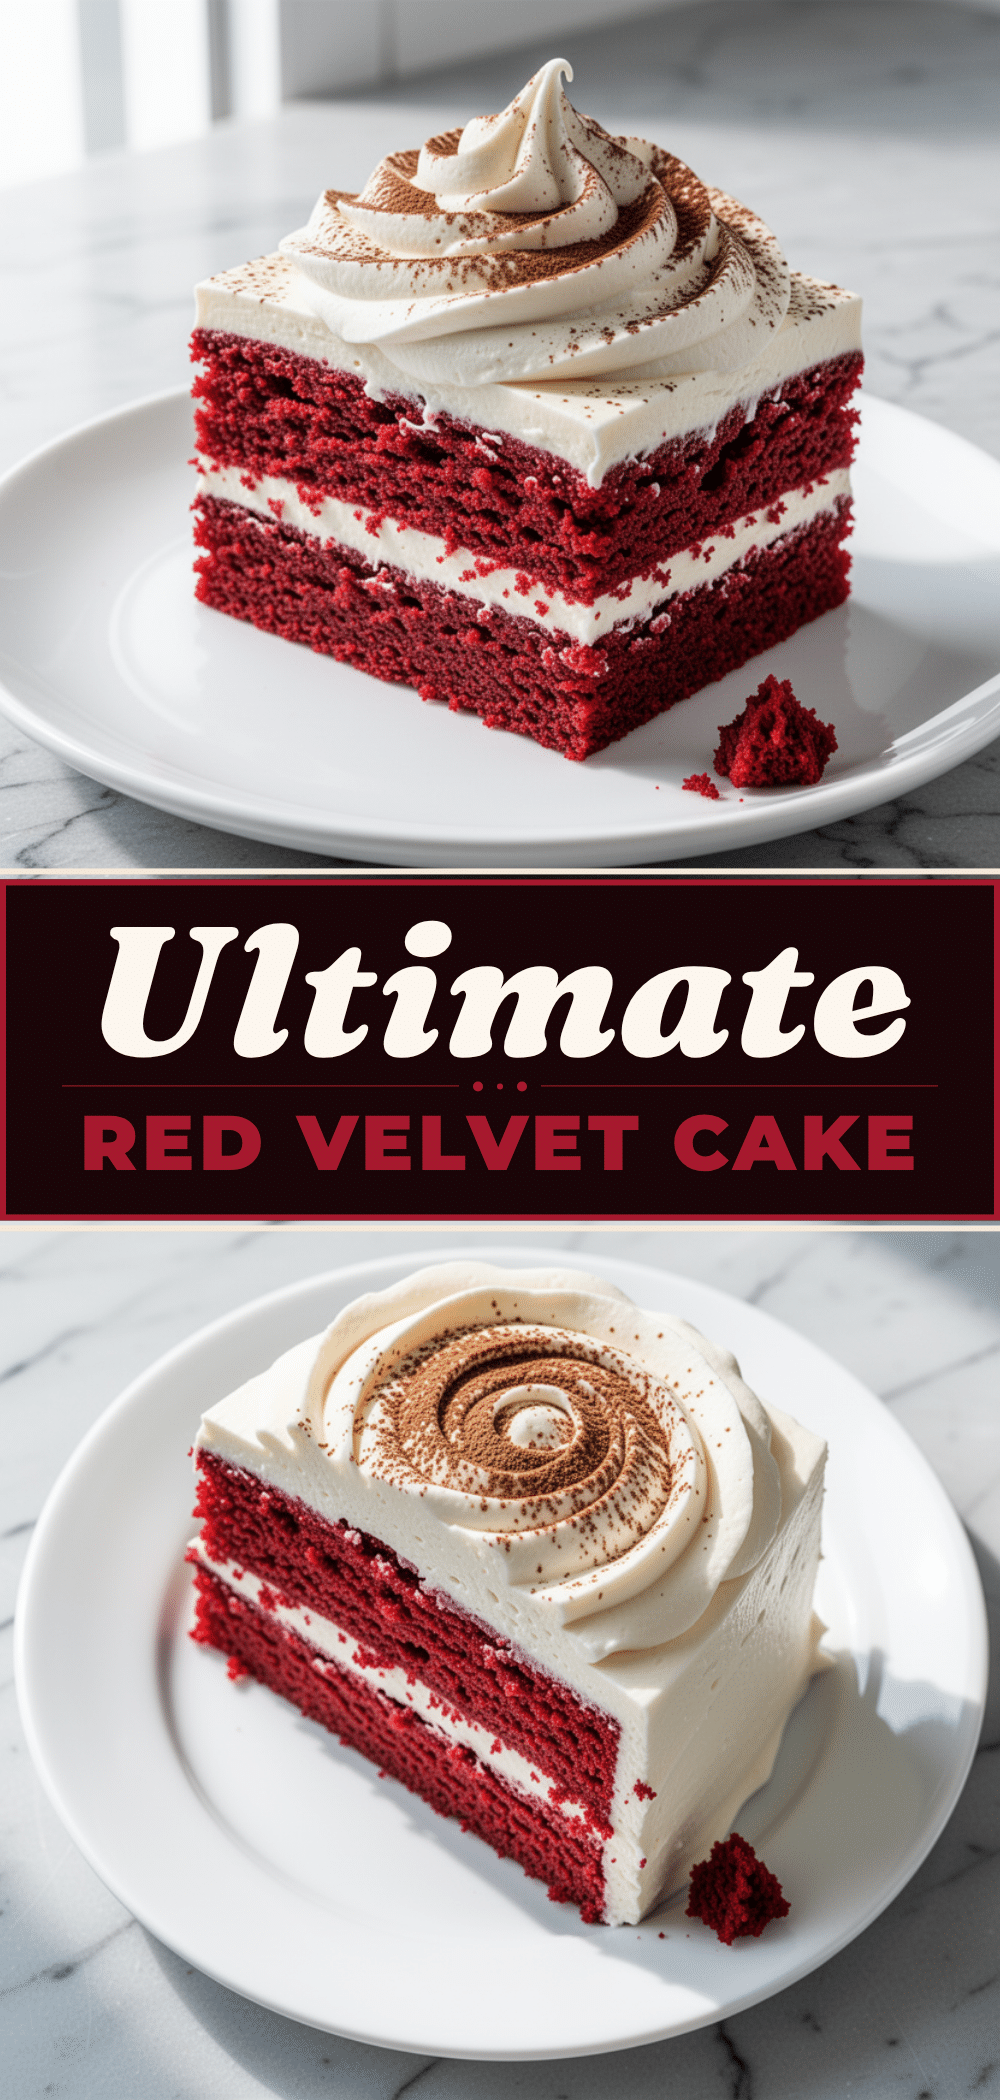
Ultra-Moist Red Velvet Cake: Easy Homemade Recipe
- Total Time: 1 hour 30 minutes
- Yield: 12 servings 1x
Description
A show-stopping, ultra-moist red velvet cake with a light, airy whipped cream cheese frosting. This recipe uses oil for tenderness and gel food coloring for vibrant color, ensuring a perfect result every time.
Ingredients
- 1 cup buttermilk
- 1 cup vegetable oil
- 1 ½ cups granulated sugar
- 2 large eggs (room temperature)
- 2 teaspoons vanilla extract
- 2 ½ cups all-purpose flour
- 1 tablespoon cocoa powder
- 2 tablespoons red gel food coloring
- 1 teaspoon baking soda
- ½ teaspoon salt
- 16 oz full-fat cream cheese (softened)
- ½ cup butter (softened)
- 3–4 cups powdered sugar (sifted)
- 2–3 tablespoons heavy cream
- 1 teaspoon vanilla extract (for frosting)
- ¼ teaspoon salt (for frosting)
Instructions
- Preheat oven to 350°F (175°C). Grease two 9-inch round cake pans and line bottoms with parchment paper.
- In a medium bowl, whisk together flour, cocoa powder, baking soda, and salt.
- In a large bowl, beat softened butter and sugar until light and fluffy (3-4 minutes).
- Add eggs one at a time, beating well after each addition. Stir in vanilla and red gel food coloring.
- Turn mixer to low. Add dry ingredients in three parts, alternating with buttermilk in two parts. Start and end with dry ingredients. Mix until just combined.
- Pour batter evenly into prepared pans. Bake for 25-30 minutes or until a toothpick inserted comes out clean.
- Cool cakes in pans for 10 minutes, then turn out onto a wire rack to cool completely.
- In a large bowl, beat cream cheese and butter until smooth. Add vanilla and salt.
- Gradually add powdered sugar, beating on low until incorporated. Beat on high for 2-3 minutes until fluffy. Add heavy cream if needed for consistency.
- Place one cake layer on serving plate. Spread frosting on top. Add second layer. Frost top and sides.
- Chill in fridge for at least 30 minutes before slicing.
Notes
Use gel food coloring instead of liquid to prevent watery batter. Ensure all dairy ingredients are at room temperature for best emulsion. Do not overmix the batter to avoid a tough cake. Chill the cake before slicing for clean cuts.
- Prep Time: 30 minutes
- Cook Time: 30 minutes
- Category: Dessert
- Cuisine: American
Nutrition
- Serving Size: 1 slice
- Calories: 450
- Sugar: 40
- Sodium: 350
- Fat: 22
- Saturated Fat: 12
- Carbohydrates: 55
- Fiber: 1
- Protein: 5
Keywords: red velvet cake, moist red velvet, cream cheese frosting, homemade cake, baking recipe, party dessert



