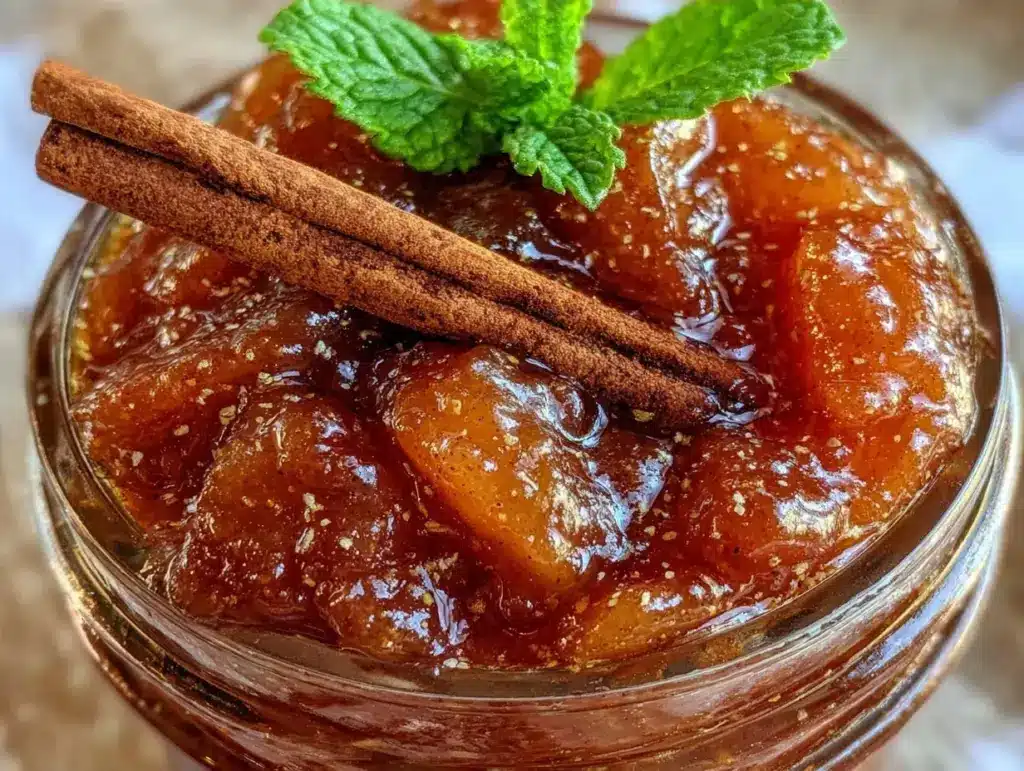
Last October, I stood in my kitchen staring at a pile of bruised, slightly wrinkled apples that were definitely past their prime for eating raw. I had bought them on sale, thinking I’d have time to peel and slice them for a proper pie. Spoiler alert: life happened. The pie never happened. Instead, I ended up with a bowl of soft, mushy apples and a deep sense of regret because I knew that perfectly spiced aroma was going to go to waste.
I didn’t want to make a whole pie crust. I didn’t have the energy to deal with the mess. So, I threw those apples into a saucepan with some brown sugar, cinnamon, and a splash of water, simmered them down until they collapsed into a thick, jammy goodness, and then did something I’ve never stopped doing since. I canned it.
This small batch canned spiced apple pie filling isn’t just a way to save bruised fruit. It’s my secret weapon for everything from yogurt toppings to toast spreads, and yes, it makes a killer pie filling if you’ve got a crust on hand. The best part? You don’t need a pressure canner. You don’t need a PhD in food science. You just need one specific trick that most people skip, and it’s the difference between a watery, bland mess and a thick, glossy, restaurant-quality filling that holds its shape.
I’ve tested this recipe dozens of times with different apple varieties, different sugar levels, and different canning methods. This is the version that works every single time. It’s shelf-stable, it’s incredibly easy, and it smells like autumn in a jar.
Why You’ll Love This Small Batch Canned Spiced Apple Pie Filling
Once you make this, you’ll wonder why you ever bought canned fruit from the store. Store-bought filling is often full of artificial flavors and has a texture that feels like applesauce that gave up on life. This homemade version is vibrant, intensely flavored, and versatile. Here’s why I keep jars of this on my pantry shelf year-round:
- Uses Up Imperfect Fruit — This is the ultimate “ugly fruit” saver. Soft apples, slightly bruised ones, or those that are just a little too mealy for a snack? They’re perfect here because they break down faster. I’ve used everything from Honeycrisp to cheap Gala apples, and they all work.
- Zero Waste Cooking — Instead of composting those wilting apples, you’re turning them into a preserved treasure. It’s satisfying, economical, and reduces your food waste significantly. It’s basically magic.
- One Simple Trick for Perfect Texture — Most recipes tell you to just boil the apples. But that often leads to mush or separation. I use a specific thickening technique that ensures the filling stays cohesive and glossy, never watery or grainy. I’ll share that trick in the instructions.
- Shelf-Stable and Ready to Go — After processing in a water bath, these jars last up to a year on your pantry shelf. When I want a quick breakfast or a last-minute dessert, I don’t have to thaw anything. I just open a jar. It’s like having instant dessert infrastructure.
- Endlessly Versatile — I eat this straight off a spoon with Greek yogurt. I swirl it into oatmeal. I use it as a layer in my cinnamon apple dump cake. I even use it as a spread for my morning toast. And, obviously, it’s the perfect filling for a pie.
It’s my go-to when I want the flavor of apple pie without the labor. It’s practical, delicious, and makes you feel like a kitchen wizard.
Ingredients You’ll Need
Here’s the thing about this recipe: it’s incredibly simple. You don’t need a pantry full of exotic spices. You just need good apples and a few basics. Since this is a small batch, it’s perfect for beginners who don’t want to commit to a massive canning project.
For the Filling
Apples (3 large / about 1.5 lbs / 680g) — I recommend a mix of tart and sweet. Granny Smith adds structure and tartness, while Fuji or Gala adds natural sweetness. Avoid Red Delicious; they turn to mush too quickly and lack flavor. Peel them, core them, and chop them into ½-inch chunks. Uniform size helps them cook evenly.
Lemon Juice (2 tablespoons / 30ml) — Freshly squeezed. This prevents the apples from browning and adds a necessary brightness that balances the sugar. Don’t skip this; it’s crucial for the flavor profile.
Granulated Sugar (½ cup / 100g) — Adjust based on how sweet your apples are. If you’re using tart Granny Smiths, you might want ¾ cup. If you’re using very sweet Fuji, ½ cup is plenty. I stick with ½ cup for a balanced flavor.
Water (½ cup / 120ml) — Just enough to create steam and prevent sticking. You don’t want to boil the apples in a river of water.
For the Spices
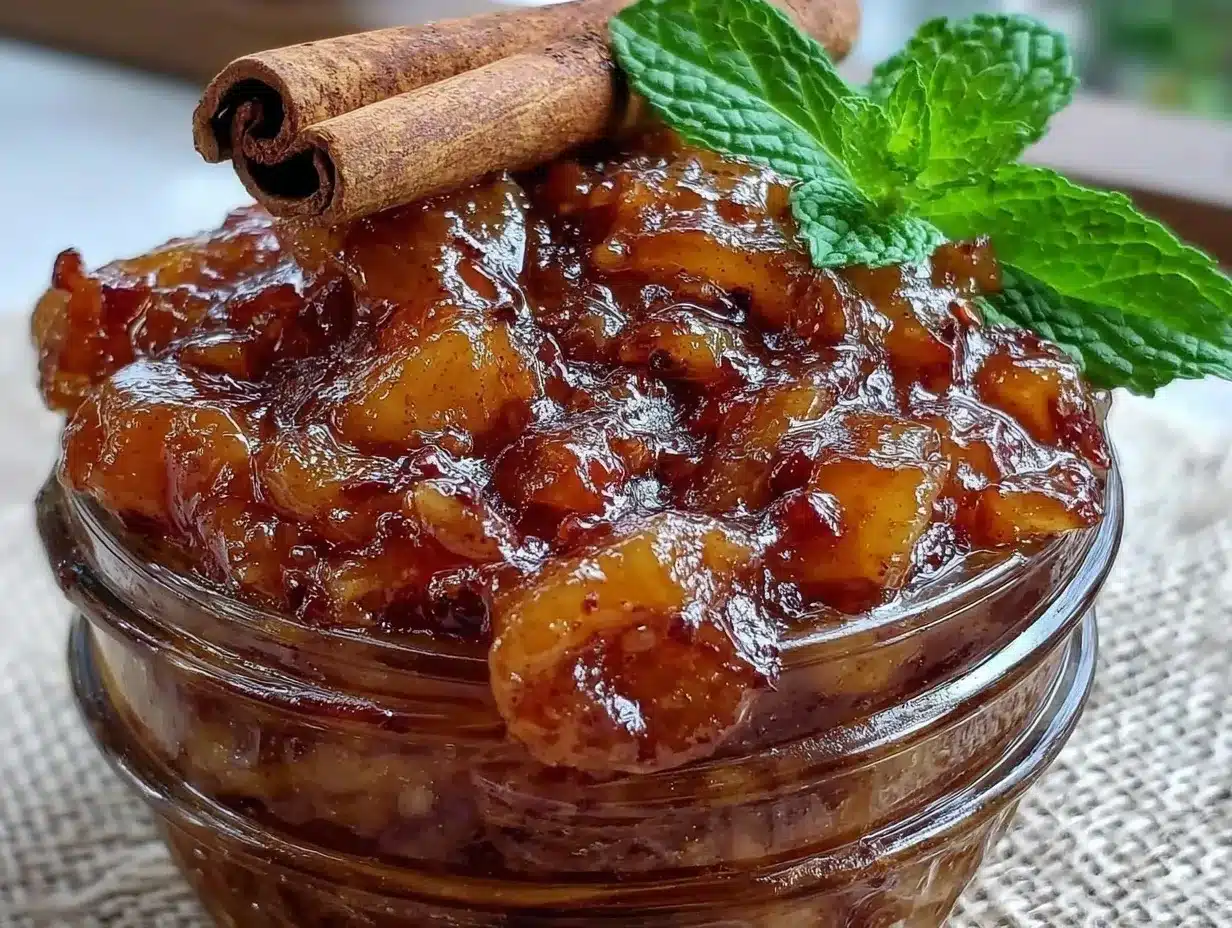
Cinnamon (1 teaspoon / 2g) — Ground cinnamon is standard. If you have a really good quality one, use it. It’s the star flavor here.
Nutmeg (¼ teaspoon / 0.5g) — Freshly grated is best, but pre-ground works fine. It adds that warm, cozy depth.
Cardamom (¼ teaspoon / 0.5g) — This is my secret weapon. It adds a floral, slightly citrusy note that makes the filling taste fancy. If you don’t have it, skip it, but I highly recommend adding it. It’s what makes this filling special.
Ground Ginger (¼ teaspoon / 0.5g) — Adds a little heat and complexity. Again, optional but nice.
For the Thickening Trick
Arrowroot Powder (1 tablespoon / 8g) — This is the trick. Most people use cornstarch, but cornstarch can turn cloudy and jelly-like when cooled. Arrowroot creates a clearer, glossier finish and holds up better in acidic environments. Mix it with 2 tablespoons of cold water to create a slurry.
Butter (1 tablespoon / 14g) — Unsalted. Added at the very end for richness and sheen.
Canning Supplies
You’ll need 2-3 small half-pint jars (8oz), new lids and bands, a large pot for boiling, and a jar lifter. Make sure your jars are sterilized. You can do this by washing them in hot soapy water and then placing them in a 225°F (107°C) oven for 10 minutes while you make the filling.
Equipment Needed
You don’t need fancy gadgets for this. Here’s what I actually use:
- Large Non-Stick Saucepan — A 3-4 quart pot works perfectly. I prefer non-stick because the sugar can stick and burn if you’re not careful. My old stainless steel one works too, but you have to watch the heat closely.
- Peeler and Corer — I use a Y-peeler for speed. An apple corer is nice but not essential; you can just cut around the core.
- Small Bowl — For mixing the arrowroot slurry. Keep it ready before you start cooking.
- Wooden Spoon — For stirring. Silicone works too. Just avoid metal if you’re using non-stick.
- Canning Pot — A large stockpot with a rack or towel at the bottom to prevent jars from cracking. If you don’t have a canning pot, any large pot works.
- Jar Lifter — Essential for safety. Don’t try to pull hot jars out with tongs or your hands. It’s a burn waiting to happen.
- Funnel — A wide-mouth canning funnel makes filling the jars much easier and cleaner. I use a plastic one from the dollar store.
How to Make It: Step-by-Step
Alright, let’s make this! I’m walking you through exactly how I do it. The process is simple, but the timing is key.
Step 1: Prep the Apples (10 minutes)
Wash your apples thoroughly. Peel them, remove the cores, and chop them into ½-inch cubes. Put them in a large bowl and toss with the lemon juice immediately. This stops oxidation and keeps them looking bright. If you’re using very tart apples, you can add a pinch of salt here to enhance the flavor.
Step 2: Cook the Apples (15 minutes)
In your large saucepan, combine the chopped apples, sugar, water, cinnamon, nutmeg, cardamom, and ginger. Stir well to coat the apples in the spices and sugar. Place the pot over medium-high heat and bring it to a gentle simmer. You’ll see bubbles starting to form around the edges. Stir occasionally to prevent sticking.
Let the apples simmer for about 10-12 minutes. They should start to soften and release their juices. You’ll know they’re ready for the next step when a knife slides into a piece of apple with very little resistance, but they haven’t completely fallen apart. They should still hold their shape somewhat.
Step 3: The Thickening Trick (2 minutes)
This is where the magic happens. In your small bowl, whisk the arrowroot powder with 2 tablespoons of cold water until it’s completely smooth with no lumps. This is your slurry.
Reduce the heat to medium-low. While stirring the apples constantly, slowly pour in the arrowroot slurry. The mixture will look a bit cloudy at first. Keep stirring. Within 30 seconds to a minute, the filling will transform. It will become glossy, thick, and translucent. This is the arrowroot working its magic. Do not skip stirring here; if you don’t, you’ll get lumpy chunks of thickener.
Once thickened, remove the pot from the heat. Stir in the tablespoon of butter until it melts and incorporates. This adds a rich, velvety finish. Taste the filling. If it needs more sweetness, add a teaspoon of sugar. If it tastes flat, add a squeeze of lemon.
Step 4: Jar and Process (20 minutes)
Using your funnel, ladle the hot filling into your sterilized hot jars. Leave ½ inch of headspace at the top. Wipe the rims of the jars with a clean, damp cloth to ensure a good seal. Place the lids on and screw on the bands until they are “fingertip tight” (snug but not forced).
Place the jars in your canning pot, ensuring they are covered by at least 1-2 inches of water. Bring the water to a rolling boil. Process the jars for 10 minutes. This time starts once the water reaches a full boil. After 10 minutes, turn off the heat and let the jars sit in the water for 5 minutes before removing them. This prevents thermal shock and cracking.
Step 5: Cool and Store
Lift the jars out with your jar lifter and place them on a towel-lined counter. Do not touch them for 12-24 hours. As they cool, you’ll hear the distinctive “ping” of the lids sealing. Check the seals by pressing the center of the lid; it should not flex up and down. If it does, refrigerate that jar and use it within a few weeks.
Once sealed, store the jars in a cool, dark pantry. They will last up to 12 months.
Expert Tips & Tricks
Here’s everything I’ve learned from making this dozens of times. These tips will save you from my mistakes.
Use Arrowroot, Not Cornstarch
I cannot stress this enough. Cornstarch is fine for a pie that’s being baked, but for canned filling that will sit on a shelf, cornstarch can break down over time or become gelatinous when cold. Arrowroot creates a clearer, more stable gel that looks beautiful and tastes better. It’s worth the extra dollar.
Don’t Overcook the Apples Before Thickening
If the apples turn to mush before you add the arrowroot, the final texture will be more like applesauce than pie filling. You want them tender but intact. If they’re too soft, the filling will separate and look watery.
Watch the Headspace
Leaving ½ inch of headspace is critical. If you fill it too high, the apples will expand during processing and push the lid off. If you leave too much space, you risk poor sealing. Measure it. It matters.
Wipe the Rims
Any bit of sticky apple residue on the rim will prevent the lid from sealing properly. Take the time to wipe the rims with a vinegar-water solution or just clean water. It’s a small step that makes a big difference.
Variations & Substitutions
Once you’ve nailed the basic version, here’s how you can mix it up. I’ve tried all of these.
Spice It Up
Add a pinch of cloves or allspice for a more traditional pie flavor. If you like a little heat, add a dash of cayenne pepper. It sounds weird, but it enhances the apple flavor beautifully.
Fruit Add-Ins
Chopped pears work great in this recipe. I like to swap half the apples for pears for a more complex flavor. You can also add dried cranberries or chopped pecans after the filling has cooled and been jarred, just before sealing, for added texture.
Sugar-Free Option
You can use erythritol or monk fruit sweetener instead of sugar. Keep in mind that sugar also acts as a preservative, so the shelf life might be slightly reduced. Process for the same amount of time, but store in the fridge if you’re concerned.
Low-Sugar Canning
If you want to reduce sugar further, you can use less sugar, but you must add pectin to ensure proper sealing. For small batch canning, this is tricky. I recommend sticking to the ½ cup sugar or adding a packet of liquid pectin to ensure safety.
Serving & Storage
How to Serve:
This filling is incredibly versatile. Here are some of my favorite ways to use it:
- Breakfast Topping — Spoon it over plain Greek yogurt, oatmeal, or pancakes. It’s like having instant fruit compote.
- Pastry Filling — Use it in hand pies, turnovers, or as the filling for my Rosh Hashanah apple honey challah bread pudding. It’s perfect for any baked good.
- Dessert Swirl — Swirl it into vanilla ice cream or cheesecake. It adds a burst of flavor and color.
- Toast Spread — Spread it on buttered toast with a slice of cream cheese. It’s a simple, elegant snack.
Storage Instructions:
Pantry: Sealed jars can be stored in a cool, dark place for up to 12 months. Check for seals before storing.
Refrigerator: Once opened, store the jar in the fridge and use within 2-3 weeks.
Freezer: This filling can be frozen, but the texture may change slightly upon thawing. It’s best used in cooked applications like pies or cakes if frozen. For fresh eating, stick to refrigeration.
Nutrition Information
I’m not a nutritionist, but here’s the breakdown if you’re tracking. This is based on a ¼ cup serving.
- Calories: 80
- Protein: 0g
- Carbs: 20g
- Fiber: 2g
- Sugar: 16g
- Fat: 0g
What’s Good: It’s naturally gluten-free and vegan. It provides some fiber from the apples.
What to Know: The sugar content is moderate. You can reduce it, but it affects preservation. Enjoy it in moderation as a treat.
Final Thoughts
So that’s my small batch canned spiced apple pie filling! I’ve probably talked your ear off at this point, but when you make a recipe this often, you have a lot to say about it. This has saved me from food waste more times than I can count. It’s my answer to “what can I do with these apples?” when I’m tired of eating them raw.
Make it yours! Try different spices, different apple mixes, or different sweeteners. The best recipes are the ones you adapt to your family’s tastes. If you make this, drop a comment and let me know what you think! I love hearing how recipes turn out in your kitchen. And if something doesn’t work, tell me that too—I’m here to help troubleshoot.
Happy cooking! And I hope your kitchen smells half as good as mine does right now.
Frequently Asked Questions
Can I use canned apples instead of fresh?
Technically yes, but they will be very soft and may turn to mush. Fresh apples provide the best texture and flavor. If you must use canned, drain them well and reduce the cooking time significantly.
Why did my lids not seal?
This usually happens if the rims weren’t clean, if the jars weren’t hot enough, or if the processing time was insufficient. Check the seals after cooling. If a lid doesn’t seal, refrigerate that jar and use it within a few weeks.
Can I double this recipe?
Yes, but you’ll need a larger pot and more jars. Make sure your canning pot is large enough to hold all the jars with 1-2 inches of water above them. Process for the same 10 minutes.
Is arrowroot necessary?
For the best texture and clarity, yes. Cornstarch works but can cloud the filling and become gelatinous. Arrowroot is the superior choice for canned fruit fillings.
How long does this filling last?
Properly sealed and processed, it lasts up to 12 months in a cool, dark pantry. Once opened, it lasts 2-3 weeks in the fridge.
Pin This Recipe!
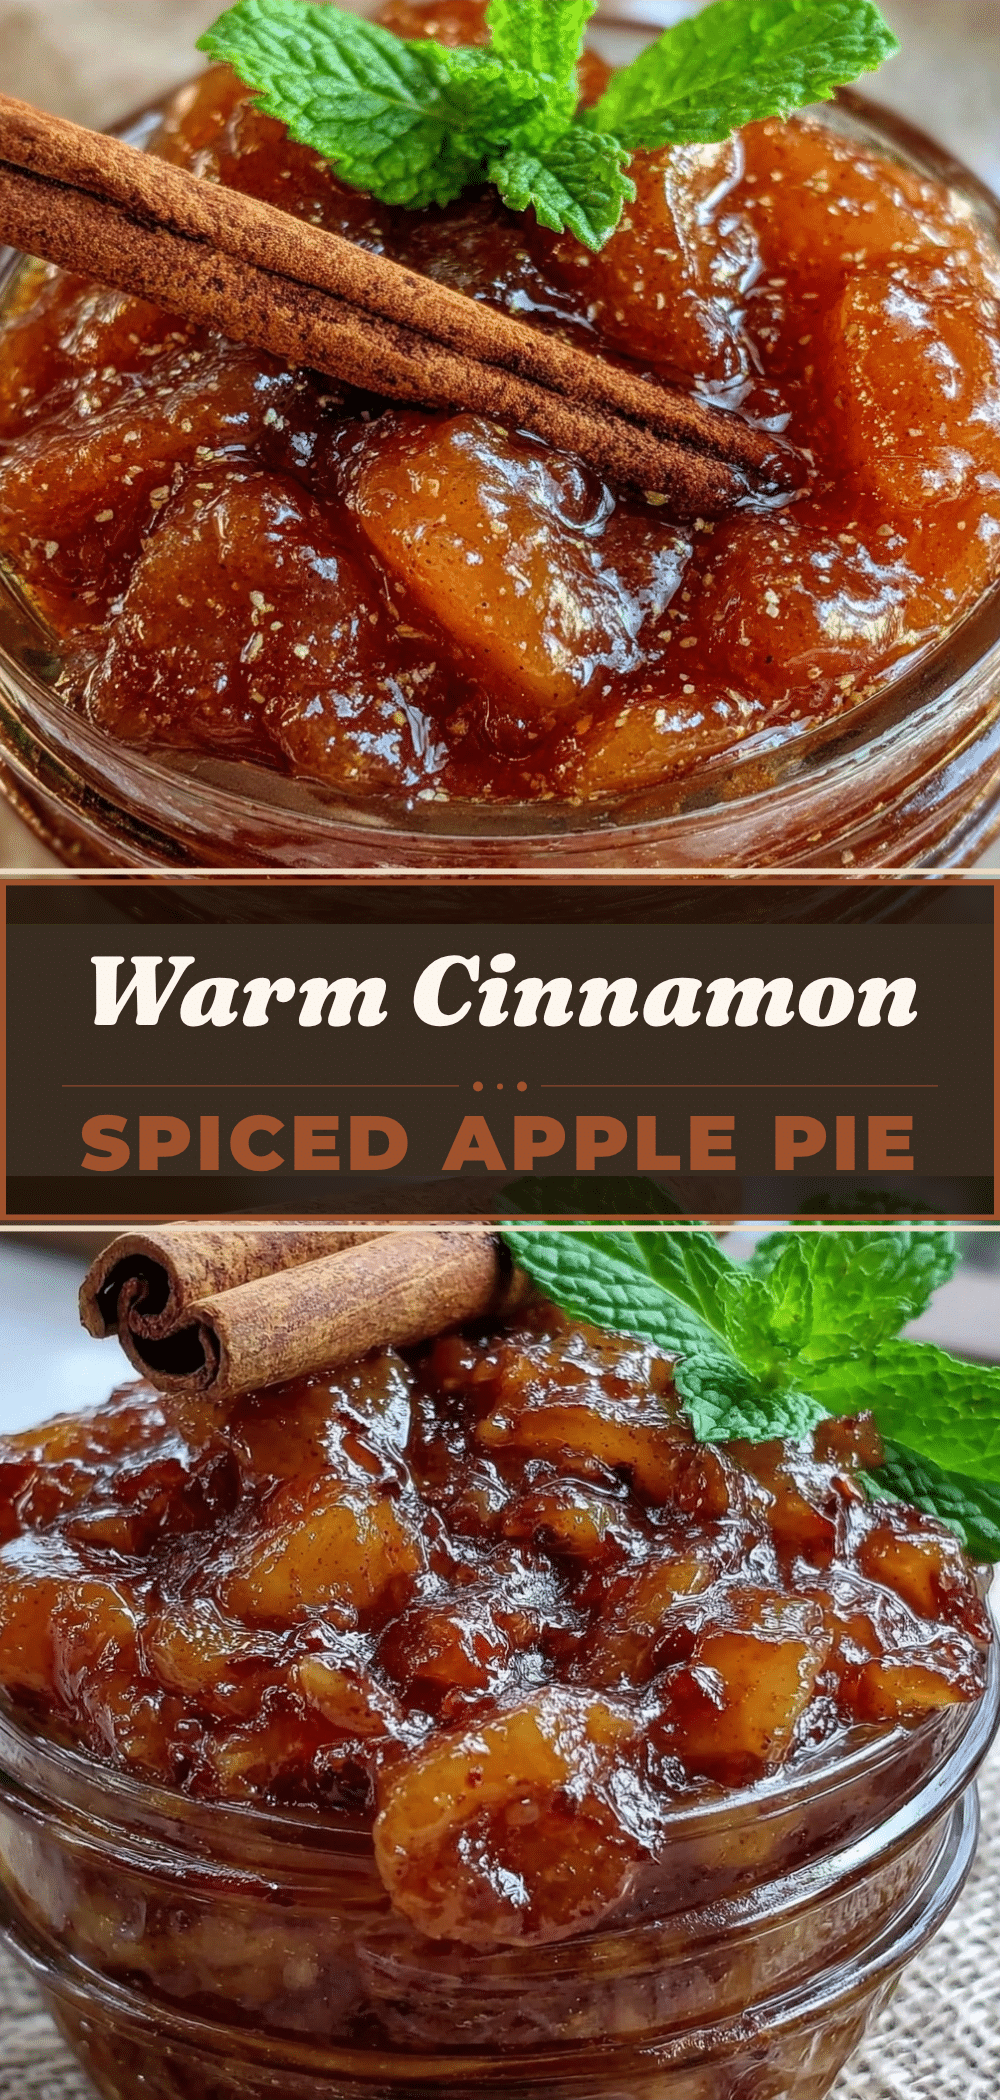
Small Batch Canned Spiced Apple Pie Filling
- Total Time: 40 minutes
- Yield: 2-3 half-pint jars 1x
Description
A shelf-stable, small-batch canned spiced apple pie filling that uses a specific arrowroot thickening trick for a glossy, restaurant-quality texture. Perfect for using up imperfect fruit and versatile for pies, yogurt toppings, or toast spreads.
Ingredients
- 3 large apples (about 1.5 lbs / 680g), peeled, cored, and chopped into ½-inch chunks (mix of tart and sweet recommended)
- 2 tablespoons fresh lemon juice
- ½ cup granulated sugar (adjust based on apple sweetness)
- ½ cup water
- 1 teaspoon ground cinnamon
- ¼ teaspoon nutmeg
- ¼ teaspoon cardamom
- ¼ teaspoon ground ginger
- 1 tablespoon arrowroot powder mixed with 2 tablespoons cold water (slurry)
- 1 tablespoon unsalted butter
Instructions
- Wash, peel, core, and chop apples into ½-inch cubes. Toss immediately with lemon juice to prevent browning.
- In a large non-stick saucepan, combine chopped apples, sugar, water, cinnamon, nutmeg, cardamom, and ginger. Stir to coat.
- Place pot over medium-high heat and bring to a gentle simmer. Cook for 10-12 minutes, stirring occasionally, until apples are tender but still hold their shape.
- In a small bowl, whisk arrowroot powder with 2 tablespoons of cold water until smooth.
- Reduce heat to medium-low. While stirring the apples constantly, slowly pour in the arrowroot slurry. Stir for 30-60 seconds until the mixture becomes glossy, thick, and translucent.
- Remove from heat and stir in the butter until melted and incorporated. Taste and adjust sweetness or acidity if needed.
- Ladle hot filling into sterilized hot half-pint jars, leaving ½ inch of headspace.
- Wipe rims clean with a damp cloth. Place lids on and screw bands on fingertip tight.
- Place jars in a canning pot covered by 1-2 inches of water. Bring to a rolling boil and process for 10 minutes.
- Turn off heat and let jars sit in water for 5 minutes before removing.
- Place jars on a towel-lined counter and do not disturb for 12-24 hours. Check seals (lid should not flex). Store sealed jars in a cool, dark pantry for up to 12 months.
Notes
Use arrowroot instead of cornstarch for a clearer, glossier finish that holds up better in acidic environments. Do not overcook apples before thickening to maintain texture. Ensure rims are wiped clean for proper sealing. If using tart apples, you may increase sugar to ¾ cup. For sugar-free options, use erythritol or monk fruit, but note that sugar acts as a preservative.
- Prep Time: 10 minutes
- Cook Time: 30 minutes
- Category: Preserves
- Cuisine: American
Nutrition
- Serving Size: ¼ cup
- Calories: 80
- Sugar: 16
- Carbohydrates: 20
- Fiber: 2
Keywords: apple pie filling, canned apples, small batch canning, arrowroot thickening, spiced apples, zero waste cooking, shelf stable dessert



