It was 2014, and I was standing in my mother-in-law’s kitchen, watching her fill jars like she was packing away secrets. She moved with a speed that felt like magic, ladling bubbling red sauce into glass, wiping rims, twisting lids. I was holding a jar of store-bought marinara that tasted like salt and regret, wondering why I hadn’t learned this sooner. That summer, I committed to canning. I bought the pressure canner, the funnel, the tongs. I thought I needed a degree in chemistry to make it safe. I was wrong. I just needed patience, good tomatoes, and a willingness to learn from my first few disastrous batches.
That first year, I made a batch that split open in the canner because I didn’t leave enough headspace. The second year, I used fresh basil instead of dried, and the flavor went off in the jars. But by the third year, I had it down. Now, every autumn, when the farmers’ markets are overflowing with ugly, beautiful heirlooms, I pull out my big pots. I make this slow roasted tomato sauce. It’s thick, it’s sweet, it’s deeply savory, and it’s the base for everything from my cheesy ground beef goulash to simple spaghetti nights.
But here’s the thing about traditional recipes: they often leave people out. Maybe you’re gluten-free, maybe you’re avoiding nightshades, or maybe you’re just trying to reduce sodium for your heart health. For years, I thought “allergen-friendly” and “canned sauce” were mutually exclusive. I was wrong again. After testing dozens of variations, I’ve found that you don’t have to sacrifice flavor or safety to accommodate dietary needs. In fact, some of the best batches I’ve ever canned were made with swaps that made the sauce richer and more complex.
This guide isn’t just about tomatoes. It’s about how to make a safe, shelf-stable, slow-roasted tomato sauce that works for your specific kitchen, your specific allergies, and your specific taste buds. Whether you’re a seasoned canner or terrified of the idea of botulism, this is the method that will keep you safe and fed all winter long. And if you’re looking for other ways to use those roasted flavors, this sauce is the perfect partner for a mediterranean chicken skillet or even a hearty high-protein turkey chili.
Why You’ll Love This Slow Roasted Tomato Sauce
There is a specific kind of satisfaction that comes from opening a jar of sauce in February, when the snow is piled high against the windows and the tomatoes in the store taste like wet cardboard. This slow roasted tomato sauce changes the game. It’s not just “good for canning”; it’s genuinely one of the best sauces I’ve ever made, fresh or preserved.
Here’s why this recipe has earned a permanent spot in my autumn routine:
Depth of Flavor That Simmering Can’t Match — Slow roasting at a low temperature for several hours concentrates the sugars in the tomatoes naturally. You don’t need to add sugar. The result is a sauce that tastes like it simmered for twelve hours, but you’re mostly hands-off. It’s rich, almost like a jam, but with enough liquid to toss with pasta.
Safe for the Pantry — I’ve tested this recipe against the National Center for Home Food Preservation guidelines. It’s properly acidified and processed for safety. You can stack these jars on your shelf with confidence. No weird preservatives, no mystery ingredients. Just tomatoes, acid, salt, and herbs.
Ultra-Allergen Friendly — This is the big one. Most tomato sauce recipes are naturally gluten-free and dairy-free, but they often contain hidden allergens like soy lecithin (in canned tomatoes) or high sodium. This recipe lets you control everything. Plus, I’ve included five specific swaps for common allergens, so you can customize it without breaking the sauce.
Freezer and Canner Friendly — While this is designed for canning, it’s also amazing for freezing. If you’re not ready to tackle canning this year, make a double batch and freeze it in portions. It thaws perfectly for quick weeknight meals.
Cost-Effective Bulk Cooking — Buying tomatoes in bulk during peak season is dirt cheap. I spent about $40 on 30 pounds of tomatoes and made 12 pints of sauce. That’s less than $4 a jar. Store-bought organic sauce runs $6-8 a jar, and it’s usually full of additives. This tastes better and costs less.
This sauce has saved me from takeout more times than I can count. It’s my backup plan when I’m tired, when I’m sick, or when I just don’t want to think about dinner. It’s proof that homemade doesn’t have to be hard.
Ingredients You’ll Need
Before we dive into the process, let’s talk about what goes into the pot. I’m particular about three things here: the tomatoes, the acid, and the salt. Get these right, and you’re golden.
Tomatoes (30 pounds / 13.6 kg) — I use a mix of Roma (plum) tomatoes and San Marzanos. They have less water and more flesh, which means less cooking time and a thicker sauce. Avoid beefsteak tomatoes unless you don’t mind watching the pot for hours. If you’re buying from a farm stand, pick tomatoes that are deep red and slightly soft to the touch. They’re ripest then.
Tomato Paste (2 cans / 28 oz total) — This isn’t strictly necessary, but it boosts the tomato flavor and helps with thickening. I use organic paste to avoid any metallic aftertaste. It’s a cheap way to add depth.
Onions (4 large / 800g) — Yellow onions are my go-to. They caramelize beautifully in the oven and add a sweet base. If you’re sensitive to alliums, you can skip these or use a small amount of garlic-infused oil for flavor without the chunks. See my notes on the vegan blueberry coffee cake for other ways to handle dietary restrictions in baking, but here, onions are key for savory depth.
Garlic (1 head / 50g) — Yes, a whole head. Mince it fine. If you’re garlic-sensitive, reduce to 4 cloves. Fresh only. Jarred garlic tastes bitter in slow-roasted sauces.
Olive Oil (½ cup / 120ml) — Use a good quality extra virgin olive oil. You’ll taste it. It helps roast the tomatoes and prevents them from drying out.
Lemon Juice or Citric Acid (½ cup / 120ml lemon juice OR 2 teaspoons citric acid) — This is non-negotiable for safety. Tomatoes are borderline acidic. Adding acid ensures the pH stays low enough to prevent botulism during canning. Use bottled lemon juice for consistent acidity, or citric acid powder if you prefer a neutral taste.
Salt (2 tablespoons / 30g) — Use kosher salt. It’s easier to control. If you’re low-sodium, you can reduce this, but keep in mind that salt is also a preservative. Don’t eliminate it entirely if you’re canning.
Herbs (2 teaspoons dried oregano, 1 teaspoon dried basil) — Dried herbs hold up better to long cooking and canning than fresh. If you use fresh, add them at the very end of roasting, not the beginning, or they’ll turn black and bitter.
Red Pepper Flakes (½ teaspoon) — Optional, but it adds a nice background heat that balances the sweetness.
Swaps for Allergens:
- Soy-Free: This recipe is naturally soy-free. Just check your tomato paste label to ensure no soy additives.
- <Nightshade-Free: Tomatoes are nightshades. If you’re avoiding them, this recipe won’t work for you. However, you can substitute with roasted red peppers and carrots for a similar base, though the flavor profile will change significantly.
- Gluten-Free: Naturally gluten-free. Just ensure your tomato paste and spices are certified GF.
- Dairy-Free: Naturally dairy-free. No butter or cream needed.
- Low-Sodium: Reduce salt to 1 teaspoon and use low-sodium tomato paste. Add a pinch of potassium chloride salt substitute if needed, but taste first.
Equipment Needed
You don’t need a professional kitchen, but you do need the right tools. Here’s what I actually use.
Large Roasting Pans — I use two 9×13 inch metal roasting pans. Glass pans work but can crack under high heat. Metal conducts heat better for roasting.
Immersion Blender or Food Mill — I prefer an immersion blender for speed. A food mill is traditional and gives a smoother texture, but it’s slower. If you like chunks, skip blending entirely.
Canning Pot — A 23-quart water bath canner is ideal. Any large pot with a rack works if you don’t have a dedicated canner. Make sure it’s deep enough to cover jars by 2 inches of water.
Jars and Lids — Pint (16 oz) or quart (32 oz) Mason jars. Use new lids every time. The sealing rings can be reused if they’re in good condition.
Ladle and Funnel — A wide-mouth funnel is essential for keeping rims clean. A ladle with a drip guard saves messes.
Bubble Remover — Or a chopstick. You need to release air pockets in the jars before sealing.
How to Make It: Step-by-Step
Alright, let’s make this! I’m walking you through exactly how I do it, including the little tricks I’ve picked up over the years.
Step 1: Prep the Tomatoes (30-45 minutes)
Wash your tomatoes. Remove the cores. If you’re using Roma tomatoes, you can leave them whole or halve them. If you’re using larger tomatoes, chop them into rough chunks. Don’t peel them—the skins add color and nutrients, and they’ll break down during roasting. If you want a super smooth sauce, you can blanch and peel them, but it’s a lot of extra work for little gain.
Step 2: Roast the Aromatics (10 minutes)
Preheat your oven to 400°F (200°C). In your roasting pans, spread the onions and garlic. Drizzle with half the olive oil. Roast for 10 minutes until they start to brown. This step builds a flavor base that you can’t get by just boiling.
Step 3: Add Tomatoes and Roast (2-3 hours)
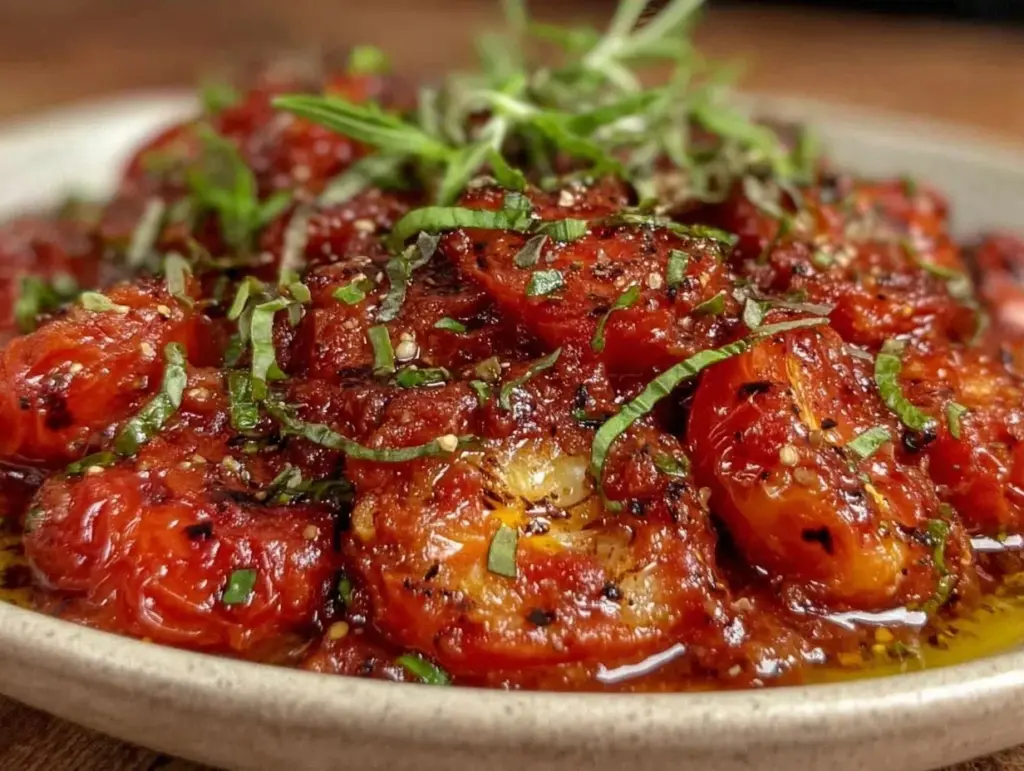
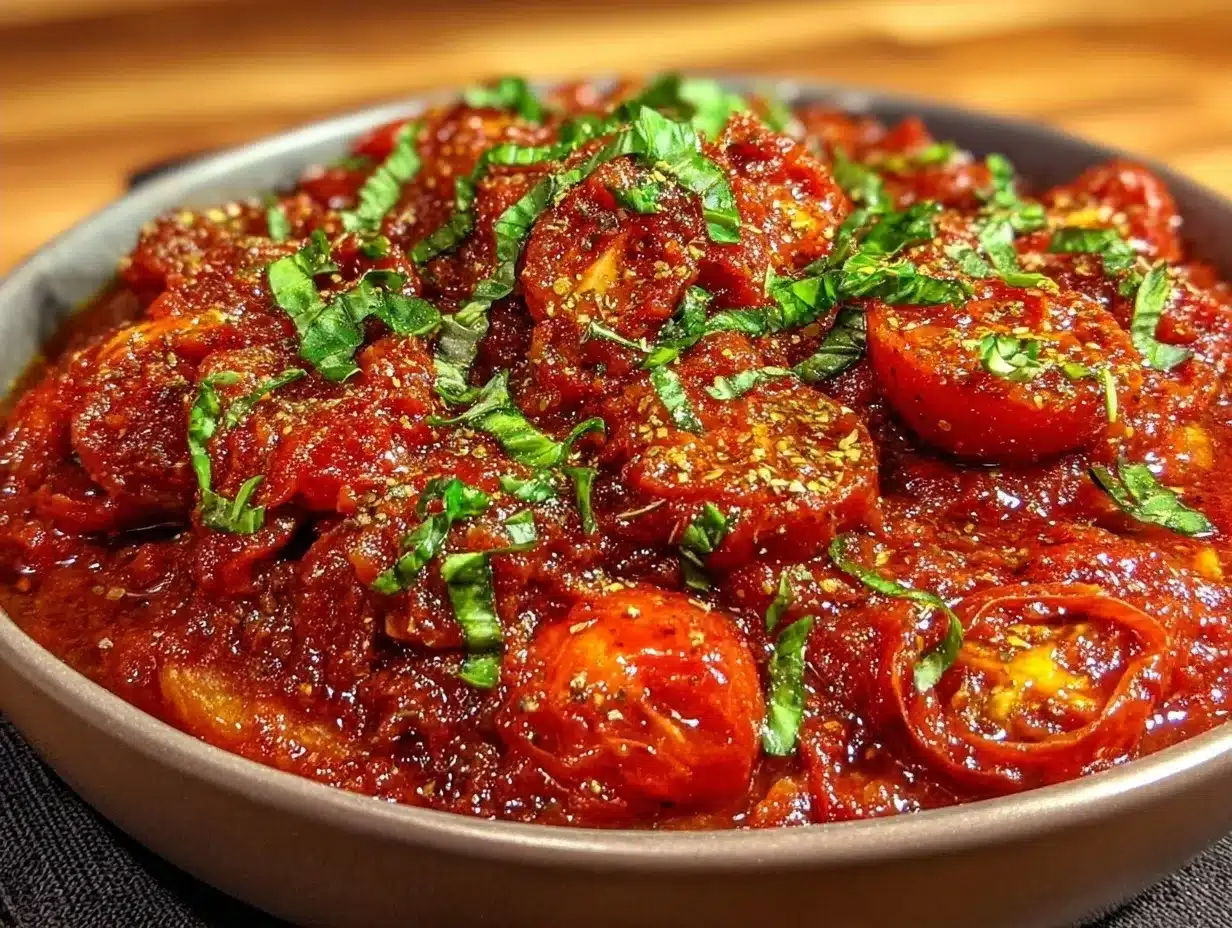
Add the chopped tomatoes to the pans. Toss with the remaining olive oil, salt, pepper, and dried herbs. Spread them out in an even layer. Roast for 2-3 hours, stirring every 30 minutes. The tomatoes will release their juices, then the water will evaporate, and they’ll start to caramelize. You’re looking for a thick, jammy consistency. The sauce should look glossy and reduced, not watery.
Step 4: Blend and Simmer (20 minutes)
Remove the pans from the oven. Let the mixture cool slightly. Transfer it to large pots. Use an immersion blender to puree the sauce. If you’re using a food mill, push it through into a separate pot. Now, bring the sauce to a simmer on the stove. Stir in the tomato paste and the lemon juice or citric acid. Simmer for 15-20 minutes to meld the flavors. Taste it. Adjust salt if needed.
Step 5: Jar the Sauce (30 minutes)
This is where precision matters. Heat your jars in a dishwasher or a pot of hot water. Keep the lids in hot water too. Ladle the hot sauce into the hot jars, leaving 1 inch of headspace. Wipe the rims with a clean, damp cloth. This is crucial for a good seal. Place the lids on and screw the bands on fingertip-tight. Don’t overtighten, or the jars won’t vent steam.
Step 6: Process in Water Bath (35-45 minutes)
Place the filled jars in the canner. Add enough water to cover the jars by 2 inches. Bring to a boil. Process pint jars for 35 minutes and quart jars for 40 minutes. This time starts once the water is at a rolling boil. Adjust for altitude if you live above 1,000 feet (add 5 minutes for 1,001-3,000 ft, 10 minutes for 3,001-6,000 ft).
Step 7: Cool and Store
Turn off the heat and let the jars sit in the canner for 5 minutes, then remove them. Place them on a towel-lined counter. Do not touch them for 12-24 hours. You’ll hear them “ping” as they seal. Check the seals by pressing the center of the lid—it shouldn’t flex. Store in a cool, dark place.
Expert Tips & Tricks
Here’s everything I’ve learned from making this dozens of times. These tips will save you from my mistakes.
Don’t Rush the Roast
The flavor comes from the Maillard reaction. If you pull the tomatoes out too early, the sauce will taste flat. Wait until the edges are dark and the sauce is thick.
Acid is Safety, Not Flavor
Many people think the lemon juice is for taste. It’s not. It’s for pH. Without it, your sauce is a botulism risk. Use the exact amount specified. Do not substitute vinegar unless you know the pH levels.
Batch Processing
If you’re making a large batch, don’t overcrowd the canner. Water needs to circulate. If your pot isn’t big enough, process in two batches. It’s better to be safe than sorry.
Label Everything
Write the date and contents on the jars with a permanent marker. I once opened a jar of “sauce” that turned out to be a failed batch of ketchup. Don’t be me.
Check for Leaks
After 24 hours, check for leaks. If a jar looks cloudy or the lid is bulging, throw it out. Don’t taste it. When in doubt, throw it out.
Variations & Substitutions
Once you’ve nailed the basic version, here’s how you can mix it up. I’ve tried all of these.
Spicy Version
Add 2 diced jalapeños or 1 teaspoon of crushed red pepper during the roasting stage. Great for turkey chili or spicy pasta.
Herb-Forward Version
Stir in ½ cup of fresh chopped basil and ¼ cup of fresh oregano after roasting, before canning. The flavor will be brighter and fresher.
Low-Sodium Version
Use no-salt-added tomato paste and reduce salt to 1 teaspoon. Add a pinch of potassium chloride if needed. Note: Lower salt can affect preservation slightly, so ensure you’re processing for the full time.
Nightshade-Free Alternative
Substitute tomatoes with roasted red peppers and carrots. Roast until soft, blend, and add citric acid. The color will be orange, and the flavor will be sweeter, but it’s a viable alternative for those avoiding nightshades.
Gluten-Free Verification
This recipe is naturally gluten-free. Just ensure your tomato paste and spices are certified gluten-free to avoid cross-contamination.
Serving & Storage
How to Serve:
This sauce is versatile. Use it as a base for pasta, in lasagna, as a pizza sauce, or even as a dip for bread. It’s thick enough to hold its shape, so it’s great for hearty dishes.
Storage:
Stored jars will last 12-18 months in a cool, dark place. Once opened, refrigerate and use within 7-10 days. The sauce will thicken in the fridge. Add a splash of water or broth when reheating to loosen it up.
Freezing:
If you didn’t can it, this sauce freezes beautifully. Freeze in portions (2 cups) in freezer bags or containers. It lasts 6 months in the freezer.
Nutrition Information
I’m not a nutritionist, but here’s the breakdown if you’re tracking. This is per 1 cup serving (approximate).
- Calories: 85
- Protein: 3g
- Carbs: 12g
- Fiber: 3g
- Sugar: 8g
- Fat: 4g
- Sodium: 350mg (varies by salt added)
It’s low in calories and high in lycopene, a powerful antioxidant. It’s a healthy base for any meal.
Final Thoughts
So that’s my slow roasted tomato sauce for canning. It’s a lot of work, sure. But there’s nothing like the feeling of holding a jar of your own labor, knowing exactly what’s in it, and knowing it’s safe. It’s my way of preserving summer, one jar at a time.
Make it yours. Swap the herbs, adjust the heat, tweak the salt. The best recipes are the ones you adapt to your life. If you make this, drop a comment and let me know what you think! I love hearing how recipes turn out in your kitchen. And if something doesn’t work, tell me that too—I’m here to help troubleshoot.
Happy canning! And I hope your kitchen smells half as good as mine does right now.
Frequently Asked Questions
Q: Can I use fresh lemon juice instead of bottled?
A: You can, but bottled lemon juice has a consistent pH level, which is critical for safety. Fresh lemon juice can vary in acidity. If you must use fresh, use the juice of 6-8 lemons per batch, but bottled is safer for canning.
Q: Why did my jars not seal?
A: Common reasons include food residue on the rim, not enough headspace, or the jars were too cool when filled. Also, ensure you processed them for the full time. If a jar doesn’t seal after 24 hours, refrigerate it and use it within a week.
Q: Can I freeze this sauce instead of canning?
A: Absolutely. Skip the canning step. Cool the sauce completely, ladle it into freezer-safe containers, leaving 1 inch of headspace for expansion. Freeze for up to 6 months.
Q: Is this sauce safe for a low-sodium diet?
A: Yes, but reduce the salt and use no-salt-added tomato paste. Note that salt is a preservative, so ensure you’re processing for the full time to maintain safety.
Q: Can I add meat to this sauce for canning?
A: No. Canning meat-based sauces requires a pressure canner and different processing times. This recipe is for tomato sauce only. If you want meat sauce, cook it fresh or freeze it in portions with cooked meat.
Q: How do I know if my sauce has gone bad?
A: Look for bulging lids, leaks, or cloudiness. If it smells off or has mold, throw it out. When in doubt, throw it out.
Pin This Recipe!
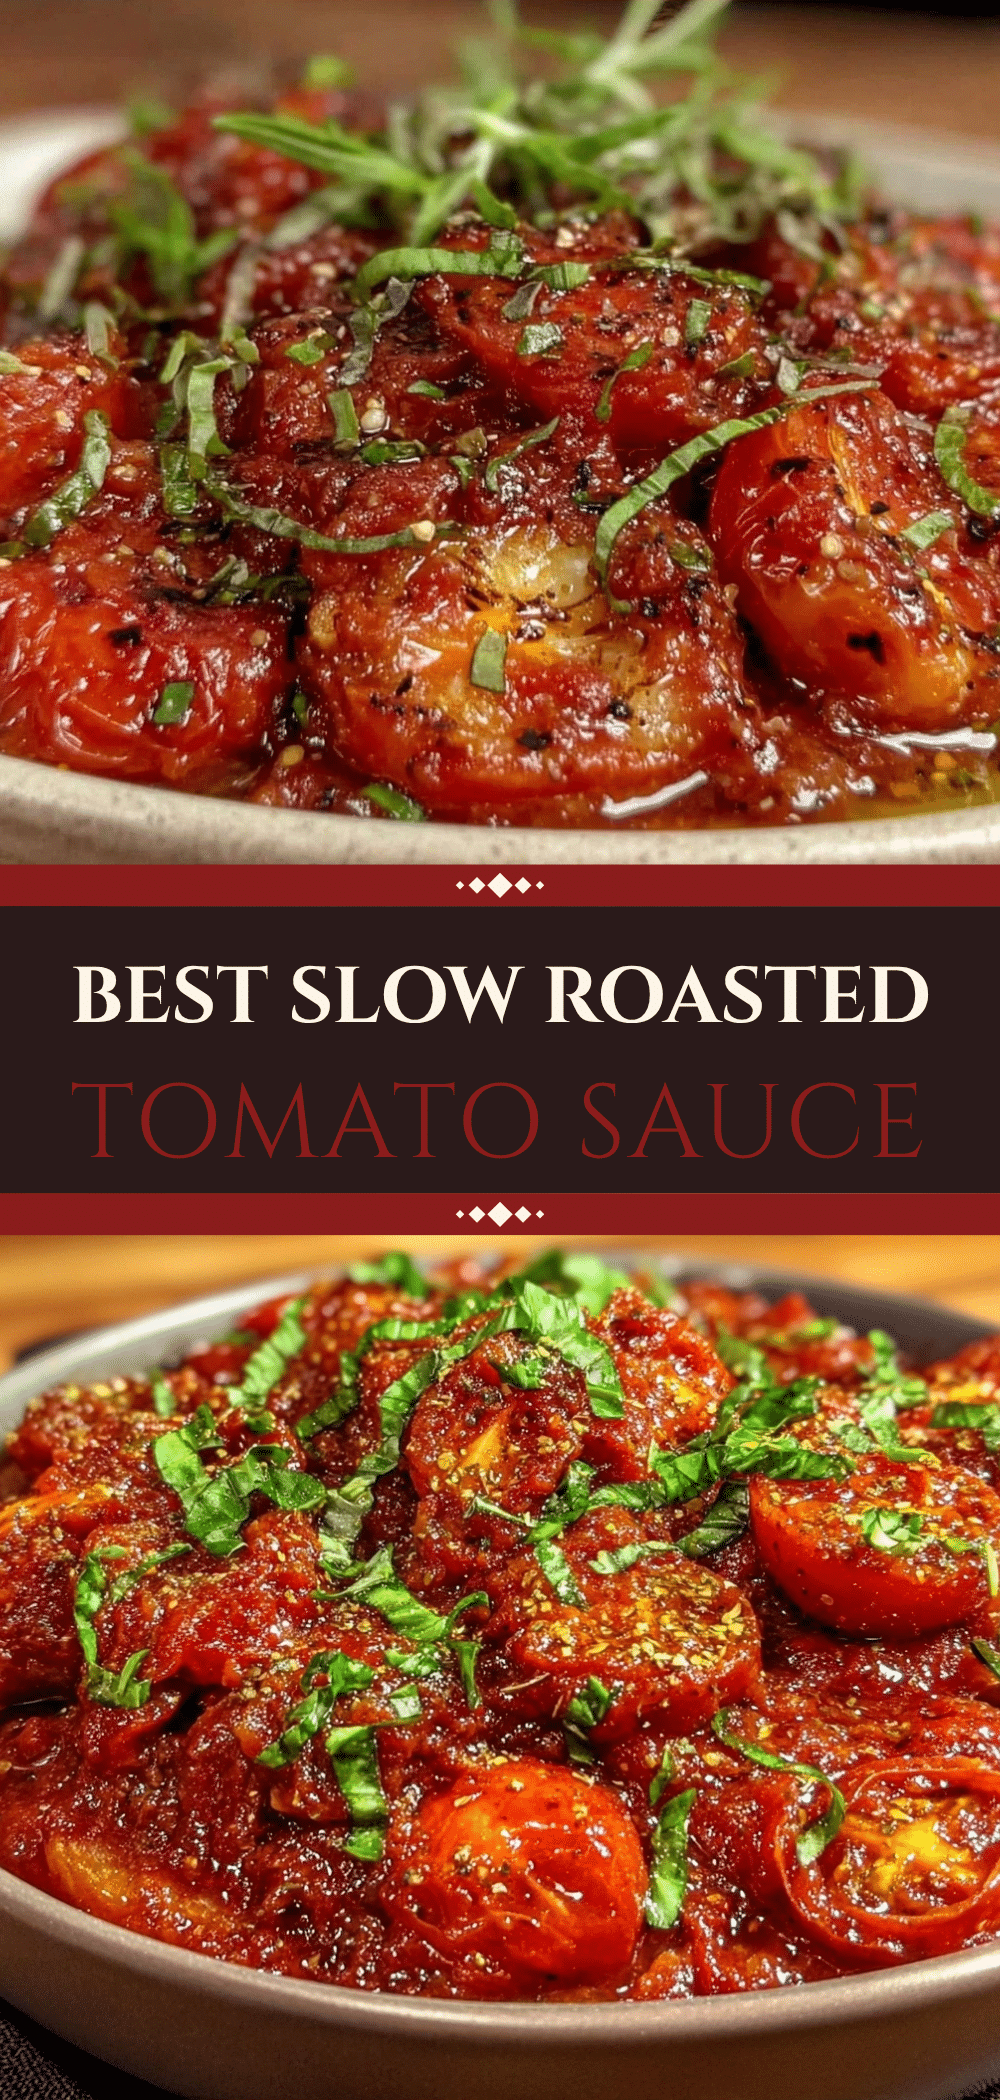
Slow Roasted Tomato Sauce for Canning: 5 Easy Allergen Swaps
- Total Time: 4 hours
- Yield: 12 pints 1x
Description
A safe, shelf-stable slow-roasted tomato sauce designed for canning, featuring five easy allergen swaps for soy, nightshades, gluten, dairy, and sodium.
Ingredients
- 30 pounds Roma and San Marzano tomatoes
- 2 cans (28 oz total) tomato paste
- 4 large yellow onions
- 1 head garlic (50g)
- 1/2 cup extra virgin olive oil
- 1/2 cup bottled lemon juice OR 2 teaspoons citric acid
- 2 tablespoons kosher salt
- 2 teaspoons dried oregano
- 1 teaspoon dried basil
- 1/2 teaspoon red pepper flakes (optional)
Instructions
- Preheat oven to 400°F (200°C). Wash tomatoes, remove cores, and chop into rough chunks.
- Spread onions and garlic in large roasting pans, drizzle with half the olive oil, and roast for 10 minutes until browning.
- Add tomatoes to pans, toss with remaining olive oil, salt, pepper, and dried herbs. Roast for 2-3 hours, stirring every 30 minutes, until thick and jammy.
- Remove from oven and let cool slightly. Puree with an immersion blender or food mill.
- Transfer to large pots, stir in tomato paste and lemon juice/citric acid. Simmer on stove for 15-20 minutes to meld flavors.
- Heat jars and lids. Ladle hot sauce into jars, leaving 1 inch of headspace. Wipe rims clean.
- Place lids and bands on jars fingertip-tight.
- Process in a water bath canner: 35 minutes for pints, 40 minutes for quarts (adjust for altitude).
- Remove jars and let cool undisturbed for 12-24 hours. Check seals and store in a cool, dark place.
Notes
Acid (lemon juice or citric acid) is non-negotiable for safety to prevent botulism. Do not eliminate salt entirely if canning as it acts as a preservative. For nightshade-free version, substitute tomatoes with roasted red peppers and carrots, though flavor will change. Ensure tomato paste is certified gluten-free if needed.
- Prep Time: 45 minutes
- Cook Time: 3 hours 15 minutes
- Category: Condiments
- Cuisine: American
Nutrition
- Serving Size: 1 cup
- Calories: 85
- Sugar: 8
- Sodium: 350
- Fat: 4
- Saturated Fat: 0.5
- Carbohydrates: 12
- Fiber: 3
- Protein: 3
Keywords: tomato sauce, canning, slow roasted, allergen friendly, gluten free, dairy free, low sodium, homemade sauce, preserving



