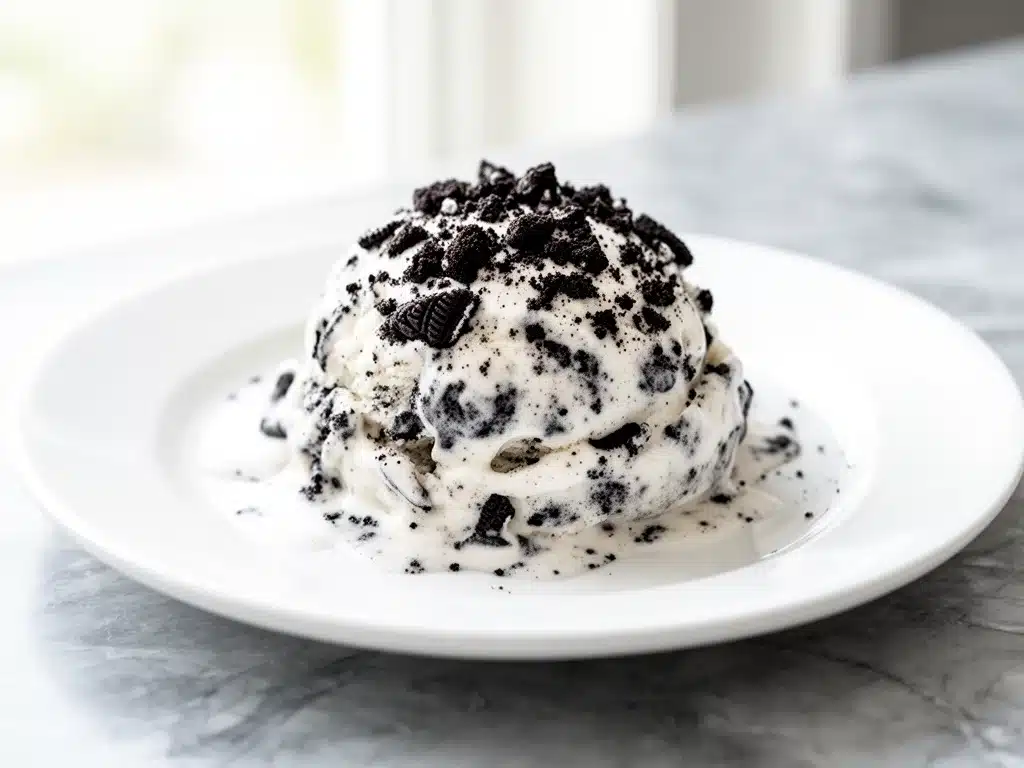
One summer afternoon, I found myself craving ice cream but also feeling way too lazy to haul out the ice cream maker or buy a dozen fancy ingredients. I wanted that classic cookies and cream flavor, but without the fuss. So, I grabbed a few simple things from my pantry and fridge, tossed them together, and voilà—no-churn cookies and cream ice cream was born. I’ve made this recipe more times than I can count since then, especially on nights when I just want a sweet treat that doesn’t require a trip to the store or hours of churning.
This no-churn cookies and cream ice cream recipe is my go-to when I want homemade dessert with barely any effort. It’s creamy, crunchy, and perfectly balanced between sweet and chocolatey. Plus, you only need a handful of simple ingredients—nothing fancy or hard to find. If you’ve ever been intimidated by making ice cream at home, this is your answer. After testing it over and over, I can confidently say it’s the easiest way to get that dreamy, scoopable ice cream texture without an ice cream maker.
Ready to whip up your own batch? I promise it’s easier than you think, and the best part is you can customize it with your favorite cookies or add-ins. Let’s get started!
Why You’ll Love This No-Churn Cookies and Cream Ice Cream Recipe
This recipe has totally changed how I think about making homemade ice cream. There are so many reasons I keep coming back to it, but here are the big ones:
- Super Simple — Seriously, you just need three main ingredients and some cookies. If you can whip cream and fold, you’re set. I’ve made this while helping my kids with homework and still nailed it.
- No Ice Cream Maker Needed — If you don’t have an ice cream maker (or don’t want to drag it out), this is perfect. Just mix, freeze, and wait. No churning, no fuss.
- Quick Prep — From start to freezer, it takes less than 15 minutes. Perfect for last-minute dessert or whenever the ice cream craving hits.
- Customizable — Use any sandwich cookies you love, or swap in gluten-free or vegan options. I’ve even added chocolate chips or swirled in peanut butter for fun twists.
- Crowd-Pleaser — I’ve brought this to family gatherings and potlucks, and it disappears fast. Kids, adults, picky eaters—you name it, they love it.
- Less Sugar, More Control — Unlike store-bought ice cream, you control the sweetness and ingredients. I love that I can make it as rich or light as I want.
Honestly, this no-churn cookies and cream ice cream is my secret weapon for easy homemade dessert that feels special but doesn’t complicate my life. It’s creamy, nostalgic, and totally satisfying every single time.
Ingredients You’ll Need
Here’s the best part: you probably have most of these ingredients already. I’m picky about a few things here, so I’ll explain why as we go.
- Heavy cream (2 cups / 480 ml) — This is the base for the creaminess. Full-fat heavy cream whips up thick and airy. Don’t try this with half-and-half; it won’t hold.
- Sweetened condensed milk (1 can, about 14 oz / 396 g) — This adds sweetness and helps thicken the ice cream without eggs or churning. I always use the classic kind, but you could try a dairy-free version if needed.
- Vanilla extract (1 teaspoon) — Boosts the flavor and makes it taste like real ice cream. Pure vanilla is worth the extra couple of dollars.
- Chocolate sandwich cookies (about 15-20, crushed / 250 g) — Classic Oreos are my go-to, but any chocolate sandwich cookie works. I crush them into chunks so you get that perfect crunch throughout.
Optional add-ins:
- Mini chocolate chips (½ cup / 90 g) — Adds extra chocolate texture if you’re feeling indulgent.
- Peanut butter swirl (¼ cup / 60 g) — Warm slightly and swirl into the ice cream before freezing for a fun flavor boost.
- Gluten-free sandwich cookies — Perfect for gluten-sensitive friends or family. The texture is slightly different but still delicious.
If you want to get fancy, you can toss in some crushed no-bake chocolate oat cookies for a chewy surprise. Also, for a refreshing drink pairing, this dessert goes surprisingly well with a chilled watermelon mint agua fresca on hot days.
Equipment Needed
You don’t need fancy tools for this. Here’s what I actually use:
- Mixing bowl — A large bowl to whip the cream. I use glass or metal because they hold cold better.
- Electric hand mixer or stand mixer — Whipping heavy cream by hand is possible but takes forever. An electric mixer makes it quick and easy.
- Spatula — For folding the condensed milk and cookies gently into the whipped cream.
- Freezer-safe container — I use a loaf pan or a plastic container with a lid. It needs to fit in your freezer and hold the ice cream shape.
- Measuring cups and spoons — Pretty standard, but don’t skip measuring the cream and condensed milk for best results.
Optional:
- Zip-top bag and rolling pin — For crushing cookies without making a mess. Or just bash them with a heavy pan.
- Small bowl — If you want to melt peanut butter for a swirl or mix in other add-ins.
How to Make No-Churn Cookies and Cream Ice Cream: Step-by-Step
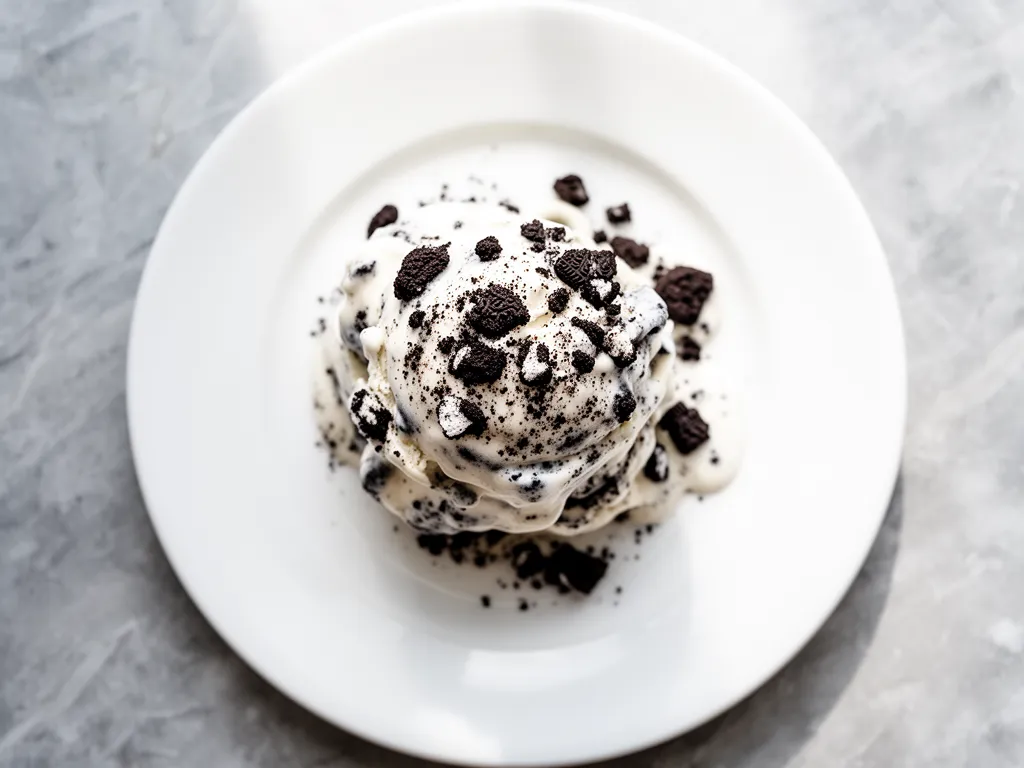
Alright, let’s make this! I’m walking you through exactly how I do it, including the little tricks I’ve picked up.
Step 1: Crush the Cookies (5 minutes)
Place your chocolate sandwich cookies in a zip-top bag and gently crush them with a rolling pin or heavy pan until you have a mix of crumbs and bigger chunks. You want some texture, not just powder. Set them aside.
Step 2: Whip the Heavy Cream (5-7 minutes)
Pour the cold heavy cream into your mixing bowl. Using an electric hand mixer or stand mixer, whip the cream on medium-high speed until you get stiff peaks. This means when you lift the beaters, the cream holds its shape without drooping. It’s the secret to that fluffy, creamy texture in the ice cream.
Step 3: Fold in Sweetened Condensed Milk and Vanilla (2 minutes)
Pour the sweetened condensed milk and vanilla extract gently over the whipped cream. Use a spatula to fold everything together carefully—don’t stir vigorously or you’ll deflate the cream. The mixture should be smooth and thick.
Step 4: Add the Crushed Cookies (1-2 minutes)
Gently fold the crushed cookies into the creamy mixture. If you want, toss in mini chocolate chips or swirl in peanut butter now. Make sure everything is evenly distributed but don’t overmix.
Step 5: Freeze (6 hours or overnight)
Transfer the mixture to your freezer-safe container and smooth the top with a spatula. Cover tightly with a lid or plastic wrap. Freeze for at least 6 hours, preferably overnight, until firm and scoopable.
Step 6: Serve and Enjoy!
When you’re ready to eat, let the ice cream sit at room temperature for 5 minutes to soften slightly for easier scooping. Serve in bowls or cones and maybe top with extra cookie crumbs or a drizzle of chocolate syrup if you’re feeling fancy.
Expert Tips & Tricks
- Use chilled equipment: Pop your mixing bowl and beaters in the fridge for 15 minutes before whipping. Cold tools help the cream whip better and faster.
- Don’t overwhip: Stop once you have stiff peaks. Overwhipping turns cream into butter, which you don’t want here.
- Fold, don’t stir: Use a gentle folding motion when mixing in condensed milk and cookies to keep the air in the whipped cream.
- Cookie size matters: Bigger chunks give a satisfying crunch; too fine and it just blends in. I like a mix of little pieces and crumbs.
- Peanut butter swirl hack: Warm peanut butter in the microwave for 20 seconds, then dollop and swirl gently with a knife before freezing.
- Freeze overnight: For best texture and flavor, give it plenty of time to firm up. Patience is key!
- Leftover cookies? Use them for homemade ice cream sandwiches or crush them into your soft apple cinnamon oatmeal bars for a little extra crunch.
Variations & Substitutions
Once you’ve nailed the basic no-churn cookies and cream ice cream, here are some ways to mix it up. I’ve tried all of these and can vouch for each:
- Mint Cookies and Cream — Use mint-flavored sandwich cookies and add a few drops of peppermint extract instead of vanilla. It’s like a cool, grown-up twist.
- Chocolate Chip Cookie Dough — Fold in small chunks of edible cookie dough (store-bought or homemade) along with the crushed cookies for extra indulgence.
- Vegan/Dairy-Free — Substitute heavy cream with full-fat coconut cream (chilled) and use sweetened condensed coconut milk. Use vegan sandwich cookies too.
- Fruit Twist — Add chopped strawberries or raspberries for a fresh pop. Fold them in gently at the end.
- Peanut Butter Lover’s — Mix in ½ cup peanut butter chips and swirl in an extra ¼ cup peanut butter.
- Gluten-Free — Use gluten-free sandwich cookies. The texture is slightly different but still delicious.
Serving & Storage
How to Serve: I usually scoop this ice cream into bowls and add a few extra cookie crumbs on top for crunch. If I’m feeling fancy, I drizzle chocolate syrup or add a spoonful of whipped cream. It’s perfect on its own or alongside a warm brownie or ham and cheese pinwheel roll-ups for a fun party combo.
Storage: Keep your no-churn cookies and cream ice cream in an airtight container in the freezer for up to 2 weeks. The texture may get a little icy if stored longer, so try to enjoy it within that timeframe.
Reheating: Let the ice cream sit at room temperature for 5 minutes before scooping. Avoid microwaving because it melts unevenly and can get icy when refrozen.
Pro tip: If your ice cream gets too hard in the freezer, take it out 10 minutes before serving to soften gently.
Nutrition Information
I’m not a nutritionist, but here’s a general idea of what you’re getting per serving (based on 8 servings):
| Nutrient | Amount |
|---|---|
| Calories | 310 |
| Protein | 4g |
| Carbohydrates | 35g |
| Fiber | 1g |
| Sugar | 28g |
| Fat | 18g |
| Saturated Fat | 11g |
| Cholesterol | 70mg |
| Sodium | 150mg |
| Calcium | 120mg |
What’s good: You get some protein and calcium from the cream and milk, plus a reasonable serving size of sweetness compared to store-bought treats.
What to know: This is a dessert, so it has sugar and fat. If you want a lighter treat, try using light coconut cream or mix in fruit.
For me, this is a treat I make for special occasions or when I want a homemade dessert that beats anything store-bought.
Final Thoughts
So that’s my easy no-churn cookies and cream ice cream recipe! I know I’ve probably talked your ear off by now, but when you make a recipe this often, you learn a thing or two (or twenty). This ice cream has saved me from the dreaded “I want dessert now” moment more times than I can count. It’s creamy, crunchy, and feels like a scoop of childhood nostalgia, but without the need for fancy equipment or hard-to-find ingredients.
Make it yours! Try different cookie combos, add some mix-ins, or keep it classic. Just remember—the best homemade desserts are the ones you can whip up without stress.
If you give this a try, drop a comment and tell me how it went! I love hearing your twists and tips. And if you hit a snag, I’m here to help troubleshoot.
Happy scooping! I hope your kitchen smells just as amazing as mine does right now.
Frequently Asked Questions
Q: Can I use milk instead of heavy cream?
A: You can, but it won’t whip up into stiff peaks or give you that rich, creamy texture. Heavy cream’s fat content is key here. If you want to try, use whole milk and add a thickener like gelatin or cornstarch, but it won’t be quite the same. I’d recommend sticking with heavy cream for best results.
Q: How do I prevent ice crystals from forming?
A: Using sweetened condensed milk helps prevent ice crystals because of its sugar content. Also, make sure to store the ice cream in an airtight container and press plastic wrap directly on the surface before sealing. Letting the ice cream soften a bit before scooping also helps.
Q: Can I make this ice cream ahead for a party?
A: Absolutely! Make it up to 2 days ahead and keep it in the freezer. Just remember to give it about 5-10 minutes at room temp before serving so it scoops easily.
Q: Why is my ice cream too soft or runny?
A: If it’s too soft, it might be because your freezer isn’t cold enough or you didn’t whip the cream stiff enough. Also, make sure you use the right ratio of cream to condensed milk and don’t add too much liquid.
Q: Can I use different types of cookies?
A: Totally! I’ve used peanut butter sandwich cookies, gluten-free chocolate cookies, and even crushed up peanut butter banana energy bites for a unique twist. Just make sure they hold up well when frozen.
Q: How do I crush cookies without making a mess?
A: Put the cookies in a sturdy zip-top bag and gently tap them with a rolling pin or heavy pan. This keeps crumbs contained and makes it easy to get the chunk size you want.
Q: Can I double this recipe?
A: Yes! Just double all the ingredients and use a larger container. The freezing time stays the same.
Pin This Recipe!
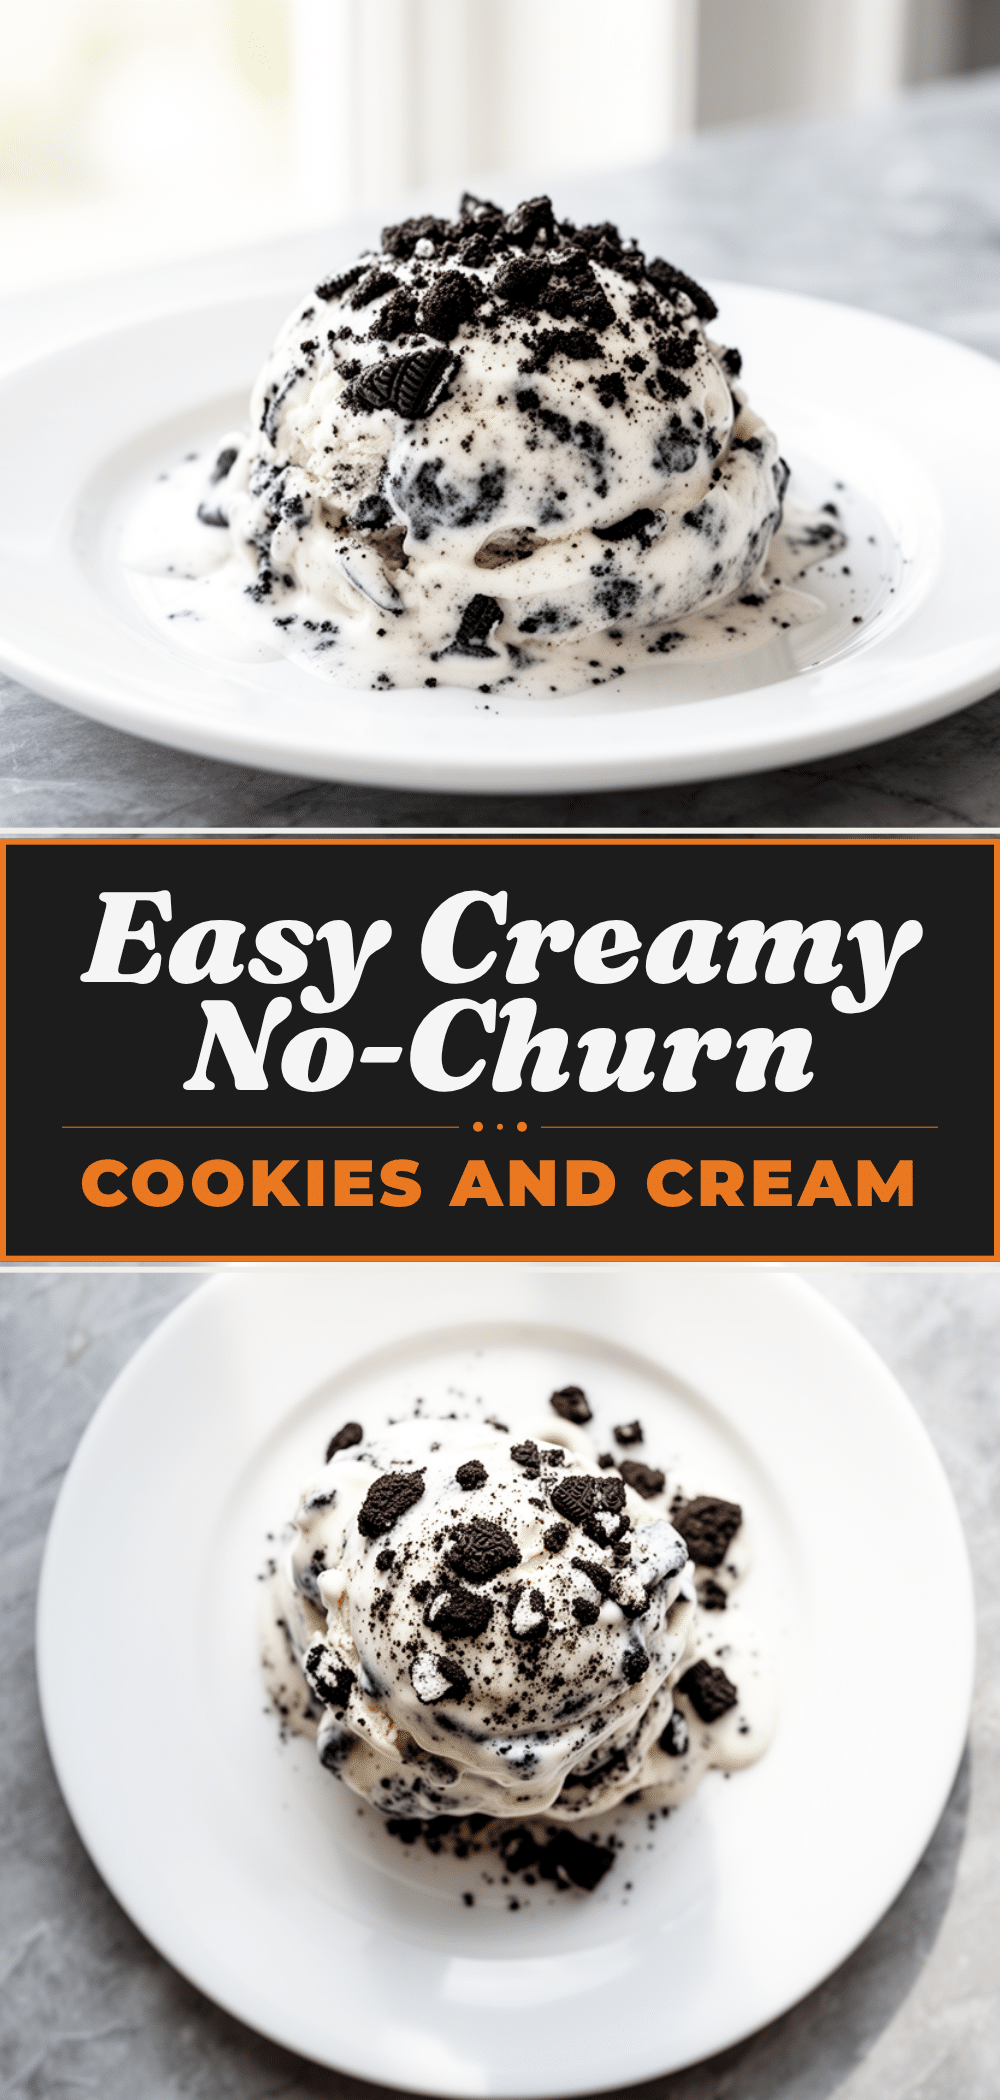
No-Churn Cookies and Cream Ice Cream
- Total Time: 6 hours 15 minutes
- Yield: 8 servings 1x
Description
An easy homemade dessert that requires no ice cream maker, featuring creamy, crunchy cookies and cream flavor with just a few simple ingredients.
Ingredients
- 2 cups heavy cream (480 ml)
- 1 can sweetened condensed milk (14 oz / 396 g)
- 1 teaspoon vanilla extract
- 15–20 chocolate sandwich cookies, crushed (about 250 g)
- Optional: ½ cup mini chocolate chips (90 g)
- Optional: ¼ cup peanut butter, warmed for swirl (60 g)
- Optional: gluten-free sandwich cookies as substitute
Instructions
- Crush the chocolate sandwich cookies in a zip-top bag using a rolling pin or heavy pan until you have a mix of crumbs and chunks. Set aside.
- Pour cold heavy cream into a mixing bowl and whip with an electric hand mixer or stand mixer on medium-high speed until stiff peaks form.
- Gently fold in the sweetened condensed milk and vanilla extract using a spatula, being careful not to deflate the whipped cream.
- Fold in the crushed cookies. If desired, add mini chocolate chips or swirl in warmed peanut butter gently.
- Transfer the mixture to a freezer-safe container, smooth the top, cover tightly, and freeze for at least 6 hours or overnight until firm.
- Before serving, let the ice cream sit at room temperature for 5 minutes to soften slightly for easier scooping.
Notes
Use chilled equipment for better whipping results. Do not overwhip the cream to avoid turning it into butter. Fold ingredients gently to keep the mixture airy. Freeze overnight for best texture. Let ice cream soften 5 minutes before scooping. Store in airtight container up to 2 weeks.
- Prep Time: 15 minutes
- Cook Time: 0 minutes
- Category: Dessert
- Cuisine: American
Nutrition
- Serving Size: 1/8 of recipe
- Calories: 310
- Sugar: 28
- Sodium: 150
- Fat: 18
- Saturated Fat: 11
- Carbohydrates: 35
- Fiber: 1
- Protein: 4
Keywords: no churn ice cream, cookies and cream, easy homemade dessert, no ice cream maker, simple ice cream recipe



