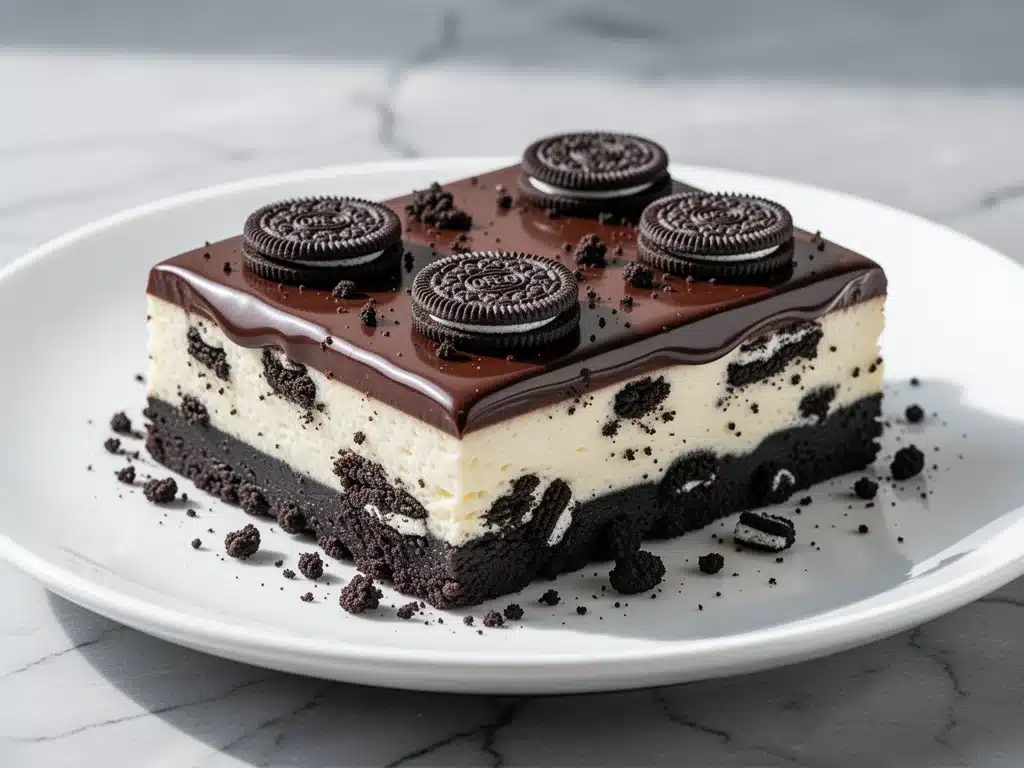
Last Saturday, I found myself standing in front of the open fridge at 9 PM, staring into the void. You know that look. It’s the same look I give my cinnamon apple dump cake when I’m trying to decide if I really want to turn the oven on. It was a hot night, my kitchen felt like a sauna, and the last thing I wanted to do was heat up the apartment with a baked dessert. But I wanted something sweet. Something indulgent. Something that felt like a proper treat, not just a handful of crackers.
Then I spotted the package of Oreos and the block of cream cheese. It hit me: why am I overcomplicating dessert? I’ve made baked cheesecakes before—nice, sure, but the water bath, the cracking edges, the endless waiting for it to cool… it’s a lot of work for a Tuesday night whim. I wanted that dense, creamy, cookie-filled goodness without the drama. So I threw together a no-bake version, poured it into a pan, and waited. When I cut into it the next morning, the texture was perfect. Dense like a brownie, creamy like a cloud, and loaded with those crunchy Oreo bits.
I’ve made these No-Bake Oreo Cheesecake Bars probably twelve times in the last three months. Seriously. I’ve tested them with different crusts, different ganache thicknesses, and even tried to make them “lighter” (don’t tell anyone, but they’re not lighter). And every single time, the result is the same: my family asks for seconds, my friends steal a slice at parties, and I feel like a genius for keeping it so simple. If you’re looking for a dessert that looks impressive but takes less effort than making a sandwich, this is it. It’s the ultimate lazy-day luxury.
Why You’ll Love This No-Bake Dessert
There are a million dessert recipes out there, but this one holds a special place in my heart because it solves the biggest problem of all: the desire for something sweet without the commitment of baking. Here’s why these bars keep me coming back to the kitchen (and the fridge):
- Zero Oven Required — Seriously. No preheating, no hot kitchen, no standing over a water bath worrying about cracks. You just mix, press, chill, and eat. It’s perfect for summer, or winter when you just don’t want to deal with it.
- Four Ingredients (Seriously) — I’m not exaggerating. You need Oreos, cream cheese, powdered sugar, and heavy whipping cream. That’s it. If you want the chocolate ganache on top, you add two more ingredients (chocolate chips and cream). I love recipes where I don’t need to do a special grocery run.
- Make-Ahead Friendly — This is my secret weapon for dinner parties. I make these the night before. They actually taste better after sitting in the fridge overnight because the flavors meld together. I can host a dinner party and still have time to shower before guests arrive.
- Texture Heaven — There’s nothing worse than a soggy crust or a grainy cheesecake. Because you’re crushing the cookies yourself and chilling the bars, you get that perfect contrast between the firm, buttery cookie base and the airy, smooth filling. It’s addictive.
- Customizable — Want mint Oreos? Go for it. Want to add a layer of peanut butter? Sure. Want to skip the ganache? Fine. But I highly recommend the ganache. It adds that professional bakery finish that makes people ask for your recipe immediately.
Real talk? This is the dessert I make when I want to impress people but also want to spend my evening watching TV instead of cleaning up a baking mess. It’s reliable, it’s delicious, and it’s ridiculously easy.
Ingredients You’ll Need
One of the best things about this recipe is how few ingredients you need. You probably have most of this in your pantry or fridge right now. Here’s exactly what you need and why each one matters.
For the Crust
Oreo Cookies (24 cookies, about 150g) — You need the standard black-and-white ones. Do not use Double Stuf unless you want a super sweet crust, and definitely not the thin ones. We want that classic crunch. You’ll crush them into fine crumbs.
Unsalted Butter (5 tablespoons / 70g) — This binds the crumbs together. Melted butter is key here. If you use salted butter, reduce the salt in your head, though the Oreos are salty enough that it usually balances out fine.
For the Cheesecake Filling
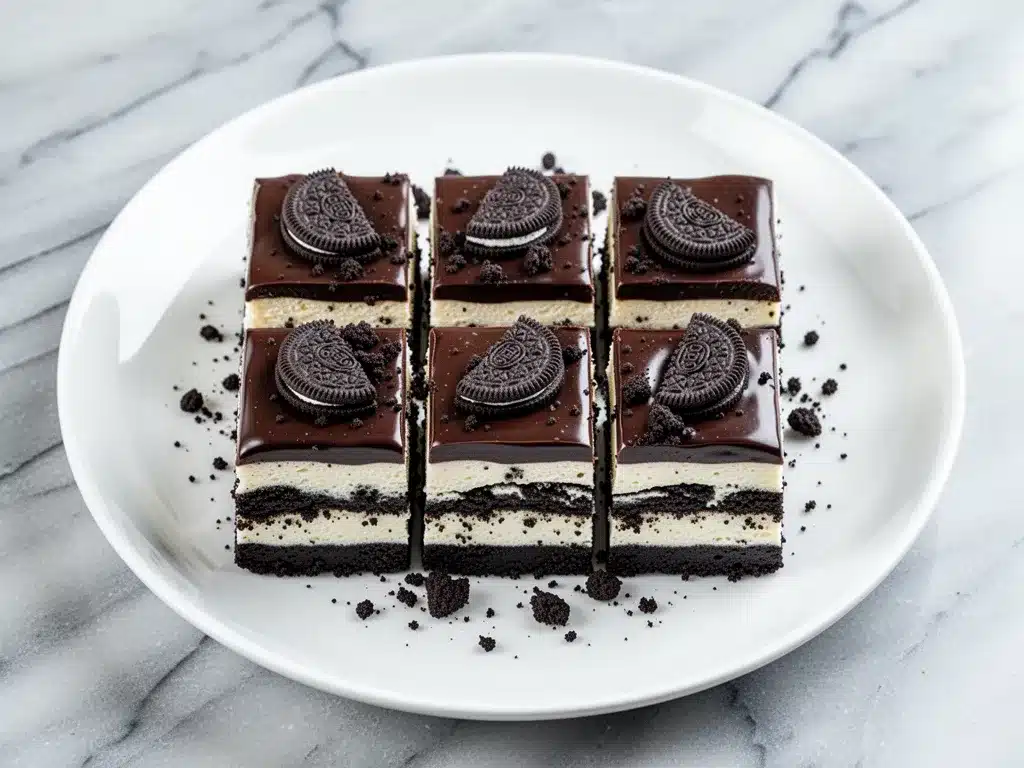
Full-Fat Cream Cheese (16 ounces / 450g) — This is non-negotiable. I know some people try to use low-fat, but it won’t whip properly and the texture will be grainy. Let it sit on the counter for 30 minutes before you start. Cold cream cheese = lumpy filling. You want it soft and spreadable.
Powdered Sugar (1 cup / 120g) — Granulated sugar doesn’t dissolve in no-bake recipes, so you’ll end up with gritty bites. Powdered sugar melts into the cream cheese instantly. Sift it if it’s clumpy.
Heavy Whipping Cream (2 cups / 480ml) — This is what gives the filling its light, airy texture. It needs to be cold. If your cream is warm, it won’t whip up stiff peaks. I keep a carton in the back of the fridge just for this.
Vanilla Extract (1 teaspoon) — Just a splash to round out the flavors. Use the real stuff, not the imitation. It makes a difference.
For the Chocolate Ganache (Optional but Recommended)
Semi-Sweet Chocolate Chips (1 cup / 170g) — I use Ghirardelli or Nestlé Toll House. They melt smoothly and have a nice balance of sweetness. Dark chocolate chips work too if you prefer less sweet.
Heavy Cream (½ cup / 120ml) — You need enough cream to create a glossy, pourable sauce. If you add too little, it’ll be too thick to spread. Too much, and it won’t set.
Equipment Needed
You don’t need fancy gadgets for this. Here’s what I actually use:
9×13 Inch Pan — Line it with parchment paper, leaving an overhang on the sides. This is the #1 trick for getting the bars out intact. If you don’t line it, you’ll be digging them out with a spatula and ruining the shape.
Food Processor or Ziploc Bag — I use a food processor to crush the Oreos because it’s fast. But if you’re lazy, put them in a heavy-duty Ziploc bag and smash them with a rolling pin. It’s a great workout.
Mixer — Hand mixer or stand mixer. You need to whip the cream cheese and heavy cream together until stiff peaks form. Doing this by hand is possible but takes serious arm strength. Don’t do it to yourself.
Spatula — A silicone spatula is best for folding the whipped cream into the cream cheese mixture without deflating it.
How to Make It: Step-by-Step
Alright, let’s make these bars! I’m walking you through exactly how I do it, including the little tricks I’ve picked up so you don’t end up with a soupy mess.
Step 1: Prep Your Pan and Chill
Line your 9×13 inch pan with parchment paper. Grease it lightly if you want extra insurance, though the parchment usually sticks to nothing. Pop the pan into the fridge for a few minutes while you prep. It sounds silly, but a cold pan helps the crust set faster.
Step 2: Make the Crust
Crush your 24 Oreos into fine crumbs. You want them looking like sand, not chunks. If there are big pieces of cookie left, your crust will be uneven. Pour the crumbs into a bowl and add the melted butter. Mix until it looks like wet sand. Press this mixture firmly into the bottom of your lined pan. Use the bottom of a measuring cup to pack it down tight. If it’s loose, the bars will fall apart when you cut them. Place the pan in the fridge while you make the filling.
Step 3: Whip the Cream Cheese
In a large bowl, beat the softened cream cheese and powdered sugar on medium-high speed until completely smooth. This takes about 2-3 minutes. Scrape down the sides and bottom of the bowl. If you miss a lump of cream cheese, it’ll show up later. You want it silky.
Step 4: Whip the Heavy Cream
In a separate cold bowl, whip the heavy cream and vanilla extract on high speed until you form stiff peaks. This means when you lift the beaters, the cream stands up straight. Don’t over-whip it into butter, just stop when it holds its shape.
Step 5: Fold It Together
This is the delicate part. Add one-third of the whipped cream to the cream cheese mixture and stir gently to lighten it. Then, add the rest and gently fold it in with a spatula. Use a cutting motion, not stirring. You want to keep all those air bubbles in there. If you stir too much, you’ll deflate the mixture and end up with dense, heavy bars. It should look fluffy and uniform.
Step 6: Add the Oreos
Take 10 whole Oreos (or about 150g of crumbs) and fold them into the filling. I like to keep some whole cookies for visual appeal, but you can just use crumbs if you want a more uniform texture. Spread the filling evenly over the chilled crust. Smooth the top with your spatula. Place the pan in the fridge for at least 4 hours, preferably overnight. Patience is key here.
Step 7: Make the Ganache
While the bars chill, make the ganache. Heat the heavy cream in a small saucepan until it just starts to simmer (small bubbles around the edge). Pour it over the chocolate chips in a heatproof bowl. Let it sit for 5 minutes. Do not stir yet. Then, gently whisk from the center outwards until smooth and glossy. Let it cool for 10-15 minutes until it thickens slightly but is still pourable.
Step 8: Assemble and Serve
Pour the ganache over the set cheesecake bars. Use an offset spatula to spread it to the edges. Let it set for another 30 minutes. Then, lift the bars out using the parchment overhang. Cut into squares. Use a sharp knife and wipe it clean between cuts for nice, clean edges.
Expert Tips & Tricks
Here’s everything I’ve learned from making these dozens of times. These tips will save you from my mistakes.
Room Temperature Cream Cheese is Key
I cannot stress this enough. If your cream cheese is cold, you will get lumps. No amount of beating will fix it. Take it out of the fridge at least an hour before you start. If you’re short on time, microwave it in 10-second bursts until it’s soft to the touch.
Cold Bowl, Cold Cream
When whipping heavy cream, put your mixing bowl in the freezer for 15 minutes before you start. Cold equipment helps the cream whip faster and hold its structure better. Warm cream turns to butter faster than you think.
Don’t Skip the Chill Time
I know you want to eat it now. But if you cut these bars after only an hour, they will be messy and soft. The cream cheese needs time to firm up. Overnight is best. If you’re in a rush, freeze them for 30 minutes, then chill for 3 hours.
Ganache Consistency
If your ganache is too thick when you pour it, microwave it for 5 seconds and stir. If it’s too thin and runs off the edges, let it cool longer. You want it to spread easily but not pool at the bottom.
Cutting Cleanly
Use a long, sharp chef’s knife. Dip it in hot water and wipe it dry before every cut. This ensures each square is perfect and doesn’t drag the layers apart.
Variations & Substitutions
Once you’ve nailed the basic version, here’s how you can mix it up. I’ve tried all of these.
Mint Oreo Version
Use mint Oreos for the crust and filling. Add a few drops of green food coloring to the ganache for a festive look. This is huge around holidays.
Strawberry Cheesecake
Swap the Oreos for graham crackers or vanilla wafers. Fold in 1 cup of pureed strawberries into the filling. Top with fresh strawberry slices.
Peanut Butter Swirl
After spreading the cheesecake filling, dollop ½ cup of peanut butter on top and swirl it with a knife. It adds a salty-sweet contrast that is incredible.
Gluten-Free Option
Use gluten-free Oreo cookies (they exist now!) and make sure your chocolate chips are certified GF. Everything else is naturally gluten-free.
Dairy-Free Option
This is trickier. Use dairy-free cream cheese and dairy-free chocolate chips. The heavy cream can be replaced with full-fat coconut cream (chilled overnight, scoop the solid part). The texture will be slightly different but still delicious.
Serving & Storage
How to Serve:
I serve these straight from the fridge. They are best cold. I usually pair them with a simple black coffee or a glass of cold milk. If I’m having guests, I put out a small bowl of extra crushed Oreos on top for garnish.
Storage:
Store these bars in an airtight container in the fridge for up to 5 days. They actually get firmer and taste better after day 2. Do not freeze them with the ganache on top, as the texture changes. You can freeze the bars without ganache for up to 2 months, then thaw and add ganache later.
Reheating:
Do not reheat these. They are a no-bake dessert meant to be served cold. If you leave them out too long, the ganache will melt and the filling will soften too much.
Nutrition Information
I’m not a nutritionist, but here’s the breakdown if you’re tracking. Keep in mind this is a rich, indulgent dessert.
Per Serving (based on 16 bars):
- Calories: 320
- Protein: 4g
- Carbs: 32g
- Fat: 20g
- Sugar: 24g
Look, this is comfort food. It’s sweet, creamy, and full of sugar. It’s not a health food. But it’s way better than store-bought dessert bars because you control the ingredients. When I make these, I stick to one or two squares and enjoy every bite. That’s the key to indulgence without the guilt trip.
Final Thoughts
So that’s my go-to No-Bake Oreo Cheesecake Bars! I’ve probably talked your ear off at this point, but when you make a recipe this often, you have a lot to say about it. This has saved me from dessert disasters more times than I can count. It’s my answer to “I want something sweet” when I’m tired, don’t want to bake, and still want something that tastes really good. My kids are happy, my husband’s happy, and I’m happy because I’m not stressed about cooking.
Make it yours! Try different cookie flavors, swap the ganache for caramel, or add a layer of fruit. The best recipes are the ones you adapt to your family’s tastes. If you make this, drop a comment and let me know what you think! I love hearing how recipes turn out in your kitchen. And if something doesn’t work, tell me that too—I’m here to help troubleshoot.
Happy baking… wait, no, happy chilling! And I hope your kitchen smells half as good as mine does right now.
Frequently Asked Questions
Can I use whipped topping (like Cool Whip) instead of heavy cream?
You can, but the texture will be different. Cool Whip is sweeter and has a lighter, airier mouthfeel. If you use it, skip the powdered sugar in the cream cheese mixture because Cool Whip is already sweet. It’s a valid shortcut, but fresh whipped cream tastes richer and more “cheesecake-like.”
Why did my ganache seize and become grainy?
This usually happens if the cream was too hot when poured over the chocolate, or if water got into the bowl. Make sure your cream is just simmering, not boiling. Also, ensure your chocolate chips and bowl are completely dry. If it seizes, add a tablespoon of warm water and whisk vigorously to bring it back.
Can I make these in a springform pan?
Absolutely. A 9-inch springform pan works great. Just make sure to wrap the outside with foil if you’re worried about leaks, though no-bake pans don’t usually leak. The lining with parchment is still crucial for getting it out.
How long do these bars last?
They last up to 5 days in the fridge. After that, they might start to dry out or lose their texture. They don’t freeze well with the ganache on top, so I recommend making them fresh or storing them short-term.
Can I use reduced-fat cream cheese?
I don’t recommend it. Reduced-fat cream cheese has more water and less fat, which means it won’t whip up properly. You’ll end up with a runny, watery filling. It’s worth buying the full-fat block for this recipe.
What if I don’t have a food processor?
Use a Ziploc bag and a rolling pin. It’s tedious but effective. Just make sure to crush them into fine crumbs. You can also use a blender, but be careful not to turn them into butter. Pulse in short bursts.
Can I double this recipe?
Yes, but you’ll need a larger pan (like a 9×13 doubled into two 8×8 pans, or a large sheet pan). Double all ingredients and follow the same steps. The chilling time remains the same.
Pin This Recipe!
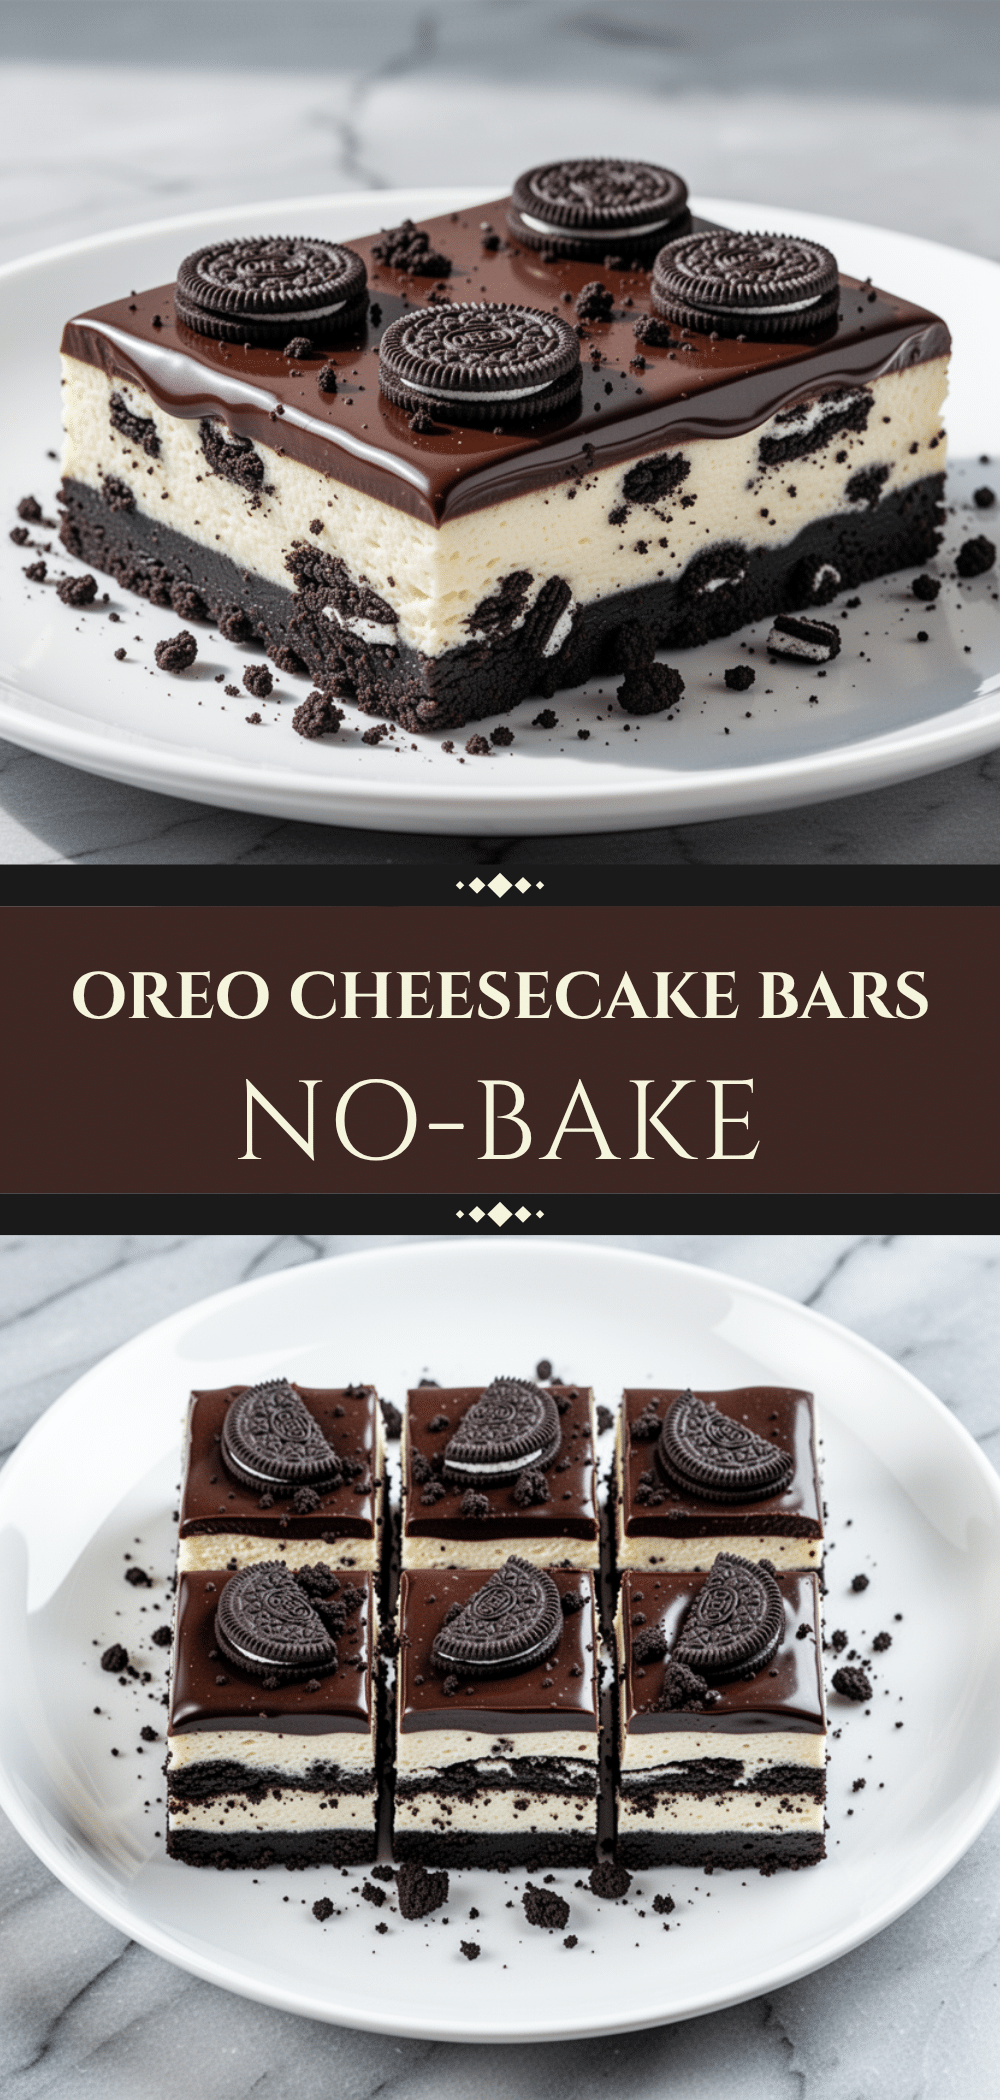
No-Bake Oreo Cheesecake Bars
- Total Time: 4 hours 30 minutes
- Yield: 16 servings 1x
Description
An easy, four-ingredient no-bake dessert featuring a crunchy Oreo crust, a dense and creamy cheesecake filling, and an optional chocolate ganache topping. Perfect for hot nights or when you want a sweet treat without turning on the oven.
Ingredients
- 24 Oreo cookies (about 150g)
- 5 tablespoons unsalted butter (70g), melted
- 16 ounces full-fat cream cheese (450g), softened
- 1 cup powdered sugar (120g)
- 2 cups heavy whipping cream (480ml), cold
- 1 teaspoon vanilla extract
- 10 whole Oreos or 150g Oreo crumbs (for filling)
- 1 cup semi-sweet chocolate chips (170g) (for ganache)
- 1/2 cup heavy cream (120ml) (for ganache)
Instructions
- Line a 9×13 inch pan with parchment paper, leaving an overhang on the sides, and chill in the fridge.
- Crush 24 Oreos into fine crumbs. Mix with melted butter until it resembles wet sand.
- Press the crust mixture firmly into the bottom of the lined pan. Chill while making the filling.
- In a large bowl, beat softened cream cheese and powdered sugar on medium-high speed until smooth (2-3 minutes). Scrape down sides.
- In a separate cold bowl, whip heavy cream and vanilla extract on high speed until stiff peaks form.
- Add one-third of the whipped cream to the cream cheese mixture and stir gently to lighten. Fold in the remaining cream using a spatula with a cutting motion to keep air bubbles.
- Fold in 10 whole Oreos or crumbs into the filling.
- Spread the filling evenly over the chilled crust. Chill for at least 4 hours, preferably overnight.
- For the ganache, heat 1/2 cup heavy cream until simmering. Pour over chocolate chips in a heatproof bowl and let sit for 5 minutes. Whisk until smooth and glossy. Cool for 10-15 minutes.
- Pour ganache over set bars and spread to edges. Let set for 30 minutes.
- Lift bars out using parchment overhang. Cut into squares with a sharp, warm knife.
Notes
Ensure cream cheese is fully softened to avoid lumps. Use cold equipment and cream for whipping. Do not skip the chilling time as the bars need time to firm up. For clean cuts, dip the knife in hot water and wipe dry between cuts. Ganache can be adjusted by microwaving if too thick or cooling longer if too thin.
- Prep Time: 30 minutes
- Cook Time: 0 minutes
- Category: Dessert
- Cuisine: American
Nutrition
- Serving Size: 1 bar
- Calories: 320
- Sugar: 24
- Sodium: 250
- Fat: 20
- Saturated Fat: 12
- Carbohydrates: 32
- Fiber: 1
- Protein: 4
Keywords: no-bake, oreo cheesecake, easy dessert, 4 ingredient dessert, summer dessert, make ahead dessert, chocolate ganache



