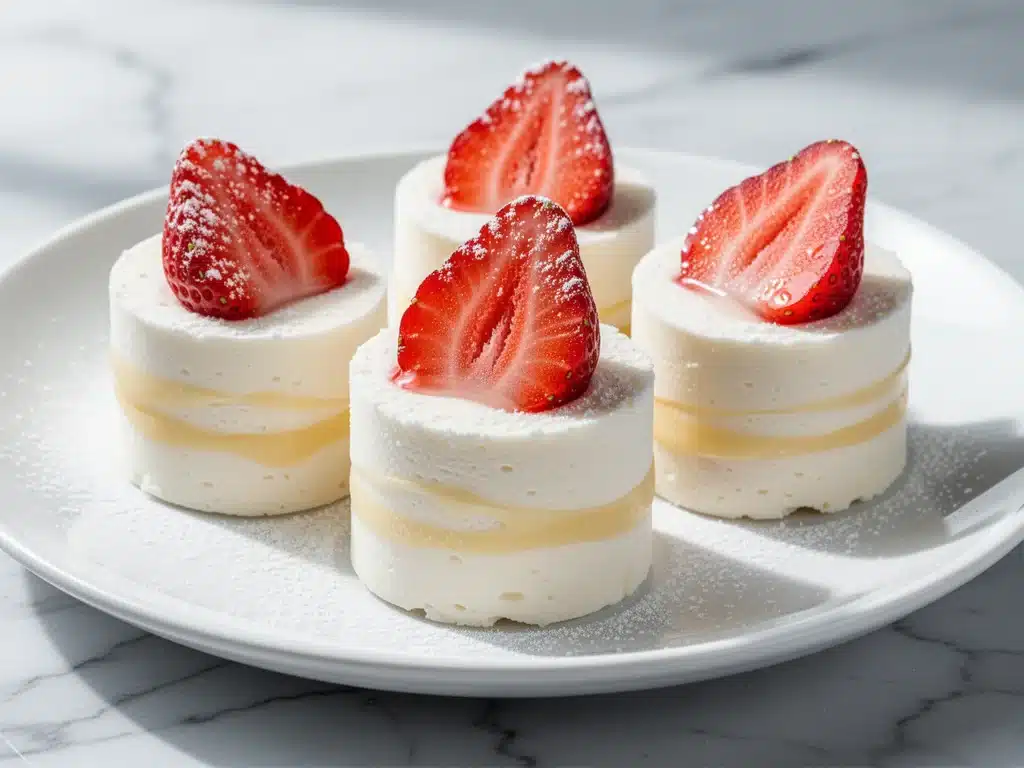
Last Friday night, I found myself standing in front of the open fridge, staring into the abyss. My kids had just finished a massive birthday party, and the house was finally quiet. I was tired. Really tired. The kind of tired where your brain screams for sugar but your body whispers “please don’t eat another slice of cake.” I wanted something sweet, something creamy, something that felt like a treat but wouldn’t leave me feeling sluggish the next morning.
So, I did what many of us do. I opened a delivery app. I scrolled through the local cheesecake shop. I looked at the prices. $8 for a slice. $12 for a slice with extra strawberries. And then I looked at the nutrition label. 900 calories? 60 grams of sugar? I closed the app. I wasn’t hungry for that. I was hungry for joy, not a heart attack.
That’s when I remembered these Low-Calorie Frozen Yogurt Strawberry Cheesecake Bites. I’d made them once before for a summer picnic, and they had been the hit of the afternoon. Everyone thought they were regular cheesecake. No one guessed they were made with Greek yogurt and sweetened with just a touch of maple syrup. This time, I needed them in my life, and I needed them fast.
Here’s the thing about these bites: they are stupid simple. You don’t need an oven. You don’t need a water bath. You don’t need to wait three hours for the cheesecake to set in the fridge. You just mix, freeze, and eat. I’ve made these at least twenty times over the last year, and they’ve become my secret weapon for whenever I need a dessert that feels indulgent but actually fits into a healthy lifestyle. Whether you’re trying to cut back on sugar, watching your calories, or just want a guilt-free treat that tastes like heaven, these are it.
I’ve tested this recipe with different brands of yogurt, different types of sweeteners, and even different crust bases. I’ve learned what works and what makes a mess in the freezer. And I’m here to share those lessons with you so you can make perfect, creamy, strawberry-loaded bites every single time. Let’s get into it.
Why You’ll Love This Recipe
I know what you’re thinking. “Another healthy dessert?” But hear me out. These aren’t sad, dry, tasteless “diet” snacks. These are rich, creamy, tangy, sweet little bites of joy. Here’s why they’ve taken over my kitchen:
- Zero Baking Required — Seriously. If you can stir ingredients in a bowl, you can make this. No oven, no mess, no waiting for batter to cool. Just mix and freeze. This is the ultimate lazy-girl dessert hack.
- Actually Low-Calorie — Each bite is around 60-70 calories. That means you can eat four or five of them and still have room for dinner. Compare that to a slice of traditional cheesecake (which is basically a calorie bomb), and you’re winning big time.
- High Protein Punch — Thanks to the Greek yogurt and cream cheese, these bites pack a serious protein punch. It’s a dessert that actually keeps you full. I eat one or two after lunch, and my afternoon cravings vanish. It’s like magic.
- Customizable Flavor — Love dark chocolate? Dip them. Love nuts? Sprinkle them on top. Love extra berries? Throw them in. This recipe is a blank canvas for your sweet tooth. I’ve made them with blueberries, raspberries, and even chocolate chips.
- Meal-Prep Friendly — I make a big batch on Sunday, freeze them, and grab them throughout the week. They’re my go-to afternoon snack when I’m working from home and need a break. No more mindless snacking on chips or cookies.
- Better Than Takeout — I said it. These taste better than the $10 slice from the bakery. The texture is lighter, the flavor is brighter, and you know exactly what’s in them. No weird preservatives, no high-fructose corn syrup. Just real, clean ingredients.
This is my go-to when I want to feel good about what I’m eating. No guilt, no regret, just deliciousness.
Ingredients You’ll Need
Here’s the best part: you probably have most of this already. This recipe uses simple, accessible ingredients. No fancy supermarket runs needed. I’m particular about three things here, and I’ll tell you exactly why.
For the Cheesecake Base
Full-fat Greek yogurt (1 cup / 240g) — This is the star. Don’t use non-fat. It’ll be too icy and sour. Use full-fat for that creamy, rich texture. I love Fage or Chobani. If you can find plain, unsweetened, that’s perfect.
Softened cream cheese (8 oz / 225g) — This gives it that classic cheesecake tang and density. Make sure it’s softened to room temperature. If it’s cold and lumpy, your bites will be gritty. I leave it out for 30 minutes before I start.
Maple syrup (2-3 tablespoons) — I prefer maple syrup over honey or sugar because it has a deeper, richer flavor that pairs beautifully with the yogurt. Use real maple syrup, not the pancake syrup stuff. Start with 2 tablespoons, taste, and add more if you like it sweeter.
Vanilla extract (1 teaspoon) — Pure vanilla. Not imitation. It makes a huge difference in the flavor profile. Just a teaspoon is enough to give it that warm, comforting note.
For the Strawberry Layer
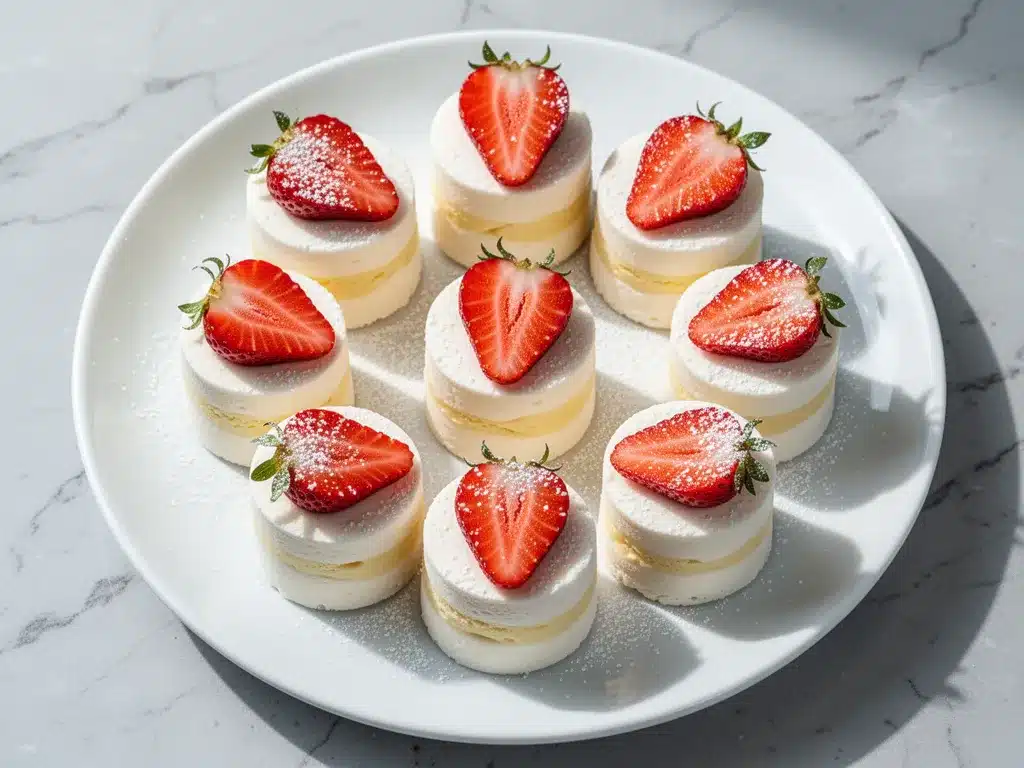
Fresh strawberries (1 cup, hulled and diced) — Fresh is best. They hold their shape better than frozen. If you must use frozen, thaw them and drain the excess liquid very well, or your bites will be watery. I buy a pint and dice them myself.
Strawberry jam or preserves (2 tablespoons) — This adds sweetness and that intense strawberry flavor. I use a low-sugar or no-sugar-added jam to keep the calories down. If you can’t find that, regular jam works, just reduce the maple syrup slightly.
For the Crust
Graham cracker crumbs (½ cup / 50g) — You can buy pre-made crumbs or crush them yourself. I crush them in a food processor for the finest texture. It makes the crust feel more like a proper cheesecake base.
Butter, melted (2 tablespoons) — Just enough to bind the crumbs. If you’re dairy-free, use coconut oil.
Optional: Dark chocolate chips (¼ cup) — For dipping or mixing in. I love the contrast of sweet chocolate and tangy yogurt.
Equipment Needed
You don’t need fancy equipment for this. Here’s what I actually use.
Mixing bowls — Two medium bowls. One for the cheesecake mixture, one for the crumbs. Any size works.
Hand mixer or stand mixer — I use a hand mixer because it’s quick and easy to clean. A whisk works too, but it takes more arm power. You want the cream cheese smooth and lump-free.
Mini muffin pan or silicone molds — This is key. I use a mini muffin pan (24-cup) for uniform bites. Silicone molds are great because the bites pop out easily. If you don’t have either, you can use a standard muffin pan, but you’ll get larger, cake-like bites instead of bite-sized ones.
Parchment paper or cupcake liners — If you’re using a metal pan, use liners to make cleanup easier. If you’re using silicone molds, you don’t need them.
Freezer-safe container — An airtight container to store the bites once they’re frozen. This keeps them from absorbing freezer smells.
Small saucepan or microwave-safe bowl — For melting the butter for the crust.
Knife and cutting board — For dicing the strawberries.
How to Make It: Step-by-Step
Alright, let’s make this! I’m walking you through exactly how I do it, including the little tricks I’ve picked up.
Step 1: Prep Your Crust (5 minutes)
Start by mixing the graham cracker crumbs with the melted butter. Stir until it looks like wet sand. If you’re using a mini muffin pan, press a small amount of this mixture into the bottom of each cup. Use the back of a measuring spoon to flatten it out. You don’t need much—just a thin layer. Set aside.
Step 2: Make the Cheesecake Filling (5 minutes)
In a medium bowl, beat the softened cream cheese until it’s smooth and creamy. This is crucial. If there are lumps, your bites will be grainy. Add the Greek yogurt, maple syrup, and vanilla extract. Mix until everything is combined and smooth. Don’t overmix, or you’ll incorporate too much air, which can make the texture fluffy but less dense. You want it creamy and dense.
Step 3: Assemble the Bites (10 minutes)
Divide the cheesecake mixture evenly among the crust-lined cups. You should have about 24 bites. Use a spoon or a small ice cream scoop for uniformity. Now, here’s the fun part. Take your diced strawberries and jam. You can swirl the jam into the top, or just drop a few strawberries on top of each bite. I like to press a few strawberry pieces into the top so they stick out nicely. It looks pretty and adds a burst of flavor.
Step 4: Freeze (4 hours or overnight)
Place the pan in the freezer. Let them freeze for at least 4 hours, but overnight is best. They need to be rock solid. If you try to take them out too early, they’ll be soft and messy. Patience is key here.
Step 5: Remove and Store
Once frozen, pop the bites out of the pan. If you used silicone molds, they’ll just pop out. If you used a metal pan with liners, you can leave them in the liners. Store them in an airtight container in the freezer. They’ll keep for up to 3 months.
Step 6: Serve
Take them out of the freezer 5 minutes before eating. This lets them soften just a tiny bit so they’re scoopable and creamy. Enjoy!
Expert Tips & Tricks
Here’s everything I’ve learned from making this dozens of times. These tips will save you from my mistakes.
Room Temperature Cream Cheese is Non-Negotiable
I can’t stress this enough. Cold cream cheese will not blend smoothly with yogurt. You’ll end up with lumps. Plan ahead and let it sit out for 30-60 minutes before you start. If you’re in a rush, you can microwave it in 5-second bursts, but watch it closely. You don’t want it melted, just soft.
Drain Your Strawberries
If you’re using fresh strawberries, pat them dry with a paper towel after dicing. Excess water can make the bites icy. If you’re using frozen strawberries, thaw them completely and squeeze out the liquid in a paper towel. I learned this the hard way with a batch that turned into slush.
Don’t Skimp on the Vanilla
It’s easy to think “oh, just a splash,” but vanilla extract is what ties the tangy yogurt and sweet cream cheese together. Use a good quality vanilla. It makes the flavor taste more expensive.
Use a Scoop for Uniformity
If you want your bites to look professional and freeze evenly, use a small cookie scoop or ice cream scoop for the filling. It ensures every bite is the same size, which means they freeze at the same rate.
Double the Batch
This recipe scales up easily. I usually make two batches at once. One to eat immediately, one to freeze for later. It saves time and ensures you always have dessert on hand.
Variations & Substitutions
Once you’ve nailed the basic version, here’s how you can mix it up. I’ve tried all of these.
Chocolate Cheesecake Bites
Add 2 tablespoons of unsweetened cocoa powder to the cream cheese mixture. Top with chocolate chips instead of strawberries. These are like mini chocolate cheesecakes. My kids love these.
Blueberry Lemon Bites
Swap the strawberries for blueberries. Add the zest of one lemon to the cream cheese mixture. It’s bright, tangy, and perfect for spring.
Gluten-Free Version
Use gluten-free graham crackers or almond flour for the crust. Everything else is naturally gluten-free. I use gluten-free graham crackers from Honey Maid, and they work great.
Dairy-Free Version
Use dairy-free Greek yogurt (like Cocojune or Forager) and dairy-free cream cheese (like Kite Hill). Use coconut oil instead of butter for the crust. It’s slightly different in texture but still delicious.
Protein-Packed Version
Add a scoop of vanilla protein powder to the mixture. It’ll thicken it up, so you might need a splash of almond milk to get the right consistency. Great for post-workout snacking.
Serving & Storage
How to Serve:
I usually serve these straight from the freezer. They’re firm and satisfying. But if you want them softer, let them sit on the counter for 5-10 minutes. I like to garnish them with a fresh strawberry slice or a mint leaf for presentation. They’re pretty enough for a dinner party.
Side Dishes:
These are dessert, so they don’t need sides. But if you’re having a brunch or picnic, they pair well with fresh fruit or a light salad. They’re also great with a cup of coffee or tea.
Storage Instructions:
Refrigerator: These are best stored in the freezer. If you leave them in the fridge, they’ll get soft and lose their texture. Store in an airtight container for up to 3 months.
Freezing: These freeze beautifully. Just make sure they’re completely frozen before storing to prevent freezer burn. Use a vacuum sealer if you have one for longest shelf life.
Reheating: No reheating needed. Eat straight from the freezer. If they’re too hard, let them thaw for a few minutes.
Pro tip: Label your container with the date. They’re so good, you’ll forget when you made them. And trust me, they won’t last long.
Nutrition Information
I’m not a nutritionist, but here’s the breakdown if you’re tracking.
Per Serving (based on 24 bites):
- Calories: 65
- Protein: 4g
- Carbs: 7g
- Fiber: 0.5g
- Sugar: 5g
- Fat: 3g
- Saturated Fat: 2g
- Cholesterol: 10mg
- Sodium: 45mg
What’s Good:
- High protein for a dessert
- Low calorie
- Low sugar (depending on your sweetener choice)
- Uses real fruit
What to Know:
- Contains dairy and gluten (unless modified)
- Sugar content can vary based on jam and yogurt brands
- Calories are an estimate
My Take:
Look, this is a dessert. It’s not a vegetable. But it’s a much healthier option than traditional cheesecake. It’s creamy, sweet, and satisfying without being heavy. When I want to treat myself, I eat two or three of these. It feels like a win.
Final Thoughts
So that’s my go-to Low-Calorie Frozen Yogurt Strawberry Cheesecake Bites! I’ve probably talked your ear off at this point, but when you make a recipe this often, you have a lot to say about it.
This has saved me from countless takeout orders. It’s my answer to “what’s for dessert” when I want something sweet but don’t want to feel guilty. My kids are happy, my husband is happy (he thinks they’re regular cheesecake), and I’m happy because I’m not stressing about calories.
Make it yours! Try different fruits, different crusts, different dips. The best recipes are the ones you adapt to your family’s tastes. If you make this, drop a comment and let me know what you think! I love hearing how recipes turn out in your kitchen. And if something doesn’t work, tell me that too—I’m here to help troubleshoot.
Happy cooking! And I hope your kitchen smells half as good as mine does right now.
Frequently Asked Questions
Can I use non-fat Greek yogurt?
You can, but the texture will be different. Non-fat yogurt is more icy and less creamy. It’ll still taste good, but it won’t have that rich, cheesecake-like mouthfeel. I recommend full-fat or 2% for the best results. If you’re strictly watching calories, you can try it, but just know it won’t be as indulgent.
Why did my bites turn out icy?
This usually happens if the yogurt wasn’t drained well (if using homemade yogurt) or if the strawberries were too wet. Make sure your strawberries are patted dry. Also, ensure your cream cheese is fully softened and blended smoothly. Any lumps can create icy spots when frozen.
Can I make these ahead for a party?
Absolutely. This is one of their best features. Make them 2-3 days ahead and store them in the freezer. They’ll stay fresh and frozen until you’re ready to serve. Just take them out 5 minutes before serving so they’re scoopable.
Can I freeze these without the crust?
Yes, you can. If you prefer a lighter bite, you can skip the crust entirely. Just freeze the cheesecake mixture in silicone molds or on a parchment-lined baking sheet. It’ll be like frozen yogurt bites. Still delicious, just different texture.
How long do these last in the freezer?
They’ll last up to 3 months in an airtight container. After that, they might start to develop freezer burn or lose flavor. I usually eat them within 2 weeks because they’re so good, they don’t last long anyway!
Can I use honey instead of maple syrup?
Yes, honey works great. It has a distinct flavor, so it’ll taste slightly different, but still delicious. Just use the same amount. If you’re using honey, you might want to add a tiny bit more vanilla to balance the sweetness.
Can I dip these in chocolate?
Yes! Melt some dark chocolate chips and dip the tops of the bites. Let them set in the freezer for 10 minutes. This adds a nice crunch and extra sweetness. I love this variation for holidays or special occasions.
Do I need to use a mini muffin pan?
No, you can use any mold you have. Silicone ice cube trays, muffin liners, or even just a parchment-lined tray work. The size will just change the calorie count per bite. Adjust your expectations accordingly!
Can I make these vegan?
Yes! Use dairy-free Greek yogurt (like Cocojune) and dairy-free cream cheese (like Kite Hill). Use maple syrup and coconut oil for the crust. The texture will be slightly different, but still creamy and delicious. My vegan friends love these.
What’s the best way to thaw them?
Let them sit on the counter for 5-10 minutes. Don’t microwave them, or they’ll get weirdly soft and lose their structure. Room temperature thawing is best for that perfect creamy texture.
Pin This Recipe!
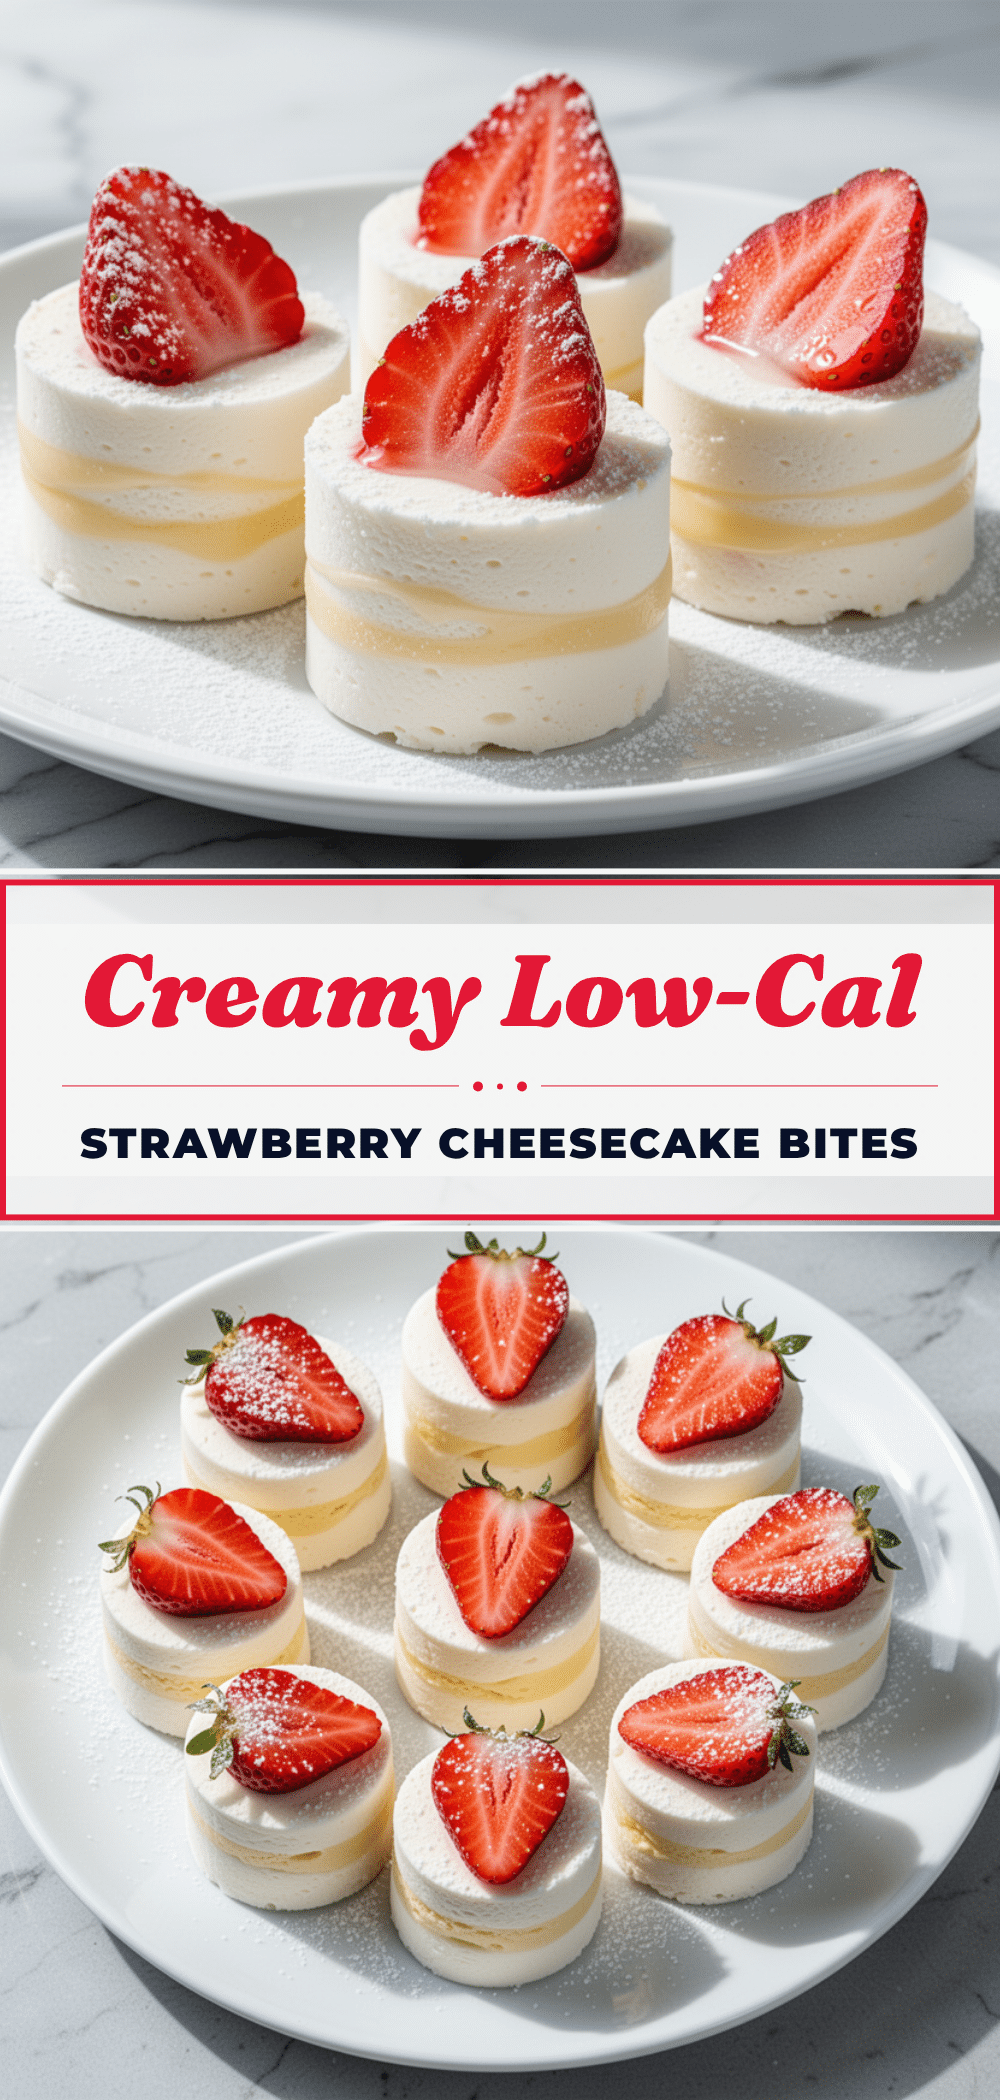
Low-Calorie Frozen Yogurt Strawberry Cheesecake Bites
- Total Time: 4 hours 20 minutes
- Yield: 24 servings 1x
Description
These guilt-free frozen yogurt bites offer the creamy, tangy taste of cheesecake with a fraction of the calories. Made with Greek yogurt, cream cheese, and fresh strawberries, they require no baking and are perfect for meal prep or a quick healthy dessert.
Ingredients
- 1 cup (240g) full-fat plain Greek yogurt
- 8 oz (225g) cream cheese, softened to room temperature
- 2–3 tablespoons pure maple syrup
- 1 teaspoon pure vanilla extract
- 1 cup fresh strawberries, hulled and diced
- 2 tablespoons low-sugar or no-sugar-added strawberry jam
- 1/2 cup (50g) graham cracker crumbs
- 2 tablespoons butter, melted
- Optional: 1/4 cup dark chocolate chips for dipping
Instructions
- Mix the graham cracker crumbs with the melted butter until the texture resembles wet sand.
- Press a thin layer of the crumb mixture into the bottom of each cup in a mini muffin pan (24-cup). Set aside.
- In a medium bowl, beat the softened cream cheese until smooth and lump-free.
- Add the Greek yogurt, maple syrup, and vanilla extract to the cream cheese. Mix until combined and smooth, being careful not to overmix.
- Divide the cheesecake mixture evenly among the crust-lined cups (about 24 bites).
- Swirl the strawberry jam into the top of each bite or press diced strawberries into the top for decoration.
- Place the pan in the freezer and freeze for at least 4 hours, or overnight, until rock solid.
- Once frozen, pop the bites out of the pan or molds. Store in an airtight container in the freezer for up to 3 months.
- Let sit at room temperature for 5 minutes before serving to soften slightly for a creamy texture.
Notes
Ensure cream cheese is fully softened to avoid lumps. Pat strawberries dry to prevent icy texture. For a dairy-free version, use dairy-free yogurt and cream cheese, and coconut oil instead of butter. For a gluten-free version, use gluten-free graham crackers.
- Prep Time: 20 minutes
- Cook Time: 0 minutes
- Category: Dessert
- Cuisine: American
Nutrition
- Serving Size: 1 bite
- Calories: 65
- Sugar: 5
- Sodium: 45
- Fat: 3
- Saturated Fat: 2
- Carbohydrates: 7
- Fiber: 0.5
- Protein: 4
Keywords: low calorie dessert, frozen yogurt bites, healthy cheesecake, no bake dessert, gluten free option, meal prep dessert, strawberry cheesecake



