It was one of those chaotic Sunday afternoons where I was trying to clean the kitchen while simultaneously trying to figure out what to make for my family’s afternoon snack. The pantry was looking a little bare—no heavy cream, no butter, and definitely no regular chocolate chips. But there, buried in the back of my cabinet, was a can of full-fat coconut milk and a bag of semi-sweet chocolate chips I’d bought for a project that never happened.
I didn’t have the energy to bake. I didn’t want to order takeout. I just wanted something sweet, rich, and satisfying without feeling like I’d destroyed my diet or my digestive system. So, I dumped the coconut milk into a saucepan, melted the chocolate into it, and waited.
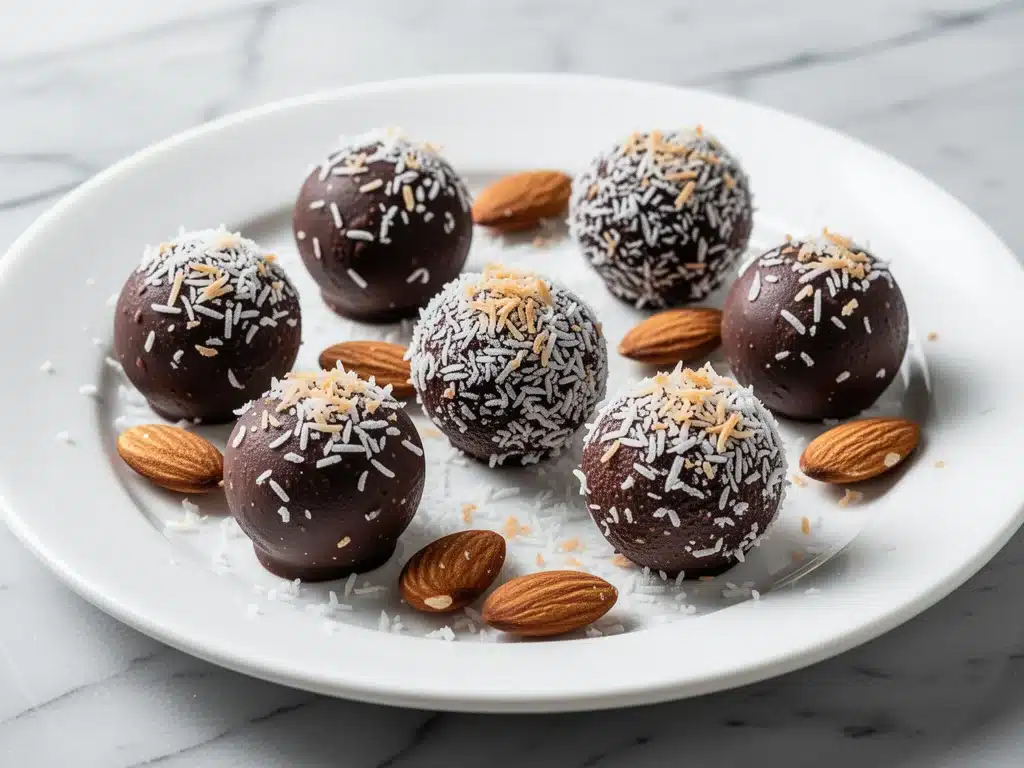
What came out of the fridge four hours later wasn’t just a snack. It was a revelation. These dairy-free chocolate coconut truffles with toasted almonds are dense, fudgy, and have this incredible nutty crunch that keeps you coming back for more. I made a batch for my kids, and they vanished before the kitchen timer even went off. My husband asked if I’d bought them from a fancy chocolatier. I laughed and told him it was just three ingredients and five minutes of active work.
Since that accidental discovery, I’ve made this dairy-free chocolate coconut truffles recipe at least a dozen times. They’ve become my go-to gift for neighbors, my emergency dessert when guests show up unexpectedly, and my secret weapon for satisfying chocolate cravings without the dairy heavy feeling. If you’re looking for an easy treat that feels indulgent but is actually simple, you need to try this. It’s basically magic in bite-sized form.
Why You’ll Love This Recipe
There’s a reason I keep coming back to these truffles. They solve so many problems at once: they’re quick, they’re dietary-friendly, and they taste like you spent hours in a professional kitchen. Here’s why this recipe has earned a permanent spot in my rotation:
- Stupid Simple Ingredients — Seriously, you only need three main components. Coconut milk, chocolate, and almonds. No fancy gadgets, no tempering chocolate, no complicated techniques. If you can melt chocolate, you can make these.
- Lightning Fast Prep — The actual hands-on time is under 15 minutes. The rest is just waiting for the fridge to do its job. I make these on busy weeknights when I don’t have the energy to bake a whole cake.
- Dairy-Free & Gluten-Free — Naturally free from dairy and gluten, these truffles are safe for almost everyone at the table. I’ve served them to my gluten-sensitive sister and my lactose-intolerant neighbor, and everyone asks for the recipe.
- Make-Ahead Friendly — These actually taste better the next day after the flavors have melded. I often make them two days ahead for parties so I’m not stressed on the day of.
- Impressive Presentation — They look like expensive confections from a high-end candy shop. Rolling them in toasted almonds adds a rustic, gourmet touch that elevates the whole presentation.
- Budget-Smart — Coconut milk and chocolate chips are affordable pantry staples. Feeding a crowd with these costs less than buying a box of fancy truffles at the grocery store.
This is my answer to “what’s for dessert?” when I want something special but don’t want to fuss. It’s reliable, delicious, and makes everyone happy.
Ingredients You’ll Need
The beauty of this dairy-free chocolate coconut truffles recipe is how few ingredients you need. Because there’s so little going on, the quality of each item really matters. I’m particular about a couple of these, so pay attention to the details.
For the Truffle Base
Full-Fat Coconut Milk (1 can / 400ml) — This is non-negotiable. Do not use “light” coconut milk or coconut beverage from a carton. You need the thick, creamy stuff from a refrigerated or shelf-stable can. Look for the brand with no added gums if possible. The fat content is what gives the truffles their rich, fudgy texture. If the milk is separated, give the can a good shake before opening.
Semi-Sweet Chocolate Chips (12 ounces / 340g) — Use good quality chocolate chips. I prefer brands that use real cocoa butter and minimal additives. Baker’s chocolate works too, but you’ll need to chop it up. Avoid cheap chocolate chips with lots of fillers—they can make the truffles grainy. I’ve used Ghirardelli and Callebaut with great results.
Vanilla Extract (1 teaspoon) — Pure vanilla extract adds depth. Skip the imitation stuff here; it tastes artificial in delicate desserts. If you don’t have vanilla, a pinch of salt works too, but vanilla is classic.
Salt (½ teaspoon) — A pinch of sea salt balances the sweetness of the chocolate and enhances the coconut flavor. Don’t skip it.
For the Coating
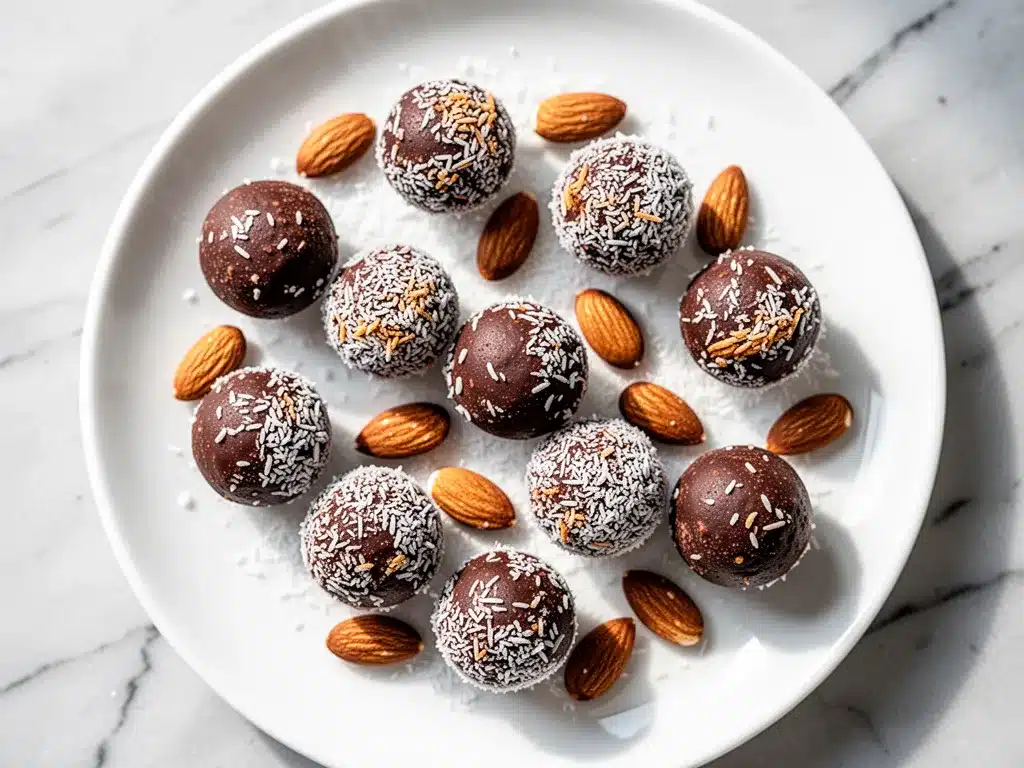
Raw Almonds (1 cup / 100g) — These are for toasting and rolling. Raw almonds give you control over the flavor. You can use slivered or sliced almonds for easier rolling, but whole almonds need to be roughly chopped or crushed.
Optional: Toasted Coconut Flakes (½ cup) — For extra coconut flavor and texture, you can roll some truffles in toasted coconut instead of almonds. I like to do a mix of both.
Extra Sea Salt (for sprinkling) — A tiny pinch on top adds a gourmet touch.
Shopping Tip: I always buy almonds in bulk if I’m making these often. It’s cheaper and they stay fresh longer in the freezer.
Equipment Needed
You don’t need fancy equipment for this. Here’s what I actually use in my kitchen.
Small Saucepan — I use a 2-quart saucepan with a thick bottom. This helps the coconut milk heat evenly without scorching. A thin bottom pan might burn the mixture if you’re not careful.
Heatproof Spatula — Silicone works best. You need something sturdy to stir the melting chocolate and coconut milk together until smooth.
Bowl — A medium-sized bowl to pour the mixture into for chilling. Glass or ceramic works well.
Baking Sheet — Line it with parchment paper or a silicone mat. This is where you’ll roll the truffles.
Food Processor or Ziplock Bag — To crush the almonds. A food processor gives you more control, but a rolling pin in a bag works if you’re keeping it simple.
Scoop or Spoon — A small cookie scoop or a teaspoon to portion the truffle mixture. Consistency is key for even rolling.
Parchment Paper — Essential for lining the baking sheet so nothing sticks.
Tool Tip: I’m obsessed with my silicone spatulas. They handle the heat well and scrape the bowl clean. Dollar store versions work fine, but I prefer the ones with a handle that doesn’t get hot.
How to Make It: Step-by-Step
Alright, let’s make these dairy-free chocolate coconut truffles! I’m walking you through exactly how I do it, including the little tricks I’ve picked up over the years.
Step 1: Prep Your Almonds (5 minutes)
Before you start cooking, prep your almonds. If you’re using whole almonds, roughly chop them or pulse them in a food processor until they’re in small pieces. You want them small enough to stick to the truffles but not so fine that they turn into almond butter. Set aside ½ cup for rolling and keep the rest for garnish or eating.
Pro Tip: Toast the almonds in a dry skillet over medium heat for 3-5 minutes until they’re fragrant and lightly browned. This step adds a huge flavor boost. Just watch them closely—they burn fast!
Step 2: Heat the Coconut Milk (3 minutes)
Pour the can of full-fat coconut milk into your saucepan. Heat it over medium-low heat, stirring occasionally. You don’t need to boil it; just bring it to a gentle simmer. This takes about 3 minutes. The goal is to warm it enough so the chocolate melts smoothly.
Step 3: Melt the Chocolate (5 minutes)
Remove the saucepan from the heat. Add the chocolate chips and vanilla extract. Let them sit for 1 minute to soften, then stir gently with your spatula. The residual heat will melt the chocolate. Keep stirring until the mixture is completely smooth and glossy. If there are still lumps, return to low heat for 30 seconds and stir again. Be patient—rushing this step can make the mixture grainy.
Step 4: Chill the Mixture (2-4 hours)
Pour the smooth chocolate-coconut mixture into your bowl. Cover it with plastic wrap, pressing the wrap directly onto the surface of the mixture to prevent a skin from forming. Refrigerate for at least 2 hours, or until the mixture is firm enough to scoop. Overnight is best. If you try to roll them while they’re still soft, they’ll stick to your hands and fall apart.
Visual Cue: The mixture should hold its shape when you press it with your finger. It should look like a thick, dense pudding.
Step 5: Roll the Truffles (10 minutes)
Line a baking sheet with parchment paper. Scoop out small portions of the chilled mixture (about 1 teaspoon each). Roll them between your palms to form balls. If the mixture is too sticky, chill your hands under cold water for a moment or dust them with a little cocoa powder. Roll each ball in the toasted almonds, pressing gently so they stick.
Step 6: Set and Serve
Place the rolled truffles back on the parchment-lined sheet. Refrigerate for another 30 minutes to set completely. Once set, they’re ready to eat! Store them in an airtight container in the fridge.
Total Time: About 30 minutes active, plus 2-4 hours chilling.
Expert Tips & Tricks
Here’s everything I’ve learned from making these dozens of times. These tips will save you from my mistakes.
Use Full-Fat Coconut Milk
This is the #1 rule. Light coconut milk doesn’t have enough fat to create that rich, fudgy texture. The truffles will be too soft and won’t hold their shape. I’ve tried it before and ended up with a soupy mess. Stick to the full-fat can.
Don’t Rush the Melting
Low and slow is the way to go. If you heat the chocolate too much, it can seize up or become grainy. Remove from heat before adding chocolate and let the residual heat do the work. It’s gentler and gives a smoother result.
Toast the Almonds
Raw almonds are fine, but toasted almonds add a depth of flavor that makes these truffles taste gourmet. The nuttiness pairs perfectly with the coconut and chocolate. It’s a small step that makes a big difference.
Keep Hands Cool
Chocolate and coconut fat melt at body temperature. If your hands are warm, the truffles will stick. Keep a bowl of ice water nearby to dip your hands in if they get too warm. Or roll them in cocoa powder instead of almonds if sticking is an issue.
Storage is Key
These truffles are best stored in the fridge. They can get soft at room temperature. If you’re taking them to a party, keep them in a cooler or serve them on a chilled plate.
Variations & Substitutions
Once you’ve nailed the basic version, here’s how you can mix it up. I’ve tried all of these.
Dark Chocolate Version
Use 70% dark chocolate chips for a less sweet, more intense chocolate flavor. This is my personal favorite. It balances the sweetness of the coconut milk perfectly.
White Chocolate Coconut
Swap semi-sweet for white chocolate chips. This creates a creamy, sweet truffle with a beautiful white color. Roll in toasted coconut flakes for extra flavor.
Matcha Coconut
Add 1 tablespoon of matcha powder to the warm coconut milk before adding the chocolate. This gives a lovely green color and a subtle earthy flavor. Roll in crushed pistachios.
Spiced Coconut
Add a pinch of cinnamon, nutmeg, and cardamom to the mixture. This gives a warm, holiday vibe. Great for winter gatherings.
Nut-Free Option
Skip the almonds and roll in toasted coconut flakes, cocoa powder, or crushed pretzels for a salty-sweet crunch.
Dietary Modifications:
– Vegan: Use vegan chocolate chips (most dark chocolate chips are already vegan, but check labels).
– Gluten-Free: Naturally gluten-free. Just ensure your chocolate chips are certified GF.
– Sugar-Free: Use sugar-free chocolate chips and check the coconut milk for added sugars.
Serving & Storage
How to Serve:
I usually serve these straight from the fridge. They’re best cold, as the cold temperature keeps them firm and enhances the chocolate flavor. I like to arrange them on a small plate with a few extra toasted almonds on the side for garnish.
Side Dishes:
– Hot coffee or tea (the bitterness cuts the sweetness)
– Fresh berries (strawberries or raspberries add a nice tart contrast)
– A glass of cold almond milk or oat milk
Storage Instructions:
Store in an airtight container in the refrigerator for up to 2 weeks. They can also be frozen for up to 3 months. Thaw in the fridge overnight before serving. They do not freeze well at room temperature for long periods as they can get soft.
Pro Tip: If you’re gifting these, wrap them in small parchment paper cups and place them in a tin. Add a note about keeping them refrigerated!
Nutrition Information
I’m not a nutritionist, but here’s the breakdown if you’re tracking. These are calorie-dense because of the coconut and chocolate, so moderation is key.
Per Serving (based on 20 truffles):
| Nutrient | Amount |
|---|---|
| Calories | 90 |
| Total Fat | 7g |
| Saturated Fat | 5g |
| Carbohydrates | 8g |
| Fiber | 1g |
| Sugar | 6g |
| Protein | 1g |
| Sodium | 5mg |
What’s Good:
– Dairy-free and gluten-free
– Contains healthy fats from coconut and almonds
– No refined flour
– Can be made with dark chocolate for antioxidants
What to Know:
– Higher in calories and saturated fat due to coconut milk
– Contains nuts (almonds)
– Natural sugars from chocolate and coconut
My Take:
Look, these are treats. They’re rich and indulgent. But they’re also simpler than most desserts and free from dairy. I enjoy them as a small indulgence, not a meal replacement. When I want to make them lighter, I use dark chocolate and reduce the portion size. But usually? I just enjoy two or three and savor every bite.
Final Thoughts
So that’s my dairy-free chocolate coconut truffles recipe! I’ve probably talked your ear off at this point, but when you make a recipe this often, you have a lot to say about it.
This has saved my dessert game more times than I can count. It’s my answer to “what’s for dessert?” when I want something special but don’t want to fuss. My kids are happy, my husband’s happy, and I’m happy because I’m not stressed about cooking.
Make it yours! Try different chocolates, swap the almonds for pecans or walnuts, or add a splash of liqueur for an adult twist. The best recipes are the ones you adapt to your family’s tastes.
If you make this, drop a comment and let me know what you think! I love hearing how recipes turn out in your kitchen. And if something doesn’t work, tell me that too—I’m here to help troubleshoot.
Happy cooking! And I hope your kitchen smells half as good as mine does right now.
Frequently Asked Questions
Can I use coconut cream instead of coconut milk?
Yes! Coconut cream is even thicker and richer, which works beautifully for truffles. You might need slightly less chocolate or a bit more chilling time since the mixture will be denser. I’ve used both and both work great.
Why did my truffles fall apart when I rolled them?
This usually means the mixture wasn’t chilled long enough. The chocolate and coconut fat need to be firm to hold their shape. Chill for at least 2-4 hours, or overnight. If they’re still too soft, put them back in the fridge for another hour.
Can I make these ahead of time?
Absolutely. These are actually better made a day or two ahead. The flavors meld together, and the texture firms up. Store them in the fridge in an airtight container for up to 2 weeks.
Can I freeze these truffles?
Yes, you can freeze them for up to 3 months. Place them in a single layer on a baking sheet to freeze, then transfer to an airtight container or freezer bag. Thaw in the fridge overnight before serving. They might lose a tiny bit of texture but still taste great.
Can I use raw almonds instead of toasted?
You can, but toasting adds so much flavor. Raw almonds are milder and can taste a bit bland next to the rich chocolate. I highly recommend taking the extra 5 minutes to toast them. It’s worth it.
Are these truffles vegan?
They can be! Just make sure your chocolate chips are vegan (many dark chocolate chips are, but some contain milk solids). Use full-fat coconut milk and you’re good to go. Check your chocolate label to be sure.
How do I store these if I’m not eating them all at once?
Store in an airtight container in the refrigerator. They can get soft at room temperature, so keep them cool. If you’re taking them to a party, bring them in a cooler or serve them on a chilled plate.
Pin This Recipe!
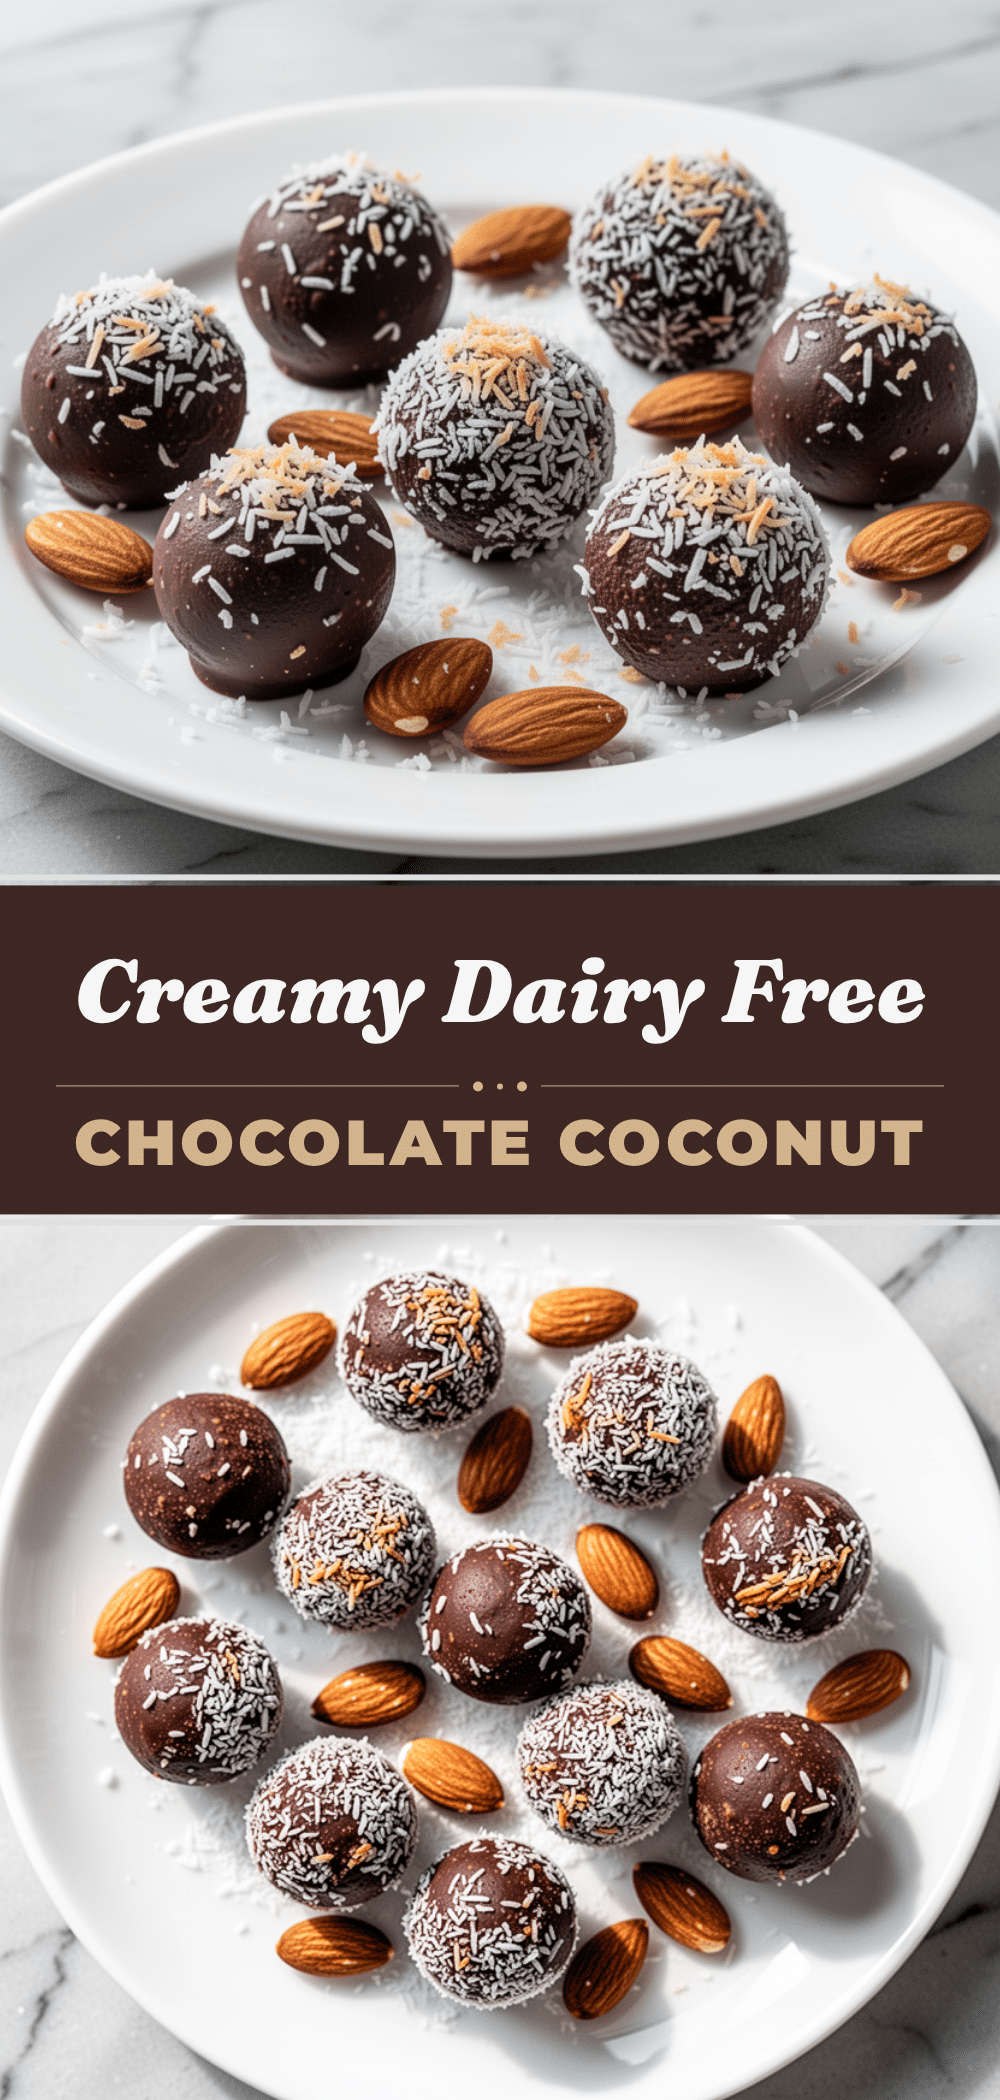
Dairy-Free Chocolate Coconut Truffles: Easy 3-Ingredient Recipe
- Total Time: 2 hours 25 minutes
- Yield: 20 servings 1x
Description
These dense, fudgy, and nutty dairy-free chocolate coconut truffles are made with just a few simple ingredients. They are naturally gluten-free, quick to prepare, and perfect for satisfying sweet cravings or gifting.
Ingredients
- 1 can (400ml) full-fat coconut milk
- 12 ounces (340g) semi-sweet chocolate chips
- 1 teaspoon vanilla extract
- 1/2 teaspoon sea salt
- 1 cup (100g) raw almonds, toasted and crushed
- Optional: 1/2 cup toasted coconut flakes
- Optional: Extra sea salt for sprinkling
Instructions
- Toast the almonds in a dry skillet over medium heat for 3-5 minutes until fragrant and lightly browned. Let cool, then roughly chop or pulse in a food processor until small pieces remain.
- Pour the full-fat coconut milk into a small saucepan with a thick bottom. Heat over medium-low heat until it reaches a gentle simmer (about 3 minutes).
- Remove the saucepan from the heat. Add the chocolate chips and vanilla extract. Let sit for 1 minute, then stir gently until the mixture is completely smooth and glossy.
- Stir in the 1/2 teaspoon of sea salt.
- Pour the mixture into a medium bowl. Cover with plastic wrap, pressing it directly onto the surface to prevent a skin from forming.
- Refrigerate for at least 2 hours, or overnight, until the mixture is firm enough to scoop.
- Line a baking sheet with parchment paper. Scoop small portions (about 1 teaspoon) of the chilled mixture and roll into balls between your palms.
- Roll each ball in the toasted almonds, pressing gently to coat. If the mixture is too sticky, chill hands in cold water or dust with cocoa powder.
- Place the rolled truffles back on the parchment-lined sheet and refrigerate for another 30 minutes to set completely.
- Store in an airtight container in the refrigerator for up to 2 weeks.
Notes
Use full-fat coconut milk from a can, not light milk or carton beverage, for the correct texture. Toasting the almonds significantly enhances the flavor. Keep hands cool while rolling to prevent the truffles from melting. These truffles are best served cold.
- Prep Time: 15 minutes
- Cook Time: 10 minutes
- Category: Dessert
- Cuisine: American
Nutrition
- Serving Size: 1 truffle
- Calories: 90
- Sugar: 6
- Sodium: 5
- Fat: 7
- Saturated Fat: 5
- Carbohydrates: 8
- Fiber: 1
- Protein: 1
Keywords: dairy-free, gluten-free, vegan, chocolate truffles, coconut truffles, easy dessert, no-bake, healthy snacks, 3-ingredient recipe



