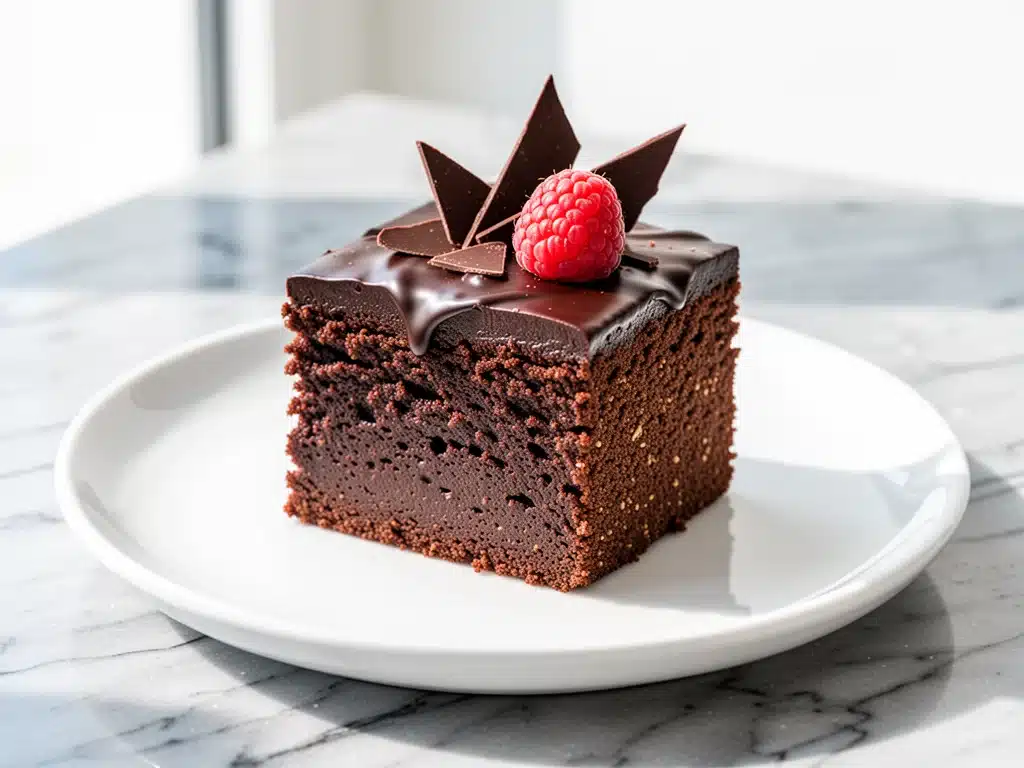
I still remember the first time I made this gluten-free fudgy flourless chocolate torte. It was a rainy Tuesday in November, and I had just realized I was out of my favorite takeout. I was craving something rich, dark, and deeply satisfying, but I also knew my pantry was mostly empty. I didn’t have flour. I didn’t have sugar. I didn’t have much of anything except a block of semi-sweet chocolate, some eggs, butter, and a stubborn refusal to order delivery.
So I threw together what I thought would be a quick emergency chocolate fix. I melted the chocolate, whipped the eggs, and hoped for the best. When I pulled it out of the oven an hour later, the kitchen smelled like a high-end chocolate shop. I took one bite, and I stopped breathing for a second. It wasn’t just “okay” for a gluten-free dessert. It was better than the takeout. It was better than most bakeries. It was dense, fudgy, and intensely chocolatey in a way that made me want to hide it from my family so I could eat it all myself.
That accidental discovery turned into a routine. Over the last two years, I’ve made this gluten-free fudgy flourless chocolate torte at least a dozen times. I’ve tested it with dark chocolate, milk chocolate, bittersweet chocolate, and even some fancy single-origin bars. I’ve tweaked the sugar ratios and played with the baking time. And through every single variation, one thing has remained constant: this is the ultimate comfort dessert. It requires no flour, no complicated techniques, and no special equipment. Just a few ingredients you probably already have, and a little bit of patience while it bakes.
Whether you’re gluten-free, keto-friendly (with some swaps), or just really, really want chocolate, this torte is the answer. It’s the dessert that saves dinner parties when you’re running late, and it’s the treat that makes lazy Sunday mornings feel special. I’ve shared a lot of recipes on this blog, from my cinnamon apple dump cake to my fall brown butter pumpkin cookies, but this torte holds a special place in my heart. It’s simple, it’s elegant, and it’s ridiculously delicious. Let me show you how to make it.
Why You’ll Love This Recipe
There are a lot of chocolate desserts out there. Some are light and airy, some are crisp and crunchy, and some are just plain sweet. But this gluten-free fudgy flourless chocolate torte is in a league of its own. Here’s why I keep coming back to it, and why you will too:
- Zero Flour Required — Seriously. No gluten, no wheat, no rice flour blends. The structure comes entirely from eggs and chocolate. If you’re avoiding gluten, this is your new best friend. It’s naturally gluten-free without feeling like a “diet” substitute.
- Stupid Simple Ingredients — You don’t need a fancy pantry. Just chocolate, butter, eggs, sugar, and a pinch of salt. That’s it. Five ingredients. I’ve made this at 2 AM when I was too tired to think. You can do this.
- Restaurant-Quality Texture — The inside is dense and fudgy, like a cross between a brownie and a mousse. The top gets that thin, crinkly, shiny crust that looks like you spent hours perfecting it. (Spoiler: You didn’t.)
- Make-Ahead Friendly — This torte actually tastes better the next day. The flavors meld together, and it firms up, making it easier to slice. I often make it the night before a dinner party so I’m not stressed on the day of.
- Gluten-Free Without the Guilt — Many gluten-free desserts feel dry or crumbly. This one is moist, rich, and indulgent. It doesn’t scream “gluten-free alternative.” It screams “delicious chocolate dessert.”
This is my go-to when I need to impress guests without spending hours in the kitchen. It’s also my go-to when I need to feed a chocolate craving that won’t quit. It’s reliable, it’s tasty, and it’s basically impossible to mess up.
Ingredients You’ll Need
Here’s the best part about this gluten-free fudgy flourless chocolate torte: the ingredient list is short, and most of it is pantry staples. I’m particular about a few things here, especially the chocolate, so I’ll tell you exactly what to look for.
For the Torte
Semi-sweet chocolate chips or bars (12 ounces / 340g) — This is the star. Use good quality chocolate. If you wouldn’t eat it plain, don’t use it here. I like Ghirardelli 60% cacao or Lindt 70% for a deeper flavor. Avoid baking chocolate squares unless you want to chop them yourself—chips melt more evenly.
Unsalted butter (½ cup / 113g) — Cut into cubes. Room temperature isn’t strictly necessary since we’re melting it, but it helps it blend smoother. Use real butter, not margarine. The flavor difference is huge.
Eggs (4 large) — Room temperature eggs whip better and create a lighter, airier texture. If you’re short on time, just run them under warm water for a few minutes. Don’t skip this step if you want that signature rise.
Granulated sugar (1 cup / 200g) — This gives the torte its structure and that shiny crust. If you prefer a less sweet torte, reduce to ¾ cup, but the crust won’t be as crackly. I don’t recommend using artificial sweeteners here—they don’t behave the same way when melted with chocolate.
Vanilla extract (1 teaspoon) — Pure vanilla only. I know it’s expensive, but it adds a depth of flavor that fake vanilla can’t match. It’s a small amount, so don’t skimp.
Cocoa powder (2 tablespoons) — Unsweetened cocoa powder adds extra chocolate intensity. I use Hershey’s or Guittard. If you don’t have it, you can skip it, but the torte will be less chocolate-forward.
Salt (½ teaspoon) — A pinch of salt balances the sweetness and makes the chocolate flavor pop. Use kosher salt or fine sea salt.
Optional: Espresso powder (1 teaspoon) — This isn’t for coffee flavor. It’s a secret weapon to deepen the chocolate taste. You won’t taste coffee, but the chocolate will taste more like chocolate. Highly recommended.
For the Topping (Optional but Recommended)
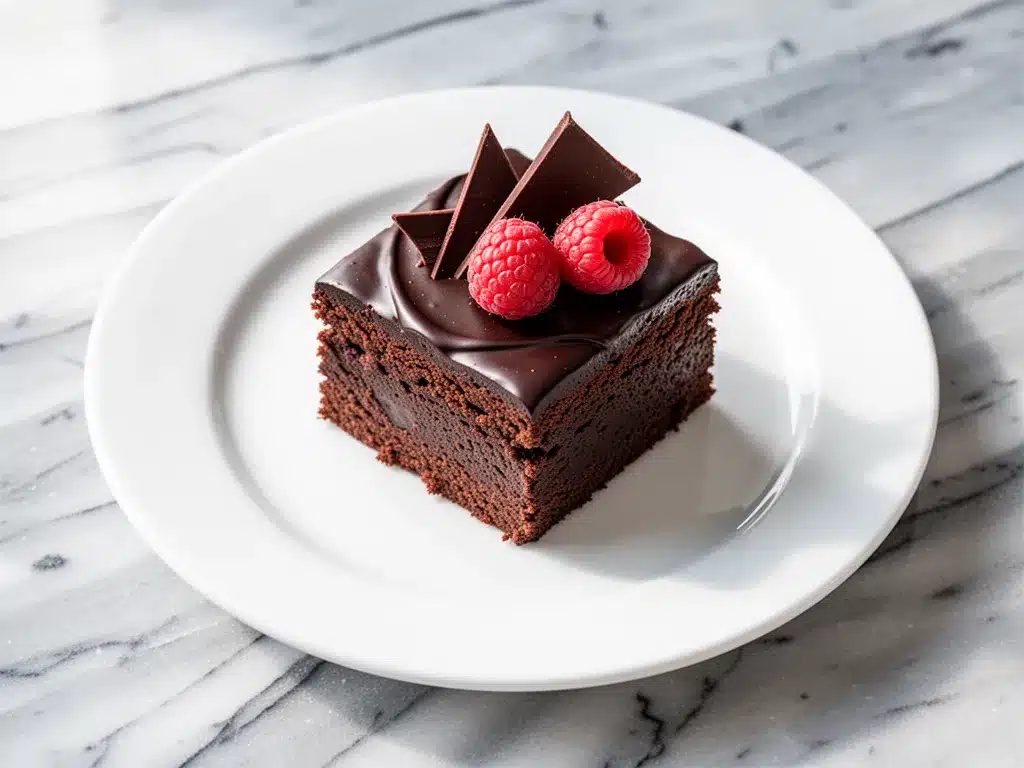
Whipped cream — Homemade is best, but store-bought works in a pinch. A dollop of cool cream cuts through the rich fudginess perfectly.
Fresh raspberries — Tart berries provide a nice contrast to the sweet, dense torte. I always keep a bag in the freezer for this exact reason.
Sea salt flakes — A sprinkle on top adds a nice crunch and visual appeal. It makes it look fancy.
Equipment Needed
You don’t need fancy gadgets for this gluten-free fudgy flourless chocolate torte. Here’s what I actually use in my kitchen:
- 8-inch Springform Pan — This is the classic choice. The sides pop off for easy removal. Line the bottom with parchment paper, but don’t grease the sides. The torte needs to climb up the pan to get its height.
- Medium Saucepan — For melting the chocolate and butter. A double boiler works too, but I just use a saucepan over low heat. It’s faster.
- Large Mixing Bowl — Glass or stainless steel works best. You need enough space to whip the eggs.
- Hand Mixer or Stand Mixer — You’ll whip the eggs and sugar for 5-7 minutes. Doing this by hand is an arm workout I don’t recommend. A stand mixer with the whisk attachment is ideal.
- Spatula — A silicone spatula is perfect for folding in the chocolate without deflating the eggs.
- Wire Rack — For cooling the torte evenly.
Pro Tip: If you don’t have a springform pan, you can use a round cake pan. Just line it well with parchment and grease it. The torte will be slightly flatter, but it’ll still taste amazing.
How to Make It: Step-by-Step
Alright, let’s make this! I’m walking you through exactly how I do it, including the little tricks I’ve picked up over the years. This process is simple, but timing matters.
Step 1: Prep Your Pan and Oven (5 minutes)
Preheat your oven to 350°F (175°C). Grease the bottom of your 8-inch springform pan and line it with a circle of parchment paper. You don’t need to grease the sides. This helps the torte rise up the sides, which gives it that tall, dramatic look. Place the pan on a baking sheet—just in case anything spills over.
Step 2: Melt the Chocolate and Butter (5 minutes)
Chop your chocolate into rough chunks if you’re using bars. Add the chocolate and butter to a medium saucepan over low heat. Stir constantly until everything is melted and smooth. This should take about 3-5 minutes. Do not let it boil. You want a silky, glossy mixture. Remove from heat and let it cool for 5 minutes. It should be warm, not hot.
Step 3: Whip the Eggs and Sugar (5-7 minutes)
In your large mixing bowl, add the eggs and sugar. Using a hand mixer or stand mixer with the whisk attachment, beat on medium-high speed for 5-7 minutes. You’re looking for the mixture to triple in volume, become pale yellow, and form ribbons when you lift the beaters. This step incorporates air, which gives the torte its light, fudgy texture. Don’t rush this. If you skip it, the torte will be dense and heavy.
Step 4: Fold in the Chocolate (2 minutes)
Pour the warm chocolate mixture into the whipped eggs. Add the vanilla, cocoa powder, espresso powder (if using), and salt. Using a silicone spatula, gently fold the chocolate into the egg mixture. Fold slowly and carefully—just until the chocolate is incorporated. Over-mixing will deflate the eggs, and you’ll lose that airy texture. The batter should be glossy and smooth.
Step 5: Bake (35-40 minutes)
Pour the batter into the prepared springform pan. Smooth the top with your spatula. Bake in the preheated oven for 35-40 minutes. The edges should be set and slightly pulling away from the pan, but the center should still jiggle slightly like Jell-O. It will continue to set as it cools. If you bake it until the center is firm, it’ll be dry. Trust the jiggle.
Step 6: Cool Completely (2-3 hours)
Remove the torte from the oven and let it cool in the pan for 15 minutes. Then, run a knife around the edge and release the springform ring. Let it cool completely on a wire rack. This is the hardest part, but patience is key. The torte needs to set properly so it can be sliced cleanly. I usually let it cool for 2 hours, then refrigerate it for another hour. Cold torte slices cleaner.
Step 7: Serve
Slice into wedges and top with whipped cream, fresh berries, or a dusting of powdered sugar. Serve immediately. The contrast between the warm, fudgy interior and the cool, airy whipped cream is pure magic.
Expert Tips & Tricks
Here’s everything I’ve learned from making this gluten-free fudgy flourless chocolate torte dozens of times. These tips will save you from my mistakes.
Use Good Chocolate
This is the most important tip. Since there’s only one main flavor, the chocolate quality dictates the entire dessert. Avoid chocolate chips labeled “baking chips” if they’re not labeled “chocolate.” Some baking chips don’t melt as smoothly. Look for bars with at least 60% cacao for the best balance of sweetness and intensity.
Don’t Overbake
The jiggle is your friend. If the center is solid, you’ve baked it too long. The torte will continue to cook from residual heat after you take it out of the oven. Aim for a soft, gooey center that sets as it cools. This is what makes it fudgy instead of cakey.
Room Temperature Eggs
Warm eggs whip to a greater volume than cold eggs. If you forget to take them out of the fridge, run them under warm water for 5 minutes. It makes a noticeable difference in the texture.
Fold, Don’t Stir
When combining the chocolate and eggs, use a gentle folding motion. Imagine you’re painting the bowl. Lift the batter from the bottom and fold it over the top. This preserves the air bubbles you worked so hard to create in Step 3.
Chill Before Slicing
A warm torte is messy. A chilled torte is elegant. Let it cool completely, then refrigerate for at least an hour. The cold helps the structure firm up, making clean slices possible.
Common Mistakes
- Soggy bottom: Make sure your springform pan is in good condition. If the bottom is loose, wrap the outside of the pan in foil before adding the batter to prevent water (if using a water bath) or batter leakage.
- Dry torte: Overbaking or using chocolate with low butterfat content. Stick to high-quality chocolate and pull it out when it still jiggles.
- Flat torte: Not whipping the eggs enough or over-mixing the chocolate in. Be patient with the whipping and gentle with the folding.
Variations & Substitutions
Once you’ve nailed the basic version, here’s how you can mix it up. I’ve tried all of these, and they’re all delicious.
Dark Chocolate Version
Swap the semi-sweet chocolate for 70% or 85% dark chocolate. This makes the torte less sweet and more intense. Perfect for coffee pairing. I love this version with a splash of espresso in the batter.
Milk Chocolate Version
Use milk chocolate for a sweeter, creamier torte. It’s more like a dessert for kids or those with a sweet tooth. I sometimes add a handful of chocolate chips on top before baking for extra gooeyness.
Gluten-Free Flour Add-In
If you want a slightly cakeier texture, add ¼ cup of almond flour or gluten-free all-purpose flour. This changes the texture slightly but still keeps it gluten-free. I usually stick to the flourless version for maximum fudginess, but this is a good option if you want more structure.
Flavor Variations
- Mint Chocolate: Add ½ teaspoon peppermint extract to the batter. Top with crushed peppermint candies.
- Orange Chocolate: Add the zest of one orange to the batter. The citrus pairs beautifully with dark chocolate.
- Maple Bourbon: Add 1 tablespoon bourbon and 1 tablespoon maple syrup to the batter. For adults only.
- Raspberry Swirl: Dollop ¼ cup of raspberry jam on top of the batter before baking. Swirl with a knife for a marbled effect.
Dietary Modifications
- Sugar-Free: Use a sugar substitute that measures 1:1 like sugar (e.g., Swerve or Monk Fruit). The texture may be slightly different, but it works.
- Dairy-Free: Use dairy-free chocolate and coconut oil instead of butter. The texture will be slightly denser, but still delicious.
- Egg-Free: This is harder. Eggs provide structure. You can try using flax eggs, but the texture will be very different. I don’t recommend it for this specific recipe.
Serving & Storage
This gluten-free fudgy flourless chocolate torte is best served slightly chilled. Here’s how I handle it:
Serving Suggestions
I usually serve it in small wedges. It’s rich, so a little goes a long way. Pair it with:
- Whipped cream (homemade is best)
- Fresh raspberries or strawberries
- A scoop of vanilla ice cream
- A strong cup of coffee or espresso
It’s also great alongside other desserts if you want a dessert buffet. I’ve served it with my fall caramel apple cheesecake bars for holiday parties, and it’s always a hit.
Storage Instructions
Refrigerator: Store leftovers in an airtight container for up to 5 days. The torte actually tastes better after a day or two as the flavors meld. Keep it in the fridge to prevent melting.
Freezer: Yes, you can freeze this torte! Wrap slices tightly in plastic wrap, then in foil. Freeze for up to 3 months. Thaw in the fridge overnight before serving. It doesn’t lose much texture.
Room Temperature: Not recommended. The chocolate and butter will melt, and the texture will become greasy. Always refrigerate.
Reheating
If you want a warm, gooey center, microwave a slice for 15-20 seconds. It becomes almost like a fondue. Be careful—it’s hot!
Nutrition Information
I’m not a nutritionist, but here’s the breakdown if you’re tracking. This is a rich dessert, so portions matter.
Per Serving (based on 12 slices):
- Calories: 280
- Protein: 5g
- Carbs: 28g
- Fiber: 2g
- Sugar: 22g
- Fat: 18g
- Saturated Fat: 10g
What’s Good: It’s naturally gluten-free and grain-free. It has some protein from the eggs. It’s satisfying, so you’re less likely to overeat.
What to Know: It’s high in sugar and fat because it’s chocolate and butter. It’s not a “light” dessert. Enjoy it as a treat, not a snack.
Final Thoughts
So that’s my gluten-free fudgy flourless chocolate torte! It’s simple, it’s elegant, and it’s ridiculously delicious. I’ve made this recipe so many times that I can do it in my sleep, and it never fails to impress. Whether you’re gluten-free or just love chocolate, this torte is a must-try.
It’s the dessert that saves dinner parties, the treat that comforts me on bad days, and the recipe that makes me feel like a pro baker. So don’t be afraid to try it. You’ve got this. And if you mess up? Well, it’s still chocolate. It’s always delicious.
If you make this, drop a comment and let me know what you think! I love hearing how recipes turn out in your kitchen. And if something doesn’t work, tell me that too—I’m here to help troubleshoot. Happy baking!
Frequently Asked Questions
Can I use milk chocolate instead of semi-sweet?
Yes, you can! Milk chocolate will make the torte sweeter and creamier. However, it has less cocoa solids, so the chocolate flavor will be milder. If you use milk chocolate, you might want to add a tablespoon of cocoa powder to boost the flavor. I personally prefer semi-sweet or dark chocolate for a more sophisticated taste.
Why did my torte crack on top?
Cracking is normal for flourless tortes! It happens because the surface dries out faster than the inside as it bakes. It doesn’t affect the taste or texture. If you want a smoother top, you can cover the torte loosely with foil for the last 10 minutes of baking. Or, just embrace the crack—it adds character.
Can I make this ahead of time?
Absolutely. This torte actually tastes better the next day. I recommend making it the night before you plan to serve it. Let it cool completely, then refrigerate. It will firm up and become even fudgier. You can also freeze it for up to 3 months.
How do I know when it’s done?
The edges should be set and pulling away from the pan, but the center should still jiggle slightly. It will continue to set as it cools. If the center is firm when you take it out, it’s overbaked. Trust the jiggle!
Can I use a different pan size?
You can, but the baking time will change. If you use a 9-inch pan, the torte will be thinner and bake faster (check at 25-30 minutes). If you use a 6-inch pan, it will be taller and take longer (check at 45-50 minutes). Keep an eye on it.
Is this recipe keto-friendly?
Not in its original form, because of the sugar. But you can make it keto by using a keto-friendly chocolate (like Lily’s) and a sugar substitute like erythritol or monk fruit. The texture will be slightly different, but it’s still delicious.
Can I add nuts?
Yes! Chopped pecans or walnuts add a nice crunch. Fold ½ cup of chopped nuts into the batter before baking. They pair especially well with dark chocolate.
Pin This Recipe!
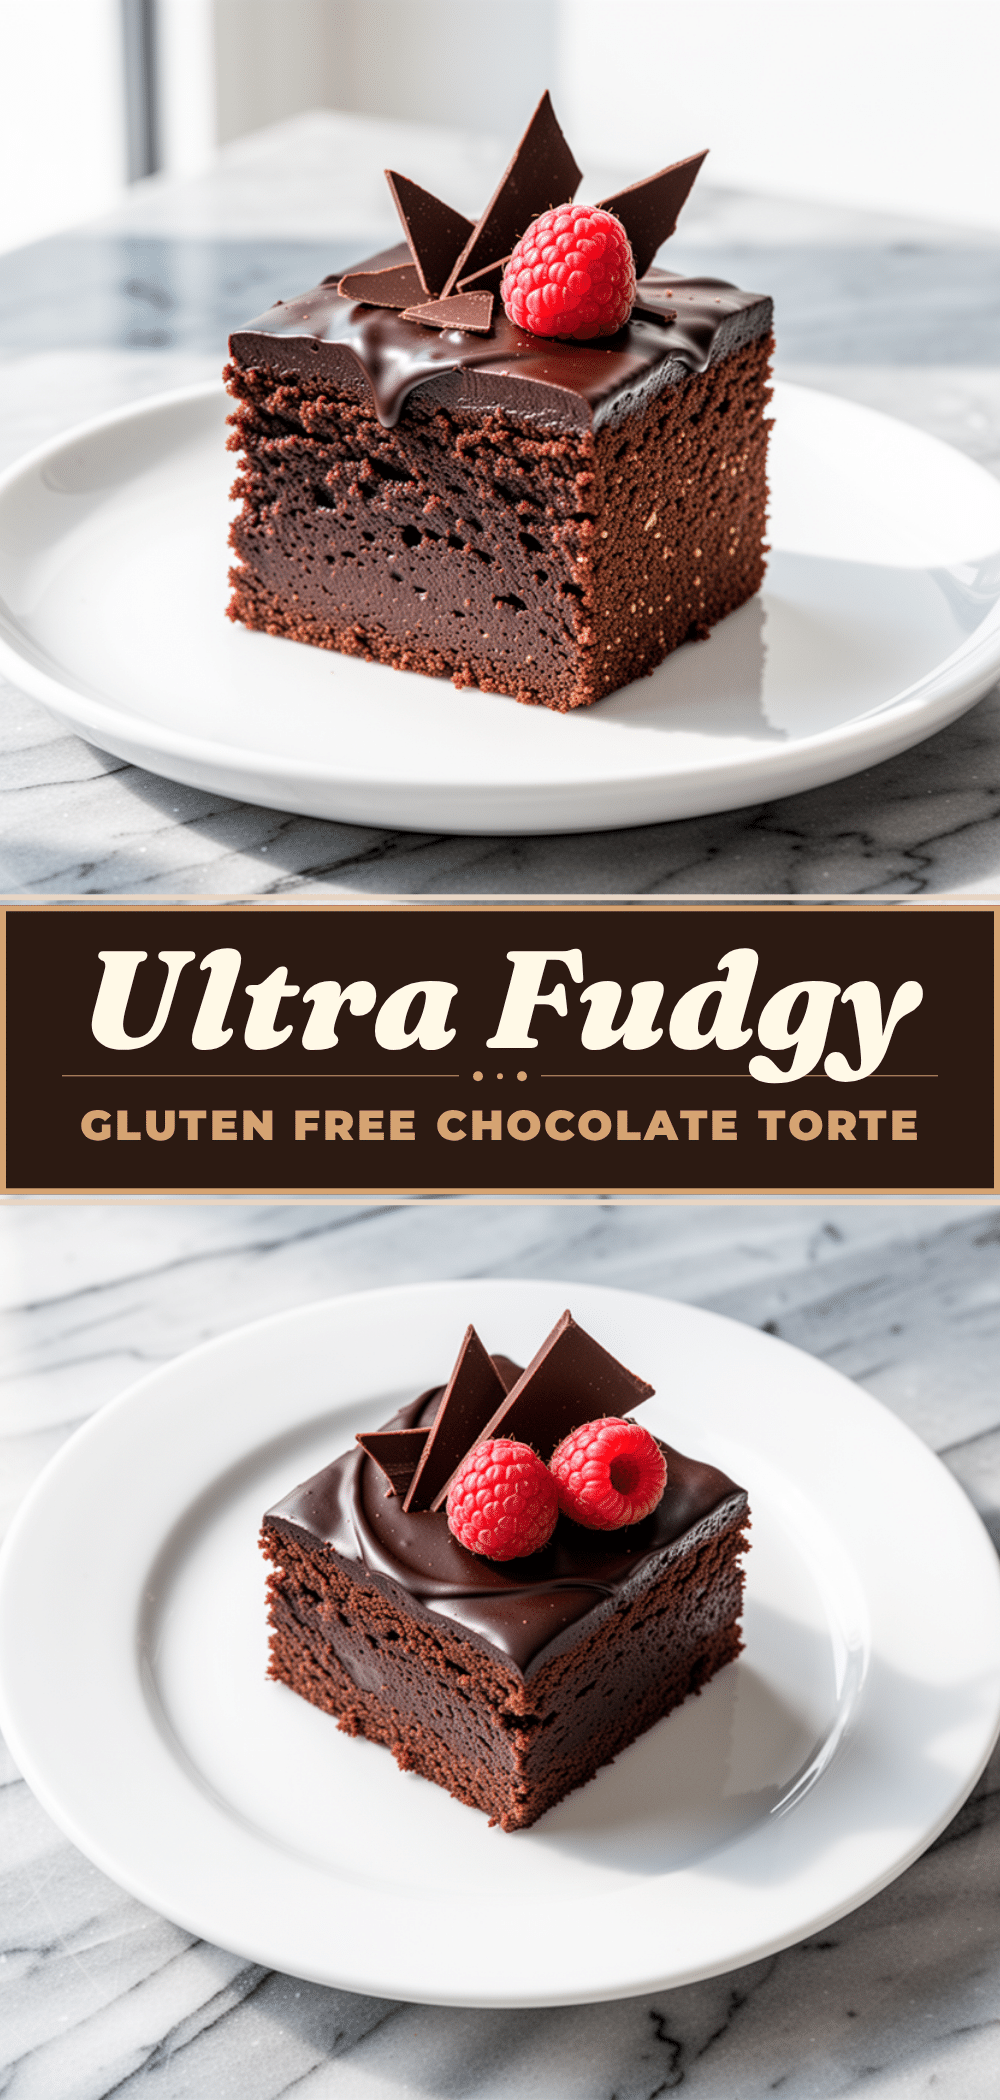
Gluten-Free Fudgy Flourless Chocolate Torte
- Total Time: 2 hours 55 minutes
- Yield: 12 servings 1x
Description
A dense, fudgy, and intensely chocolatey dessert that requires no flour. This simple recipe uses just a few pantry staples to create a restaurant-quality torte with a shiny, crinkly crust.
Ingredients
- 12 ounces semi-sweet chocolate chips or bars
- 1/2 cup unsalted butter, cut into cubes
- 4 large eggs, room temperature
- 1 cup granulated sugar
- 1 teaspoon vanilla extract
- 2 tablespoons unsweetened cocoa powder
- 1/2 teaspoon salt
- 1 teaspoon espresso powder (optional)
Instructions
- Preheat oven to 350°F (175°C). Grease the bottom of an 8-inch springform pan and line with parchment paper. Do not grease the sides. Place pan on a baking sheet.
- Chop chocolate into chunks if using bars. Add chocolate and butter to a medium saucepan over low heat. Stir constantly until melted and smooth (3-5 minutes). Do not boil. Remove from heat and let cool for 5 minutes.
- In a large mixing bowl, add eggs and sugar. Beat on medium-high speed with a hand or stand mixer for 5-7 minutes until mixture triples in volume, becomes pale yellow, and forms ribbons.
- Pour warm chocolate mixture into whipped eggs. Add vanilla, cocoa powder, espresso powder (if using), and salt. Gently fold with a silicone spatula until just incorporated. Do not over-mix.
- Pour batter into prepared pan and smooth top. Bake for 35-40 minutes. Edges should be set and pulling away from pan, but center should still jiggle slightly.
- Remove from oven and let cool in pan for 15 minutes. Run a knife around edge and release springform ring. Cool completely on a wire rack (about 2 hours), then refrigerate for at least 1 hour before slicing.
- Slice into wedges and serve with whipped cream, fresh berries, or powdered sugar.
Notes
Use high-quality chocolate with at least 60% cacao. Room temperature eggs whip better for a lighter texture. Do not overbake; the center should jiggle slightly as it sets while cooling. For cleaner slices, chill the torte completely before serving.
- Prep Time: 15 minutes
- Cook Time: 40 minutes
- Category: Dessert
- Cuisine: American
Nutrition
- Serving Size: 1 slice (1/12 of tor
- Calories: 280
- Sugar: 22
- Fat: 18
- Saturated Fat: 10
- Carbohydrates: 28
- Fiber: 2
- Protein: 5
Keywords: gluten-free, flourless chocolate torte, fudgy dessert, easy chocolate recipe, dairy-free option, keto-friendly



