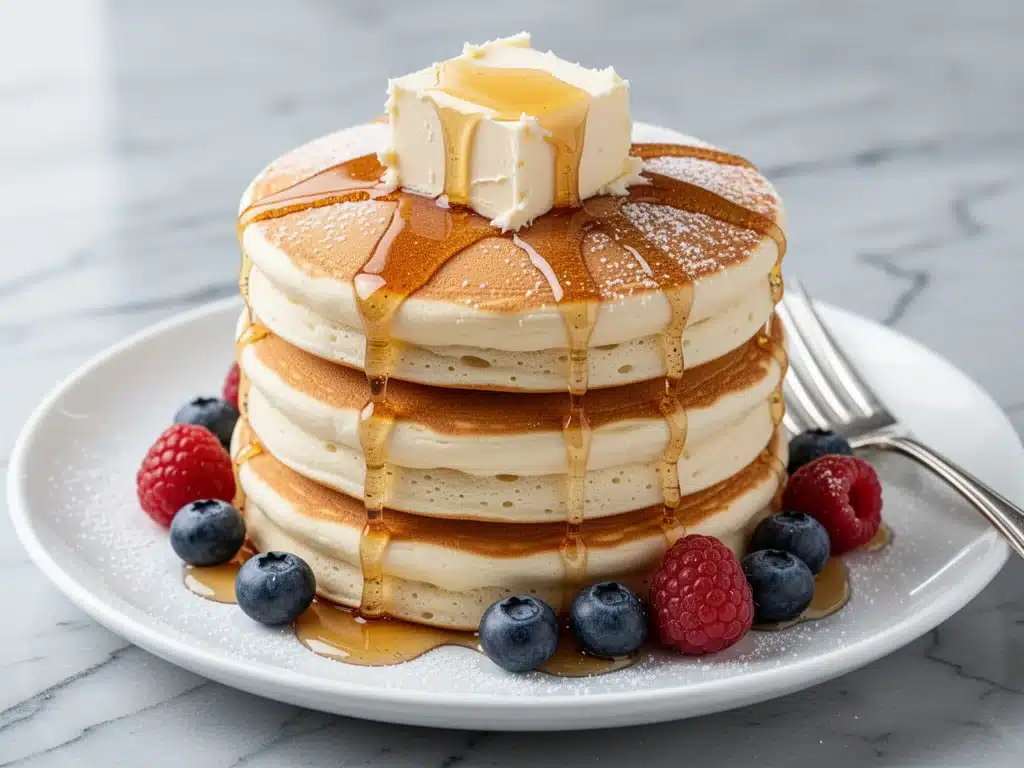
I still remember the exact Tuesday morning that changed my breakfast routine forever. It was raining sideways, my toddler had decided 6:00 AM was the perfect time to practice piano, and my husband was already late for a conference call. I stood in the kitchen, staring at a stack of sad, flat, rubbery pancakes that looked more like hockey pucks than breakfast. They were the kind of pancakes that make you question your life choices and consider ordering Uber Eats for breakfast (don’t judge me, I’ve done it).
I was tired of the box mixes. I was tired of the complicated recipes that required separating eggs, whipping whites, and a whisking technique that felt like a chemistry experiment. I just wanted fluffy, golden, buttery pancakes that my kids would actually eat without complaining. I wanted something that felt like a weekend treat but could be made on a Tuesday when I had exactly fifteen minutes before the school bus arrived.
So, I stopped overthinking it. I stopped worrying about the “perfect” ratio and started focusing on the one ingredient that actually matters: buttermilk. And the one technique that actually works: letting the batter rest. I tested this ultra-fluffy buttermilk pancakes recipe about thirty times in the last month. I’ve burned batches. I’ve made dense bricks. I’ve even made a batch so thin it looked like crepes (don’t ask). But I finally cracked the code. It’s not magic. It’s just simple, honest cooking with the right ingredients and a little bit of patience.
Now, this is the only pancake recipe I use. It’s sticky, sweet, tender, and ready in the time it takes to brew a pot of coffee. If you’re a busy parent or just someone who values their sleep, this recipe is your new best friend. It’s the kind of breakfast that makes you feel like you’re doing it all right, even when you’re running on three hours of sleep.
Why You’ll Love This Ultra-Fluffy Buttermilk Pancakes Recipe
Look, there are a million pancake recipes out there. But this one? This one has completely taken over our weekends and our busy weeknights. I’ve made these for everything from lazy Sunday brunches to rushed Tuesday mornings, and they never fail to impress. Here’s why this ultra-fluffy buttermilk pancakes recipe has earned a permanent spot in my kitchen:
- Actually Fluffy (Not Flat) — Seriously. These pancakes have height. They have cloud-like texture. I’ve had guests take photos of them before eating. The buttermilk reacts with the baking soda to create bubbles that make them rise beautifully. No more flat discs.
- 15 Minutes or Less — From mixing bowl to first bite, it takes about 15 minutes. That’s it. I’ve timed it. This is the fastest way to get a homemade, hot breakfast on the table. Perfect for those mornings when you’re running late but still want to feed your family something better than toast.
- Pantry Staples Only — You probably have 90% of these ingredients right now. Flour, sugar, baking powder, baking soda, salt, milk, egg, butter. The only thing you might need to grab is buttermilk (or a DIY substitute). No weird, hard-to-find ingredients.
- Kid-Approved Taste — My picky eater, who usually rejects anything that isn’t nuggets, asks for these every week. They’re slightly sweet, tender, and hold up well under a pile of syrup. If you’re looking for a way to sneak in a little extra protein, you can even serve them with our smoked salmon bagels on the side for a savory-sweet combo that kids surprisingly love.
- Leftovers Are Delicious — I know, pancakes are best fresh. But honestly? They’re great cold for lunch, or reheated in the toaster. I make a double batch on weekends so I can grab two and go on Monday mornings. They freeze well too.
This recipe is my answer to “what’s for breakfast?” when I’m tired. It’s reliable. It’s delicious. And it makes my kitchen smell like heaven while I’m still trying to wake up.
Ingredients You’ll Need for Fluffy Perfection
Here’s the best part: this recipe is incredibly simple. You don’t need a stand mixer or a dozen specialty bowls. Just a whisk, a large mixing bowl, and a non-stick skillet. I’m particular about a few things here, mostly because I’ve learned the hard way what doesn’t work.
For the Batter
All-Purpose Flour (1 ½ cups / 190g) — This is your base. Don’t use cake flour or bread flour; stick to standard all-purpose. It gives the right structure. If you’re gluten-free, you can use a 1:1 gluten-free flour blend, but the texture will be slightly different.
Sugar (2 tablespoons / 25g) — Just a little bit. It helps with browning and adds a subtle sweetness. Don’t skip it, but don’t overdo it. These aren’t dessert pancakes; they’re breakfast.
Baking Powder (2 teaspoons / 10g) — This is your first leavening agent. Make sure it’s fresh! Old baking powder makes flat pancakes. I keep a new can every few months because I’ve ruined batches with stale stuff before.
Baking Soda (½ teaspoon / 3g) — This is the secret weapon. It reacts with the acidic buttermilk to create those big, fluffy bubbles. You need both baking powder and baking soda for maximum lift.
Salt (½ teaspoon / 3g) — Crucial. It balances the sweetness and enhances the flavor. Don’t skip it.
Buttermilk (1 ¼ cups / 300ml) — This is the star. The acidity tenderizes the gluten, making them soft. If you don’t have buttermilk, mix 1 cup of milk with 1 tablespoon of lemon juice or white vinegar. Let it sit for 5 minutes until it curdles. It works surprisingly well.
Egg (1 large / 50g) — Just one. It binds everything together. Don’t separate it; just whisk it in.
Melted Butter (3 tablespoons / 45g) — Adds richness and flavor. Let it cool slightly before adding so you don’t cook the egg. You can substitute with neutral oil if you want dairy-free, but butter tastes better.
Vanilla Extract (1 teaspoon / 5ml) — Optional, but I always add it. It adds a warm, comforting aroma that makes the house smell amazing.
For Cooking
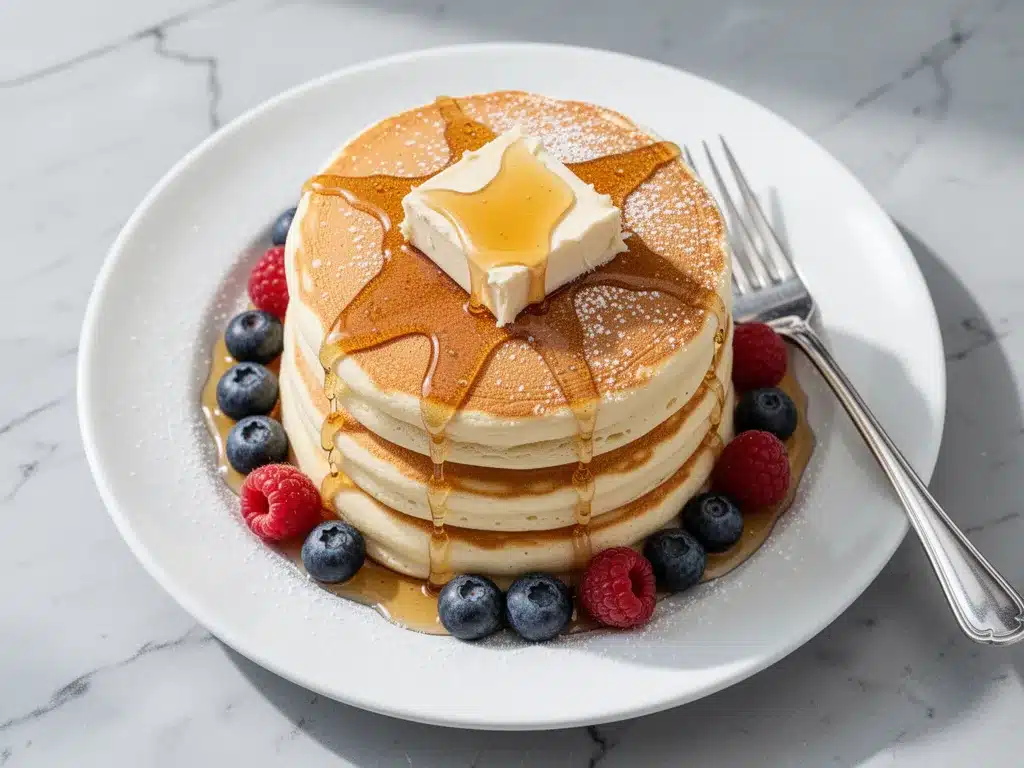
Butter or Oil — For greasing the pan. I prefer butter for flavor, but oil works too. You can also use cinnamon roll style butter for a fun twist.
Equipment Needed
You don’t need fancy gadgets. Here’s what I actually use:
Large Mixing Bowl — I use a 4-quart bowl. It needs to be big enough to whisk without making a mess. Any bowl works, just make sure it’s big.
Whisk — A regular wire whisk is fine. I have a cheap one from the dollar store that works perfectly. You don’t need a fancy balloon whisk.
Non-Stick Skillet or Griddle — This is important. A non-stick surface ensures easy flipping and even cooking. I use a 10-inch non-stick skillet. If you have a flat electric griddle, that’s even better for batch cooking.
Spatula — A flexible silicone spatula is best for flipping. It won’t scratch your pan and gets under the pancake easily.
Measuring Cups and Spoons — For accuracy. I use both cups for flour and spoons for leavening agents.
Ladle or ¼ Cup Measure — For pouring consistent amounts of batter. I use a ¼ cup measure for uniform size. Consistency helps them cook evenly.
How to Make It: Step-by-Step
Alright, let’s make these pancakes! I’m walking you through exactly how I do it, including the little tricks I’ve picked up over the years. It’s simpler than you think.
Step 1: Mix the Dry Ingredients (2 minutes)
In your large mixing bowl, whisk together the flour, sugar, baking powder, baking soda, and salt. I do this first because it’s easy, and then I can focus on the wet ingredients. Make sure there are no lumps of baking powder or baking soda. Whisk them well.
Step 2: Combine the Wet Ingredients (1 minute)
In a separate bowl or large measuring cup, whisk the buttermilk, egg, melted butter, and vanilla extract. The butter should be melted but not hot. If it’s too hot, it will cook the egg. I usually melt my butter in the microwave while I’m mixing the dry ingredients. It saves time.
Step 3: Combine Wet and Dry (1 minute)
Pour the wet ingredients into the dry ingredients. Use your whisk to gently combine them. STOP WHEN JUST COMBINED. This is the most important step. Lumps are okay. In fact, they’re good. Overmixing develops gluten, which makes pancakes tough and chewy instead of fluffy. If you mix until smooth, you’ll get rubbery pancakes. I’ve made that mistake. Don’t be like me. Mix until you barely see any dry flour.
Step 4: Let the Batter Rest (5-10 minutes)
Set the batter aside for 5-10 minutes. This allows the flour to hydrate and the leavening agents to start working. You’ll see little bubbles forming on the surface. This step is crucial for ultra-fluffy results. If you skip it, your pancakes will be denser. I usually use this time to set the table or get the kids dressed.
Step 5: Heat the Pan (2 minutes)
Heat your non-stick skillet or griddle over medium heat. I test it by sprinkling a few drops of water on the surface. If they sizzle and evaporate, it’s ready. If they dance around, it’s too hot. If they just sit there, it’s too low. Medium is the sweet spot. Lightly grease the pan with butter or oil.
Step 6: Cook the Pancakes (3-4 minutes per batch)
Pour ¼ cup of batter for each pancake. Don’t crowd the pan. Cook until bubbles form on the surface and the edges look set. This usually takes 2-3 minutes. Then, flip carefully. Cook for another 1-2 minutes until golden brown. The second side cooks faster, so watch it closely. I’ve burned the second side more times than I’d like to admit.
Step 7: Serve Immediately
Serve hot with your favorite toppings. Maple syrup, fresh berries, whipped cream, or just butter. These are best eaten right off the griddle.
Expert Tips & Tricks for Success
Here’s everything I’ve learned from making these dozens of times. These tips will save you from my mistakes.
- Don’t Overmix — I can’t stress this enough. Lumpy batter = fluffy pancakes. Smooth batter = dense pancakes. Trust me on this.
- Rest the Batter — The 5-10 minute rest is non-negotiable if you want that restaurant-quality fluff. It allows the baking powder to activate.
- Medium Heat — Too high, and they burn outside while raw inside. Too low, and they dry out. Medium is perfect. If you’re unsure, start lower and adjust.
- Keep Them Warm — If you’re making a big batch, keep cooked pancakes warm in a 200°F oven on a wire rack. Don’t stack them in a pile, or they’ll get soggy.
- Fresh Leavening Agents — Check your baking powder and soda expiration dates. Old ones don’t work well. I replace mine every 3-6 months.
Common Mistakes:
- Sauce too thick? (Not applicable, but same principle) — If your batter is too thick, add a splash of milk. If it’s too thin, add a spoonful of flour. It should be pourable but not watery.
- Pancakes are flat — Usually means old leavening agents or overmixing.
- Pancakes are tough — Overmixing. Again.
Variations & Substitutions
Once you’ve nailed the basic version, here’s how you can mix it up. I’ve tried all of these.
- Banana Pancakes — Mash 1 ripe banana into the wet ingredients. Adds natural sweetness and moisture.
- Blueberry Pancakes — Fold in ½ cup fresh or frozen blueberries after mixing. Don’t overmix when adding berries.
- Chocolate Chip Pancakes — Add ½ cup chocolate chips. My kids love this version.
- Whole Wheat Pancakes — Substitute half the flour with whole wheat flour. Adds nuttiness and fiber.
- Gluten-Free — Use a 1:1 gluten-free flour blend. The texture might be slightly denser, but still good.
- Dairy-Free — Use oat milk or almond milk with lemon juice for the buttermilk substitute. Use coconut oil or neutral oil instead of butter.
If you’re looking for other sweet treats, you might enjoy these pumpkin zucchini bread muffins for a similar breakfast vibe, or these caramel pecan sticky buns for a weekend indulgence.
Serving & Storage
How to Serve: I usually serve these straight from the skillet. They look rustic and stay warm. Top with maple syrup, fresh berries, or a dollop of whipped cream. For a savory twist, serve with crispy bacon or fluffy egg and cheese breakfast sandwiches on the side.
Storage: Store leftovers in an airtight container in the fridge for up to 3 days. Reheat in the toaster or microwave with a damp paper towel to keep them soft.
Freezing: Yes, they freeze well! Cool them completely, then freeze in a single layer on a baking sheet. Once frozen, transfer to a freezer bag. They’ll last up to 2 months. Reheat in the toaster.
Nutrition Information
I’m not a nutritionist, but here’s the breakdown if you’re tracking. Per serving (based on 4 pancakes, serves 4):
- Calories: 280
- Protein: 8g
- Carbs: 40g
- Fiber: 2g
- Sugar: 6g
- Fat: 10g
- Saturated Fat: 6g
- Cholesterol: 50mg
- Sodium: 400mg
Look, this is comfort food. It’s not a diet recipe. But it’s way better than boxed mix, and I know exactly what’s in it. When I want to make it lighter, I use skim milk and reduce the butter slightly. But usually? I just eat a reasonable portion and enjoy it.
Final Thoughts
So that’s my go-to ultra-fluffy buttermilk pancakes recipe! I’ve probably talked your ear off at this point, but when you make a recipe this often, you have a lot to say about it. This has saved our mornings more times than I can count. It’s my answer to “what’s for breakfast?” when I’m tired, don’t want to go to a restaurant, and still want something that tastes really good. My kids are happy, my husband’s happy, and I’m happy because I’m not stressed about cooking.
Make it yours! Try different add-ins, swap in your favorite berries, adjust the sweetness. The best recipes are the ones you adapt to your family’s tastes. If you make this, drop a comment and let me know what you think! I love hearing how recipes turn out in your kitchen. And if something doesn’t work, tell me that too—I’m here to help troubleshoot.
Happy cooking! And I hope your kitchen smells half as good as mine does right now.
Frequently Asked Questions
Can I use milk instead of buttermilk?
Yes! Mix 1 cup of milk with 1 tablespoon of lemon juice or white vinegar. Let it sit for 5-10 minutes until it curdles. It creates the same acidity as buttermilk. It works surprisingly well, though the flavor might be slightly less tangy.
Why are my pancakes flat?
Usually, this means your baking powder or baking soda is old. Check the expiration dates. It could also mean you’re overmixing the batter. Remember: lumpy is good! Overmixing develops gluten, which makes pancakes dense. Also, make sure your pan is at the right temperature. If it’s too cool, they won’t rise.
Can I make the batter ahead of time?
Not really. The leavening agents start working as soon as they touch the liquid. If you make the batter too far in advance, the bubbles will escape, and your pancakes will be flat. It’s best to mix and cook immediately. However, you can mix the dry ingredients ahead of time and store them in an airtight container. Just add the wet ingredients right before cooking.
How do I keep pancakes warm while cooking?
Preheat your oven to 200°F. Place cooked pancakes on a wire rack set over a baking sheet. This allows air to circulate and keeps them crisp. Don’t stack them in a pile, or they’ll get soggy from steam.
Can I freeze leftover pancakes?
Absolutely! Let them cool completely. Then, freeze them in a single layer on a baking sheet. Once frozen, transfer them to a freezer bag. They’ll last up to 2 months. Reheat in the toaster or microwave for a quick breakfast.
What’s the best topping for these pancakes?
Classic maple syrup is always a winner. Fresh berries (strawberries, blueberries, raspberries) add a nice tartness. Whipped cream is indulgent. I also like a drizzle of honey or a dusting of powdered sugar. For a savory option, try serving them with breakfast sausage on the side.
Can I double this recipe?
Yes! Double all ingredients. Just make sure you have a large enough bowl to mix them. The cooking time remains the same, but you’ll need to cook in batches. Keep the cooked pancakes warm in the oven as you go.
Pin This Recipe!
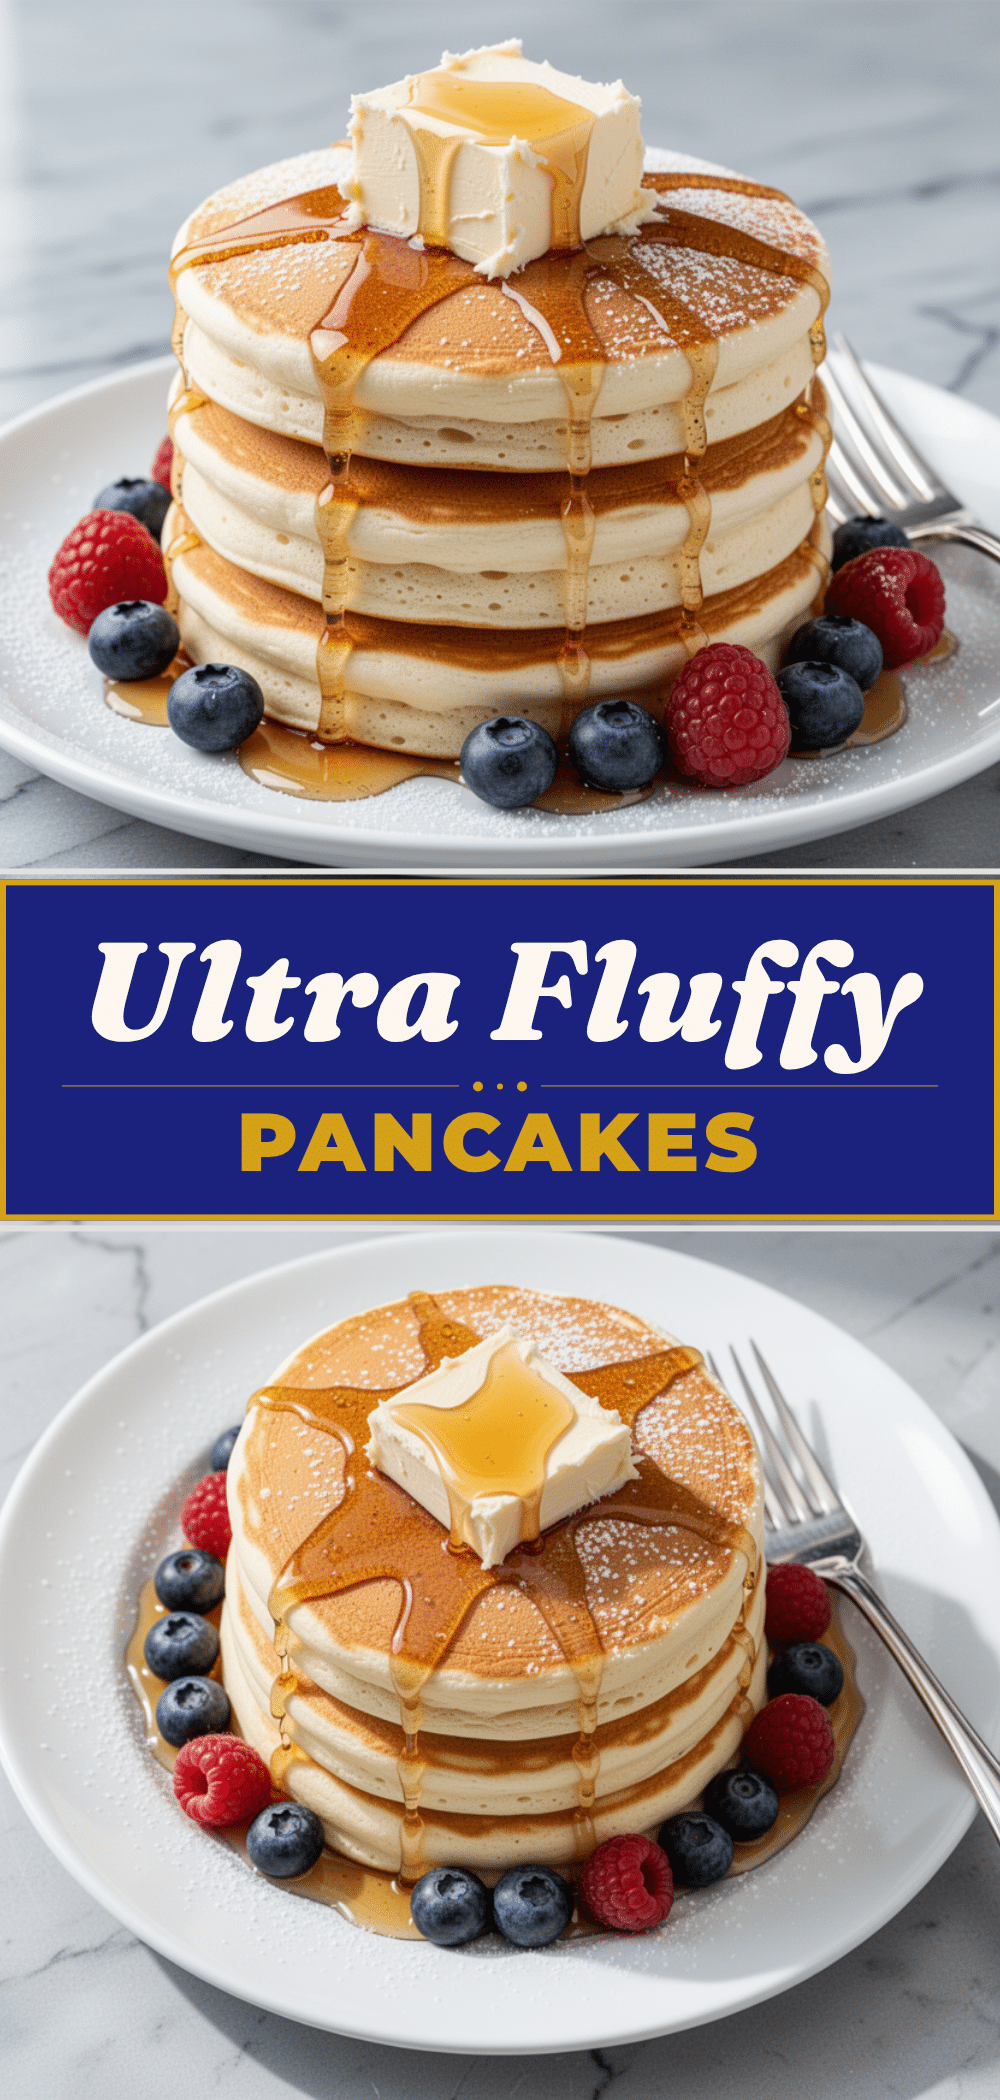
Ultra-Fluffy Buttermilk Pancakes: Easy 15-Minute Recipe
- Total Time: 15 minutes
- Yield: 4 servings 1x
Description
These ultra-fluffy buttermilk pancakes are ready in 15 minutes using simple pantry staples. The secret lies in the buttermilk and letting the batter rest for maximum lift and tenderness.
Ingredients
- 1 ½ cups all-purpose flour
- 2 tablespoons sugar
- 2 teaspoons baking powder
- ½ teaspoon baking soda
- ½ teaspoon salt
- 1 ¼ cups buttermilk
- 1 large egg
- 3 tablespoons melted butter
- 1 teaspoon vanilla extract
- Butter or oil for greasing the pan
Instructions
- In a large mixing bowl, whisk together the flour, sugar, baking powder, baking soda, and salt until no lumps remain.
- In a separate bowl or large measuring cup, whisk the buttermilk, egg, melted butter, and vanilla extract. Ensure the butter is melted but not hot.
- Pour the wet ingredients into the dry ingredients. Gently whisk to combine, stopping as soon as the ingredients are just combined. Do not overmix; lumps are okay.
- Let the batter rest for 5-10 minutes to allow the flour to hydrate and leavening agents to activate.
- Heat a non-stick skillet or griddle over medium heat. Test by sprinkling water drops; they should sizzle and evaporate. Lightly grease the pan with butter or oil.
- Pour ¼ cup of batter for each pancake onto the skillet. Cook until bubbles form on the surface and edges look set, about 2-3 minutes.
- Flip carefully and cook for another 1-2 minutes until golden brown.
- Serve immediately with maple syrup, fresh berries, or whipped cream.
Notes
Do not overmix the batter, as this develops gluten and makes pancakes tough. Letting the batter rest for 5-10 minutes is crucial for fluffiness. If you don’t have buttermilk, substitute with 1 cup milk plus 1 tablespoon lemon juice or vinegar, let sit for 5 minutes. Keep cooked pancakes warm in a 200°F oven on a wire rack to prevent sogginess.
- Prep Time: 5 minutes
- Cook Time: 10 minutes
- Category: Breakfast
- Cuisine: American
Nutrition
- Serving Size: 4 pancakes
- Calories: 280
- Sugar: 6
- Sodium: 400
- Fat: 10
- Saturated Fat: 6
- Carbohydrates: 40
- Fiber: 2
- Protein: 8
Keywords: buttermilk pancakes, fluffy pancakes, easy breakfast, 15 minute recipe, homemade pancakes, kid-friendly breakfast



