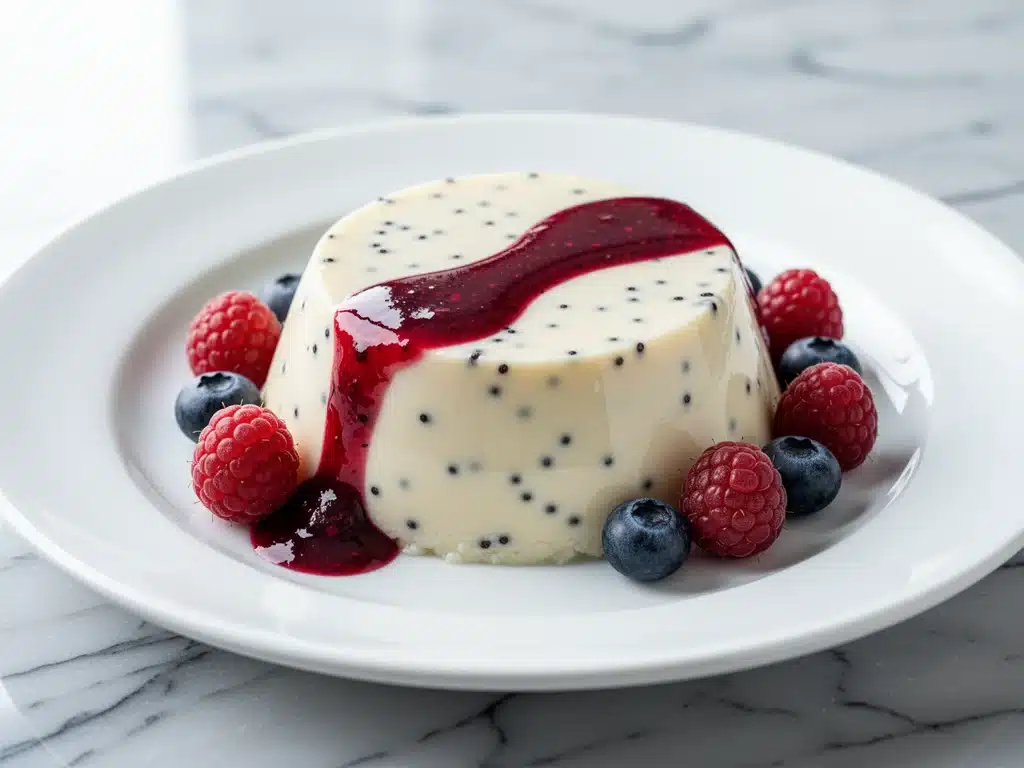
It was a Tuesday in July, and my kitchen was basically an oven. The AC had died, the windows were open to let in the humid air, and I was staring at a half-empty fridge trying to figure out what to make for dessert. I didn’t want anything heavy. I didn’t want to turn on the oven. I just wanted something cold, silky, and elegant enough to make my husband think I’d actually tried, but easy enough to make in twenty minutes while the dog barked at squirrels outside.
I had heavy cream, sugar, and a packet of gelatin. That was it. No fancy vanilla beans. No exotic fruits. Just the basics.
I poured the mixture into four ramekins, chilled them, and went to bed. The next morning, I pulled them out. I ran my finger along the side. It jiggled like a perfect Jell-O mold, but when I flipped one onto a plate, it didn’t fall apart. It sat there, pristine and glossy. I spooned into it, and the texture was… impossible. It melted on my tongue. No rubberiness. No grainy sugar crystals. Just pure, cool creaminess.
That accidental Tuesday dessert became the most requested treat in our house. My kids ask for it when they want a “fancy” snack. My husband loves it because it feels like a restaurant dessert but costs pennies. I’ve made this ultra-creamy vanilla bean panna cotta at least fifty times since that July night. I’ve tweaked the gelatin ratios, tested different creams, and figured out exactly how to make the berry coulis so it’s tart enough to cut through the richness.
This isn’t just a dessert. It’s my secret weapon for impressing guests without spending hours in the kitchen. And the best part? You don’t need a single baking pan. If you can mix ingredients in a saucepan, you can make this. Seriously.
Why You’ll Love This Vanilla Bean Panna Cotta
There are about ten reasons I keep making this, but here are the big ones. This recipe has completely changed how I handle summer desserts and holiday tables alike.
Stupid Simple — Seriously, if you can boil water and whisk, you can make this. I’ve walked my teenage son through it over FaceTime while I was at work. He made three perfect batches before I even got home. No baking skills required.
Make-Ahead Magic — This is the ultimate stress-buster. You make it the night before (or three days before) and forget about it. When guests arrive, it’s already done. I’ve saved dinner parties by pulling this out of the fridge when I realized I forgot to bake a cake.
Restaurant-Quality Texture — Most homemade panna cotta turns out rubbery or too firm. This one is silky, delicate, and melts in your mouth. The secret? I use a specific ratio of cream to gelatin that keeps it lush but stable. It’s the kind of texture that makes people close their eyes when they eat it.
Customizable Any Way You Want — Vanilla bean is classic, but this base recipe is a blank canvas. Swap the berries for mango, use chocolate sauce, or add lavender. I’ve made it with Earl Grey tea for a sophisticated twist. It’s versatile enough for a weeknight treat or a wedding reception.
Budget-Smart — Feeds 6 people for under $8. That’s less than a single slice of cheesecake at a fancy cafe. You’re using pantry staples and cheap cream. The result looks and tastes expensive, but your wallet stays happy.
This is my go-to when I need dessert to just work. No complicated techniques, no weird ingredients you have to hunt for, just reliable, delicious food that makes everyone happy. It’s the kind of dish that feels like a hug in a bowl.
Ingredients You’ll Need
Here’s the best part: you probably have most of this already. This ultra-creamy vanilla bean panna cotta relies on quality, not quantity. You only need five core ingredients for the custard, plus a few for the berry topping.
Heavy Cream (3 cups / 720ml) — This is the star. Do not substitute with half-and-half or milk if you want that ultra-creamy texture. You need the fat content to carry the flavor and create the silky mouthfeel. I buy the heavy whipping cream in the carton, not the small cartons. It’s cheaper and lasts longer in the fridge.
Whole Milk (1 cup / 240ml) — I add a cup of milk to lighten the texture slightly. If you use 100% cream, it can be a bit too rich and heavy. The milk makes it delicate and easy to eat. Use full-fat milk for best results.
Sugar (½ cup / 100g) — Granulated white sugar is perfect. It dissolves easily and doesn’t alter the flavor. I’ve tried brown sugar, and it makes the panna cotta taste like caramel, which is nice but changes the classic profile. Stick to white for that clean vanilla taste.
Vanilla Beans (2 pods) — Or 2 teaspoons of pure vanilla extract. I prefer real vanilla beans because you get those tiny black specks that look gorgeous against the white cream. Plus, the flavor is deeper and more floral. If you use extract, stir it in after you remove the mixture from heat so the alcohol doesn’t cook off.
Unflavored Gelatin (2 packets / 14g) — This is the setting agent. I use standard Knox gelatin. It’s affordable and reliable. You need about 14 grams total to set 4 cups of liquid firmly but softly. Do not skip this, or you’ll have soup.
For the Berry Coulis:
Frozen Mixed Berries (2 cups / 300g) — Strawberries, raspberries, blueberries. Frozen is actually better here because it’s picked at peak ripeness and is cheaper than fresh out-of-season berries. Thaw them slightly before blending.
Simple Syrup (2 tablespoons) — Or honey. Just enough to balance the tartness of the berries. If your berries are super tart, add a bit more.
Lemon Juice (1 teaspoon) — Just a splash to brighten the flavor. It makes the berries taste more like berries.
Personal Tip: I always bloom my gelatin in cold water first. It sounds like an extra step, but it prevents clumps. If you sprinkle dry gelatin directly into hot cream, it might not dissolve evenly, and nobody wants a rubbery chunk in their dessert.
Equipment Needed
You don’t need fancy equipment for this. Here’s what I actually use.
Saucepan — A medium-sized heavy-bottomed pan works best. I use my 3-quart stainless steel pan. It heats evenly so the cream doesn’t scorch. You don’t need to boil it hard, just gentle heat.
Bowl for Blooming Gelatin — Any small bowl will do. I use a ramekin. You’ll sprinkle the gelatin powder over cold water here.
Whisk — A simple balloon whisk is perfect for dissolving the sugar and gelatin. I also use a silicone spatula to scrape the vanilla bean seeds.
Molds or Ramekins — I use four 6-ounce ramekins. They’re classic and look elegant. You can also use a large 8-cup mold if you want to unmold the whole thing for a show-stopping presentation. Just grease the mold lightly with butter or cooking spray.
Blender or Food Processor — For the berry coulis. I use my stick blender right in the bowl, but a standard blender works great too. Just be careful with hot fruit puree if you cook it first.
Strainer — Optional but recommended for the coulis. If you don’t like seeds or chunks of berry, strain the sauce through a fine-mesh sieve. I like a little texture, so I skip this sometimes.
Refrigerator Space — Make sure you have room for the molds. They need at least 4 hours to set, preferably overnight.
How to Make It: Step-by-Step
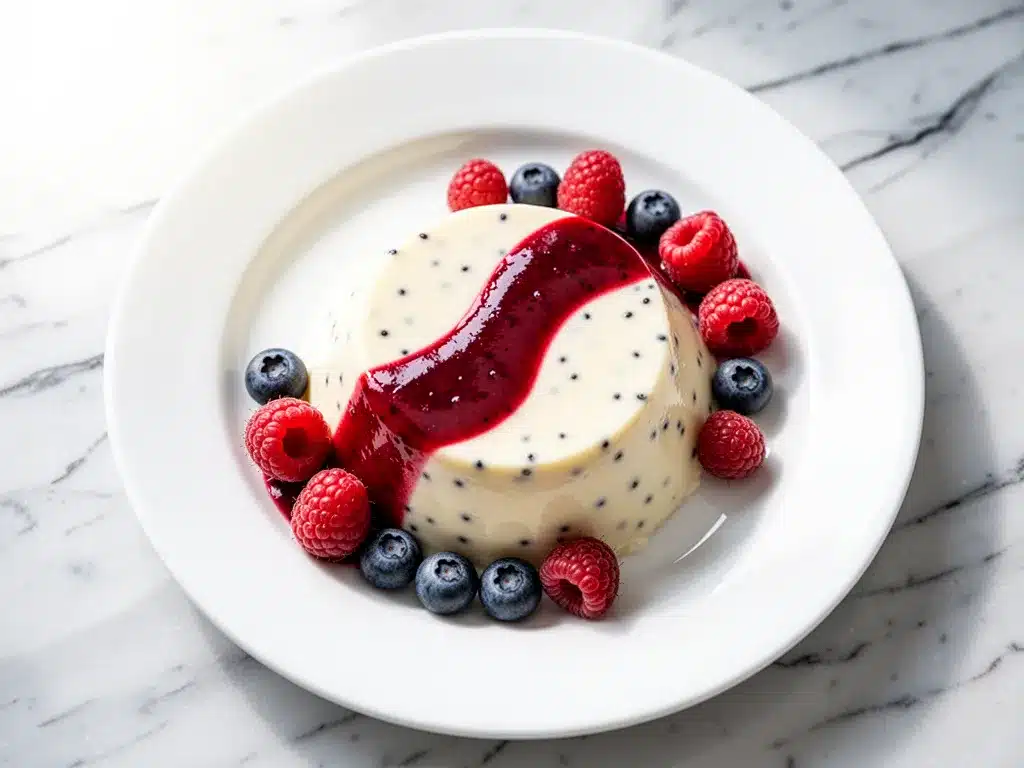
Alright, let’s make this! I’m walking you through exactly how I do it, including the little tricks I’ve picked up over the years. This ultra-creamy vanilla bean panna cotta comes together quickly, but patience is key.
Step 1: Bloom the Gelatin (5 minutes)
Before you turn on the stove, grab a small bowl. Sprinkle the gelatin powder evenly over ¼ cup of cold water. Let it sit for 5-10 minutes. It will turn into a spongy, jelly-like mass. This is called “blooming.” It hydrates the gelatin so it dissolves smoothly later. If you skip this, you might get clumps. Trust me, I learned this the hard way once.
Step 2: Heat the Cream Mixture (5 minutes)
In your saucepan, combine the heavy cream, whole milk, and sugar. If you’re using vanilla beans, slice them open lengthwise with a sharp knife and scrape out the seeds. Add both the seeds and the empty pods to the pan. The pods infuse extra flavor.
Heat the mixture over medium-low heat. Stir constantly with a whisk until the sugar is completely dissolved. You want the cream to get hot—hot enough to steam and bubble slightly at the edges—but do NOT let it come to a rolling boil. Boiling can break down the gelatin’s setting power. This should take about 4-5 minutes.
Step 3: Dissolve the Gelatin (2 minutes)
Remove the saucepan from the heat. Take the bloomed gelatin (the spongy stuff from Step 1) and squeeze out any excess water. Drop it into the hot cream. Stir gently but continuously for about 1-2 minutes. The heat from the cream will melt the gelatin completely. Make sure no white powder remains. If you’re using vanilla extract instead of beans, stir it in now.
Remove the vanilla pods if you used them. If you’re using a large mold, strain the mixture through a sieve to catch any undissolved bits or vanilla pod fibers. For individual ramekins, just skim off any bubbles on top with a spoon.
Step 4: Pour and Chill (4+ hours)
Divide the mixture evenly among your prepared ramekins or mold. You can cover them loosely with plastic wrap to prevent a skin from forming, but it’s not strictly necessary if you chill them properly.
Place them in the refrigerator. Let them set for at least 4 hours, but overnight is best. I usually make them the night before dinner. When you touch the side of the ramekin, it should feel firm and cool, like a soft cheese. It should jiggle slightly if you nudge it, but not slosh around.
Step 5: Make the Berry Coulis (10 minutes)
While the panna cotta chills, make the topping. Thaw your frozen berries. If they’re very wet, drain some of the liquid. Put the berries, sugar, and lemon juice in a blender.
Blend until smooth. If you want a smooth sauce, strain it through a sieve. If you like a rustic texture with bits of berry, skip the strainer. Taste it. If it’s too tart, add a teaspoon more sugar. If it’s too sweet, add a squeeze more lemon. Keep it balanced.
Step 6: Serve
For individual ramekins, you can serve them right in the ramekin. It’s casual and easy. For a more elegant look, run a warm knife around the edge of the mold, dip the bottom in hot water for 10 seconds, then flip it onto a plate. Tap gently, and it should slide out cleanly.
Spoon the berry coulis over the top. Garnish with a fresh mint leaf or a few whole berries if you have them. Eat immediately. This dessert doesn’t keep its shape well once it hits room temperature.
Expert Tips & Tricks
Here’s everything I’ve learned from making this dozens of times. These tips will save you from my mistakes.
Don’t Boil the Cream
I cannot stress this enough. If you boil the cream and gelatin mixture, the gelatin loses its strength. Your panna cotta might never set, or it might be watery. Keep the heat low and steady. You just want it hot enough to dissolve the sugar and gelatin.
Use High-Quality Gelatin
I’ve tried generic store brands, and they sometimes have a weird aftertaste or don’t set as clearly. I stick to Knox or a high-quality unflavored gelatin. It’s worth the few extra cents.
Strain for Silkiness
If you’re aiming for that restaurant-perfect texture, strain the cream mixture through a fine-mesh sieve before pouring it into the molds. This catches any tiny bits of undissolved gelatin or vanilla fiber. It makes the final product incredibly smooth.
Room Temperature for Unmolding
If you’re unmolding the panna cotta, let it sit at room temperature for 2-3 minutes before dipping it in hot water. This helps release the edges evenly. Don’t leave it out too long, or it will start to melt.
Customize the Coulis
Don’t be afraid to swap the berries. Peach coulis is amazing in summer. Raspberry is tart and beautiful. Blackberry is deep and rich. You can also add a splash of liqueur like Chambord or Grand Marnier to the coulis for an adult twist.
Storage is Key
Panna cotta is best eaten within 2 days. After that, it starts to weep liquid and lose its texture. Make it fresh for parties. If you must make it ahead, stick to the 48-hour rule.
Variations & Substitutions
Once you’ve nailed the basic version, here’s how you can mix it up. I’ve tried all of these, and they’re all winners.
Chocolate Panna Cotta
Add ½ cup of high-quality cocoa powder or 4 ounces of chopped dark chocolate to the hot cream mixture. Stir until melted. It’s rich, decadent, and perfect for chocolate lovers. I pair this with a raspberry coulis to cut the sweetness.
Earl Grey Tea Panna Cotta
Steep 2 Earl Grey tea bags in the hot cream mixture for 10 minutes, then remove the bags before adding the gelatin. The bergamot flavor is sophisticated and pairs beautifully with lemon curd or blueberry coulis.
Coconut Panna Cotta
Replace the whole milk with full-fat coconut milk. Use coconut cream for extra richness. Add a teaspoon of vanilla and a pinch of salt. It’s dairy-free (if you skip the gelatin or use agar) and tropical. Serve with mango coulis.
Lavender Honey Panna Cotta
Steep 1 tablespoon of culinary lavender buds in the hot cream. Strain before adding gelatin. Replace the sugar with honey for a floral, aromatic treat. This is great with strawberry coulis.
Gluten-Free & Dairy-Free Options
This recipe is naturally gluten-free. For dairy-free, use coconut cream instead of heavy cream and milk. Note that coconut cream sets differently—it’s softer. You might need slightly more gelatin. Use agar-agar for a vegan version, but follow the package instructions carefully as it sets differently than gelatin.
Different Fruit Sauces
Instead of berry coulis, try a caramel sauce, chocolate ganache, or even a simple compote of cooked apples or pears. I love this with my cinnamon roll apple cobbler flavors in mind, but a simple spiced pear compote is also lovely.
Serving & Storage
How to Serve:
I usually serve these straight from the ramekins for casual dinners. They look rustic and charming. For dinner parties, I unmold them onto small plates and drizzle the coulis artfully over the top. Add a mint leaf for color contrast.
Side Dishes:
This is a dessert, so it stands alone. But if you’re serving a light meal, pair it with shortbread cookies or madeleines. I also like it with a cup of hot coffee or tea.
Storage Instructions:
Store in the refrigerator in an airtight container or covered with plastic wrap for up to 3 days. Do not freeze. Freezing changes the texture of the gelatin, making it grainy and watery when thawed. This dessert is best fresh.
Reheating:
Do not reheat panna cotta. It’s meant to be eaten cold. If it’s too cold straight from the fridge, let it sit at room temperature for 5 minutes before serving.
Pro Tip:
If you’re making this for a party, make the coulis ahead and store it in a jar in the fridge. The panna cotta needs to set overnight, so plan accordingly. Assemble just before serving to keep the colors bright and the texture perfect.
Nutrition Information
I’m not a nutritionist, but here’s the breakdown if you’re tracking. This is a rich dessert, so portion control is key.
Per Serving (based on 6 servings, with coulis):
– Calories: 320
– Protein: 6g
– Carbs: 28g
– Fiber: 1g
– Sugar: 24g
– Fat: 22g
– Saturated Fat: 14g
– Cholesterol: 85mg
– Sodium: 45mg
– Calcium: 180mg
What’s Good:
– Good source of calcium from the dairy.
– Gelatin provides some protein.
– No refined flour or baking ingredients.
What to Know:
– High in saturated fat due to the heavy cream.
– Moderate sugar content, mostly from the coulis and added sugar.
– Contains dairy. Not suitable for lactose-intolerant individuals without substitution.
My Take:
Look, this is a dessert. It’s meant to be indulgent. The cream and sugar make it delicious, but it’s not a health food. Enjoy it in moderation. If you want to lighten it up, use the half-and-half version I mentioned earlier, or reduce the sugar in the coulis. But honestly? I don’t. I just enjoy a small bowl and feel happy.
Frequently Asked Questions
Can I use gelatin sheets instead of powder?
Yes! Gelatin sheets (leaf gelatin) work beautifully. You need to weigh them. Generally, 1 packet of Knox powder (about 7g) equals roughly 2-3 sheets of gelatin, depending on the brand. So for this recipe, you’d need about 4-6 sheets. Bloom them in cold water for 5-10 minutes, squeeze out the water, and dissolve them in the hot cream just like the powder. It’s often smoother than powder, which is why many professional chefs prefer it.
Why is my panna cotta watery?
This usually happens for two reasons. First, you might not have used enough gelatin. If your mixture is too thin, you didn’t use enough setting agent. Second, you might have boiled the mixture. Boiling breaks down the gelatin’s strength. Always keep the heat low and just warm enough to dissolve ingredients. If it’s already watery and chilled, you can try re-dissolving a little more gelatin in water and stirring it into the mixture, then re-chilling. It’s hit or miss, but worth a try.
Can I make this in a large mold instead of individual ramekins?
Absolutely. Use an 8-cup mold. Grease it lightly with butter or oil. Pour in the mixture and chill for 6-8 hours. To unmold, run a warm knife around the edge, dip the bottom in hot water for 10-15 seconds, place your plate on top, and flip. It should slide out cleanly. This looks impressive for dinner parties.
How long does the berry coulis last?
The coulis lasts in the fridge for up to 5 days in an airtight container. It might thicken slightly as it cools. If it gets too thick, stir in a teaspoon of water or lemon juice to thin it out. It’s great to make ahead so you’re ready when the panna cotta is done.
Can I use extract instead of vanilla beans?
Yes. Use 2 teaspoons of pure vanilla extract. Add it after you remove the cream from the heat. If you add it while boiling, the alcohol and some flavor compounds will evaporate. Pure extract tastes much better than imitation. If you’re using imitation, you might need a bit more to get the flavor through.
Is this recipe gluten-free?
Yes, this ultra-creamy vanilla bean panna cotta is naturally gluten-free. Just make sure your gelatin and any additives are certified gluten-free, though most pure gelatin and dairy are safe. The berry coulis is also gluten-free. It’s a great option for guests with celiac disease or gluten sensitivity.
Final Thoughts
So that’s my go-to ultra-creamy vanilla bean panna cotta! I’ve probably talked your ear off at this point, but when you make a recipe this often, you have a lot to say about it.
This has saved summer dinners more times than I can count. It’s my answer to “what’s for dessert” when I’m tired, don’t want to bake, and still want something that tastes really good. My kids are happy, my husband’s happy, and I’m happy because I’m not stressed about cooking.
Make it yours! Try different fruit coulis, swap in your favorite tea, or add a splash of liqueur. The best recipes are the ones you adapt to your family’s tastes. If you make this, drop a comment and let me know what you think! I love hearing how recipes turn out in your kitchen. And if something doesn’t work, tell me that too—I’m here to help troubleshoot.
Happy cooking! And I hope your kitchen smells half as good as mine does right now.
Pin This Recipe!
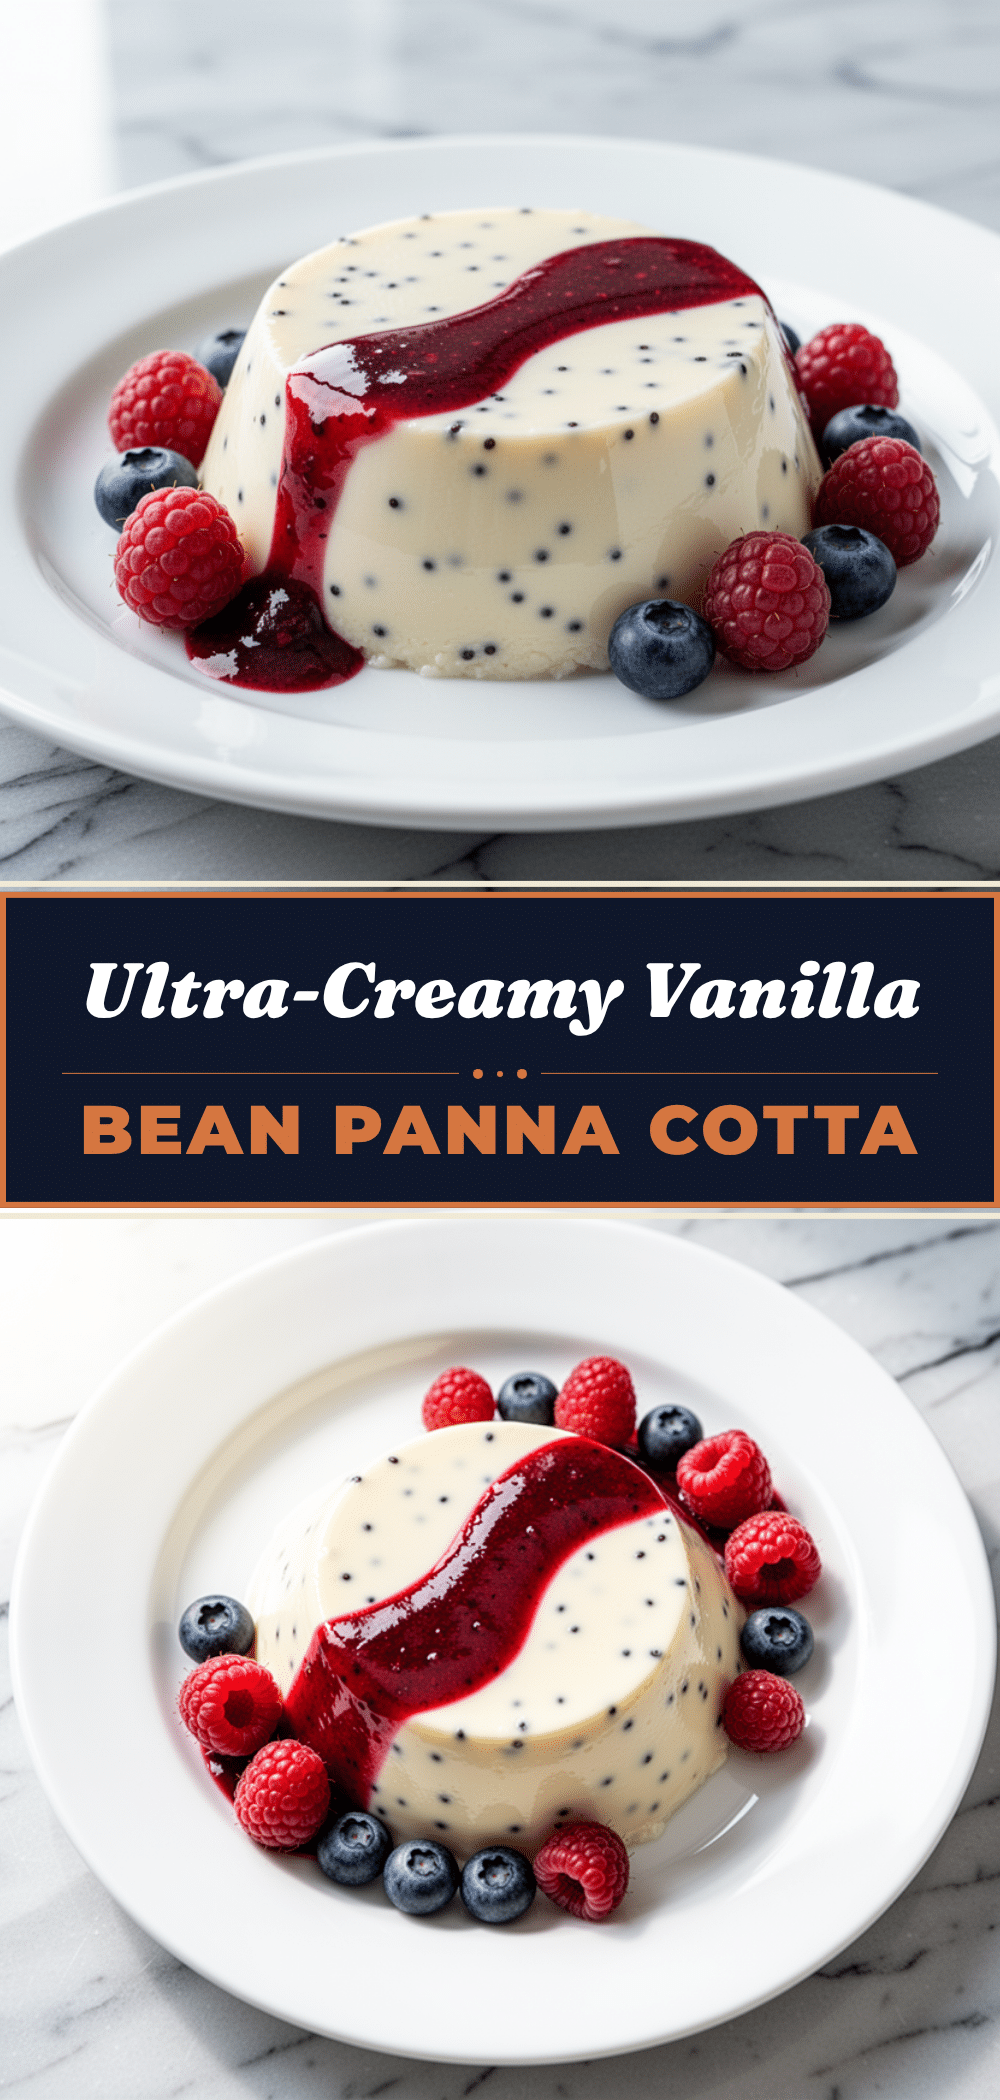
Ultra-Creamy Vanilla Bean Panna Cotta: 5-Ingredient No-Bake Dessert
- Total Time: 4 hours 25 minutes
- Yield: 6 servings 1x
Description
A silky, elegant no-bake dessert that melts in your mouth. This ultra-creamy vanilla bean panna cotta is made with just five core ingredients and a simple berry coulis, perfect for impressing guests without the stress.
Ingredients
- 3 cups heavy cream
- 1 cup whole milk
- ½ cup granulated white sugar
- 2 vanilla beans (or 2 teaspoons pure vanilla extract)
- 2 packets unflavored gelatin (14g total)
- ¼ cup cold water (for blooming gelatin)
- 2 cups frozen mixed berries (for coulis)
- 2 tablespoons simple syrup or honey (for coulis)
- 1 teaspoon lemon juice (for coulis)
Instructions
- Bloom the gelatin: Sprinkle gelatin powder over ¼ cup of cold water in a small bowl and let sit for 5-10 minutes until spongy.
- Heat the cream mixture: In a saucepan, combine heavy cream, milk, sugar, and vanilla beans (seeds and pods). Heat over medium-low heat, stirring constantly until sugar dissolves and mixture steams. Do not boil.
- Dissolve the gelatin: Remove saucepan from heat. Squeeze excess water from bloomed gelatin and stir into the hot cream until fully dissolved. If using vanilla extract, stir it in now. Remove vanilla pods.
- Pour and chill: Divide mixture among ramekins or a large mold. Cover loosely and refrigerate for at least 4 hours, preferably overnight, until firm.
- Make the berry coulis: Blend thawed berries, simple syrup, and lemon juice until smooth. Strain if desired for a smoother texture.
- Serve: Serve panna cotta in ramekins or unmolded onto plates. Spoon berry coulis over the top and garnish with mint or fresh berries.
Notes
Do not boil the cream mixture as it breaks down the gelatin’s setting power. For best texture, strain the cream mixture before pouring into molds. The dessert is best eaten within 2 days and should not be frozen.
- Prep Time: 15 minutes
- Cook Time: 10 minutes
- Category: Dessert
- Cuisine: Italian
Nutrition
- Serving Size: 1 ramekin or slice
- Calories: 320
- Sugar: 24
- Sodium: 45
- Fat: 22
- Saturated Fat: 14
- Carbohydrates: 28
- Fiber: 1
- Protein: 6
Keywords: panna cotta, vanilla bean, no-bake dessert, creamy dessert, berry coulis, make-ahead dessert, gluten-free dessert, elegant dessert



