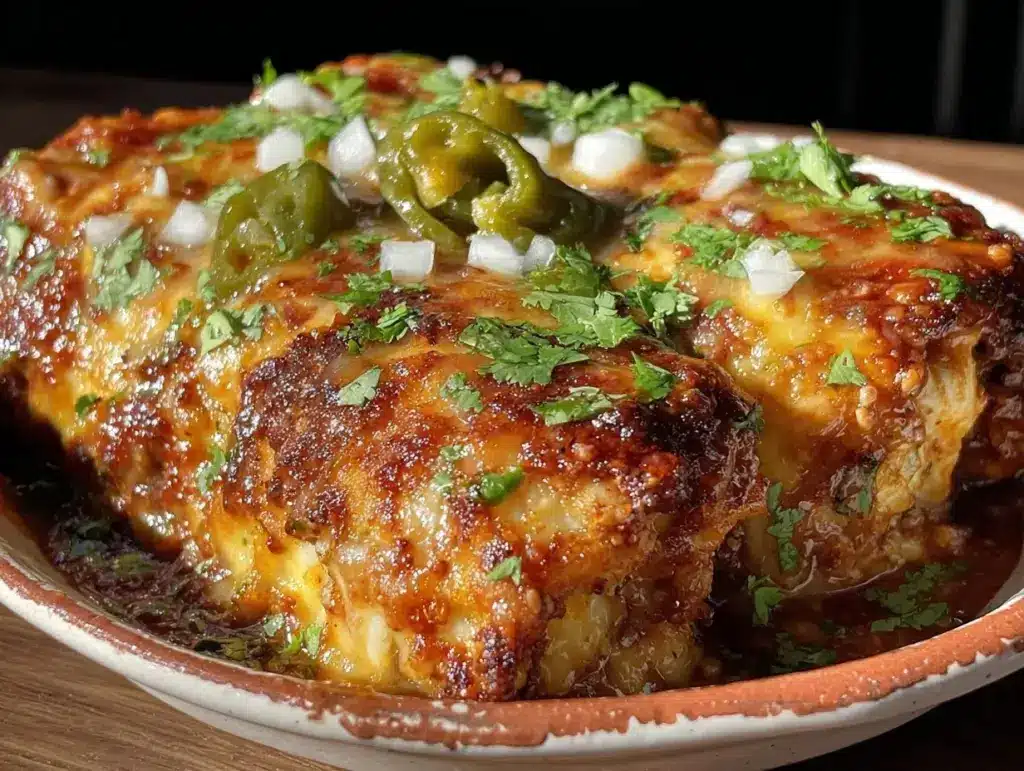
Last Friday, I was standing in my kitchen at 6:45 PM, staring at a rotisserie chicken from the grocery store that had been sitting in the fridge since Tuesday. You know the one—it’s that classic Tuesday dinner rescue that somehow turns into Thursday’s dilemma. My kids were already complaining about hunger, my husband was asking if we were getting pizza again (spoiler: we were not), and I had exactly 30 minutes before the “hangry” zone kicked in.
I pulled out the leftover chicken, a jar of salsa, some shredded cheddar, and a few cans of green chiles. I wasn’t thinking gourmet. I was thinking survival. But then I threw it all into a baking dish, covered it with tortillas, and baked it until the cheese bubbled and browned. The smell that filled the house? Better than any pizza delivery. Better than the Mexican place down the street.
That’s when I realized: rotisserie chicken enchiladas are my new secret weapon. Not only do they taste incredible—creamy, spicy, cheesy, and comforting—they cost a fraction of what I’d pay for takeout. I’ve made this crispy air fryer chicken recipe before for weeknight dinners, but honestly? This enchilada version is faster, uses less active effort, and feeds four people for under $15.
I’ve tested this recipe about ten times in the last month. I’ve tweaked the cheese ratios, played with different chile brands, and figured out the perfect way to keep the tortillas from getting soggy. What I’ve landed on is a dish that’s genuinely better than takeout, requires zero fancy skills, and makes your house smell amazing while you save money. If you’re tired of the weekly takeout rut, this is your answer.
Why You’ll Love This Recipe
There are plenty of ways to use up a rotisserie chicken, but this rotisserie chicken enchiladas with melted cheddar and green chile version is the one that keeps coming back to the dinner table. Here’s why it’s become a permanent fixture in our weekly rotation:
Stupid Simple Prep — Seriously, if you can shred chicken and pour salsa, you can make this. I don’t even cook the chicken beforehand. I just pull the meat off the bone while the oven preheats. It’s the ultimate lazy dinner that still tastes like I spent hours in the kitchen.
Actually Budget-Friendly — We live on a tight grocery budget, and takeout Mexican food adds up fast. A single order of enchiladas at a restaurant can run $18-$25. Making this at home costs about $12-$15 for enough food to feed a family of four with leftovers. That’s a huge win for my wallet.
Kid-Approved Comfort — My pickiest eater, who usually refuses anything with “green stuff” in it, loves the green chiles because they’re mild and creamy. The melted cheddar does most of the heavy lifting here. It’s familiar, cheesy, and warm. If you have picky eaters, this is your safe bet.
Perfect for Meal Prep — This dish actually tastes better the next day. The flavors meld together, and the sauce thickens slightly. I often make a double batch on Sunday. One goes in the fridge for mid-week dinners, and the other freezes beautifully for those nights when I really don’t want to think about cooking.
Uses Up Leftovers — Got leftover rotisserie chicken? Labor Day BBQ chicken skewers are great for parties, but rotisserie chicken is the king of leftovers. This recipe is the perfect way to use it up before it spoils. It also works great with leftover grilled chicken, though rotisserie saves you the prep time.
This is my go-to when I need dinner to just work. No complicated techniques, no weird ingredients you have to hunt for, just reliable, delicious food that makes everyone happy and keeps the budget intact.
Ingredients You’ll Need
Here’s the best part: you probably have most of this already in your pantry or fridge. This isn’t a recipe that requires a special trip to three different stores. Here’s what you need to make the best rotisserie chicken enchiladas with melted cheddar and green chile ever.
For the Filling
Rotisserie Chicken (3 cups, shredded / about 400g) — This is your star. Use the meat from a store-bought rotisserie chicken for speed. You can also use leftover grilled chicken, like my end-of-summer grilled chicken sandwich leftovers, but rotisserie is just easier. Pull the meat off the bone and shred it with two forks.
Small Onion (1 medium, diced / about 150g) — I use yellow or white onion. It adds sweetness and depth without overpowering the chicken. If you’re in a rush, you can skip this, but I don’t recommend it. It makes a big difference in flavor.
Green Chiles (1 can, 4oz / 113g) — Look for the diced variety, like Ro*Tel or Hatch brand. They’re mild, tangy, and add that classic enchilada kick. Don’t drain them unless you want a drier filling; the liquid helps keep the tortillas moist.
Shredded Cheddar Cheese (2 cups / 200g) — I use a blend of sharp cheddar and mild cheddar for the best flavor balance. If you can’t find a blend, just use sharp cheddar—it’s more flavorful. Avoid pre-shredded cheese if you can help it; it has anti-caking agents that make the sauce grainy. Buy a block and shred it yourself. It takes two minutes and melts so much better.
For the Sauce
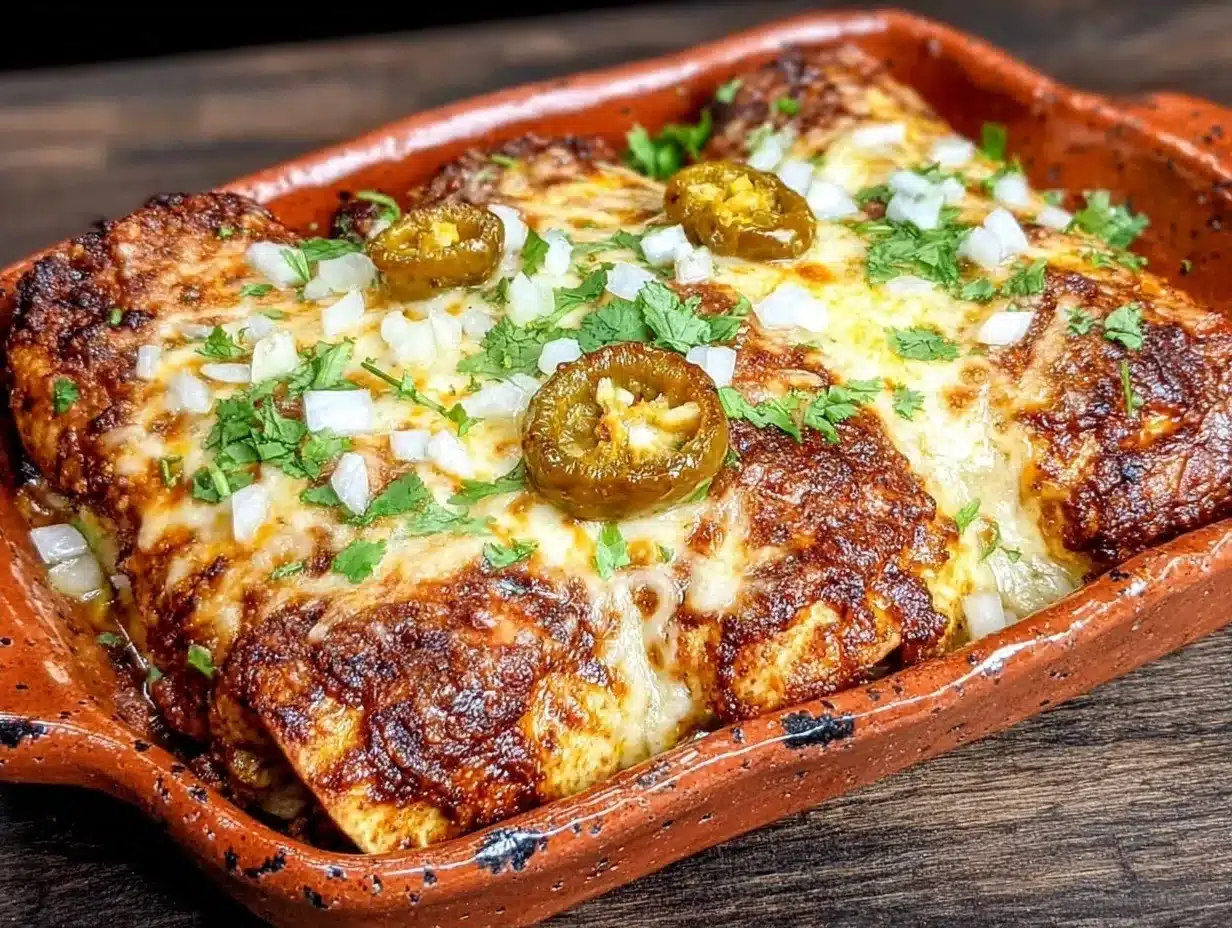
Red Enchilada Sauce (2 cups / 480ml) — I use a jarred sauce like Pace or Herdez for convenience. It’s consistent and tastes great. If you want to make it from scratch, that’s great too, but this recipe is about saving time. Just check the label for sodium if you’re watching salt.
Sour Cream (½ cup / 120g) — This is my secret trick. Mixing sour cream into the enchilada sauce makes it richer, creamier, and slightly tangy. It cuts through the heat of the chiles and makes the sauce cling to the tortillas better. Don’t skip it!
For the Top
Flour Tortillas (12 small, 6-inch / about 30cm) — I prefer flour over corn for these because they’re softer and more kid-friendly. They don’t crack as easily when rolled. Make sure they’re fresh; old tortillas crack and fall apart.
Extra Cheddar Cheese (1 cup / 100g) — For that golden, bubbly crust on top. I sprinkle this on generously. If you like extra cheese, add more. I’m not here to judge.
Optional Garnish — Fresh cilantro, sliced green onions, or a dollop of extra sour cream. I usually just do sour cream because it’s what my kids expect.
Shopping Tips
Save the Chicken Bones — Don’t toss the carcass! Toss it in a bag and freeze it. You can use it later to make homemade chicken stock for soups or rice dishes. It’s free flavor.
Buy Block Cheese — Pre-shredded cheese is convenient but melts poorly. Block cheese melts into a smooth, creamy sauce. If you’re feeling lazy, buy the pre-shredded, but know that the texture won’t be quite as good.
Check the Sauce — Some jarred enchilada sauces are very spicy. If you have kids, pick a mild or medium version. You can always add hot sauce later if you want more heat.
Equipment Needed
You don’t need fancy equipment for this. Here’s what I actually use.
9×13 Baking Dish — A standard glass or ceramic baking dish works perfectly. I use Pyrex because I can see the browning on the bottom. Metal works too, but glass distributes heat more evenly.
Large Skillet — I use a 12-inch skillet to sauté the onions. If you skip the onions, you don’t need this, but I highly recommend it for flavor.
Two Forks — The classic tool for shredding chicken. Fast and effective. I’ve tried using my hands, but forks are cleaner and faster.
Mixing Bowl — A large bowl to mix the chicken, chiles, and half the cheese. I use a ceramic bowl because it’s heavy and doesn’t slide around.
Whisk — For mixing the sour cream and enchilada sauce. A small whisk works best, but a fork works in a pinch.
Measuring Cups — Standard stuff. I keep a set in my drawer that’s seen better days, but they work fine.
Aluminum Foil — Optional. I sometimes cover the dish for the first 15 minutes of baking to keep the tortillas soft, then uncover to brown the cheese. It’s a personal preference.
How to Make It: Step-by-Step
Alright, let’s make this! I’m walking you through exactly how I do it, including the little tricks I’ve picked up over the years.
Step 1: Prep the Chicken and Onion (5 minutes)
Preheat your oven to 350°F (175°C). While it heats up, take your rotisserie chicken and shred the meat. Remove the skin and bones—you don’t need them. You should have about 3 cups of shredded chicken. If you have leftover crispy garlic parmesan smashed potatoes from a previous meal, you could add some diced potato to the filling for extra bulk, but it’s not necessary.
Dice the onion. If you’re feeling fancy, you can sauté it in a little oil until soft, but I often just add it raw. It will cook in the oven. I prefer the slight crunch of raw onion in the filling, but sautéing is fine if you want it softer.
Step 2: Mix the Filling (3 minutes)
In a large mixing bowl, combine the shredded chicken, diced onion, and the entire can of green chiles (including the liquid). Stir in 1 cup of the shredded cheddar cheese. Taste it! If you want it spicier, add a pinch of cayenne or a dash of hot sauce. If it’s too dry, add a splash of milk or broth. The mixture should be moist but not soupy.
Step 3: Make the Sauce (2 minutes)
In a separate bowl, whisk together the 2 cups of enchilada sauce and the ½ cup of sour cream. The sour cream will lighten the sauce and make it creamier. This is the key to the rich texture. Set aside.
Step 4: Assemble the Enchiladas (5 minutes)
Spread about ½ cup of the sauce mixture on the bottom of your 9×13 baking dish. This prevents the tortillas from sticking. Now, take a tortilla and place a generous scoop of the chicken filling in the center. Roll it up tightly and place it seam-side down in the baking dish. Repeat with the remaining tortillas. You should have about 12 enchiladas, fitting snugly in the dish. If you have extra filling, you can just spoon it over the top.
Pro Tip: If your tortillas are stiff, microwave them for 10-15 seconds to make them pliable. They’ll roll easier and won’t crack.
Step 5: Top and Bake (25 minutes)
Pour the remaining sauce over the rolled enchiladas. Make sure they’re all covered. Sprinkle the remaining 1 cup of cheddar cheese evenly on top. I like to sprinkle it right to the edges for a cheesy crust.
Bake uncovered for 20-25 minutes, or until the cheese is melted, bubbly, and starting to brown in spots. If you want a softer tortilla, cover with foil for the first 15 minutes, then remove for the last 10 to brown the cheese.
Step 6: Rest and Serve (5 minutes)
Let the enchiladas rest for 5 minutes after taking them out of the oven. This helps them set so they don’t fall apart when you cut them. Garnish with sour cream, cilantro, or green onions if you like. Serve hot with rice or beans on the side.
Total Time: About 40 minutes (10 minutes prep, 30 minutes cook time).
Expert Tips & Tricks
Here’s everything I’ve learned from making this dozens of times. These tips will save you from my mistakes.
Don’t Overfill the Tortillas — This is the most common mistake. If you put too much filling, the tortilla will burst when you roll it or when it bakes. Aim for about ¼ cup of filling per tortilla. It’s better to have more enchiladas than broken ones.
Use Sour Cream in the Sauce — I can’t stress this enough. The sour cream makes the sauce rich and helps it coat the tortillas evenly. It also balances the acidity of the salsa and chiles. It’s a game-changer.
Shred Your Own Cheese — Pre-shredded cheese contains cellulose, which prevents clumping but also prevents melting. Your enchiladas will be greasy and grainy. Block cheese melts into a smooth, creamy layer. It’s worth the extra two minutes.
Make Ahead Strategy — You can assemble these enchiladas up to 24 hours in advance. Cover tightly with plastic wrap and refrigerate. When you’re ready to bake, add 10-15 minutes to the cook time since the dish will be cold from the fridge. This is perfect for dinner parties or busy weeknights.
Freezing Instructions — These freeze beautifully. Assemble the enchiladas in a freezer-safe dish, cover tightly with foil, and freeze for up to 3 months. To thaw, move to the fridge the night before. Bake as directed, adding 10-15 minutes if baking from frozen.
Check the Salt — Rotisserie chicken, enchilada sauce, and cheese are all salty. Taste the filling before adding any extra salt. You might not need it at all. I usually skip adding salt to the filling entirely.
Variations & Substitutions
Once you’ve nailed the basic version, here’s how you can mix it up. I’ve tried all of these.
Spicy Version — Add a diced jalapeño to the filling. Or use a spicy enchilada sauce instead of mild. If you like heat, this is the way to go.
Black Bean Enchiladas — Add 1 can of drained black beans to the filling. It adds protein and makes the dish more filling. Great for vegetarian days.
White Chicken Enchiladas — Swap the red sauce for a creamy salsa verde sauce or a bechamel sauce. Top with Monterey Jack cheese. It’s a completely different flavor profile but just as good.
Breakfast Enchiladas — Add scrambled eggs and diced potatoes to the filling. Top with cheese and bake. A hearty breakfast for dinner.
Gluten-Free — Use corn tortillas instead of flour. They’re naturally gluten-free. Just be careful—they’re more fragile. You might need to double-layer them or bake them covered to keep them soft.
Low-Carb — Skip the tortillas. Layer the chicken mixture in the dish, top with sauce and cheese, and bake. It’s essentially a chicken casserole. Not the same texture, but lower in carbs.
Serving & Storage
How to Serve: I usually serve these straight from the baking dish at the dinner table. It’s rustic and warm. Pair them with rice and black beans for a complete meal. A simple green salad with lime vinaigrette cuts through the richness nicely.
Side Dishes: Honey roasted carrots with fresh thyme are a great contrast to the spicy enchiladas. Or keep it traditional with Mexican rice and refried beans.
Storage: Store leftovers in an airtight container in the fridge for up to 4 days. The sauce will thicken in the fridge, which is normal.
Reheating: Reheat in the microwave with a splash of water or broth to keep it moist. Or reheat in the oven at 350°F for 15-20 minutes, covered with foil. The microwave is faster but can dry out the tortillas if you’re not careful.
Freezing: As mentioned, these freeze well. Wrap tightly in foil and plastic wrap. Thaw in the fridge overnight before baking.
Meal Prep: I often make a double batch. One for dinner, one for the freezer. It’s the best way to ensure I have a quick dinner ready for busy nights. Just label the frozen dish with the date and baking instructions.
Nutrition Information
I’m not a nutritionist, but here’s the breakdown if you’re tracking. These are estimates per serving (based on 4 servings).
Per Serving:
- Calories: 450
- Protein: 30g
- Carbs: 40g
- Fiber: 3g
- Sugar: 4g
- Fat: 18g
- Saturated Fat: 8g
- Cholesterol: 80mg
- Sodium: 900mg
What’s Good: High protein from the chicken and cheese. Good source of calcium. The green chiles add some vitamin C.
What to Know: Higher in sodium due to the sauce and cheese. If you’re watching salt, use low-sodium sauce and cheese. The calories are moderate, mostly from the cheese and tortillas.
My Take: Look, this is comfort food. It’s cheesy and savory. It’s not a diet recipe. But it’s way better than takeout, costs less, and I know exactly what’s in it. When I want to make it lighter, I use less cheese and add more vegetables. But usually? I just eat a reasonable portion and enjoy it.
Final Thoughts
So that’s my go-to rotisserie chicken enchiladas with melted cheddar and green chile! I’ve probably talked your ear off at this point, but when you make a recipe this often, you have a lot to say about it.
This has saved weeknight dinners more times than I can count. It’s my answer to “what’s for dinner” when I’m tired, don’t want takeout, and still want something that tastes really good. My kids are happy, my husband’s happy, and I’m happy because I’m not stressed about cooking.
Make it yours! Try different add-ins, swap in your favorite vegetables, adjust the heat. The best recipes are the ones you adapt to your family’s tastes. If you make this, drop a comment and let me know what you think! I love hearing how recipes turn out in your kitchen. And if something doesn’t work, tell me that too—I’m here to help troubleshoot.
Happy cooking! And I hope your kitchen smells half as good as mine does right now.
Frequently Asked Questions
Can I use corn tortillas instead of flour?
Yes, but they’re more fragile. Corn tortillas can crack when rolled. To prevent this, warm them in the oven or microwave for a few seconds before rolling. You might also want to double-layer them or bake the dish covered to keep them soft. Flour tortillas are easier for beginners, but corn is more traditional.
Why did my enchiladas turn out dry?
This usually happens if there’s not enough sauce. Make sure you’re covering the enchiladas completely with sauce. Also, if you baked them uncovered for too long, the tortillas can dry out. Covering with foil for the first 15 minutes helps keep them moist. Adding the sour cream to the sauce also helps with moisture.
Can I make this ahead for a dinner party?
Absolutely. Assemble the enchiladas up to 24 hours in advance. Cover tightly with plastic wrap and refrigerate. When you’re ready to serve, bake as directed, adding 10-15 minutes to the cook time. This is perfect for saving stress during a party.
Can I freeze these enchiladas?
Yes, they freeze very well. Assemble them in a freezer-safe dish, cover tightly with foil and plastic wrap, and freeze for up to 3 months. Thaw in the fridge overnight before baking. You can also freeze individual portions for quick lunches.
What can I substitute for green chiles?
If you can’t find green chiles, you can use diced jalapeños for more heat, or just skip them and add a bit more salsa. Roasted poblano peppers are also a great substitute if you want a milder, smokier flavor. Just chop them up and add them to the filling.
How do I reheat leftovers without them getting dry?
Add a splash of water, broth, or milk to the leftovers before reheating. This adds moisture back into the tortillas and sauce. Reheat in the microwave in 30-second intervals, stirring in between. Or reheat in the oven at 350°F, covered with foil, for 15-20 minutes.
Can I double this recipe?
Yes! Double all the ingredients and use a 9×13 dish, or two 8×8 dishes. The cooking time will be similar, but check for doneness a few minutes earlier. This is great for meal prepping or feeding a larger crowd.
Pin This Recipe!
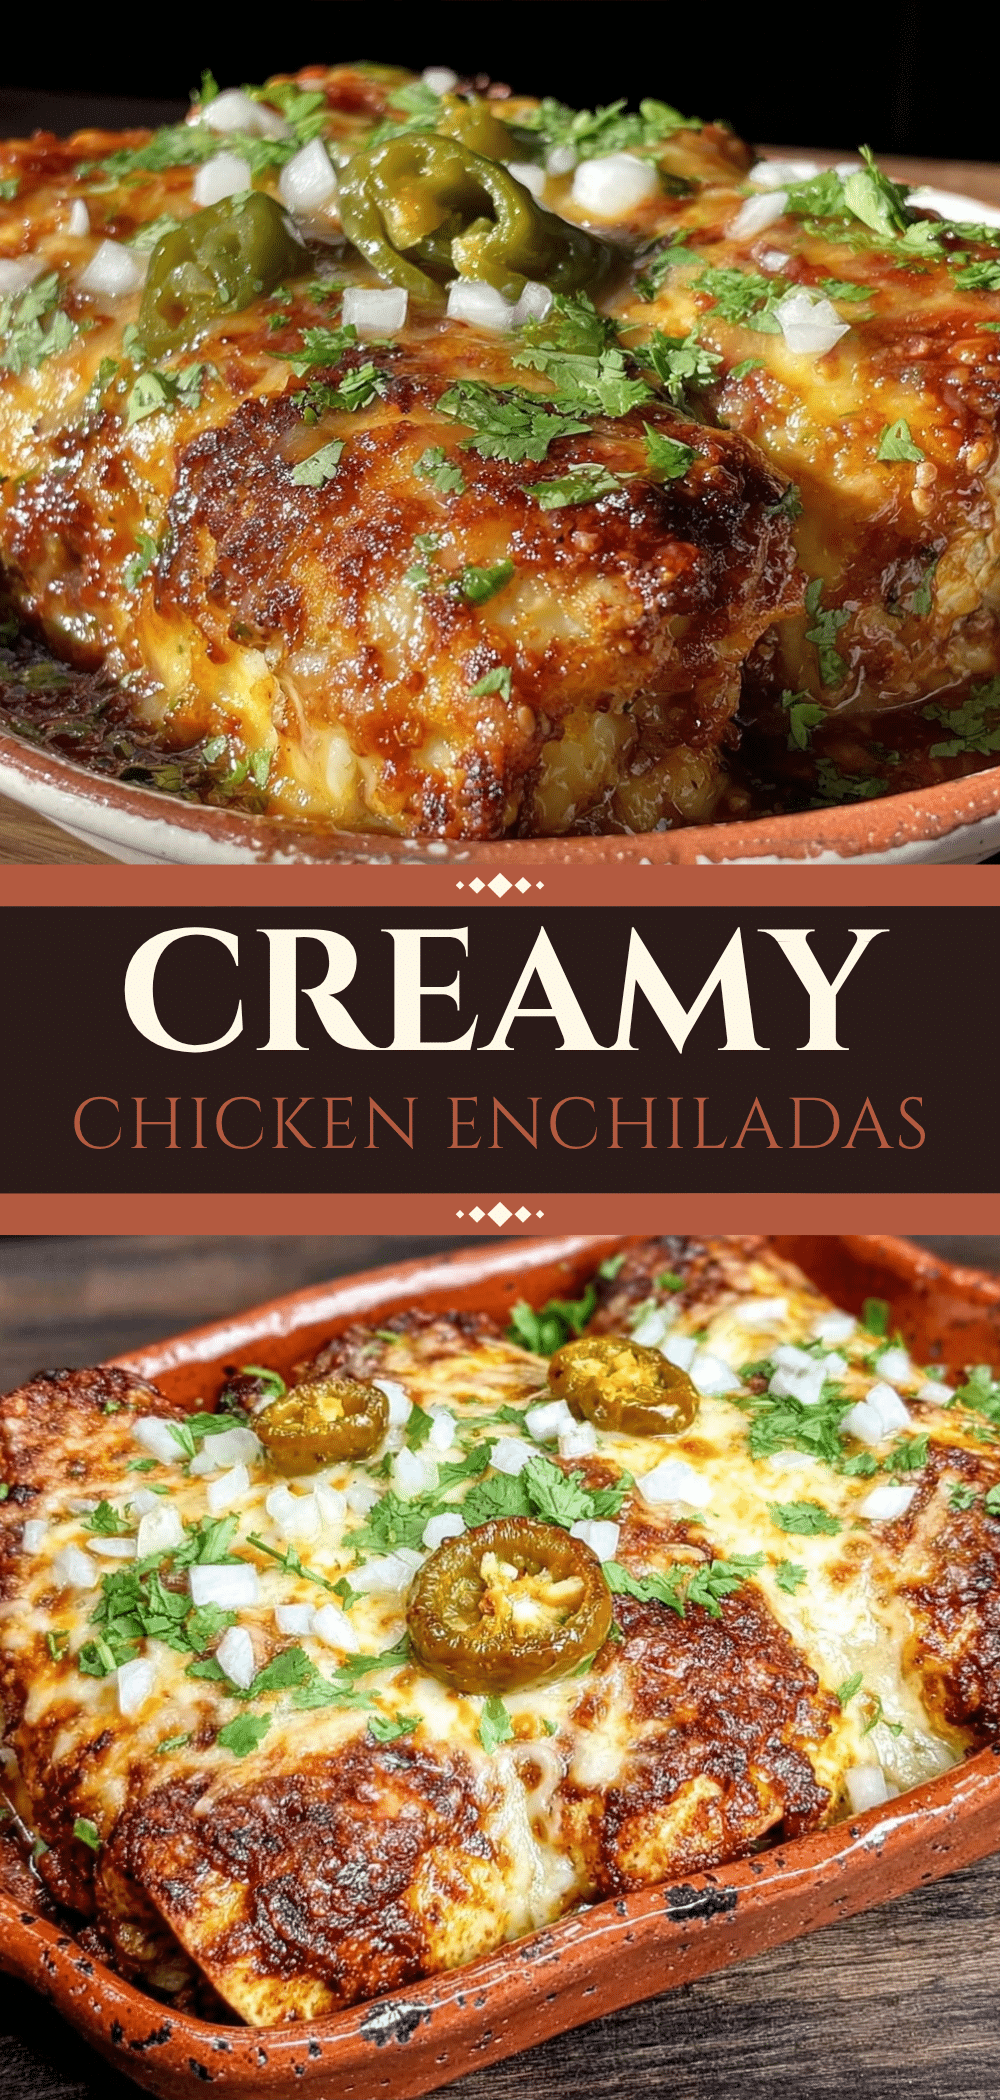
Rotisserie Chicken Enchiladas: Budget-Friendly Family Dinner
- Total Time: 40 minutes
- Yield: 4 servings 1x
Description
A quick, budget-friendly weeknight dinner using leftover rotisserie chicken, green chiles, and cheddar cheese. This creamy, cheesy enchilada recipe feeds four people for under $15 and requires minimal active prep time.
Ingredients
- 3 cups shredded rotisserie chicken (about 400g)
- 1 medium small onion, diced (about 150g)
- 1 can (4oz / 113g) diced green chiles, including liquid
- 2 cups shredded cheddar cheese (divided, approx. 200g for filling + 100g for topping)
- 2 cups red enchilada sauce (480ml)
- 1/2 cup sour cream (120g)
- 12 small flour tortillas (6-inch / approx. 30cm)
- Optional garnish: fresh cilantro, sliced green onions, extra sour cream
Instructions
- Preheat oven to 350°F (175°C).
- Shred the rotisserie chicken, removing skin and bones. Dice the onion.
- In a large mixing bowl, combine shredded chicken, diced onion, green chiles (with liquid), and 1 cup of shredded cheddar cheese. Mix well.
- In a separate bowl, whisk together the enchilada sauce and sour cream until smooth.
- Spread about 1/2 cup of the sauce mixture on the bottom of a 9×13 baking dish.
- Place a generous scoop of filling (approx. 1/4 cup) in the center of each tortilla. Roll tightly and place seam-side down in the baking dish.
- Pour the remaining sauce over the rolled enchiladas, ensuring they are fully covered.
- Sprinkle the remaining 1 cup of cheddar cheese evenly over the top.
- Bake uncovered for 20-25 minutes until cheese is melted, bubbly, and starting to brown. (Optional: Cover with foil for first 15 minutes for softer tortillas, then uncover to brown).
- Let rest for 5 minutes before serving.
Notes
[‘Shred your own cheese for better melting; pre-shredded cheese contains anti-caking agents.’, ‘Do not overfill tortillas to prevent bursting.’, ‘Sour cream in the sauce adds richness and helps coat tortillas.’, ‘Can be assembled up to 24 hours in advance and refrigerated.’, ‘Freezes well for up to 3 months.’, ‘Check salt levels before adding extra salt as ingredients are naturally salty.’]
- Prep Time: 10 minutes
- Cook Time: 30 minutes
- Category: Main Course
- Cuisine: Mexican
Nutrition
- Serving Size: 3 enchiladas per ser
- Calories: 450
- Sugar: 4
- Sodium: 900
- Fat: 18
- Saturated Fat: 8
- Carbohydrates: 40
- Fiber: 3
- Protein: 30
Keywords: rotisserie chicken enchiladas, budget dinner, weeknight meals, family dinner, easy enchiladas, leftover chicken recipes, cheesy enchiladas, green chile enchiladas



