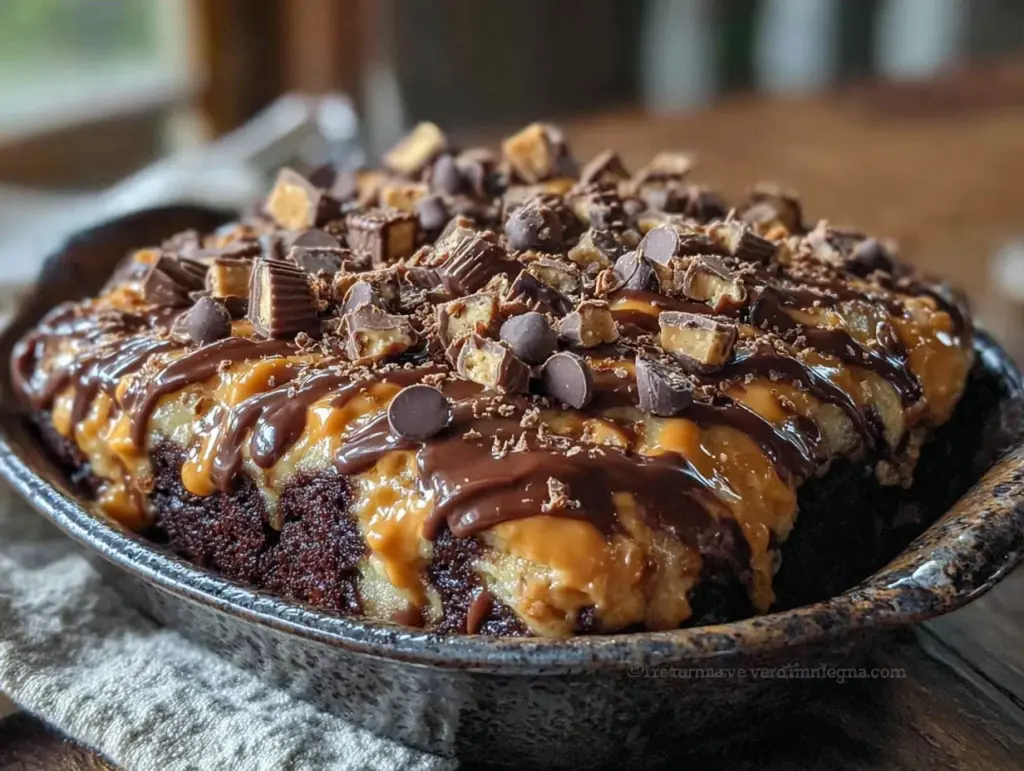
I still remember the exact moment this cake became legendary in my social circle. It was a rainy Saturday in November, and I had just pulled it out of the oven. The house smelled like heaven—a heavy, intoxicating mix of dark chocolate, roasted peanuts, and warm vanilla. I set it on the counter to cool, assuming it would be a nice little treat for my family. Instead, my neighbor’s kid, who was visiting for a playdate, sniffed the air, walked into the kitchen, and stared at that cake like it was the Holy Grail. He didn’t even ask for a slice. He just asked, “What is that?”
That was the moment I knew I had created something special. That Reese’s Peanut Butter Chocolate Poke Cake didn’t just disappear; it vanished. Within twenty minutes, the pan was empty, and half my friends were texting me asking for the recipe. Since then, this cake has become my go-to for birthdays, game days, and those random Tuesday nights when I want to feel fancy without the stress. It’s rich, it’s messy in the best way possible, and it tastes like you spent hours in a professional bakery kitchen (spoiler: you didn’t).
If you’ve ever loved the combination of salted peanuts and sweet chocolate, this cake is your new obsession. It’s not just a dessert; it’s an experience. And trust me, once you serve it, you’ll be the hero of every gathering. Let’s get into why this cake is worth every calorie and how to make it perfectly.
Why You’ll Love This Reese’s Chocolate Poke Cake
There are about ten reasons I keep coming back to this recipe, but here are the big ones that have me making it again and again:
- It’s a Flavor Powerhouse — Seriously, the peanut butter and chocolate combo is classic for a reason. But this cake takes it up a notch with a moist chocolate base, a boozy (or non-boozy) chocolate syrup soak, and a creamy peanut butter topping. It’s layers of flavor in every bite.
- Surprisingly Simple Technique — The “poke” method sounds fancy, but it’s just poking holes and pouring liquid. It’s foolproof. I’ve made this while juggling a toddler on my hip, and it still turned out perfect. No complicated frosting techniques or tempering chocolate required.
- Make-Ahead Friendly — This is my secret weapon for stress-free hosting. The cake actually gets better after it sits in the fridge for a few hours. The syrup soaks in deeper, and the flavors meld together. I can make it the night before a party and just pull it out when guests arrive.
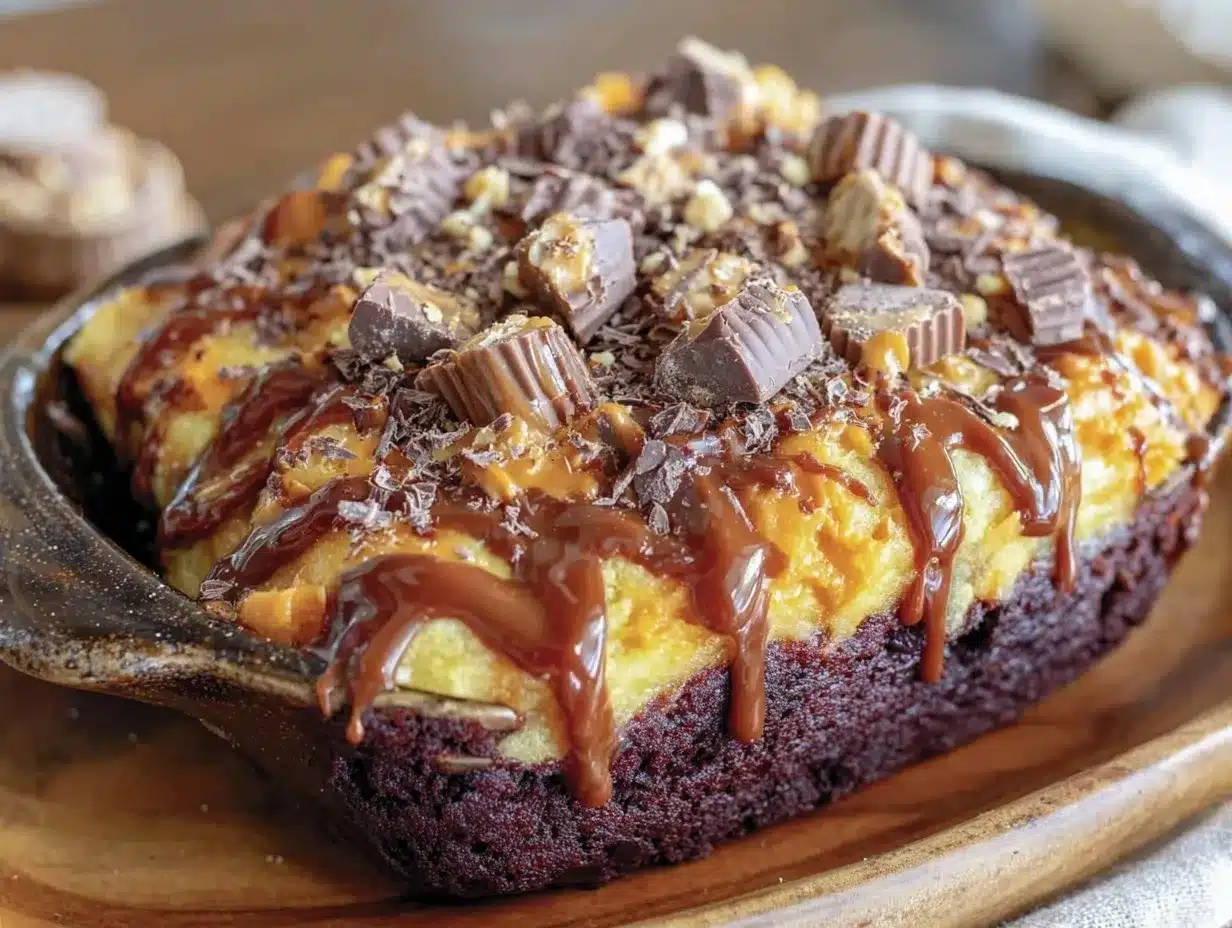
- Visual Appeal — Let’s be honest, we eat with our eyes first. The contrast of the dark chocolate cake, the glossy syrup, and the pale, creamy peanut butter topping is stunning. It looks like something you’d order at a high-end dessert bar, but it’s rustic and approachable.
- It’s a Crowd-Pleaser — I’ve served this to picky eaters who claim they “don’t like sweets” and to serious dessert lovers who can’t stop raving about it. The saltiness of the peanuts cuts through the sweetness, making it addictive without being cloying.
This is my go-to when I need to impress but don’t have time to be a perfectionist. It’s reliable, delicious, and always makes people happy.
Ingredients You’ll Need for the Best Poke Cake
Here’s the best part: you probably have most of this already in your pantry. I’m particular about a few things here, and I’ll tell you exactly why they matter for that authentic Reese’s vibe.
For the Chocolate Cake Base
Yellow cake mix (1 box, 15.25 oz / 432g) — I know, I know. Using a box mix might feel like cheating, but hear me out. It guarantees a tender, moist crumb that holds up to the syrup without getting soggy too fast. I use Betty Crocker or Duncan Hines. Don’t skip the eggs and oil called for on the box.
Chocolate pudding mix (1 box, 3.4 oz / 96g) — This is the secret weapon. Adding instant chocolate pudding to the batter makes the cake incredibly dense and fudgy, which mimics that rich chocolate cake you get at a bakery. It’s non-negotiable for the right texture.
Hot coffee (1 cup / 240ml) — You won’t taste the coffee, I promise. The hot water enhances the chocolate flavor and helps bloom the cocoa powder. If you don’t drink coffee, use hot water, but coffee adds a depth that makes the chocolate taste more intense.
Vegetable oil (1/3 cup / 80ml) — Oil keeps the cake moister than butter. Since this cake is going to be soaked in liquid, we need that extra moisture base.
For the Chocolate Syrup Soak
Chocolate syrup (1 cup / 240ml) — I use Hershey’s syrup. It’s thick, sweet, and has that classic chocolate flavor. You can use a homemade chocolate sauce if you prefer, but make sure it’s pourable when warm.
Boiling water (1/2 cup / 120ml) — This thins out the syrup just enough so it pours easily into the holes without clogging them.
For the Peanut Butter Topping
Creamy peanut butter (1 cup / 250g) — Use a standard brand like Jif or Skippy. Natural peanut butter can separate and make the topping oily, which we don’t want. We want that smooth, creamy consistency.
Heavy cream (1/2 cup / 120ml) — This whips into the peanut butter to create a spreadable, mousse-like texture. Don’t use milk; it won’t get thick enough.
Powdered sugar (1 cup / 120g) — This sweetens the topping and helps stabilize it. Sift it if it’s lumpy.
Salt (1/2 teaspoon) — A pinch of salt is crucial. It balances the sweetness and brings out the peanut flavor. This is what makes it taste like a Reese’s cup, not just peanut butter frosting.
Mini Reese’s Peanut Butter Cups (1 cup / 150g) — For the topping, chop these up. They add little bursts of chocolate and crunch. You can also use chopped peanuts if you want to save money, but the mini cups are the real deal.
Equipment Needed
You don’t need fancy equipment for this. Here’s what I actually use:
9×13-inch baking pan — A standard glass or metal pan works best. I prefer glass because it heats evenly, but metal is fine too. Grease it lightly before pouring the batter.
Electric mixer — Handheld or stand mixer. You’ll need this to beat the peanut butter topping until it’s light and fluffy. Doing this by hand is possible but takes a lot of arm strength.
Wooden spoon or chopsticks — For poking the holes. I use a wooden spoon handle because it’s sturdy and creates nice-sized holes. Chopsticks work too if you want smaller holes.
Measuring cups and spoons — Standard stuff. Accuracy matters less here than in baking bread, but getting the liquid ratios right helps.
Spatula — For spreading the peanut butter topping evenly. A rubber spatula is best because it gets into the corners.
Small saucepan — Optional, but helpful if you want to warm the chocolate syrup slightly before pouring. It pours better when warm.
How to Make It: Step-by-Step
Alright, let’s make this! I’m walking you through exactly how I do it, including the little tricks I’ve picked up over the years.
Step 1: Prep Your Pan and Oven
Preheat your oven to 350°F (175°C). Grease a 9×13-inch baking pan with non-stick spray or butter. This ensures the cake doesn’t stick and comes out easily if you want to slice it later. Line the bottom with parchment paper if you’re being extra careful, but greasing is usually enough.
Step 2: Make the Cake Batter
In a large bowl, combine the yellow cake mix, instant chocolate pudding mix, eggs, vegetable oil, and hot coffee. Beat on medium speed for about 2 minutes until smooth and well combined. The batter will look thin and chocolatey—that’s exactly what we want. Pour it into the prepared pan and spread it evenly.
Step 3: Bake the Cake
Bake for 25-30 minutes, or until a toothpick inserted into the center comes out clean or with just a few moist crumbs. Do not overbake, or the cake will be dry. While it’s baking, start preparing your syrup so everything is ready to go.
Step 4: Poke the Holes
Here’s the key moment. As soon as the cake comes out of the oven, use the handle of a wooden spoon (or chopsticks) to poke holes all over the surface. Space them about 1 inch apart. Go all the way down to the pan. Don’t worry if it looks messy; that’s where the magic happens. The syrup needs to penetrate deep into the cake.
Step 5: Pour the Chocolate Syrup
In a small bowl or measuring cup, mix the chocolate syrup with the boiling water. Stir until combined. Carefully pour this mixture evenly over the hot cake. It will sizzle and soak in immediately. You might feel a bit bad watching it disappear, but trust me, it’s staying in the cake. Let the cake cool completely in the pan. This takes about 1-2 hours. You can speed it up by putting it in the fridge, but don’t skip the cooling step.
Step 6: Make the Peanut Butter Topping
Once the cake is cool, it’s time for the topping. In a medium bowl, combine the creamy peanut butter, heavy cream, powdered sugar, and salt. Beat with an electric mixer on medium-high speed for 3-4 minutes until light, fluffy, and spreadable. It should look like a thick mousse. If it’s too stiff, add another tablespoon of cream. If it’s too runny, add a bit more powdered sugar.
Step 7: Spread and Decorate
Spread the peanut butter mixture evenly over the cooled, syrup-soaked cake. Use a spatula to get it into the corners and smooth the top. Sprinkle the chopped mini Reese’s Peanut Butter Cups over the top. Press them in gently so they stick. For an extra touch, you can drizzle a little extra chocolate syrup over the top in a zigzag pattern, but it’s optional.
Step 8: Chill and Serve
Refrigerate the cake for at least 2 hours before serving. This lets the topping set and the flavors meld. Slice into squares and serve cold. The contrast between the warm-ish chocolate base and the cool peanut butter topping is incredible.
Expert Tips & Tricks
Here’s everything I’ve learned from making this dozens of times. These tips will save you from my mistakes.
Don’t Skip the Poking — I see people try to save time and skip this step. Don’t. If you don’t poke holes, the syrup just sits on top, making it sticky and wet. The holes allow the cake to absorb the syrup, keeping it moist throughout. Be generous with the holes.
Use Hot Cake for Soaking — Pour the syrup over the cake while it’s still warm (but not piping hot). The heat helps the syrup penetrate the crumb. If the cake is cold, the syrup won’t soak in as well.
Beat the Topping Well — The peanut butter topping needs to be whipped. If you just mix it, it will be dense and heavy. Whipping it incorporates air and makes it light and creamy, similar to a frosting. This texture contrast with the soft cake is essential.
Chill Before Cutting — I know it’s tempting to dig in right away, but chilling sets the topping. If you cut it warm, the topping will slide off, and the cake will be a mess. Patience pays off.
Storage is Key — This cake must be stored in the refrigerator due to the peanut butter and cream. Keep it covered with plastic wrap or in an airtight container. It lasts up to 5 days in the fridge.
Variations & Substitutions
Once you’ve nailed the basic version, here’s how you can mix it up. I’ve tried all of these.
Gluten-Free Option — Use a gluten-free yellow cake mix and ensure your chocolate syrup and pudding mix are certified gluten-free. The rest of the ingredients are naturally gluten-free.
Dairy-Free Version — Use a dairy-free cake mix (or make from scratch with almond milk), dairy-free chocolate syrup, and coconut cream instead of heavy cream. The peanut butter topping will still work with coconut cream, though it might be slightly thinner.
Mini Cake Pans — You can bake this in individual ramekins or a muffin tin. Reduce baking time to 15-20 minutes. Poke holes in each individual cake and soak with syrup. Top with a dollop of peanut butter mixture and a mini Reese’s cup. Perfect for party servings.
Extra Crunch — Add chopped peanuts or pretzel pieces to the topping for extra texture. Or sprinkle crushed chocolate chip cookies on top for a s’mores vibe.
Alcohol Kick — Add a tablespoon of peanut butter vodka or bourbon to the chocolate syrup soak for an adult version. It adds a nice depth of flavor.
Serving & Storage
How to Serve:
I usually serve this straight from the pan, sliced into squares. It looks rustic and inviting. For a dinner party, I arrange the slices on a platter with a few whole mini Reese’s cups for garnish. It’s a showstopper.
Side Dishes:
This cake is rich, so I like to serve it with something light. A simple green salad or fresh berries can balance the meal. For drinks, I pair it with frozen apple cider slushies or a strong coffee to cut through the sweetness.
Storage Instructions:
Store in an airtight container in the refrigerator for up to 5 days. The cake will firm up in the fridge, so let it sit at room temperature for 10-15 minutes before serving if you prefer a softer texture.
Freezing:
You can freeze this cake, but the texture of the peanut butter topping might change slightly. Wrap individual slices tightly in plastic wrap and foil. Thaw in the fridge overnight. It’s best eaten fresh, but frozen slices work in a pinch.
Nutrition Information
I’m not a nutritionist, but here’s the breakdown if you’re tracking. Keep in mind this is a rich, indulgent dessert.
Per Serving (based on 12 slices):
– Calories: 450
– Protein: 8g
– Carbs: 52g
– Fiber: 2g
– Sugar: 38g
– Fat: 24g
– Saturated Fat: 10g
– Cholesterol: 45mg
– Sodium: 320mg
What’s Good: It provides a good amount of energy and protein from the peanut butter.
What to Know: It’s high in sugar and saturated fat, so enjoy in moderation. It’s a treat, not a health food.
Final Thoughts
So that’s my go-to Reese’s Peanut Butter Chocolate Poke Cake! I’ve probably talked your ear off at this point, but when you make a recipe this often, you have a lot to say about it. This cake has saved weeknight dinners and holiday parties more times than I can count. It’s my answer to “what’s for dessert” when I want something that tastes really good and makes everyone happy.
Make it yours! Try different add-ins, swap in your favorite chocolate syrup, or adjust the peanut butter consistency. The best recipes are the ones you adapt to your family’s tastes. If you make this, drop a comment and let me know what you think! I love hearing how recipes turn out in your kitchen. And if something doesn’t work, tell me that too—I’m here to help troubleshoot.
Happy baking! And I hope your kitchen smells half as good as mine does right now.
Frequently Asked Questions
Q: Can I use homemade chocolate cake instead of box mix?
A: Yes, you can! Use your favorite chocolate cake recipe. Just make sure it’s a moist cake, as dry cakes won’t absorb the syrup as well. You might need to adjust the pudding mix amount if your homemade cake is already very dense.
Q: Why did my syrup not soak in?
A: This usually happens if the cake was too cold when you poured the syrup, or if you didn’t poke enough holes. Make sure the cake is warm when soaking, and be generous with the holes. Also, ensure your syrup mixture is thin enough to pour easily.
Q: Can I make this ahead of time?
A: Absolutely! This cake actually tastes better the next day. You can make it up to 2 days in advance. Just keep it covered in the fridge. It’s perfect for party prep.
Q: Can I use crunchy peanut butter?
A: You can, but the topping might be a bit chunky. Creamy peanut butter gives a smoother, more consistent texture. If you use crunchy, make sure to beat it well to break up some of the chunks.
Q: How do I store leftovers?
A: Store in the refrigerator in an airtight container. It will last up to 5 days. Bring to room temperature for 10-15 minutes before serving for the best texture.
Q: Can I freeze this cake?
A: Yes, but the texture of the peanut butter topping may change slightly upon thawing. Freeze individual slices for best results. Thaw in the fridge overnight.
Q: What if I don’t have heavy cream?
A: You can use full-fat coconut cream for a dairy-free option, or mascarpone cheese thinned with a little milk. The texture will be slightly different, but still delicious.
Pin This Recipe!
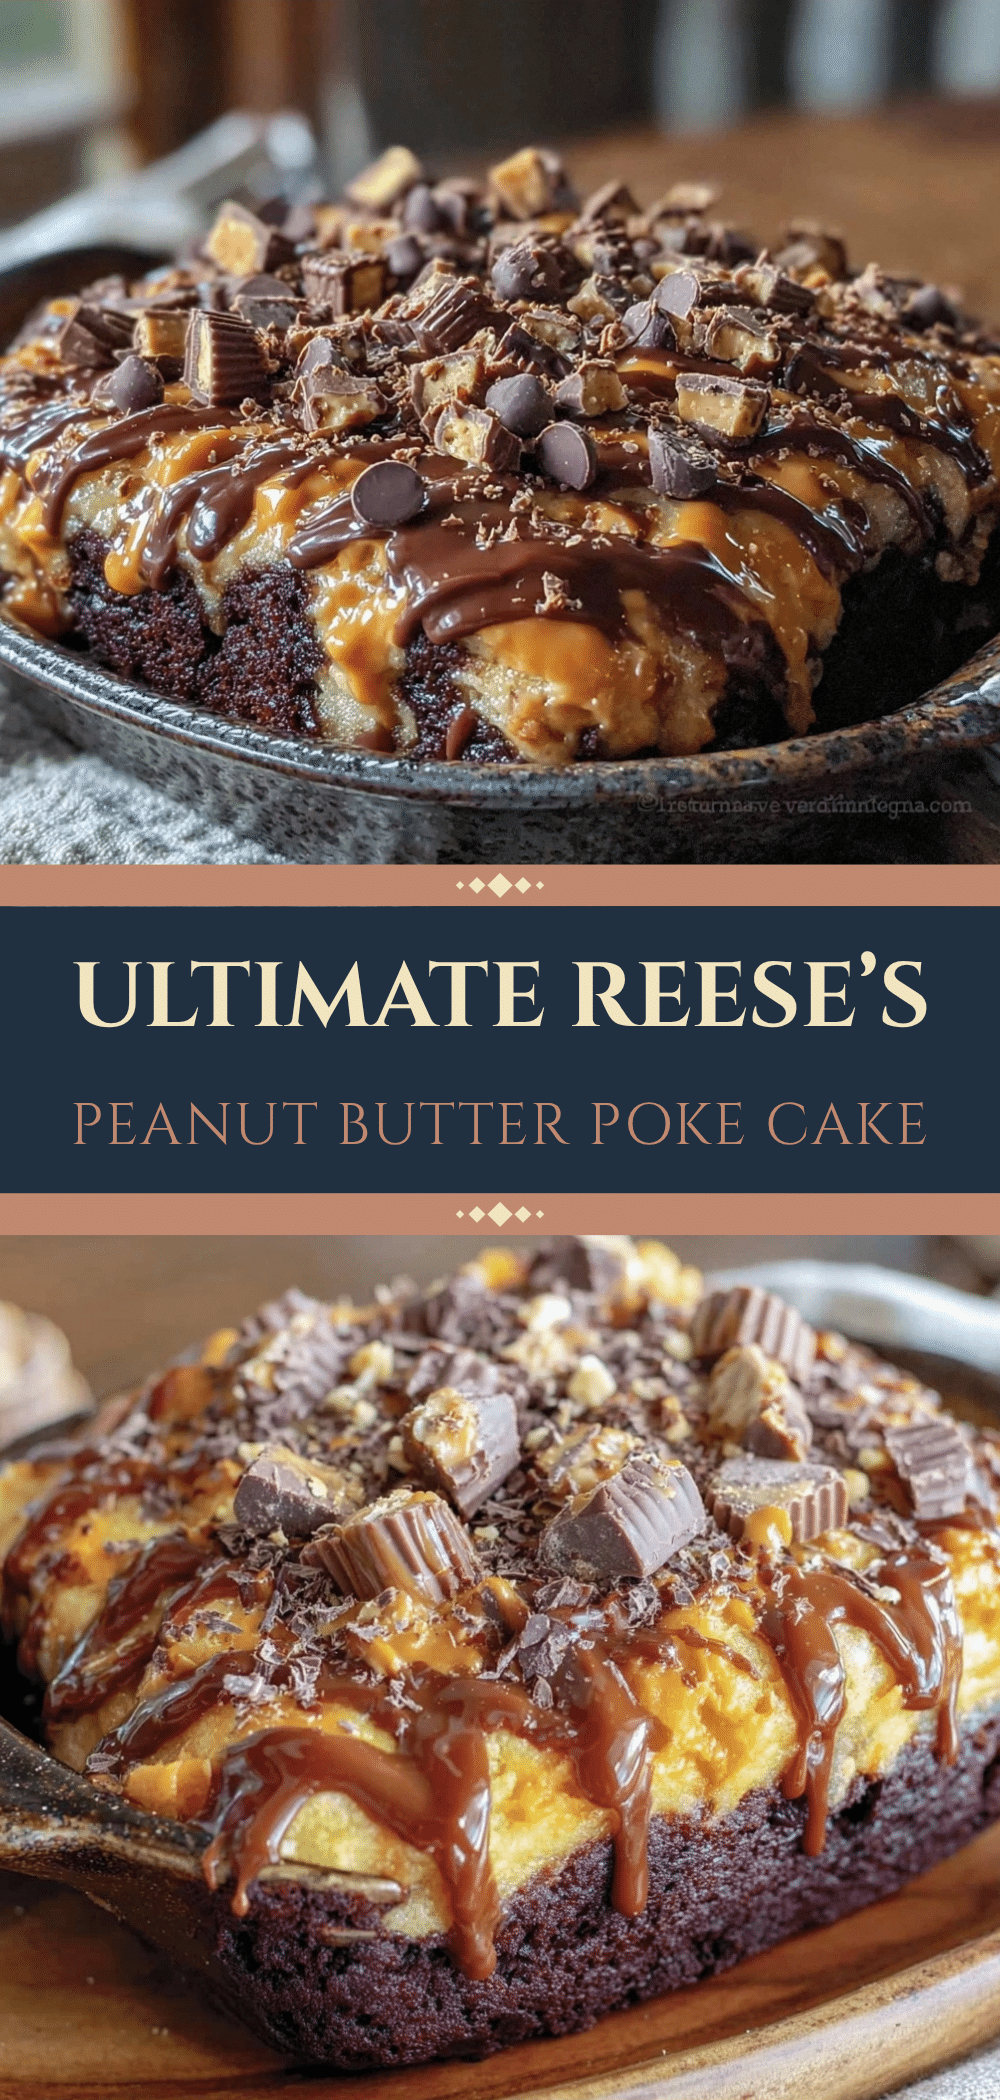

Reeses Peanut Butter Chocolate Poke Cake: Best Party Dessert
- Total Time: 50 minutes
- Yield: 12 servings 1x
Description
A rich, moist chocolate poke cake soaked in chocolate syrup and topped with a creamy peanut butter mousse and mini Reese’s cups. This crowd-pleasing dessert is easy to make, make-ahead friendly, and perfect for parties.
Ingredients
- 1 box (15.25 oz / 432g) yellow cake mix
- 1 box (3.4 oz / 96g) instant chocolate pudding mix
- 3 eggs (implied by standard box mix instructions)
- 1/3 cup (80ml) vegetable oil
- 1 cup (240ml) hot coffee or hot water
- 1 cup (240ml) chocolate syrup
- 1/2 cup (120ml) boiling water
- 1 cup (250g) creamy peanut butter
- 1/2 cup (120ml) heavy cream
- 1 cup (120g) powdered sugar
- 1/2 teaspoon salt
- 1 cup (150g) mini Reese’s Peanut Butter Cups, chopped
Instructions
- Preheat oven to 350°F (175°C). Grease a 9×13-inch baking pan.
- In a large bowl, combine yellow cake mix, instant chocolate pudding mix, eggs, vegetable oil, and hot coffee. Beat on medium speed for 2 minutes until smooth.
- Pour batter into the prepared pan and spread evenly.
- Bake for 25-30 minutes or until a toothpick inserted into the center comes out clean. Do not overbake.
- While the cake bakes, mix chocolate syrup with boiling water in a small bowl.
- As soon as the cake comes out of the oven, poke holes all over the surface about 1 inch apart using a wooden spoon handle or chopsticks.
- Pour the chocolate syrup mixture evenly over the hot cake. Let the cake cool completely in the pan (1-2 hours).
- In a medium bowl, combine creamy peanut butter, heavy cream, powdered sugar, and salt. Beat with an electric mixer on medium-high speed for 3-4 minutes until light and fluffy.
- Spread the peanut butter topping evenly over the cooled cake.
- Sprinkle chopped mini Reese’s Peanut Butter Cups over the top.
- Refrigerate for at least 2 hours before serving to let the topping set.
Notes
The cake gets better after sitting in the fridge for a few hours. Ensure the cake is warm when pouring the syrup for best absorption. Store in the refrigerator for up to 5 days. For a gluten-free option, use a gluten-free cake mix. For a dairy-free version, use coconut cream instead of heavy cream.
- Prep Time: 20 minutes
- Cook Time: 30 minutes
- Category: Dessert
- Cuisine: American
Nutrition
- Serving Size: 1 square slice
- Calories: 450
- Sugar: 38
- Sodium: 320
- Fat: 24
- Saturated Fat: 10
- Carbohydrates: 52
- Fiber: 2
- Protein: 8
Keywords: Reese's cake, poke cake, peanut butter chocolate, party dessert, easy cake recipe, make ahead dessert



