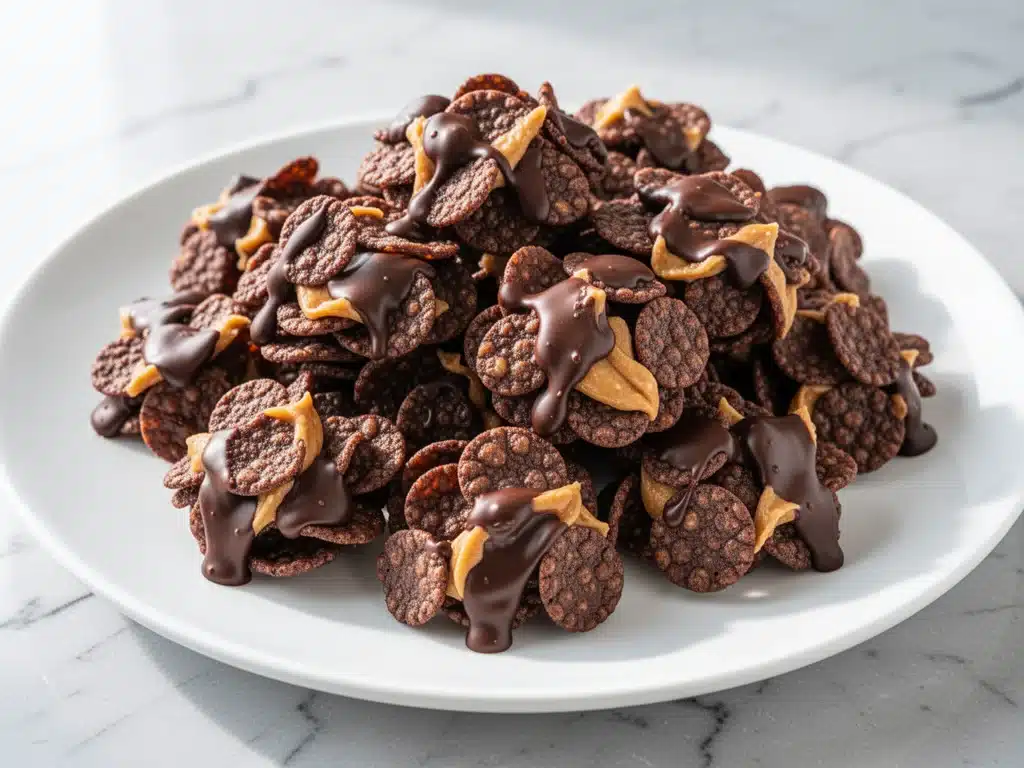
I have a confession to make. Last weekend, I stood in front of the refrigerator for a full ten minutes, just staring at the light, waiting for the door to magically provide dinner. I was exhausted. My brain was fried from a week of work deadlines, and the thought of chopping vegetables or monitoring a stove felt impossible. But I was also craving something sweet. Not a complicated dessert that required three bowls and an hour of cleanup, but something rich, crunchy, and chocolatey. Something that would taste like a treat but feel like a cheat code for lazy nights.
That’s when I remembered the bag of cornflakes in the back of the pantry and the jar of peanut butter gathering dust next to it. I grabbed both, along with some chocolate chips, and dumped them into a bowl. I didn’t measure anything. I just melted, mixed, and dropped spoonfuls onto a baking sheet. Fifteen minutes later, I had a batch of what I can only describe as edible gold. They were crunchy, salty, sweet, and impossibly easy. I ate three before they even cooled. Now, they’re the first thing I make when I’m tired, when I need to impress guests with zero effort, or when I just need a hug in snack form.
These No-Bake Chocolate Peanut Butter Cornflake Clusters are exactly that: a no-fuss, high-reward dessert that has completely replaced my need for store-bought candy bars. I’ve made them for movie nights, packed them for lunchboxes, and hidden them in the freezer for emergency mood lifts. If you’ve ever wanted a dessert that takes five minutes of actual work but tastes like you spent hours in the kitchen, you need to try this. It’s the ultimate comfort food hack, and once you make it, you’ll be making it on repeat. Trust me, your pantry is begging for this combination.
Why You’ll Love This Recipe
There’s a reason these clusters have taken over my kitchen (and my heart). It’s not just about the taste, though the salty-sweet crunch is addictive. It’s about how they fit into real life. Here’s why this recipe is my absolute favorite go-to:
- Zero Baking Required — Seriously. No oven preheating, no cookie sheets to scrub, no waiting for timers. You melt chocolate, mix it with cereal, and chill it. It’s the most honest recipe out there. I’ve made this while helping my kids with homework because it requires zero attention once the chocolate is melted.
- Ready in 20 Minutes — From start to finish, these take less time than it takes to order takeout. The only “wait” time is chilling in the fridge, which you can do while you relax. This is my secret weapon for sudden cravings at 9 PM on a Tuesday.
- Pantry Staples Only — You likely have everything you need right now. Cornflakes, peanut butter, chocolate chips, and butter. That’s it. I don’t need to run to the store for exotic ingredients. It’s budget-friendly and surprisingly elegant for how simple it is.
- Perfect Texture Contrast — The magic is in the mix. You get the shatteringly crisp cornflakes, the creamy richness of the peanut butter, and the snap of the chocolate coating. It’s a mouthful of joy every single time. I’ve tried adding nuts, but the pure cornflake crunch is what makes it special.
- Meal Prep Friendly — I make a big batch on Sunday, store them in the fridge, and I have individual portions of happiness all week long. They travel well in lunchboxes too (as long as it’s not hot outside, because chocolate melts). I’ve swapped these for granola bars in my kids’ lunches, and they’re way more excited about them.
- Customizable Forever — Want to add mini marshmallows? Go for it. Crushed pretzels for extra salt? Yes. Drizzle with white chocolate? Absolutely. This recipe is a blank canvas for your sweet tooth.
This isn’t just a recipe; it’s a lifestyle change for lazy weekends. It’s my answer to “what’s for dessert?” when I want something better than cereal but easier than cake. It’s reliable, delicious, and always a crowd-pleaser.
Ingredients You’ll Need
Here’s the best part: you probably have most of these ingredients already. This is a pantry-staple dream. I’m particular about quality here, especially with the chocolate and peanut butter, because in a recipe this simple, every ingredient shines.
For the Clusters:
Butter (3 tablespoons / 42g) — I use unsalted butter so I can control the saltiness. Melted butter adds richness and helps bind the chocolate to the cereal. If you’re out of butter, coconut oil works, but it changes the flavor profile slightly. I stick to butter for that classic taste.
Peanut Butter (½ cup / 128g) — This is crucial. Use creamy, natural peanut butter. If it’s oily, stir it well before measuring. Some people prefer crunchy, but creamy peanut butter creates a smoother coating that binds the flakes better. I avoid the super-processed stuff with high fructose corn syrup; look for ingredients that just say “peanuts, salt.”
Chocolate Chips (1 cup / 170g) — Semi-sweet or milk chocolate chips work best. I love semi-sweet because the bitterness cuts through the sweetness of the cornflakes. Dark chocolate chips are also great if you want a less sweet treat. Avoid chunks or bars unless you chop them finely; chips melt evenly.
Vanilla Extract (1 teaspoon) — It sounds small, but it rounds out the flavors. Don’t skip it. It makes the chocolate taste more like a candy bar than just melted chocolate.
Cornflakes (4-5 cups / roughly 100g) — The star of the show. I use standard plain cornflakes. Flaked rice cereal doesn’t have the same crunch, and puffed wheat is too heavy. You want light, airy, crispy flakes. If you’re out, you can use Rice Chex, but the texture will be different. I buy a family-sized box because I go through them fast for this recipe.
Salt (a pinch) — Just a tiny pinch to enhance the peanut butter flavor. If your peanut butter is already salted, you might not need this.
Optional Add-Ins:
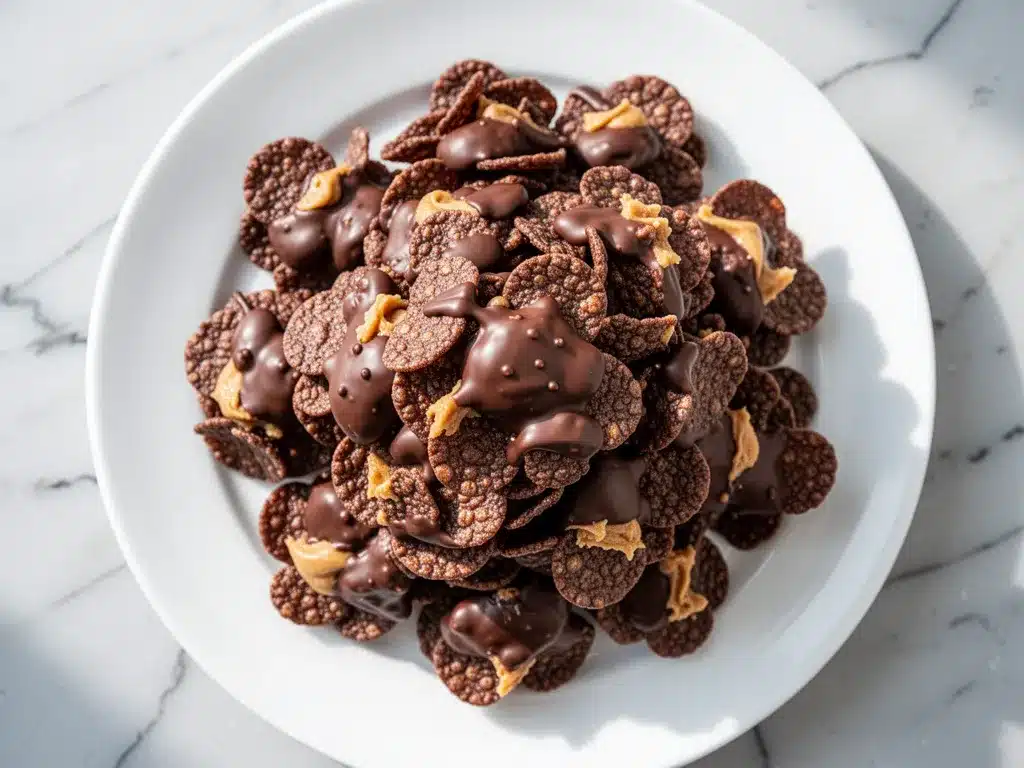
- Mini Marshmallows (½ cup) — Add them in at the very end for a s’mores vibe. They melt slightly into the warm chocolate.
- Crushed Pretzels (¼ cup) — For a salty crunch contrast. I mix these with the cornflakes before adding the chocolate.
- Raisins (¼ cup) — For a chewy texture. Classic combo with peanut butter.
Pro Tip: If you’re using natural peanut butter that separates, microwave it for 30 seconds to get it smooth. It makes mixing way easier. Also, don’t use chocolate coating melts unless you want a very artificial taste. Real chocolate chips taste better, even if they require a bit more care when melting.
Equipment Needed
You don’t need fancy gadgets for this. Here’s what I actually use, plus some honest opinions on alternatives.
Microwave-Safe Bowl — I use a large glass bowl (like a Pyrex measuring bowl). It needs to be big enough to hold the cereal without spilling when you stir. Ceramic works too, but glass lets you see the melting progress. Avoid plastic bowls that might warp or retain stains.
Small Microwave-Safe Mug or Bowl — I melt the butter and peanut butter in a small mug. It’s easier to clean and stir in a smaller vessel. A ramekin works too.
Silicone Spatula — Essential for scraping every bit of chocolate out of the bowl. I love my silicone spatula because it’s flexible and heat-resistant. A wooden spoon works, but it can be harder to get into the corners.
Baking Sheet or Tray — Any flat surface works. I line mine with parchment paper or a silicone baking mat. This is non-negotiable for easy cleanup. Without it, you’ll be scrubbing chocolate off your counter for days.
Two Forks or a Spoon — To drop the clusters onto the tray. I use two forks to scoop and drop, which gives me better control over the size. A spoon works if you’re lazy, but forks prevent dripping.
Refrigerator — Obviously. But make sure you have space. These need to chill for at least 15-20 minutes to set up firm.
Optional: Food Processor — If you want to crush your own cornflakes for a denser cluster, a food processor helps. But honestly, whole flakes are easier and crunchier. I skip this step unless I’m feeling fancy.
How to Make It: Step-by-Step
Alright, let’s make these! I’m walking you through exactly how I do it, including the little tricks I’ve picked up to ensure perfect clusters every time.
Step 1: Prep Your Station (2 minutes)
Line your baking sheet with parchment paper. This is the most important step for easy cleanup. If you don’t have parchment, lightly grease the sheet with butter or cooking spray, but parchment is much better. Set out your spatula, forks, and all your ingredients. I like to measure everything out before I start melting because things move fast.
Step 2: Melt the Chocolate (1-2 minutes)
Place the chocolate chips and butter in your microwave-safe bowl. Microwave on high for 30 seconds. Remove and stir. If it’s not fully melted, microwave in 15-second intervals, stirring after each, until smooth. Be careful not to overheat—chocolate burns easily. You want it glossy and smooth, not grainy or separated. If you’re using a stove, melt these together in a double boiler over low heat, stirring constantly.
Step 3: Mix in the Peanut Butter (1 minute)
Once the chocolate is melted, stir in the peanut butter and vanilla extract. Mix until completely combined and smooth. The mixture should be thick and glossy. If it’s too thick to stir, add a tiny splash of milk or more melted butter, but usually, it’s fine as is. This is where you can add any mix-ins like marshmallows or pretzels now.
Step 4: Fold in the Cornflakes (2 minutes)
Gradually fold in the cornflakes. Use your spatula to gently coat every flake. Don’t crush them! You want to keep the airiness. Add enough cereal until the chocolate mixture is thick enough to hold its shape when scooped. You might not need all 5 cups, or you might need a bit more. It depends on how crispy your flakes are. Aim for a sticky, cohesive mixture.
Step 5: Form the Clusters (5 minutes)
Using two forks or a spoon, drop mounds of the mixture onto your prepared baking sheet. Don’t press them flat—they should be fluffy and airy. Leave a little space between them as they spread slightly. You should get about 15-20 clusters, depending on size. If you want uniform sizes, use an ice cream scoop, but I prefer the rustic, homemade look of spoonfuls.
Step 6: Chill and Set (15-20 minutes)
Place the tray in the refrigerator. Let them chill for at least 15 minutes, or until the chocolate is firm to the touch. If you’re in a hurry, you can put them in the freezer for 10 minutes, but the fridge is gentler and prevents condensation. Once set, they’re ready to eat!
Step 7: Serve and Enjoy
Store them in an airtight container in the fridge. They’re best eaten cold, as the chocolate snaps nicely. I love serving these with a cold glass of milk or a cup of coffee. They’re perfect for parties, lunchboxes, or just snacking straight from the container.
Total Time: About 20 minutes (5 minutes active, 15 minutes chilling)
Expert Tips & Tricks
Here’s everything I’ve learned from making these dozens of times. These tips will save you from my mistakes and ensure your clusters are perfect.
Don’t Overheat the Chocolate
This is the #1 mistake. Chocolate seizes up if it gets too hot or if even a drop of water gets in. Always melt in short bursts and stir often. If your chocolate looks grainy, it’s burned. Start over with fresh chocolate.
Use Good Peanut Butter
Natural peanut butter can be oily. If you use it, stir it well before measuring. Some natural butters are too loose, which can make the clusters greasy. I prefer a brand like Smucker’s Natural or a creamy organic one that holds its shape.
Keep Flakes Crispy
If your cornflakes are old or stale, they’ll absorb the chocolate and get soggy. Always use fresh, crisp flakes. If you’re unsure, toast them lightly in the oven for 5 minutes before mixing, but let them cool first.
Double Dip for Extra Crunch
For an extra chocolatey treat, dip the chilled clusters back into melted chocolate and chill again. It creates a hard shell that snaps when you bite. I do this for special occasions or when I’m feeling indulgent.
Storage is Key
These clusters are best stored in the fridge. At room temperature, the chocolate can soften and the clusters might fall apart. In the fridge, they stay firm and delicious for up to two weeks. In the freezer, they last up to three months.
Mix-In Magic
Don’t be afraid to experiment. Add crushed peanuts for extra crunch, or swirl in some caramel sauce before chilling. I’ve even added a pinch of cayenne pepper for a spicy kick. The base recipe is so forgiving.
Variations & Substitutions
Once you’ve nailed the basic version, here’s how you can mix it up. I’ve tried all of these, and they’re all winners.
Almond Butter Version
Swap peanut butter for almond butter. It’s slightly less sweet and has a richer flavor. Works perfectly with dark chocolate chips.
S’mores Clusters
Add mini marshmallows and crushed graham crackers to the mixture. It’s like a s’mores bar in cluster form. Perfect for camping trips or campfire nights.
Cookie Dough Clusters
Fold in small pieces of edible cookie dough or chocolate chip cookie dough. It’s a dessert within a dessert. I use store-bought edible cookie dough for safety.
Gluten-Free Option
Use gluten-free cornflakes (like GF Chex or certified GF cornflakes). The rest of the ingredients are naturally gluten-free, so this is an easy swap.
Vegan Version
Use vegan butter, vegan peanut butter (most are, but check labels), and vegan chocolate chips. The technique is exactly the same. I use Enjoy Life chocolate chips, which melt beautifully.
Protein-Packed
Add a scoop of vanilla protein powder to the chocolate mixture. It might make it thicker, so add a splash of milk. Great for a post-workout snack.
Coconut Twist
Fold in toasted coconut flakes. It adds a tropical flavor that pairs well with peanut butter. I love this version with white chocolate chips.
Serving & Storage
How to enjoy these bad boys, and how to keep them fresh.
How to Serve:
I usually serve these straight from the fridge. They’re best cold. I pair them with coffee, tea, or milk. For parties, I arrange them on a platter with some fresh berries or mint leaves for a pop of color. They look fancy, but they’re actually super simple.
Side Dishes:
These are dessert on their own, but if you want to serve them with something, try a scoop of vanilla ice cream or a dollop of whipped cream. I also love them with a slice of apple or banana.
Storage Instructions:
Store in an airtight container in the refrigerator for up to two weeks. Layer them with parchment paper to prevent sticking. If you’re traveling, keep them in a cooler bag with an ice pack, as chocolate melts quickly.
Freezing:
Yes, you can freeze these! Place them on a baking sheet in the freezer until solid, then transfer to a freezer bag. They’ll last up to three months. Thaw in the fridge overnight before eating. They taste just as good fresh as frozen.
Pro Tip:
If your clusters are sticking together, make sure they’re fully set before storing. Also, keep them away from strong-smelling foods in the fridge, as chocolate can absorb odors.
Nutrition Information
I’m not a nutritionist, but here’s the breakdown if you’re tracking. Remember, this is a treat, so enjoy it mindfully.
Per Cluster (based on 15 clusters):
- Calories: 120
- Protein: 3g
- Carbs: 14g
- Fiber: 1g
- Sugar: 9g
- Fat: 7g
- Saturated Fat: 3g
- Cholesterol: 5mg
- Sodium: 40mg
What’s Good:
– Good source of healthy fats from peanut butter
– Provides some protein and energy
– No baking means no added oils or sugars beyond what’s in the chocolate
What to Know:
– Higher in sugar due to chocolate chips
– Contains peanuts (allergy alert!)
– Can be modified for dietary restrictions (see variations)
My Take:
Look, these are candy bars in cluster form. They’re sweet, salty, and crunchy. They’re not a health food, but they’re better than store-bought candy because you control the ingredients. When I make them, I use dark chocolate and natural peanut butter to keep it a bit more balanced. But usually? I just eat two and call it a day. Moderation is key!
Final Thoughts
So that’s my go-to No-Bake Chocolate Peanut Butter Cornflake Clusters! I’ve probably talked your ear off at this point, but when you make a recipe this often, you have a lot to say about it. These clusters have saved my dessert game more times than I can count. They’re my answer to “what’s for dessert?” when I’m tired, don’t want to bake, and still want something that tastes amazing. My kids love them, my husband requests them, and I love that they’re so easy to make.
Make it yours! Try different add-ins, swap in your favorite chocolate, or adjust the peanut butter to your liking. The best recipes are the ones you adapt to your family’s tastes. If you make these, drop a comment and let me know what you think! I love hearing how recipes turn out in your kitchen. And if something doesn’t work, tell me that too—I’m here to help troubleshoot.
Happy snacking! And I hope your kitchen smells half as good as mine does right now.
Frequently Asked Questions
Q: Can I use crunchy peanut butter?
A: Yes, you can! It adds a nice texture contrast. However, it might make the clusters a bit looser, so you may need a touch more cornflakes to bind them. I prefer creamy for a smoother coating, but crunchy is delicious if you like the extra bite.
Q: Why did my chocolate seize up?
A: Chocolate seizes when it gets too hot or when water gets in. Make sure your bowl is completely dry before melting. Also, melt in short intervals and stir frequently. If it seizes, you can try adding a teaspoon of warm water or butter to bring it back, but it’s often easier to start over.
Q: Can I make these ahead of time?
A: Absolutely! In fact, they taste better after a day in the fridge as the flavors meld. Make them up to two weeks in advance and store in the fridge. They also freeze well for up to three months.
Q: Can I use a different type of cereal?
A: You can, but cornflakes are best for their light, crispy texture. Rice Chex or puffed wheat work, but the clusters will be denser. Avoid sugary cereals like Frosted Flakes, as they’ll make the clusters too sweet and soggy.
Q: How do I keep the clusters from sticking together?
A: Make sure they’re fully set before storing. Use parchment paper between layers in the container. Also, ensure your hands are dry when handling them, as moisture can make the chocolate sticky.
Q: Can I substitute the butter with oil?
A: You can use coconut oil, but it will change the flavor and texture. The clusters might be softer and less rich. Butter adds a creamy flavor that oil doesn’t replicate. I recommend sticking with butter for the best taste.
Q: Are these gluten-free?
A: Only if you use gluten-free cornflakes. Most standard cornflakes contain malt flavoring derived from barley, which is not gluten-free. Check your cereal label or use certified GF cornflakes to be safe.
Pin This Recipe!
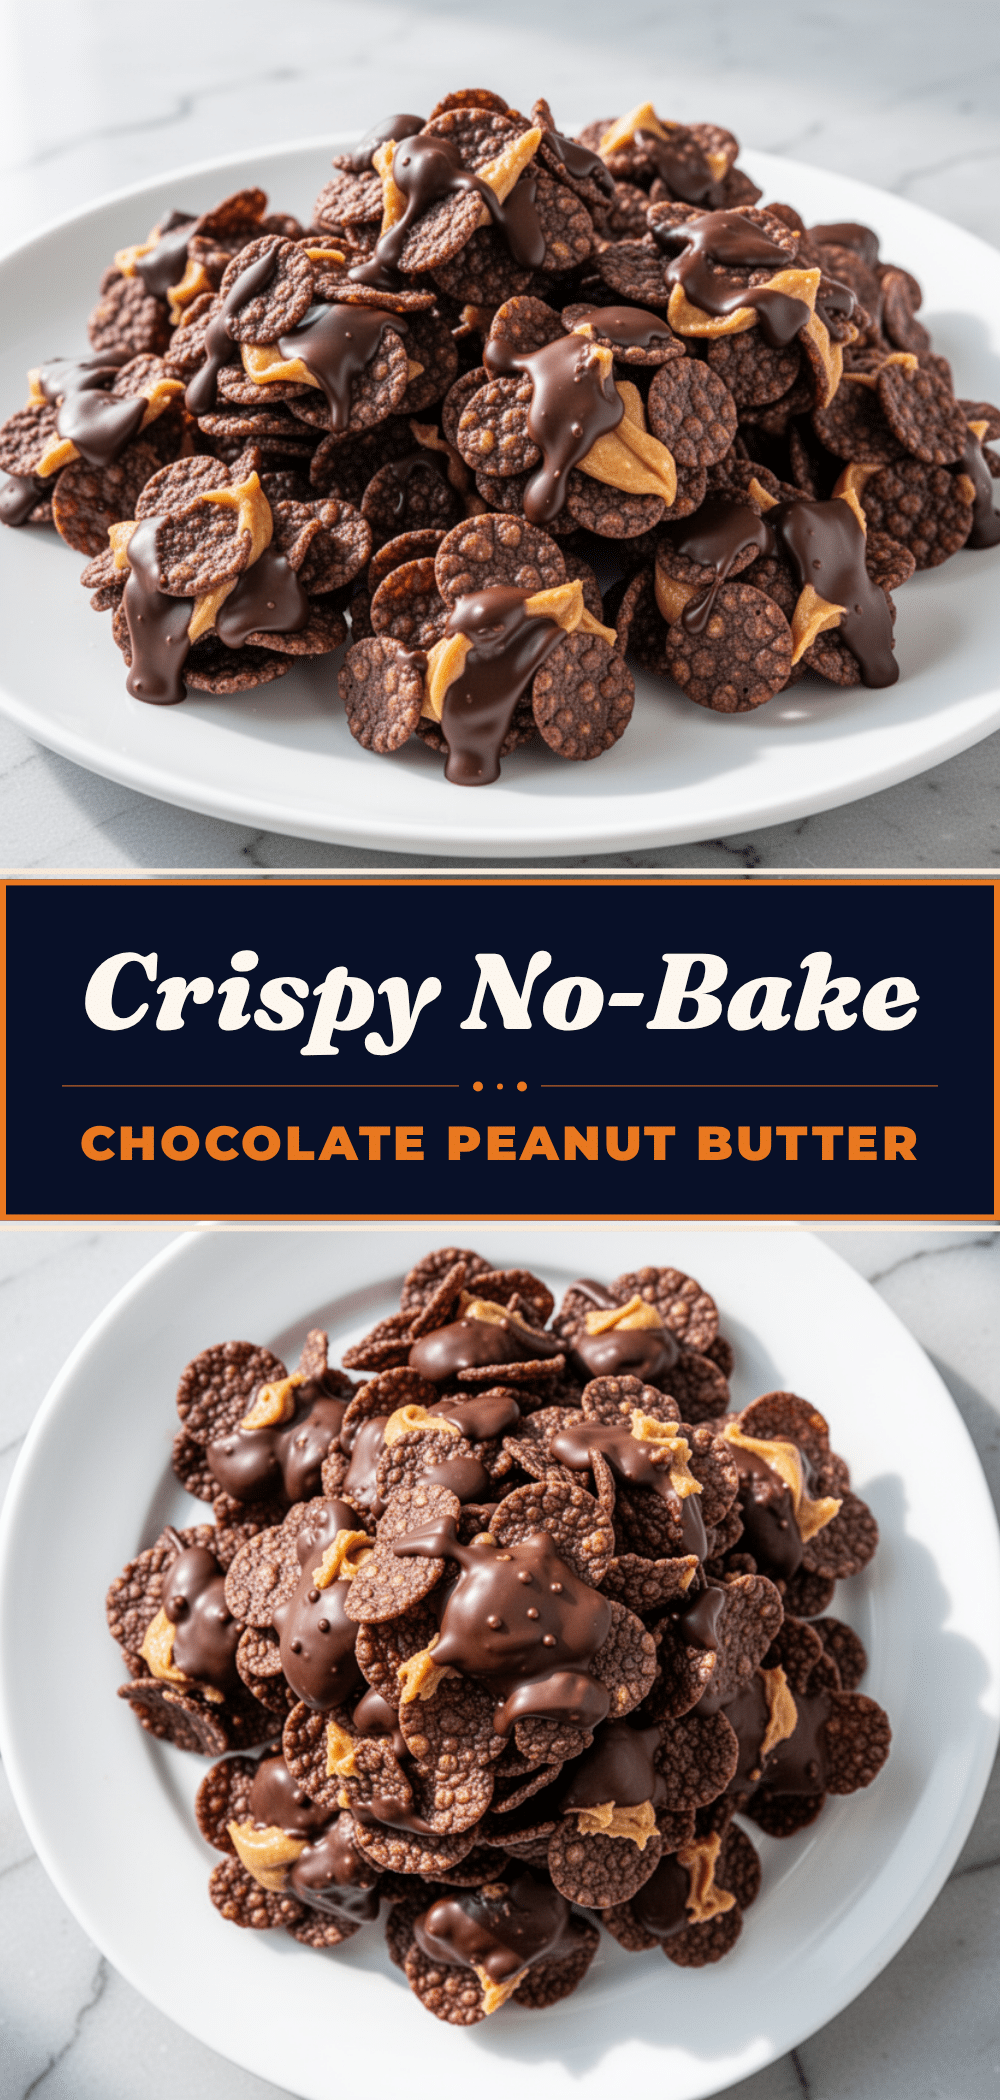
No-Bake Chocolate Peanut Butter Cornflake Clusters
- Total Time: 20 minutes
- Yield: 15 servings 1x
Description
A quick, no-bake dessert made with pantry staples like cornflakes, peanut butter, and chocolate chips. These crunchy, salty-sweet clusters are ready in 20 minutes and perfect for lazy nights or meal prep.
Ingredients
- 3 tablespoons unsalted butter
- 1/2 cup creamy natural peanut butter
- 1 cup semi-sweet or milk chocolate chips
- 1 teaspoon vanilla extract
- 4–5 cups plain cornflakes
- 1 pinch salt
- Optional: 1/2 cup mini marshmallows, 1/4 cup crushed pretzels, or 1/4 cup raisins
Instructions
- Line a baking sheet with parchment paper and set out your equipment.
- Place chocolate chips and butter in a microwave-safe bowl. Microwave on high for 30 seconds, stir, then continue in 15-second intervals until smooth and glossy.
- Stir in the peanut butter and vanilla extract until the mixture is completely combined and smooth.
- Gradually fold in the cornflakes using a silicone spatula, ensuring every flake is coated without crushing them.
- Using two forks or a spoon, drop mounds of the mixture onto the prepared baking sheet.
- Refrigerate for 15-20 minutes until the chocolate is firm to the touch.
- Store in an airtight container in the refrigerator and enjoy cold.
Notes
Do not overheat the chocolate as it can seize. Use fresh, crisp cornflakes to prevent sogginess. If using natural peanut butter, stir well before measuring. Clusters can be stored in the fridge for up to two weeks or frozen for up to three months.
- Prep Time: 5 minutes
- Cook Time: 0 minutes
- Category: Dessert
- Cuisine: American
Nutrition
- Serving Size: 1 cluster
- Calories: 120
- Sugar: 9
- Sodium: 40
- Fat: 7
- Saturated Fat: 3
- Carbohydrates: 14
- Fiber: 1
- Protein: 3
Keywords: no-bake, chocolate, peanut butter, cornflakes, clusters, easy dessert, snack, meal prep, gluten-free option, vegan option



