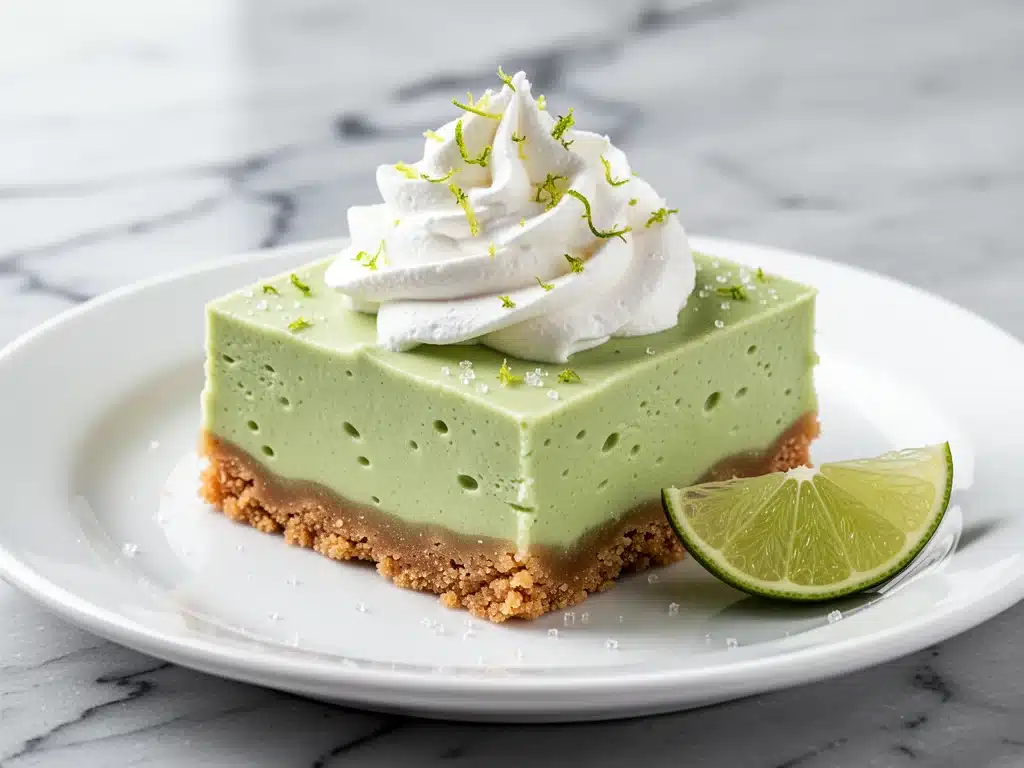
I have a confession to make. For years, I was a coward when it came to key limes. You know the kind—the ones that look like tiny, wrinkly golf balls and smell like sunshine but cost more than my first car? I’d buy them once, squeeze them, get three tablespoons of juice, and feel like I’d been scammed by the universe. So I stuck to lemons. Safe. Boring. Predictable.
Then, last summer, my neighbor handed me a bag of actual key limes from her backyard tree. She told me, “Just make the bars. Don’t overthink it.” I was skeptical. I’ve made enough lemon bars to know that citrus desserts can easily tip from “bright and tangy” to “sour toothache” if you mess up the ratio. But those key limes were different. They were smaller, more aromatic, and had this floral sweetness that regular limes just don’t possess.
I whipped up a batch of key lime pie bars that Tuesday night. I toasted the graham crackers (a step I usually skip because I’m lazy, but she insisted), mixed the filling, and popped them in the oven. When they came out, the kitchen smelled like a tropical vacation. The crust was deep and caramelized, and the filling had that perfect jiggly set that screams “I did this right.” My husband took one bite, paused, and said, “This tastes like summer. Why don’t we have this every week?”
That was two years ago. Those six-ingredient bars are now a permanent fixture in our dessert rotation. I’ve made them for potlucks, for rainy Sundays, and just because I wanted a taste of the Keys on a Tuesday. They’re easier than a whole pie (no crust-shattering risk!), they travel better, and honestly? They’re just more fun to eat. If you’ve been intimidated by key lime pie, let me convince you that these bars are the way to go. They’re simple, they’re tangy, and they’re going to become your new favorite sweet treat.
Why You’ll Love This 6-Ingredient Dessert
Look, I love a fancy layered cake as much as the next person, but sometimes you just want a dessert that doesn’t require a degree in pastry arts. These key lime pie bars are the ultimate “I can do this” dessert. Here’s why they’ve earned a permanent spot in my fridge:
Only Six Ingredients — Seriously. I’m not exaggerating. You don’t need a pantry full of obscure items. Just graham crackers, butter, sugar, eggs, sweetened condensed milk, and key limes. That’s it. If you can find these at a standard grocery store, you can make this.
The Toasted Crust Factor — Most bar recipes just press raw crumbs into the pan. I learned that toasting the graham cracker mixture with the butter first creates a nutty, deeply flavorful base that actually holds up. It’s crunchy, not sandy. It’s the kind of crust that makes people ask for the recipe.
Perfect Tangy Balance — There’s a fine line between sweet and sour. The sweetened condensed milk handles the sugar, while the fresh key lime juice cuts through the richness. It’s bright, not cloying. My kids who usually hate “sour” things actually beg for these because the sweetness balances the kick perfectly.
Make-Ahead Magic — This is my secret weapon for dinner parties. I make the bars two days in advance. They actually get better as they chill, allowing the flavors to meld and the texture to set firmly. No last-minute panic, no oven heat in the house during summer. Just slice and serve.
Portable and Mess-Free — Pie slices slide off plates. Bars stay put. I’ve taken these to picnics, office potlucks, and car rides. They hold their shape beautifully, especially with that sturdy toasted crust. No forks required if you’re feeling lazy (which I am, often).
This recipe is my go-to when I want to impress guests without spending hours in the kitchen. It’s reliable, refreshing, and just tastes better than anything you’d buy at a bakery. Plus, the cost is a fraction of a whole pie, and you get more bites out of it.
Ingredients You’ll Need for Key Lime Pie Bars
Here’s the best part: you probably have most of these already. This isn’t a recipe that requires a special trip to three different specialty stores. Here’s what you need, and why I’m particular about a few of them.
Graham Crackers (1.5 cups / 150g, crushed) — I use standard honey graham crackers. They’re sweet and buttery, which pairs well with the tart filling. Don’t use the whole wheat ones unless you like a nuttier, less sweet base. You need fine crumbs. If you don’t have a food processor, put them in a ziplock bag and crush them with a rolling pin until they’re like sand.
Unsalted Butter (6 tablespoons / 85g, melted) — This binds the crust. I use unsalted so I can control the saltiness, but if you only have salted, reduce any added salt in the filling by a pinch. Make sure it’s fully melted and slightly cooled before mixing with the crumbs.
Granulated Sugar (2 tablespoons / 25g) — Just a little bit to sweeten the crust. It helps with browning and adds a tiny bit of crunch to the toasting process. Don’t skip it; it makes the crust taste more like a cookie.
Key Limes (6-8 medium, or ½ cup / 120ml juice) — This is the star. Fresh juice only. No bottled stuff. Bottled key lime juice has preservatives that taste metallic and flat. You need that fresh, floral punch. If you can’t find key limes, use regular Persian limes, but add a teaspoon of orange zest to mimic that floral note. But real key limes? Worth the hunt.
Sweetened Condensed Milk (1 can / 14oz / 397g) — Do not confuse this with evaporated milk! They are totally different. Sweetened condensed milk is thick, syrupy, and very sweet. It’s what gives the filling that creamy, custard-like texture without needing heavy cream. Keep it cold until you use it.
Eggs (3 large) — Room temperature eggs mix more evenly into the condensed milk. I usually take them out of the fridge about 30 minutes before I start. They provide the structure that sets the filling as it bakes.
Optional: Powdered Sugar (½ cup / 60g) — For the dusting on top. It looks pretty and adds a tiny bit of sweetness to cut the tang. I also like a dollop of whipped cream, but honestly, the bars are sweet enough on their own.
Common Questions:
Can I use regular limes? Yes, but key limes are smaller and more aromatic. If you use regular limes, you might need 3-4 of them to get ½ cup of juice. Just taste the juice first—if it’s too sour, add a teaspoon more sugar to the filling.
Where do I find key limes? They’re often in the produce section near the regular limes, especially in warmer climates or near grocery stores. If they’re not fresh, ask the produce manager. They’re usually shipped in from Florida or Mexico.
Equipment Needed
You don’t need fancy gadgets for this. Here’s what I actually use in my kitchen:
8×8 Inch Baking Pan — This is the perfect size for these bars. It gives you a good crust-to-filling ratio. Line it with parchment paper for easy removal. Trust me, trying to get sticky citrus bars out of an unlined pan is a nightmare. I leave a little overhang on the sides to use as handles.
Food Processor or Ziplock Bag — For crushing the graham crackers. A food processor gives you uniform crumbs instantly. If you’re doing it by hand, use a heavy rolling pin or a wine bottle. Get them fine; big chunks of cracker in the crust are uneven.
Mixing Bowls — One medium bowl for the crust, one large bowl for the filling. I use glass bowls because they’re easy to clean.
Whisk — For beating the eggs and condensed milk together. A whisk ensures there are no lumps of yolk and that the mixture is smooth and pale.
Microplane or Grater — For the lime zest. You want fine zest, no white pith. The white part is bitter.
Cooling Rack — Essential. You cannot cut these bars warm. They need to set completely. A rack allows air circulation so the bottom doesn’t get soggy.
How to Make It: Step-by-Step
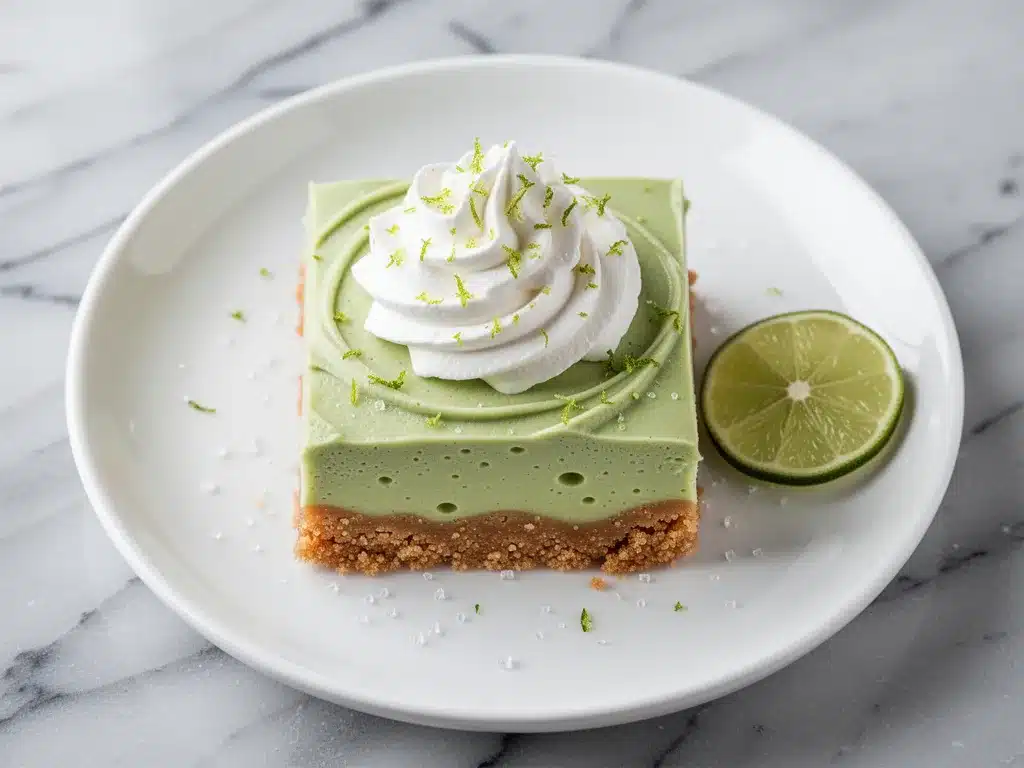
Alright, let’s make these bars! I’m walking you through exactly how I do it, including the little tricks that keep the crust crunchy and the filling smooth.
Step 1: Prep and Toast the Crust (10 minutes)
Preheat your oven to 350°F (175°C). Line your 8×8 pan with parchment paper, leaving an overhang on the long sides. In a medium bowl, mix the crushed graham crackers, melted butter, and 2 tablespoons of sugar. Spread this mixture evenly into the bottom of the pan. Press it down firmly with the bottom of a measuring cup. I know most recipes skip toasting, but I toast the crust for 8-10 minutes until it’s lightly golden and smells nutty. This step is non-negotiable for me. It prevents a soggy bottom and adds depth. Remove from oven and let it cool slightly while you make the filling.
Step 2: Zest and Juice the Limes (5 minutes)
Wash your key limes thoroughly. Before juicing them, zest them! You need about 1 tablespoon of zest. I do this first because if you juice first, the limes are slippery and hard to zest. Roll the limes on the counter with your palm to soften them before cutting—this gets more juice out. Juice them until you have ½ cup of fresh juice. Strain it to remove seeds and pulp if you prefer a smoother texture, though I leave a little pulp for flavor.
Step 3: Mix the Filling (5 minutes)
In a large bowl, whisk the 3 eggs until they are light and fluffy. This takes about 2 minutes. Add the sweetened condensed milk and whisk until combined. Then, add the fresh lime juice and lime zest. Whisk again until the mixture is smooth and uniform. It will look slightly curdled—that’s normal! The acid in the lime juice reacts with the milk proteins. Don’t panic. It will smooth out in the oven.
Step 4: Bake (20-25 minutes)
Pour the filling over the toasted crust. Smooth the top with a spatula. Bake for 20-25 minutes. You’re looking for a set edge (about an inch in) but a center that still jiggles slightly like Jell-O. It should be pale yellow, not brown. If the edges are browning too fast, tent it with foil after 15 minutes. Overbaking makes the filling crack and become rubbery.
Step 5: Cool and Chill (4 hours minimum)
Remove from the oven and let it cool on a wire rack for 30 minutes. Then, refrigerate for at least 4 hours, preferably overnight. This is the hardest part. I want to cut into them immediately, but they need time to set. If you cut them warm, they’ll be a mess. Patience pays off here.
Step 6: Slice and Serve
Use the parchment overhang to lift the bars out of the pan. Place on a cutting board. Use a sharp knife to cut into squares. Wipe the knife clean between cuts for neat edges. Dust with powdered sugar if you want. Serve cold.
Expert Tips & Tricks
Here’s everything I’ve learned from making these dozens of times. These tips will save you from my mistakes.
Don’t Skip the Toast — I said it before, but I’ll say it again. A raw graham cracker crust can get soggy from the wet filling. Toasting it creates a moisture barrier. It’s worth the extra 10 minutes.
Room Temp Eggs Matter — Cold eggs added to cold condensed milk can cause the milk to seize slightly. Room temp eggs blend seamlessly. I usually plan my baking so the eggs have time to warm up.
Watch the Oven Temp — Oven thermostats can be off. If your oven runs hot, check the bars at 20 minutes. You want them just set, not firm. Carryover cooking will finish the job as they cool.
Storage is Key — These bars must be stored in the fridge. They don’t keep well at room temperature because of the eggs and dairy. They’ll last up to 5 days in an airtight container.
The Powdered Sugar Trick — If you’re serving these at a party, dust the powdered sugar *after* slicing, not before. If you dust the whole slab, the sugar dissolves into the crust when you cut it, creating sticky messes.
Variations & Substitutions
Once you’ve nailed the basic version, here’s how you can mix it up. I’ve tried all of these.
Chocolate Chip Key Lime — Sprinkle ½ cup of mini chocolate chips over the filling before baking. The chocolate and lime is a classic combo. It adds richness and breaks up the tartness.
Cookie Crust Variation — Instead of graham crackers, use crushed vanilla wafers or Nilla Wafers. They’re sweeter and create a softer, cake-like crust. Great if you prefer less crunch.
Gluten-Free Option — Use gluten-free graham crackers. Many brands are now available. The technique is the same. I’ve used Kinnickinnic brand and it works perfectly.
Coconut Twist — Add ½ cup of shredded coconut to the crust mixture before toasting. It adds a nice tropical vibe that complements the lime. You can also fold ¼ cup into the filling.
Whipped Cream Top — For a lighter finish, top each bar with a dollop of freshly whipped cream instead of powdered sugar. Add a lime wheel for garnish.
Other Citrus Variations — If you can’t find key limes, use lemons for lemon bars (check out my easy lemon bars recipe for a similar crust method). Or try grapefruit for a more bitter, sophisticated twist.
Serving & Storage
How to Serve:
I usually serve these straight from the fridge. They’re best cold. Pair them with a cup of coffee or tea. They’re also great with a glass of chilled white wine or a sparkling water with a lime wedge.
Side Dishes:
These bars are rich, so they don’t need much else. But if you’re having a dessert platter, they go well with fresh berries (strawberries or raspberries add a nice color contrast) or a simple fruit salad.
Storage Instructions:
Refrigerator: Store in an airtight container for up to 5 days. Place parchment paper between layers if stacking. They stay moist and fresh.
Freezing: Yes, you can freeze them! Wrap individual bars tightly in plastic wrap, then foil. They’ll last up to 3 months. Thaw in the fridge overnight. The texture might be slightly softer, but they still taste great.
Reheating: Don’t reheat these. They’re meant to be eaten cold. Heating them up makes the crust tough and the filling oily.
Nutrition Information
I’m not a nutritionist, but here’s the breakdown if you’re tracking. Keep in mind this is an estimate based on 16 bars.
Per Serving (1 bar):
- Calories: 180
- Protein: 4g
- Carbs: 28g
- Fiber: 0g
- Sugar: 24g
- Fat: 7g
- Saturated Fat: 4g
What’s Good:
It’s a moderate-sized dessert. The graham cracker crust provides some carbs, and the condensed milk adds calcium. It’s satisfying without being overwhelmingly heavy.
What to Know:
It’s high in sugar due to the condensed milk and graham crackers. If you’re watching sugar intake, keep portions small. One or two bars is plenty. It contains dairy and gluten.
Final Thoughts
So that’s my go-to key lime pie bars! I’ve probably talked your ear off at this point, but when you make a recipe this often, you have a lot to say about it. These bars have saved my dessert game more times than I can count. They’re my answer to “what’s for dessert” when I want something fancy but don’t have time for it. My kids are happy, my husband’s happy, and I’m happy because I’m not stressed about cooking.
Make it yours! Try different crusts, add chocolate chips, or experiment with other citrus fruits. The best recipes are the ones you adapt to your family’s tastes. If you make this, drop a comment and let me know what you think! I love hearing how recipes turn out in your kitchen. And if something doesn’t work, tell me that too—I’m here to help troubleshoot.
Happy baking! And I hope your kitchen smells half as good as mine does right now.
Frequently Asked Questions
Can I use bottled key lime juice?
I really don’t recommend it. Bottled juice often contains preservatives and has lost the volatile oils that give key limes their unique floral aroma. It tastes flatter and more metallic. Fresh juice makes a huge difference. If you’re desperate, you can try it, but add a little extra zest to compensate.
Why did my filling crack?
Cracking usually means the bars were overbaked. The filling is done when the edges are set but the center still jiggles. It will firm up as it cools. If you bake it until the center is firm, it will crack and become rubbery. Also, avoid opening the oven door too much while baking, as temperature fluctuations can cause cracking.
Can I make this ahead for a party?
Absolutely. This is actually better when made ahead. Make the bars 1-2 days in advance. They need time to set in the fridge. You can store them in the pan, covered with plastic wrap, until you’re ready to serve. Slice them just before serving to keep the edges clean.
Can I use regular limes instead of key limes?
Yes, but the flavor will be slightly different. Regular limes are bigger and less aromatic. You’ll need more of them to get ½ cup of juice. To mimic the key lime flavor, add a teaspoon of orange zest to the filling. It adds that floral note that key limes naturally have.
How do I get clean cuts?
Use a sharp knife. Dip the knife in hot water and wipe it dry between each cut. This helps the knife glide through the crust and filling without dragging. Also, make sure the bars are completely chilled. Warm bars will stick to the knife and make a mess.
Can I freeze these bars?
Yes! Wrap individual bars tightly in plastic wrap, then place them in a freezer-safe bag or container. They’ll last up to 3 months. Thaw in the fridge overnight. The texture might be slightly softer, but they still taste delicious. Don’t freeze them with powdered sugar on top; add that after thawing.
Pin This Recipe!
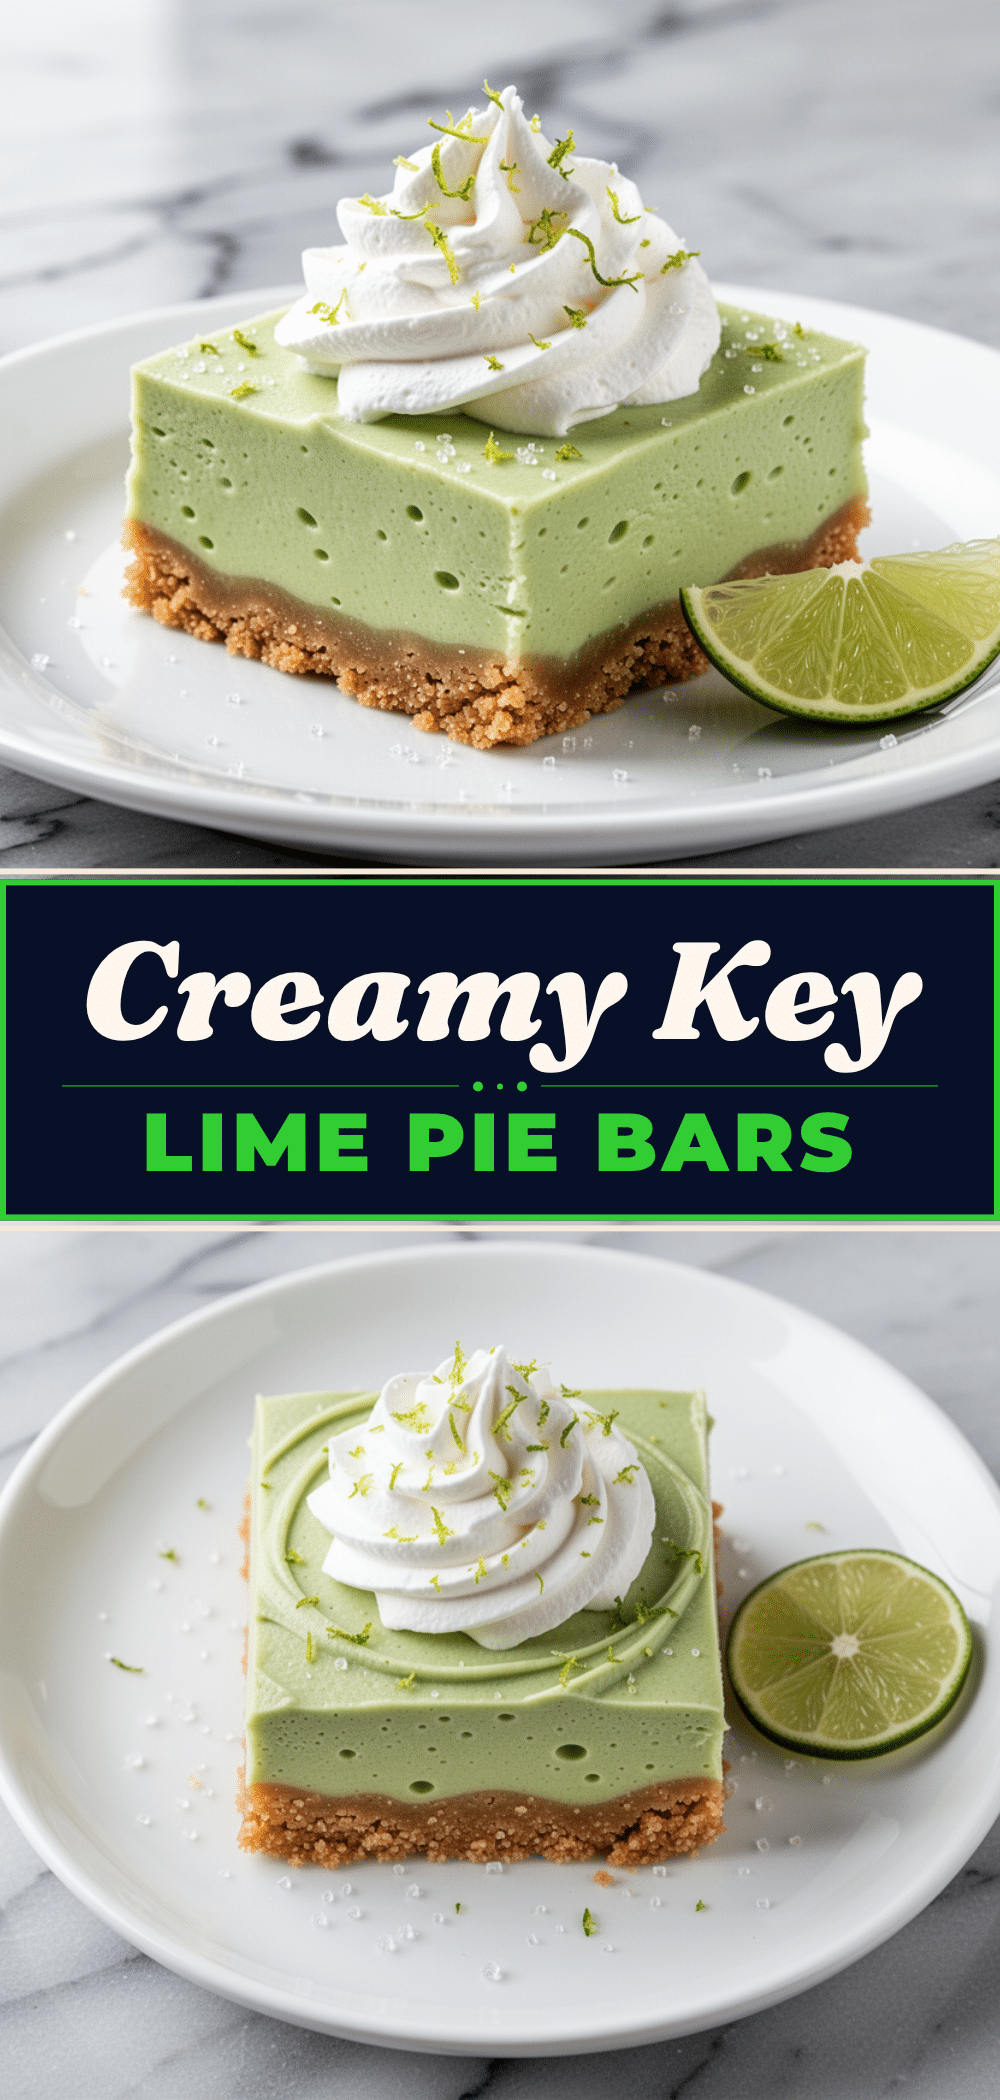
Key Lime Pie Bars: 6-Ingredient Easy Dessert
- Total Time: 4 hours 55 minutes
- Yield: 16 servings 1x
Description
These easy key lime pie bars feature a toasted graham cracker crust and a tangy, creamy filling made with just six ingredients. They are simple to make, travel well, and offer the perfect balance of sweet and tart.
Ingredients
- 1.5 cups (150g) crushed honey graham crackers
- 6 tablespoons (85g) unsalted butter, melted
- 2 tablespoons granulated sugar
- 6–8 medium key limes (yielding ½ cup / 120ml fresh juice)
- 1 tablespoon key lime zest
- 1 can (14oz / 397g) sweetened condensed milk
- 3 large eggs, room temperature
- ½ cup (60g) powdered sugar, optional for dusting
Instructions
- Preheat oven to 350°F (175°C). Line an 8×8 inch baking pan with parchment paper, leaving an overhang on the long sides.
- In a medium bowl, mix crushed graham crackers, melted butter, and 2 tablespoons of sugar. Press firmly into the bottom of the prepared pan.
- Toast the crust in the oven for 8-10 minutes until lightly golden and nutty. Remove and let cool slightly.
- While the crust cools, zest the key limes to get 1 tablespoon of zest. Juice the limes to get ½ cup of fresh juice.
- In a large bowl, whisk 3 eggs until light and fluffy. Add sweetened condensed milk and whisk until combined.
- Add the fresh lime juice and lime zest to the egg mixture. Whisk until smooth (it may look slightly curdled, which is normal).
- Pour the filling over the toasted crust and smooth the top.
- Bake for 20-25 minutes until the edges are set but the center still jiggles slightly. Tent with foil if edges brown too quickly.
- Cool on a wire rack for 30 minutes, then refrigerate for at least 4 hours or overnight until completely set.
- Lift bars out using parchment overhang, slice into squares, and dust with powdered sugar if desired. Serve cold.
Notes
Do not skip toasting the crust to prevent sogginess. Use fresh key lime juice for the best flavor; bottled juice can taste metallic. Ensure eggs are at room temperature for a smooth filling. Bars must be chilled completely before cutting for clean slices. Store in the refrigerator for up to 5 days or freeze for up to 3 months.
- Prep Time: 20 minutes
- Cook Time: 35 minutes
- Category: Dessert
- Cuisine: American
Nutrition
- Serving Size: 1 bar
- Calories: 180
- Sugar: 24
- Fat: 7
- Saturated Fat: 4
- Carbohydrates: 28
- Protein: 4
Keywords: key lime pie bars, easy dessert, 6 ingredient dessert, key lime bars, graham cracker crust, make ahead dessert, tangy lime dessert



