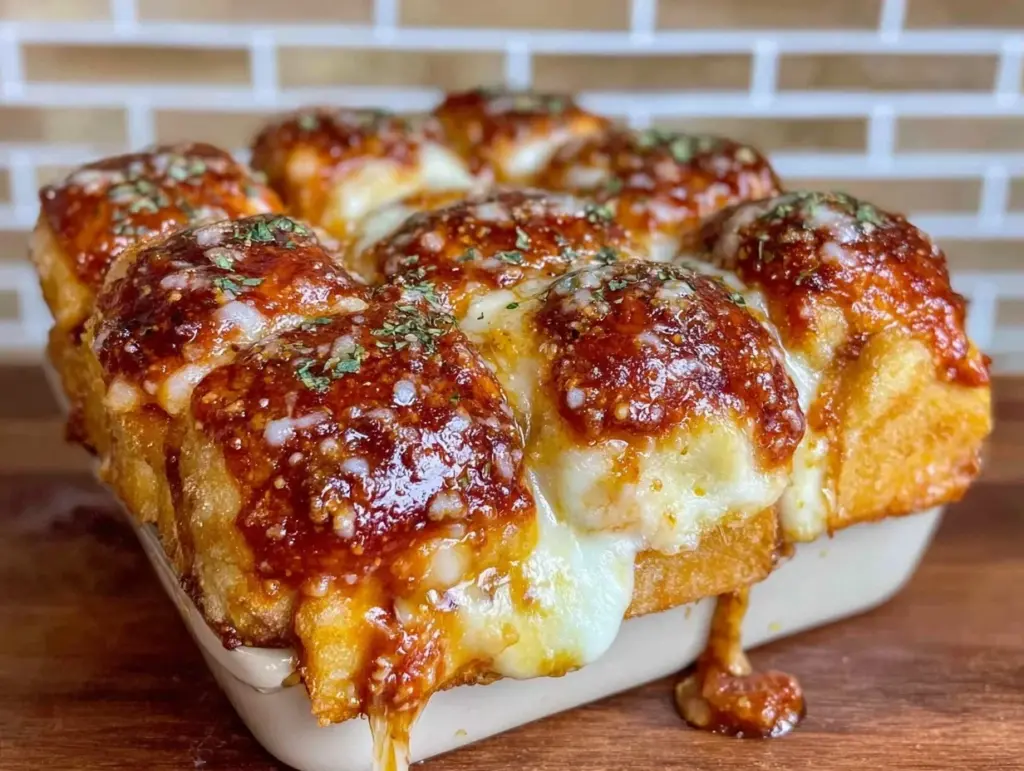
I still remember the first Super Bowl I hosted. I was twenty-two, living in my first apartment with a tiny kitchen that barely fit two people at once. I wanted to impress my friends, but my bank account was decidedly unimpressed. So, I bought three packs of Hawaiian rolls, a bag of shredded mozzarella, some pepperoni I had on hand, and a jar of marinara. I slathered them in butter and garlic powder and shoved them in the oven. When I pulled them out, they were golden, bubbly, and totally falling apart—which is exactly what you want when you’re trying to serve twelve hungry adults with one hand holding a beer.
That disaster-turned-triumph became a tradition. Every game day, every birthday, every casual Sunday hangout, I make these pull-apart pizza sliders. They’re the ultimate budget-friendly party food because they feed a crowd for pennies, require zero fancy techniques, and disappear faster than you can blink. If you’ve been looking for a way to level up your snack table without spending a fortune or stressing out in the kitchen, you’ve found it.
These sliders aren’t just cheap; they’re delicious. The garlic butter soaks into the soft rolls, creating that perfect contrast between the crispy, savory top and the gooey, cheesy interior. And the best part? You can prep them hours before the game starts, so you’re not stuck behind a stove while everyone else is watching the kickoff. Let’s get into how to make these crowd-pleasers.
Why You’ll Love This Recipe
There are a million reasons to keep this in your rotation, but I’ll keep it real with you. This is the recipe that saves me when I’m tired, broke, and need to feed people.
- Stupid Simple — Seriously, if you can open a package of rolls and spread butter, you can make this. I’ve made these while helping my kids with homework and still ended up with a beautiful, golden tray.
- Insanely Budget-Friendly — You can feed 12-15 people for under $15. That’s less than $1 per person. Compare that to appetizers at a bar, and you’re saving a ton of cash.
- Zero Prep Stress — You can assemble these the night before. Seriously. Just cover them with foil and pop them in the fridge. When you’re ready, they go straight into the oven. No last-minute panic.
- Customizable for Everyone — Have a vegetarian? Skip the meat. Have a kid who hates olives? Leave them out. These sliders are a blank canvas for your specific group’s tastes.
- Makes Incredible Leftovers — And yes, there will be leftovers. They reheat beautifully in the oven or toaster oven, making for a fantastic next-day lunch or a midnight snack.
This is my go-to when I need dinner to just work. No complicated techniques, no weird ingredients, just reliable, delicious food that makes everyone happy.
Ingredients You’ll Need
Here’s the best part: you probably have most of this already in your pantry and fridge. I’m particular about a few things, but overall, this is very forgiving.
For the Sliders
Hawaiian sweet rolls (2 packs / 12 rolls each) — This is non-negotiable. You need the soft, sweet, pull-apart style rolls. Brioche works too if you can’t find Hawaiian, but Hawaiian is the classic. Don’t use hard sandwich bread; it won’t have that nice texture.
Shredded mozzarella cheese (16 oz / 450g) — I buy the pre-shredded bags for convenience. It melts fast and evenly. You can use a blend of mozzarella and provolone for extra flavor, but plain mozzarella is cheap and effective.
Pepperoni slices (1 package) — The classic choice. You can chop them up or lay them flat. I usually chop them into quarters so you get a pepperoni bite in every slider. If you hate pepperoni, use ham or Italian sausage.
Marinara sauce (1 cup / 240ml) — Don’t use the fancy, expensive jarred stuff with basil and oregano and roasted garlic unless you want it to taste weird in a slider. Just a simple, plain marinara works best here. It keeps the flavor balanced.
Dried oregano (1 teaspoon) — Just a sprinkle on top adds that authentic pizza aroma. Fresh oregano gets soggy, so dried is better here.
For the Garlic Butter Glaze
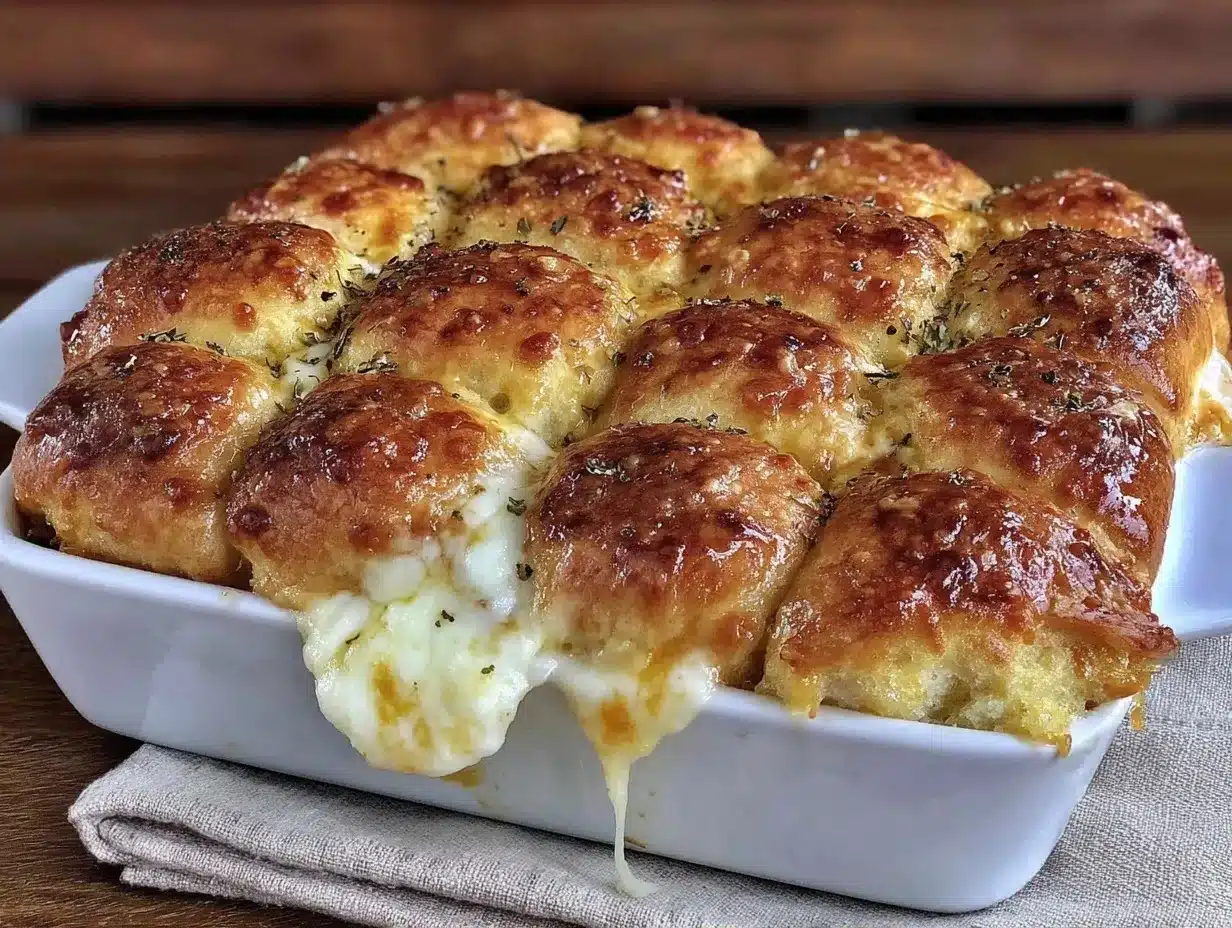
Unsalted butter (½ cup / 115g) — Melted. If you use salted butter, reduce the added salt in the glaze.
Garlic (4-5 cloves, minced) — Fresh garlic is key here. It smells amazing. If you’re in a huge rush, you can use garlic powder, but fresh tastes way better. I usually mince it fine so you don’t get giant chunks of garlic.
Dried parsley (1 tablespoon) — This adds a pop of green color and a fresh taste. It’s optional, but it makes the sliders look like they came from a restaurant.
Granulated garlic (1 teaspoon) — This adds a deeper, sweeter garlic flavor compared to the fresh minced garlic.
Salt (½ teaspoon) — Just a pinch to balance the sweetness of the rolls.
Equipment Needed
You don’t need fancy equipment for this. Here’s what I actually use.
9×13 inch baking dish — This is the standard size. If you have a smaller dish, you’ll need to double the recipe or bake in two batches. A glass Pyrex dish works great because it heats evenly.
Small mixing bowl — For whisking the butter and garlic together.
Fork — To whisk the butter mixture until it’s smooth.
Pastry brush or spoon — To spread the garlic butter over the top. A brush gives a nicer finish, but a spoon works fine if you’re being lazy.
Aluminum foil — Essential for covering the sliders while they bake so the tops don’t burn before the cheese melts.
Cutting board and knife — For chopping pepperoni or other meats.
Measuring cups and spoons — Standard stuff. Dollar store versions work fine.
Optional but nice:
Microplane or fine grater — If you want to grate your own parmesan for a crusty topping.
How to Make It: Step-by-Step
Alright, let’s make this! I’m walking you through exactly how I do it, including the little tricks I’ve picked up over the years.
Step 1: Prep Your Rolls (2 minutes)
Open your packages of Hawaiian rolls. They should be in a big rectangular block, still connected. Keep them connected! You don’t want to separate them into individual rolls yet. Lay the entire block into your 9×13 baking dish. If your dish is smaller, you might need to trim the edges slightly, but usually, two packs fit perfectly.
Step 2: Layer the Cheese and Meat (5 minutes)
This is the fun part. Take your shredded mozzarella and sprinkle it evenly over the top of the rolls. You don’t need to be precise—just cover as much of the top as you can. Then, take your pepperoni slices. I like to fold them in half or cut them into quarters so they fit better between the rolls. Scatter the pepperoni pieces all over the cheese. If you’re using other toppings like sliced mushrooms, onions, or black olives, add them now. Just keep in mind that too many wet toppings can make the rolls soggy, so stick to drier veggies.
Step 3: Add the Sauce (2 minutes)
Now for the marinara. You don’t want to drown the rolls. Use a tablespoon or two to dollop the sauce over the cheese and pepperoni. Spread it out gently with the back of the spoon. You want little pockets of sauce, not a soup. Sprinkle the dried oregano over everything. This is where that classic pizza smell starts to develop.
Step 4: Make the Garlic Butter Glaze (3 minutes)
In a small bowl, melt the butter in the microwave or on the stove. Once melted, stir in the minced fresh garlic, granulated garlic, dried parsley, and salt. Whisk it together until it’s a uniform yellow mixture. This glaze is the secret weapon—it soaks into the top of the rolls and creates that crispy, savory crust.
Step 5: Brush and Bake (25 minutes)
Preheat your oven to 350°F (175°C). Pour the garlic butter mixture evenly over the top of the sliders. Use a brush or spoon to make sure every roll gets coated. If you miss a spot, it’ll just be a plain roll, which is sad.
Cover the baking dish tightly with aluminum foil. This is crucial. It traps the steam and helps the rolls heat through and the cheese melt without the tops burning. Bake for 15 minutes covered.
After 15 minutes, remove the foil. You should see the cheese bubbling and the tops starting to turn golden. Bake for another 5-10 minutes uncovered, until the tops are golden brown and crispy. Keep an eye on them in the last few minutes—every oven is different.
Step 6: Cool and Serve (5 minutes)
Let the sliders cool for about 5 minutes before pulling them apart. This lets the cheese set slightly so it doesn’t slide off when you grab one. Then, just pull them apart at the seams and serve warm. They’re best eaten with your hands, obviously.
Expert Tips & Tricks
Here’s everything I’ve learned from making this dozens of times. These tips will save you from my mistakes.
Don’t Skip the Foil
I know you’re excited to see the cheese melt, but if you skip the foil, the tops will burn before the inside is hot. The foil steams the rolls, keeping them soft and fluffy. Remove it only at the end for color.
Chop the Pepperoni
Whole pepperoni slices can curl up and slide off the rolls as they bake. Cutting them into quarters or eighths keeps them nestled in the cheese, ensuring every bite has flavor.
Use Room Temperature Rolls
If your rolls are cold from the fridge, they’ll take longer to heat through. Let them sit on the counter for 15 minutes before assembling. If you’re meal prepping, this isn’t an issue since they’ll be cold anyway.
Garlic Control
Fresh garlic can burn if the oven is too hot. That’s why we bake covered at 350°F. If you want extra garlic flavor, add a pinch of red pepper flakes to the butter mixture. It adds a nice kick.
Make-Ahead Strategy
You can assemble these the night before. Cover tightly with plastic wrap and then foil, and store in the fridge. When you’re ready to bake, you’ll need to add 5-10 minutes to the covered baking time since the rolls start cold. This is a lifesaver on game day.
Variations & Substitutions
Once you’ve nailed the basic version, here’s how you can mix it up. I’ve tried all of these.
Meat Lovers
Add crumbled cooked Italian sausage or diced ham along with the pepperoni. It makes the sliders more filling and hearty. My husband prefers this version when we’re really hungry.
Vegetarian
Simply omit the meat. Add sliced mushrooms, green peppers, onions, and black olives. You might want to add a little extra cheese to compensate for the missing meat flavor.
White Pizza
Skip the marinara entirely. Use a base of ricotta cheese mixed with a little garlic and olive oil. Top with mozzarella, spinach, and chicken. It’s richer and creamier.
Breakfast Pizza
Swap the marinara for scrambled eggs (cooked beforehand) and add bacon bits and cheddar cheese. Top with the garlic butter. It’s a weird combo, but it works surprisingly well for brunch.
Dietary Modifications
Gluten-Free
Use gluten-free Hawaiian-style rolls. They can be a bit more fragile, so handle them gently. The rest of the ingredients are naturally gluten-free.
Dairy-Free
Use dairy-free butter and dairy-free shredded mozzarella. It’s not quite the same, but it’s passable. I recommend a brand like Violife or Daiya for melting.
Serving & Storage
How to Serve:
I usually serve these straight from the baking dish. It looks rustic and everyone can grab what they want. Pair them with a simple side salad or some carrot sticks to balance out the richness. For drinks, I usually have a punch bowl or just plenty of soda and water.
Storage Instructions:
Refrigerator:
Store leftovers in an airtight container for up to 3 days. The rolls will soften up in the fridge, which is normal.
Reheating:
Best method: Oven or toaster oven at 350°F for 10-15 minutes. This restores the crispiness of the top. Microwave works in a pinch (30-60 seconds), but the rolls will get chewy and soft. If you microwave, add a slice of paper towel to absorb excess moisture.
Freezing:
These don’t freeze well after baking because the rolls get soggy. However, you can freeze the assembled, unbaked sliders. Wrap the whole dish tightly in foil and freeze for up to 1 month. Thaw in the fridge overnight before baking. Add 10-15 minutes to the bake time.
Pro tip:
If you’re feeding a large crowd, double the recipe. They always disappear faster than you think. I once made three batches for a Super Bowl party, and we still ran out. Better to have too much than too little!
Nutrition Information
I’m not a nutritionist, but here’s the breakdown if you’re tracking. Keep in mind these are estimates based on standard ingredients.
Per Serving (based on 12 sliders, 1 slider per serving):
- Calories: 220
- Protein: 8g
- Carbs: 28g
- Fiber: 1g
- Sugar: 6g
- Fat: 9g
- Saturated Fat: 4g
- Cholesterol: 15mg
- Sodium: 450mg
What’s Good:
- Decent protein from the cheese and pepperoni
- Calcium from the mozzarella
- Very affordable per serving
What to Know:
- Higher in sodium due to pepperoni and cheese
- Contains dairy and gluten
- Calories can vary based on roll size and cheese amount
My Take:
Look, these are party food. They’re meant to be indulgent and fun. They’re not a health food. But they’re way better than processed chips and they’re homemade, so you know what’s in them. When I want to make them lighter, I use low-fat cheese and less pepperoni. But usually? I just enjoy them in moderation.
Final Thoughts
So that’s my game day pull-apart pizza sliders! I’ve probably talked your ear off at this point, but when you make a recipe this often, you have a lot to say about it.
This has saved game day dinners more times than I can count. It’s my answer to “what do I bring to the party” when I’m on a budget and still want to impress. My kids love them, my friends love them, and I love them because they’re easy to make and taste amazing.
Make them yours! Try different toppings, swap in your favorite meats, or add some spicy jalapeños. The best recipes are the ones you adapt to your family’s tastes. If you make this, drop a comment and let me know what you think! I love hearing how recipes turn out in your kitchen. And if something doesn’t work, tell me that too—I’m here to help troubleshoot.
Happy cooking! And I hope your kitchen smells half as good as mine does right now.
Frequently Asked Questions
Can I use a different type of bread?
You can, but Hawaiian rolls are best because they’re soft and sweet. Brioche is a good substitute. Avoid hard breads like baguettes or sourdough, as they won’t have the same pull-apart texture and might get too crunchy. If you use a different bread, adjust the baking time accordingly.
Why did my sliders get soggy?
This usually happens if you add too much sauce or if you don’t bake them uncovered at the end. Make sure you dollop the sauce sparingly. Also, ensure you remove the foil for the last 5-10 minutes to crisp up the tops. If you’re meal prepping, don’t assemble them too far in advance, as the moisture from the sauce will seep into the rolls.
Can I make these ahead of time?
Yes! Assemble them the night before, cover tightly with foil, and refrigerate. When you’re ready to bake, let them sit on the counter for 20 minutes to take the chill off, then bake as directed, adding 5-10 minutes to the covered baking time. This is perfect for game day so you’re not stressed.
How do I reheat leftovers without them getting dry?
The oven is your best friend. Reheat at 350°F for 10-15 minutes. This restores the crispiness. If you must use the microwave, heat in 30-second intervals and add a splash of water to the plate to create steam. Avoid the microwave if you want that fresh-baked texture.
Can I freeze these?
It’s better to freeze them unbaked. Assemble the sliders, wrap the dish tightly in foil, and freeze for up to 1 month. Thaw in the fridge overnight before baking. Baked sliders don’t freeze well because the texture of the rolls suffers.
What if I don’t have fresh garlic?
You can use garlic powder instead. Use about 1 teaspoon of garlic powder for every 2 cloves of fresh garlic called for. It won’t have the same fresh punch, but it will still taste good. Just be careful not to overdo it, as garlic powder can be potent.
Can I make these in a slow cooker?
Not really. The slow cooker is better for saucy dishes. These sliders need the dry heat of the oven to crisp up the tops. If you try to make them in a slow cooker, they’ll just get mushy. Stick to the oven!
Are these suitable for kids?
Absolutely! They’re sweet, cheesy, and easy to eat. Most kids love Hawaiian rolls. If your kids are picky, you can leave out the pepperoni or olives and just do cheese and sauce. They’re a great way to get kids involved in the kitchen too—let them help layer the toppings.
Pin This Recipe!
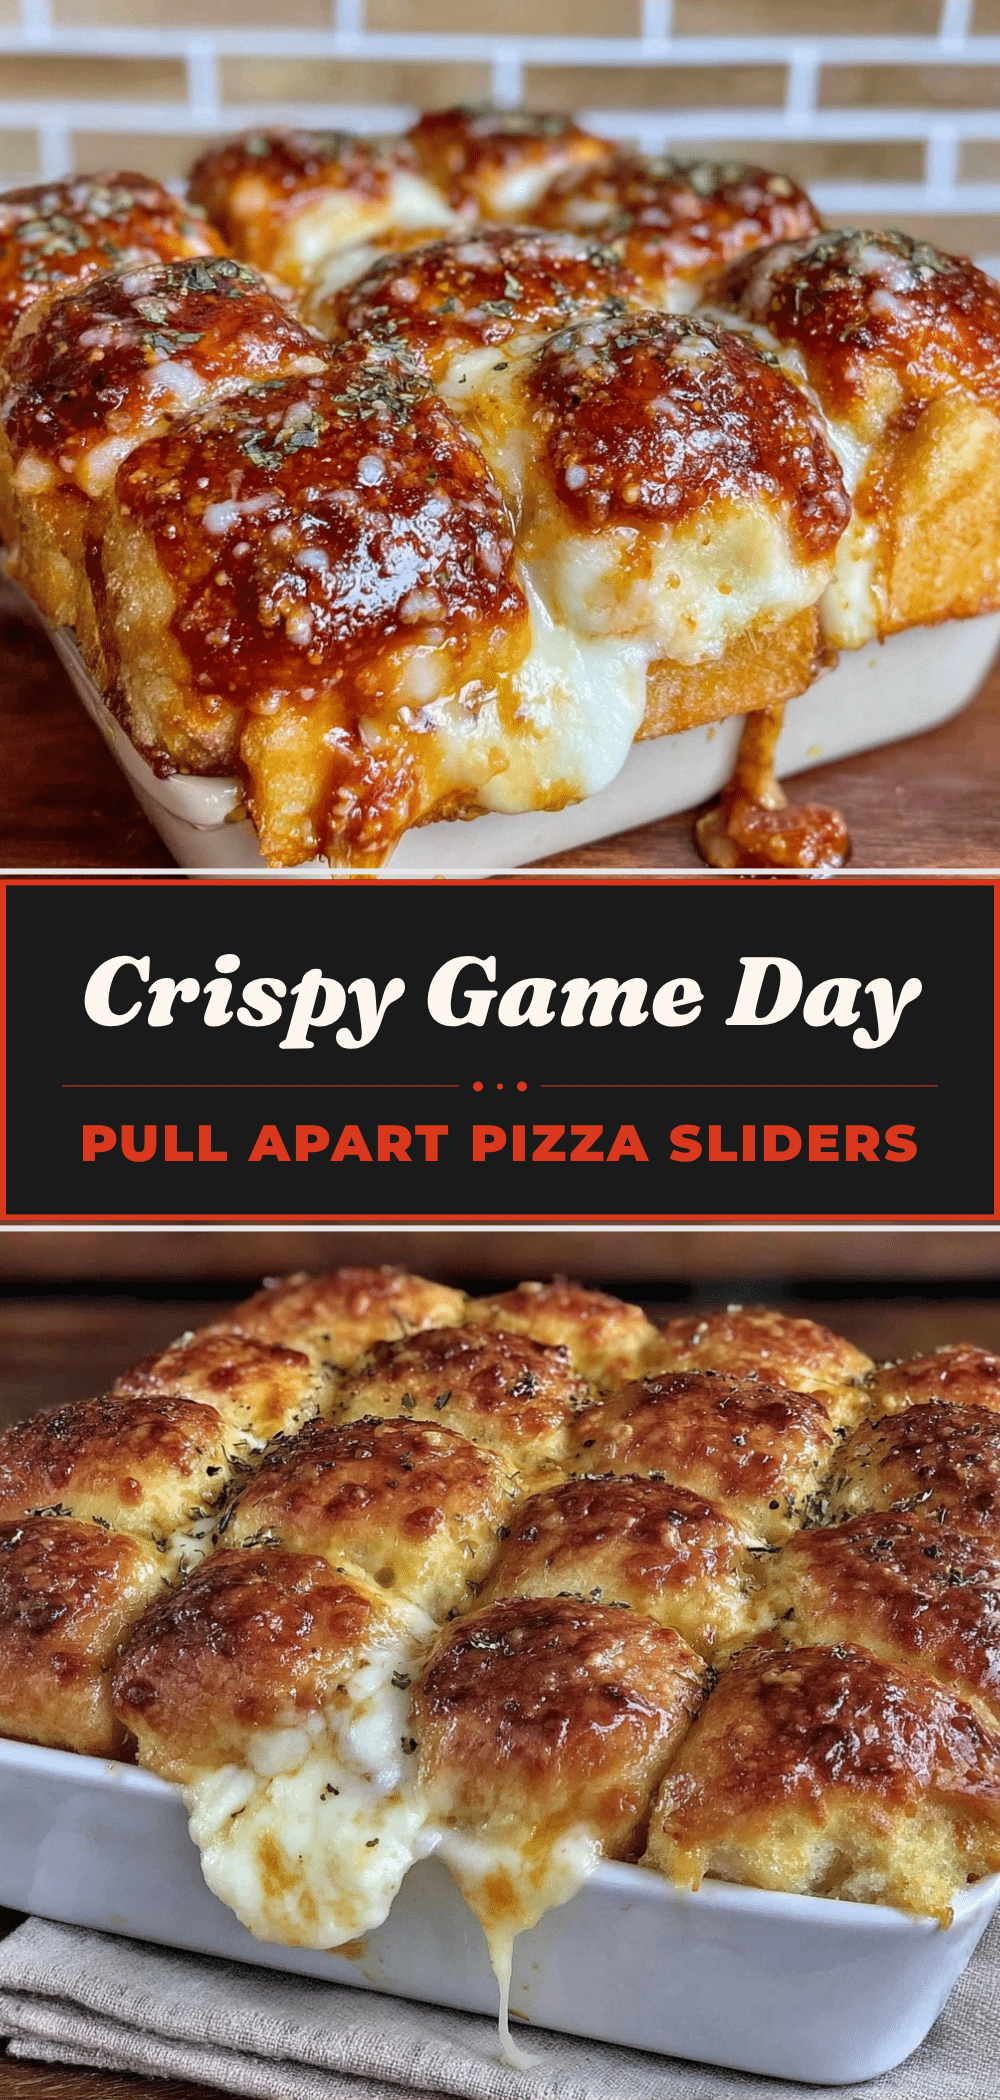
Game Day Pull Apart Pizza Sliders: Easy & Budget-Friendly
- Total Time: 37 minutes
- Yield: 12 servings 1x
Description
These budget-friendly pull-apart pizza sliders are the ultimate game day snack, feeding a crowd for pennies with minimal effort. Featuring soft Hawaiian rolls, melted mozzarella, pepperoni, and a savory garlic butter glaze, they are easy to prep ahead and disappear fast.
Ingredients
- 2 packs (12 rolls each) Hawaiian sweet rolls
- 16 oz (450g) shredded mozzarella cheese
- 1 package pepperoni slices
- 1 cup (240ml) marinara sauce
- 1 teaspoon dried oregano
- ½ cup (115g) unsalted butter, melted
- 4–5 cloves garlic, minced
- 1 tablespoon dried parsley
- 1 teaspoon granulated garlic
- ½ teaspoon salt
Instructions
- Preheat oven to 350°F (175°C).
- Lay the entire block of Hawaiian rolls into a 9×13 inch baking dish.
- Sprinkle shredded mozzarella evenly over the rolls.
- Cut pepperoni into quarters and scatter over the cheese. Add other dry toppings if desired.
- Dollop marinara sauce over the cheese and pepperoni, spreading gently to create pockets. Sprinkle with dried oregano.
- In a small bowl, whisk together melted butter, minced fresh garlic, granulated garlic, dried parsley, and salt.
- Pour the garlic butter mixture evenly over the sliders, ensuring every roll is coated.
- Cover the baking dish tightly with aluminum foil.
- Bake covered for 15 minutes.
- Remove foil and bake for another 5-10 minutes until tops are golden brown and crispy.
- Let cool for 5 minutes before pulling apart and serving.
Notes
You can assemble these the night before, cover tightly, and refrigerate. If baking from cold, add 5-10 minutes to the covered baking time. Do not skip the foil step, as it steams the rolls and prevents burning. Chop pepperoni to prevent curling. For a vegetarian version, omit meat and add veggies like mushrooms or olives.
- Prep Time: 12 minutes
- Cook Time: 25 minutes
- Category: Appetizer
- Cuisine: American
Nutrition
- Serving Size: 1 slider
- Calories: 220
- Sugar: 6
- Sodium: 450
- Fat: 9
- Saturated Fat: 4
- Carbohydrates: 28
- Fiber: 1
- Protein: 8
Keywords: pizza sliders, game day food, budget friendly recipes, party appetizers, pull apart bread, easy dinner, crowd pleaser, Hawaiian rolls recipe



