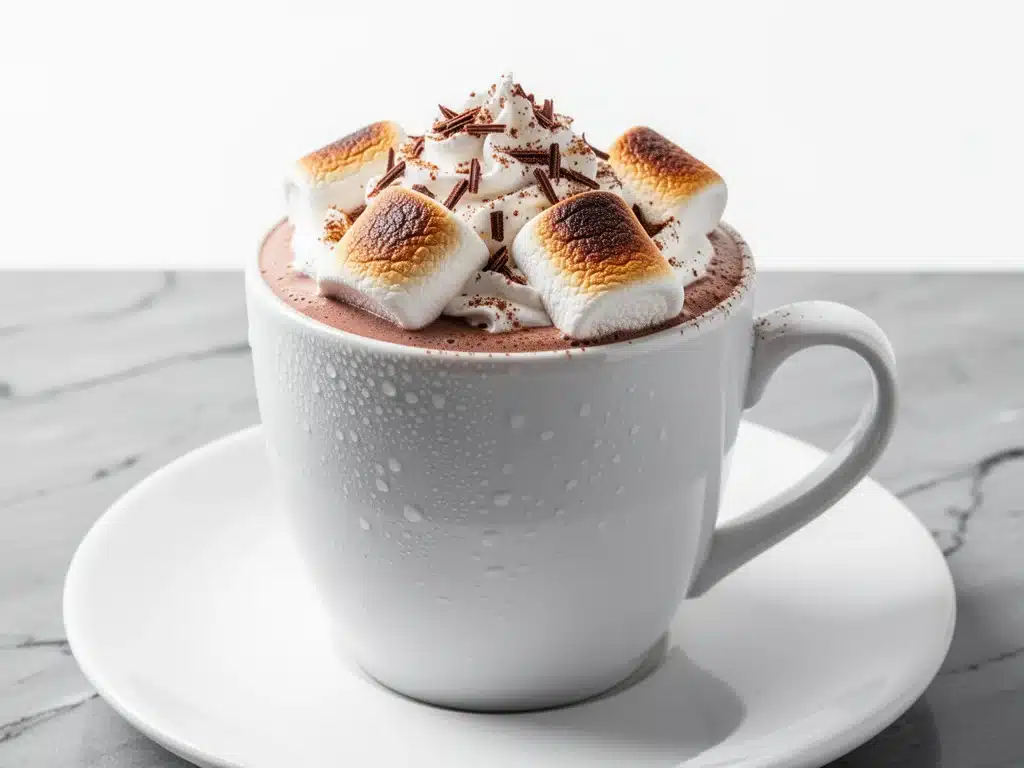
There’s a specific kind of silence that falls over the house on the first day of autumn. The light changes—getting longer, softer, and turning everything golden by late afternoon. The air outside actually smells different. It smells like dried leaves, damp earth, and the faint, sweet promise of woodsmoke. Last year, I stood on my back porch with a mug of terrible, watery hot chocolate, shivering in my thin sweater, watching the last green leaf detach from the oak tree and drift down. I felt that familiar pang of nostalgia mixed with the dread of winter coming. But then I brought that mug inside, and the steam hit my face, and I realized I didn’t just want warmth. I wanted a hug in a mug.
That’s when I decided I was done with the cheap stuff. No more powdered packets that taste like artificial vanilla and regret. I wanted something that felt like autumn itself. Something that tasted like the crisp air, the maple syrup dripping from the trees, and the comfort of being wrapped in a blanket. So, I went into the kitchen and started experimenting. I wanted toasted marshmallows—not just floating on top, but actually charred and caramelized. I wanted real maple flavor, not that pancake syrup nonsense. And I wanted it to be easy enough to make on a Tuesday night when I’m exhausted, but special enough to serve to guests when the leaves are at their peak.
After three attempts (and one slightly burnt batch that I had to scrape out of the pot), I nailed it. This First Day of Fall Toasted Marshmallow Maple Hot Chocolate is the liquid equivalent of a flannel shirt. It’s cozy, it’s rich, and it makes everyone stop what they’re doing and ask, “What is that amazing smell?” I’ve made this for family gatherings, for quiet nights in, and even to bring to my neighbors when the weather turns chilly. Every single time, it gets the same reaction. It’s the ultimate comfort drink, and I’m convinced it’s the best way to welcome the season. If you’re looking for other ways to kick off fall, you might also enjoy trying my fall brown butter pumpkin cookies—they pair perfectly with this hot cocoa.
Why You’ll Love This Recipe
Look, I know hot chocolate sounds simple. It’s just milk, chocolate, and sugar, right? Wrong. Most hot chocolate recipes are one-dimensional. They’re either too sweet, too thin, or lack that depth of flavor that makes you close your eyes and sigh. This version is different. It’s not just a drink; it’s an experience. Here’s why this has become my non-negotiable autumn ritual:
- It Actually Tastes Like Autumn — We use pure maple syrup instead of just white sugar. That earthy, woody sweetness changes everything. It tastes like the season, not just like candy. The combination of maple and dark chocolate is sophisticated but comforting.
- The Toasted Marshmallows Are Game-Changing — Most people just dump marshmallows in at the end. I toast them under the broiler until they’re golden brown and slightly crisp on the outside, soft and gooey on the inside. That contrast in texture? Unbeatable. It adds a smoky note that balances the sweetness of the chocolate.
- It’s Faster Than Ordering Takeout — From start to finish, this takes about 15 minutes. That’s less time than it takes to decide what to watch on Netflix. I can make this while my partner is finishing up their work calls. It’s the ultimate quick comfort fix.
- It’s Naturally Gluten-Free — Unless you add toppings that aren’t, this drink is naturally gluten-free. I love that I can make this for everyone at the table without worrying about cross-contamination or special requests. It’s inclusive comfort food.
- Leftovers Taste Even Better — I know, I know, hot chocolate is usually meant to be drunk immediately. But if you have any left (which I doubt), it thickens up in the fridge and becomes almost like a warm pudding. I’ve been known to spoon it out of a mug for breakfast on cold mornings.
This recipe has saved me more times than I can count. It’s my answer to “I need something sweet but warm.” It’s my go-to when I’m stressed, when I’m sad, or when I just need a moment of peace. It’s simple, but it feels luxurious. And that’s what fall is all about, isn’t it? Slowing down and savoring the moment.
Ingredients You’ll Need
Here’s the thing about this recipe: the quality of your ingredients matters more than anything else. You’re not making a complex cake with twenty steps. You’re making a drink with five main components. If one ingredient is mediocre, the whole thing suffers. I’m not trying to be fancy, but I am being particular. Here’s what you need and why it matters.
For the Chocolate Base
Whole Milk (3 cups / 720ml) — Do not use skim milk. Do not use almond milk unless you want a watery, sad drink. Whole milk provides the fat necessary to carry the flavor and create that creamy, velvety texture. If you’re dairy-free, full-fat oat milk is the next best option because it’s naturally creamy. I use organic whole milk because I think it tastes cleaner, but any whole milk works.
Dark Chocolate Chips or Chopped Bar (1 cup / 170g) — This is crucial. I use 60% to 70% dark chocolate. If you use milk chocolate chips, it will be cloyingly sweet. If you use baking chocolate (squares), chop it up finely so it melts evenly. I prefer Ghirardelli 60% Bittersweet. It has enough cocoa flavor to stand up to the maple syrup without being bitter. Avoid the “baking chips” that are designed to hold their shape; they don’t melt as smoothly.
Pure Maple Syrup (3 tablespoons / 45ml) — Not “pancake syrup.” Not “maple-flavored syrup.” Real maple syrup. Look for Grade A Amber or Dark. Dark has a stronger flavor, which I prefer for hot chocolate. The maple adds complexity and that signature fall taste. It’s what makes this drink feel special.
Vanilla Extract (1 teaspoon) — Pure vanilla, not imitation. It rounds out the flavors and makes the chocolate taste more chocolatey. It’s a subtle note, but you’ll miss it if it’s not there.
A Pinch of Sea Salt — This is non-negotiable. Salt enhances the chocolate flavor and cuts the sweetness. I use flaky sea salt for sprinkling on top, but a pinch of kosher salt in the pot works too.
For the Toasted Marshmallows
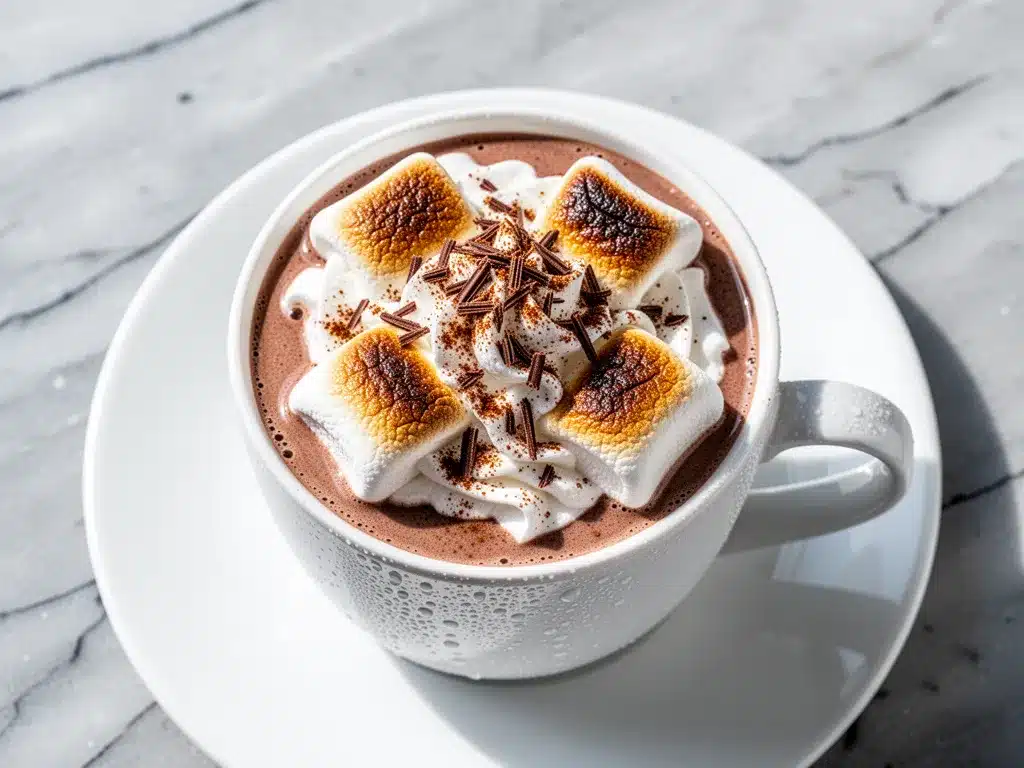
Large Marshmallows (1 cup / 40g) — I use the standard large white marshmallows. You can use mini ones, but they toast too quickly and disappear. You want something you can actually see the browning on. Don’t buy the “toasted” marshmallows; they’re already colored and won’t toast further.
Optional Toppings — Whipped cream (store-bought or homemade), extra maple syrup drizzle, or a sprinkle of cinnamon. I keep it simple, but if you’re feeling fancy, add a dollop of whipped cream and a dusting of cocoa powder.
Equipment Needed
You don’t need anything fancy for this. Here’s what I actually use in my kitchen:
Saucepan — I use a 3-quart heavy-bottomed saucepan. Heavy-bottomed is key because it heats evenly and prevents the chocolate from scorching on the bottom. If you use a thin pan, you’ll get hot spots and burnt chocolate, which ruins everything.
Whisk — A silicone or stainless steel whisk. You need to whisk the chocolate into the milk to prevent clumps. A spoon works, but a whisk is faster and more effective.
Broiler-Safe Bowl or Plate — To toast the marshmallows, you need something that can go under the broiler. I use a small ceramic bowl or a heat-resistant glass plate. Make sure it fits in your oven.
Mugs — I prefer wide-mouthed mugs because they hold the heat better and look nice for topping. But any mug works.
How to Make It: Step-by-Step
Alright, let’s make this! I’m walking you through exactly how I do it, including the little tricks I’ve picked up over the years. It’s simple, but there are a few details that make all the difference.
Step 1: Prep Your Marshmallows (2 minutes)
Before you start heating anything, get your marshmallows ready. Place a single layer of marshmallows in your broiler-safe bowl or plate. Don’t pile them up; they need space to toast evenly. If you’re making multiple cups, do them in batches. Set this aside for now. We’ll toast them at the very end so they stay fluffy and don’t deflate.
Step 2: Heat the Milk (5 minutes)
Pour the whole milk into your saucepan and place it over medium heat. You want to warm the milk, not boil it. Boiling milk can scald it, which gives it a weird cooked taste. Watch for small bubbles forming around the edges and steam rising. This should take about 5 minutes. If you have a candy thermometer, aim for 160°F (70°C). If you don’t, just wait until it’s hot but not simmering vigorously.
Step 3: Melt the Chocolate (3 minutes)
Once the milk is hot, reduce the heat to low. Add the dark chocolate chips and the maple syrup. Whisk constantly. The chocolate needs to melt into the milk. Keep whisking until the mixture is completely smooth and glossy. This usually takes 2-3 minutes. If you see any unmelted chocolate bits, keep whisking. Don’t walk away! Chocolate burns easily. Once it’s smooth, remove the pan from the heat.
Step 4: Add Flavorings (1 minute)
Stir in the vanilla extract and the pinch of salt. Taste it. Does it need more sweetness? Add another teaspoon of maple syrup. Does it need more chocolate intensity? Add a few more chips and whisk again. This is your chance to adjust. Remember, it will taste slightly sweeter once the marshmallows are added, so don’t overdo it.
Step 5: Toast the Marshmallows (2 minutes)
Now, put your oven broiler on high. Place the bowl of marshmallows on the top rack, about 4-6 inches from the heating element. Watch them like a hawk. They will go from white to golden to burnt in seconds. You’re looking for a nice golden-brown color with some darker spots. This usually takes 1-3 minutes. Take them out as soon as they look done. If you’re unsure, err on the side of less toast; you can always toast more, but you can’t un-burn.
Step 6: Assemble and Serve (1 minute)
Pour the hot chocolate into your mugs. Top each mug with a generous handful of the toasted marshmallows. Drizzle with a little extra maple syrup if you want. Serve immediately while it’s hot and the marshmallows are still warm and gooey.
Total Time: About 15 minutes (5 minutes prep, 10 minutes cooking).
Expert Tips & Tricks
Here’s everything I’ve learned from making this dozens of times. These tips will save you from my mistakes.
- Don’t Boil the Milk — I’ve made this mistake twice. Boiling milk creates a skin on top and can alter the flavor. Low and slow is the way to go. You want gentle warmth, not a rolling boil.
- Whisk, Don’t Stir — When melting the chocolate, use a whisk. It incorporates air and prevents lumps. A spoon just moves the chocolate around; a whisk actually blends it.
- Watch the Broiler Like a Hawk — Marshmallows burn faster than you think. I keep the oven door cracked slightly so I can see better, but be careful of the heat. Set a timer for 1 minute and check every 30 seconds after that.
- Use Real Chocolate — I know chocolate chips are convenient, but they have stabilizers that can make the texture grainy. If you have time, chop up a bar of high-quality dark chocolate. It melts smoother and tastes better.
- Warm Your Mugs — If you have a moment, rinse your mugs with hot water before pouring the chocolate. It keeps the drink hot longer. It’s a small touch that makes a big difference.
Variations & Substitutions
Once you’ve nailed the basic version, here’s how you can mix it up. I’ve tried all of these, and they all work.
Mocha Version
Add 1 shot of espresso or 1 tablespoon of instant coffee to the milk while it’s heating. The coffee enhances the chocolate flavor without making it taste like coffee. It’s a subtle kick that wakes you up.
Peppermint Hot Chocolate
Add ½ teaspoon of peppermint extract along with the vanilla. Top with crushed peppermint candies instead of marshmallows. This is my favorite for December, but it works any time you want a minty treat.
Spiced Maple Hot Chocolate
Add ½ teaspoon of cinnamon, ¼ teaspoon of nutmeg, and a pinch of ginger to the milk while heating. It tastes like fall in a mug. This pairs beautifully with my fall caramel apple cheesecake bars for a full autumn dessert spread.
Dairy-Free Version
Swap the whole milk for full-fat oat milk or coconut milk. Oat milk is the creamiest and behaves most like dairy milk. Coconut milk adds a slight tropical note, but it’s delicious. Use dairy-free chocolate chips to keep it vegan.
White Chocolate Maple
Swap the dark chocolate for white chocolate chips. This is sweeter and milder, but still delicious. The maple flavor shines through more here. It’s like a maple cream soda in liquid form.
Serving & Storage
How to Serve
I usually serve this straight from the stovetop. It’s rustic and casual. But if you’re having guests, you can make a batch and keep it warm in a slow cooker on the “warm” setting. Just stir occasionally to prevent a skin from forming. For a fancy touch, add a dollop of whipped cream and a dusting of cocoa powder.
Storage Instructions
Refrigerator: Store leftovers in an airtight container for up to 3 days. The chocolate will thicken as it cools. This is normal.
Reheating: Reheat gently on the stove over low heat, adding a splash of milk if it’s too thick. Stir frequently. Do not microwave in high power, or it will separate. Low and slow is key.
Freezing: I don’t recommend freezing this. The texture of the milk and chocolate can change when thawed, becoming grainy or separated. It’s best enjoyed fresh.
Nutrition Information
I’m not a nutritionist, but here’s the breakdown if you’re tracking. This is a treat, so enjoy it mindfully.
Per Serving (based on 4 servings):
- Calories: 280
- Protein: 8g
- Carbs: 32g
- Fiber: 2g
- Sugar: 28g
- Fat: 12g
- Saturated Fat: 7g
- Cholesterol: 35mg
- Sodium: 120mg
What’s Good: Good source of calcium from the milk. The dark chocolate offers some antioxidants.
What to Know: High in sugar and calories. Use less maple syrup or a lower-fat milk if you’re watching your intake. But honestly? It’s a treat. Enjoy it.
Final Thoughts
So that’s my go-to First Day of Fall Toasted Marshmallow Maple Hot Chocolate! I’ve probably talked your ear off at this point, but when you make a recipe this often, you have a lot to say about it.
This drink has saved my evenings more times than I can count. It’s my answer to “I need something sweet but warm.” It’s my go-to when I’m stressed, when I’m sad, or when I just need a moment of peace. My kids are happy, my husband’s happy, and I’m happy because I’m not stressed about cooking.
Make it yours! Try different toppings, swap in your favorite chocolate, adjust the maple syrup to your taste. The best recipes are the ones you adapt to your family’s tastes.
If you make this, drop a comment and let me know what you think! I love hearing how recipes turn out in your kitchen. And if something doesn’t work, tell me that too—I’m here to help troubleshoot.
Happy cooking! And I hope your kitchen smells half as good as mine does right now.
Frequently Asked Questions
Can I use almond milk instead of whole milk?
You can, but the texture will be thinner and less rich. If you want to try it, use unsweetened almond milk and add an extra tablespoon of chocolate to compensate for the lack of fat. I’ve done this when I ran out of dairy milk—it works okay, just not as good as the real thing. Oat milk is a better middle ground because it’s creamier.
Why did my hot chocolate get lumpy?
Usually, this means the heat was too high when you added the chocolate, causing it to seize up. Or, you didn’t whisk enough. Always add chocolate to hot (not boiling) milk, and whisk constantly. If it’s already lumpy, you can strain it through a fine-mesh sieve to remove the bits, or blend it with an immersion blender to smooth it out.
Can I make this ahead for a party?
Sort of. Make the chocolate base up to 2 days ahead and store in the fridge. Reheat gently on the stove before serving. Toast the marshmallows fresh right before serving. If you toast them ahead of time, they’ll deflate and lose their texture. I always toast them at the last minute.
Can I use mini marshmallows?
You can, but they toast very quickly. I recommend using a baking sheet lined with parchment paper and broiling them in a single layer. Watch them closely—they’ll be done in 30-60 seconds. They also disappear faster into the drink, so you might want to use more.
Can I add alcohol to this?
Absolutely. A shot of bourbon or rum adds a nice kick. Stir it in after you’ve removed the chocolate from the heat. It’s perfect for adult-only gatherings. Just be aware that it increases the calorie count!
How do I reheat leftovers without it getting dry?
Add a splash of milk to a saucepan, add your leftover hot chocolate, and heat gently over low heat, stirring frequently. The extra liquid brings back the creamy texture. Microwave sort of works but tends to dry it out. If you do microwave, definitely add a splash of milk first and heat in short bursts, stirring between.
Can I double this recipe?
Absolutely! Double everything and use your biggest saucepan. The cooking times stay the same. I do this when I’m meal-prepping or feeding a crowd. Just make sure your saucepan is big enough for the mixture—you might need to use two pans or a very large pot.
Pin This Recipe!
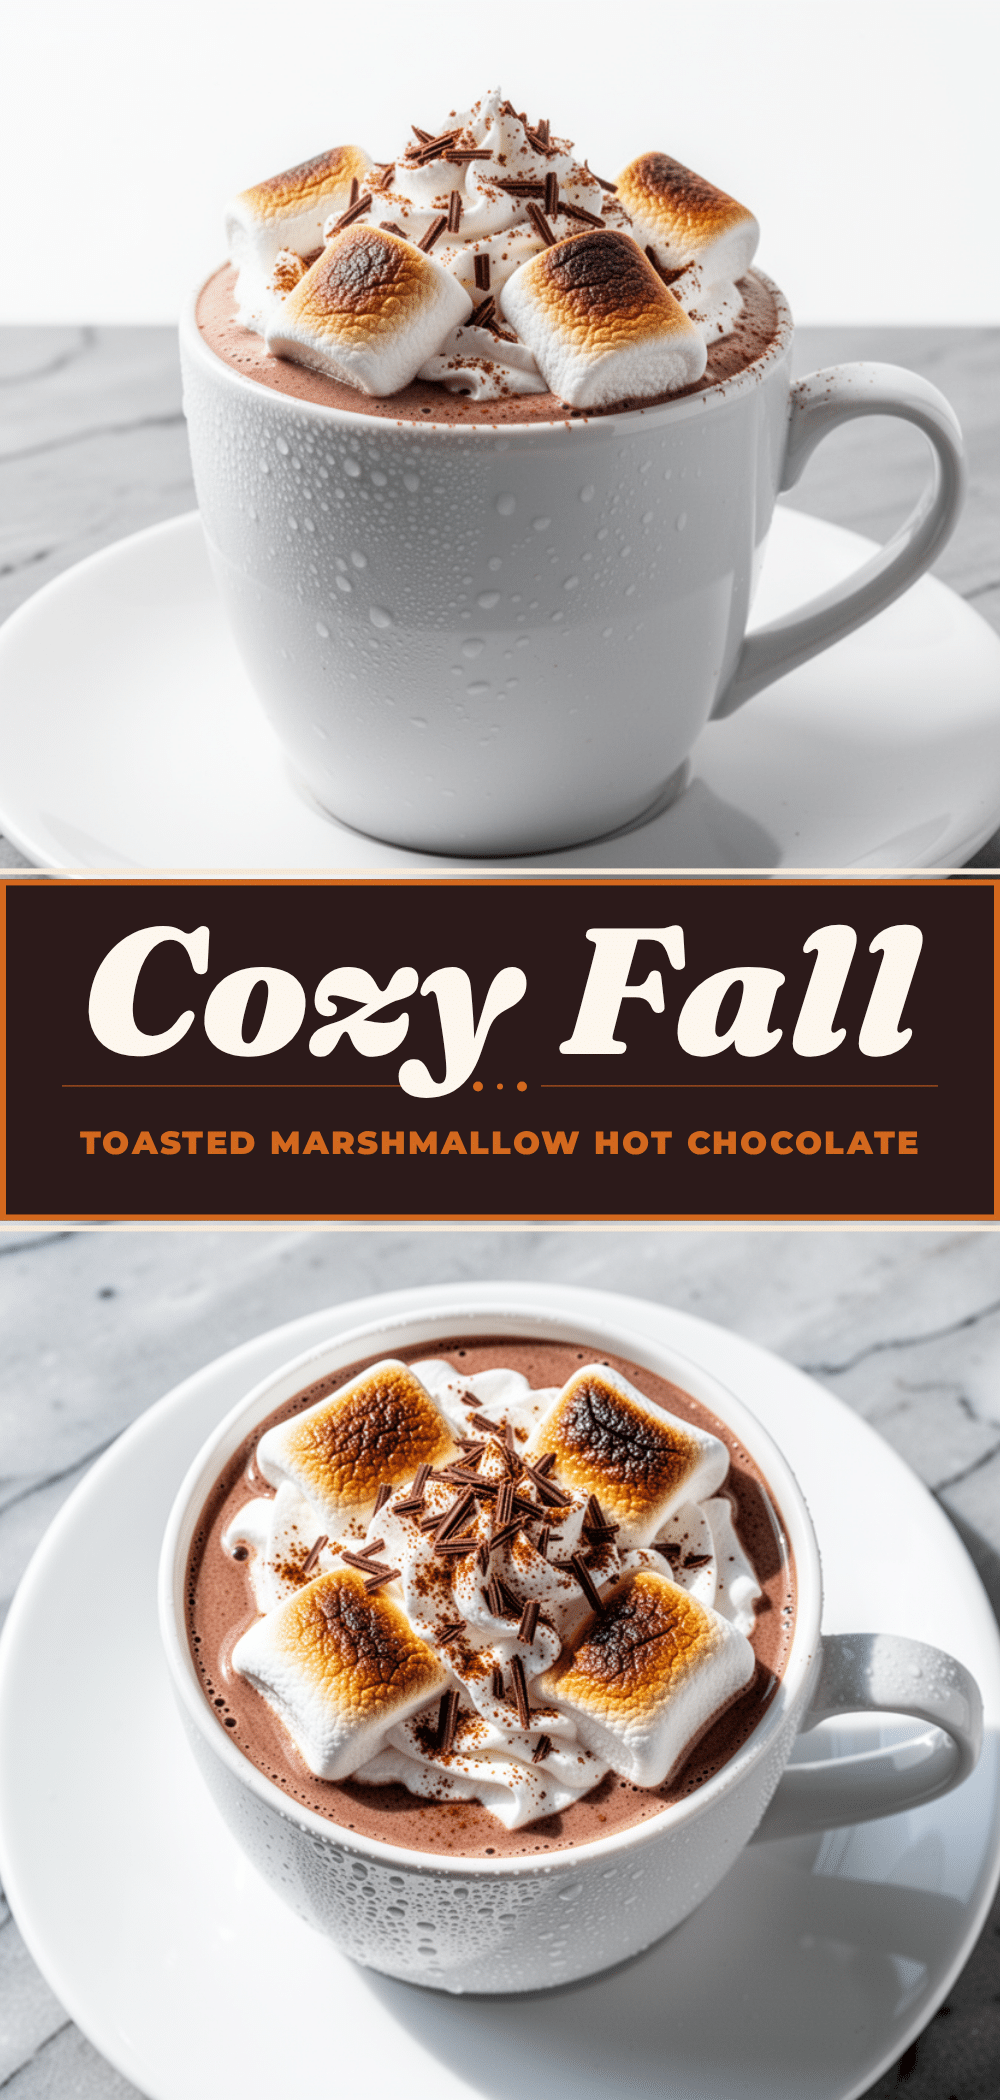
First Day of Fall Toasted Marshmallow Maple Hot Chocolate
- Total Time: 15 minutes
- Yield: 4 servings 1x
Description
A cozy, rich hot chocolate made with dark chocolate and pure maple syrup, topped with broiled toasted marshmallows for a smoky, caramelized finish.
Ingredients
- 3 cups whole milk
- 1 cup dark chocolate chips or chopped bar (60-70% cocoa)
- 3 tablespoons pure maple syrup
- 1 teaspoon vanilla extract
- 1 pinch sea salt
- 1 cup large marshmallows
- Optional toppings: whipped cream, extra maple syrup, cinnamon, cocoa powder
Instructions
- Place a single layer of marshmallows in a broiler-safe bowl or plate and set aside.
- Pour whole milk into a heavy-bottomed saucepan and heat over medium heat until hot but not boiling (approx. 160°F or small bubbles around edges), about 5 minutes.
- Reduce heat to low, add dark chocolate chips and maple syrup, and whisk constantly until the chocolate is completely melted and the mixture is smooth and glossy, about 2-3 minutes.
- Remove pan from heat and stir in vanilla extract and sea salt. Taste and adjust sweetness if needed.
- Preheat oven broiler to high. Place the bowl of marshmallows on the top rack, 4-6 inches from the heating element.
- Broil marshmallows for 1-3 minutes, watching closely, until golden brown with some darker spots. Remove immediately.
- Pour hot chocolate into mugs and top generously with toasted marshmallows. Drizzle with extra maple syrup if desired. Serve immediately.
Notes
Do not boil the milk as it can scald and alter the flavor. Use real maple syrup, not pancake syrup. Watch marshmallows closely under the broiler as they burn quickly. For leftovers, store in an airtight container in the fridge for up to 3 days and reheat gently on the stove with a splash of milk.
- Prep Time: 5 minutes
- Cook Time: 10 minutes
- Category: Beverage
- Cuisine: American
Nutrition
- Serving Size: 1 mug
- Calories: 280
- Sugar: 28
- Sodium: 120
- Fat: 12
- Saturated Fat: 7
- Carbohydrates: 32
- Fiber: 2
- Protein: 8
Keywords: fall recipe, hot chocolate, maple hot chocolate, toasted marshmallows, autumn drink, comfort food, gluten-free, cozy drinks



