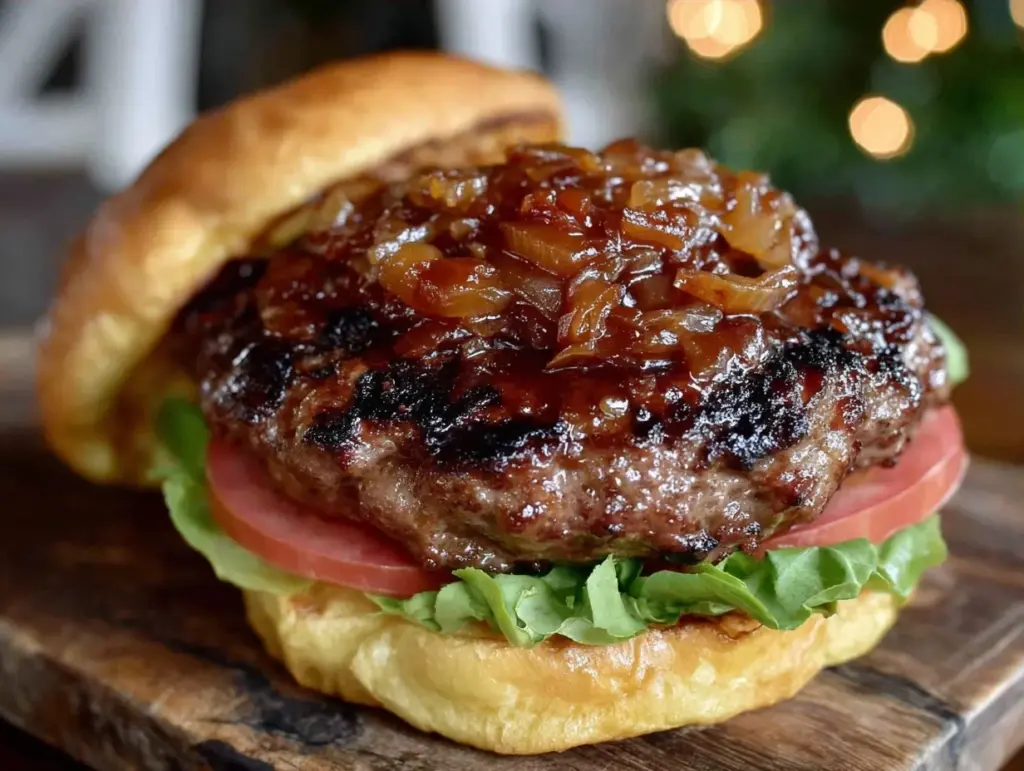
Last Tuesday, I was standing in front of my grill with a half-empty fridge, a tired toddler, and absolutely zero enthusiasm for dinner. It was one of those “end of summer” evenings where the air is still sticky and hot, but the weekends are slipping away faster than I can blink. I didn’t want to order takeout (my wallet was already crying), and I definitely didn’t want to spend an hour chopping vegetables for a complicated salad. I just wanted something hot, satisfying, and fast.
So, I did what I always do when I’m stuck: I opened the freezer and pulled out two pounds of ground beef. I threw together these end of summer grilled ground beef burgers in about 20 minutes. They weren’t gourmet. They weren’t fancy. But they were juicy, they had a nice char, and my kids ate every bite without asking for nuggets. That’s the magic of a good weeknight burger. It’s the ultimate fail-safe meal.
I’ve made this specific burger recipe at least a dozen times since that Tuesday. I’ve tweaked the seasoning, played with different cheeses, and even tested it on my husband’s picky brother (he loved it, which is the highest honor). The secret isn’t in some expensive rub or a complicated technique. It’s in keeping it simple, using ingredients you already have, and knowing exactly when to take those patties off the grill so they stay juicy instead of turning into hockey pucks.
If you’re drowning in weeknight stress and need a dinner that feels like a treat but costs less than a pizza delivery, this is your answer. Let’s get those grills fired up.
Why You’ll Love This Recipe
There are a lot of burger recipes out there. Some require a food processor. Some need you to buy beef that costs more than your weekly grocery budget. Some take an hour to prep. This end of summer grilled ground beef burgers recipe is different because it respects your time and your wallet. Here’s why this has become a permanent fixture in our dinner rotation:
- Stupid Simple Prep — Seriously, if you can mix ingredients in a bowl and shape a ball, you can make this. I’ve walked my teenage son through it over FaceTime while I was in the shower. No special skills required.
- Lightning Fast — 20 minutes from start to plate. 10 minutes of active hands-on time, and the rest is just grilling. I make this on nights when I get home at 7pm and feel like I have no energy left.
- Budget-Smart — Ground beef is one of the most affordable proteins you can buy. This recipe feeds 4 hungry people for under $15. That’s less than one trip to the drive-thru, and it’s way healthier.
- Kid-Approved — My kids are not easy to please. But they love that these burgers are soft, savory, and customizable. If they don’t want cheese, no problem. If they want extra sauce, go for it.
- Perfect for Leftovers — I deliberately make extra patties. Cold burgers are great on salads the next day (think Labor Day Grilled Chicken Salad vibes, but with beef), and reheated ones are solid for lunch. They hold up well in the fridge for 3-4 days.
This is my go-to when I need dinner to just work. No complicated techniques, no weird ingredients, just reliable, delicious food that makes everyone happy.
Ingredients You’ll Need
Here’s the best part: you probably have most of this already in your pantry or fridge. I’m not asking you to go out and buy exotic spices or expensive wagyu beef. We’re keeping this practical.
For the Patties
Ground beef (2 pounds / 900g) — I use 80/20 lean-to-fat ratio. This is non-negotiable if you want juicy burgers. If you use lean beef, they’ll be dry. I buy the family packs to save money, which is how I keep this budget-friendly.
Yellow onion (1 small, finely diced / about 100g) — Finely diced is key. You want tiny bits so you don’t get giant onion chunks in your bite. It adds sweetness and moisture.
Garlic (2 cloves, minced / about 1 tablespoon) — Fresh garlic only. No jarred stuff here. It adds that savory backbone.
Worcestershire sauce (1 tablespoon) — This is the secret umami booster. It makes the beef taste like it’s been marinated, even though it’s just a quick mix.
Worcestershire sauce (1 tablespoon) — This is the secret umami booster. It makes the beef taste like it’s been marinated, even though it’s just a quick mix.
Dijon mustard (1 teaspoon) — Don’t skip this. It adds a tangy depth that cuts through the richness of the beef.
Italian seasoning (1 teaspoon) — Or use ½ tsp dried oregano and ½ tsp dried basil. It gives it that classic “burger joint” flavor without needing fresh herbs.
Salt and black pepper (1 teaspoon each) — Season well. I use kosher salt. If you use table salt, reduce to ½ teaspoon.
Egg (1 large) — This acts as a binder. It keeps the patties from falling apart on the grill. Some purists say no egg, but for weeknight burgers that need to hold together, I’m a fan.
For Serving
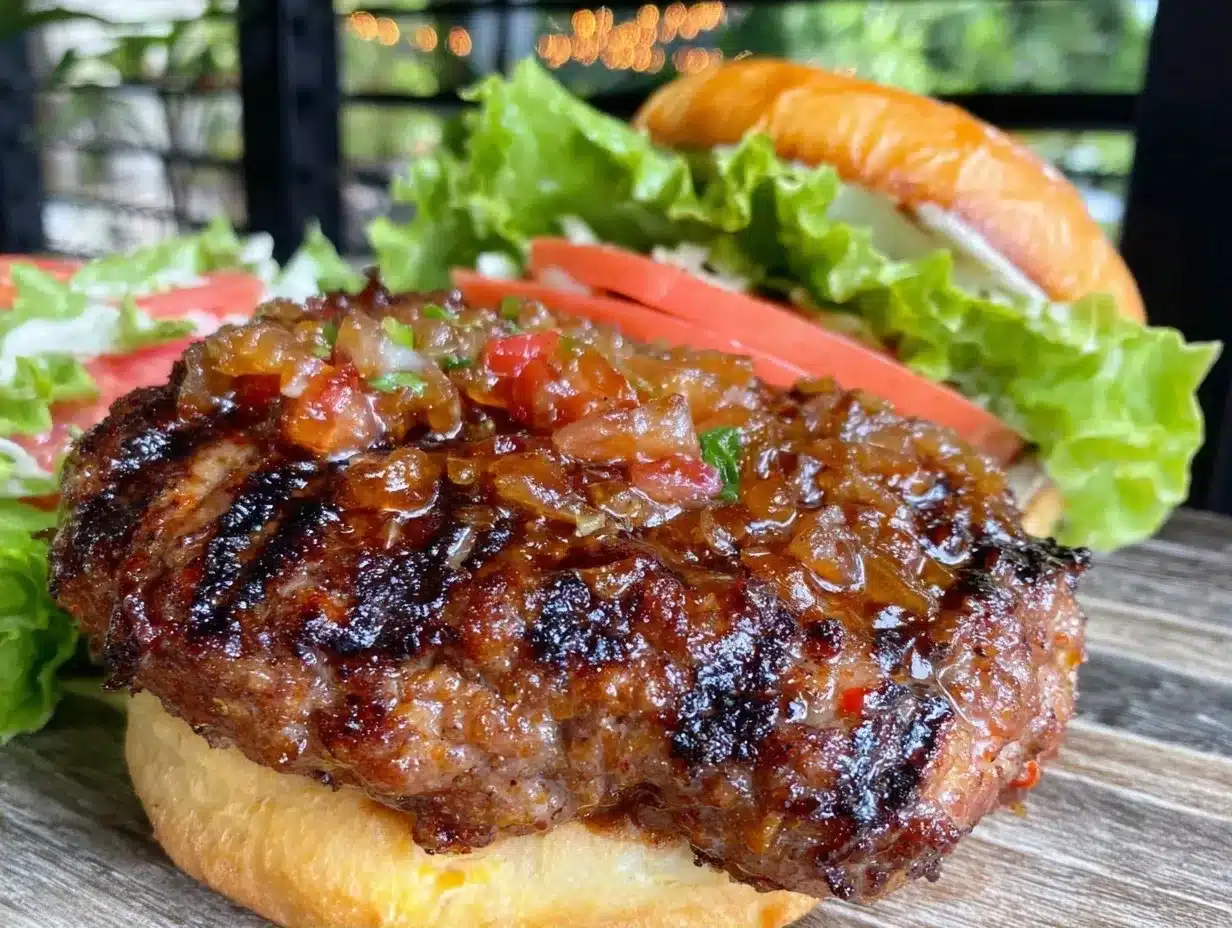
Burger buns (8 hamburger buns) — I prefer brioche or potato buns because they’re soft. But any bun works. Toast them! It adds texture and prevents sogginess.
Cheddar cheese (8 slices) — Sharp cheddar is my favorite because the flavor stands up to the beef. American cheese melts better, but sharp cheddar tastes better. Your call.
Lettuce, tomato, pickles — Classic toppings. I keep it simple because the beef is the star.
Burger sauce — Ketchup, mayo, and a pinch of paprika mixed together. Or just use your favorite store-bought sauce.
Equipment Needed
You don’t need fancy equipment for this. Here’s what I actually use:
Large mixing bowl — I use a 4-quart stainless steel bowl. It’s big enough to mix the meat without making a mess.
Grill — Gas or charcoal works. I use a gas grill because it’s faster, but charcoal adds a smokiness I love. If you don’t have a grill, you can use a cast-iron skillet on the stove.
Spatula — A thin, flexible metal spatula is best for flipping. It slides under the patty cleanly.
Meat thermometer — This is the only “fancy” tool you need. It ensures the burgers are cooked safely without overcooking them. I aim for 160°F for ground beef.
Brush — For brushing the buns with butter or oil before toasting.
How to Make It: Step-by-Step
Alright, let’s make this! I’m walking you through exactly how I do it, including the little tricks I’ve picked up over the years.
Step 1: Prep Your Ingredients (5 minutes)
Before you start cooking, dice your onion and mince your garlic. Mix them in a large bowl with the ground beef, egg, Worcestershire sauce, Dijon mustard, Italian seasoning, salt, and pepper. Do not overmix! Overmixing makes tough burgers. Just mix until everything is combined. If your hands get messy, that’s normal. Use clean hands or food-safe gloves.
Step 2: Shape the Patties (5 minutes)
Divide the meat into 8 equal portions (about 4 ounces each). Gently shape them into patties about ¾-inch thick. Make a slight indent in the center of each patty with your thumb. This prevents them from puffing up into balls while cooking. They’ll shrink a bit on the grill, so don’t worry if they look a little messy. That’s okay.
Step 3: Preheat the Grill (10 minutes)
Heat your grill to medium-high heat (about 400°F). Clean the grates well, then oil them lightly with a paper towel dipped in vegetable oil. This prevents sticking. If you’re using a gas grill, turn all burners to high for 10 minutes, then turn to medium-high.
Step 4: Grill the Burgers (12-15 minutes)
Place the patties on the grill. Do not move them for the first 4-5 minutes. Let them develop a nice char. Then, flip them. If you’re adding cheese, do it now. Close the lid and cook for another 4-5 minutes, or until the internal temperature reaches 160°F. Use a thermometer! It’s the only way to be sure.
Step 5: Toast the Buns (2 minutes)
While the burgers finish, brush the cut sides of the buns with melted butter or oil. Place them cut-side down on the grill for 1-2 minutes until golden brown. This adds crunch and prevents the bun from getting soggy from the juices.
Step 6: Assemble and Serve
Put the patties on the toasted buns. Add your lettuce, tomato, pickles, and sauce. Serve immediately. I usually serve these straight from the grill at the dinner table—it looks rustic and stays warm.
Total Time: About 25 minutes (10 minutes active, 15 minutes grilling)
Expert Tips & Tricks
Here’s everything I’ve learned from making these burgers dozens of times. These tips will save you from my mistakes.
Keep the Meat Cold
Warm fat melts too fast on the grill, leading to dry burgers. Keep your ground beef in the fridge until the moment you’re ready to mix. If it’s a hot day, put the bowl in the fridge for 10 minutes before shaping. This is a pro tip that makes a huge difference.
Don’t Press the Patties
I see people pressing down on burgers with the spatula. Stop! You’re squeezing out all the juices. Let the fat render naturally. If you press them, you’ll get dry, tough meat.
Rest the Burgers
Once you take them off the grill, let them rest for 2-3 minutes before serving. This allows the juices to redistribute. If you cut into them immediately, the juices run out onto the plate, not into the burger.
Doubling the Batch
This recipe doubles easily. I often make 16 patties and freeze half. Just wrap them individually in plastic wrap, then put them in a freezer bag. They’ll last for 3 months. When you need a quick meal, just thaw one in the fridge overnight and grill it. It’s a lifesaver for busy weeks.
Common Mistakes (and how to avoid them)
- Mistake: Burgers fall apart — Fix: You overmixed the meat or didn’t use enough binder. Make sure you have the egg and mix gently.
- Mistake: Burgers are dry — Fix: You used lean beef or overcooked them. Use 80/20 beef and use a thermometer to stop at 160°F.
- Mistake: Buns are soggy — Fix: You didn’t toast them. Toasting creates a barrier against the juices.
Variations & Substitutions
Once you’ve nailed the basic version, here’s how you can mix it up. I’ve tried all of these.
Smoky BBQ Version
Add 1 tablespoon of smoked paprika and 1 teaspoon of garlic powder to the meat mix. Brush with your favorite BBQ sauce during the last minute of grilling. This pairs perfectly with BBQ pulled chicken sliders if you’re serving a crowd.
Spicy Jalapeño
Mix 1 finely diced jalapeño and ¼ cup chopped cilantro into the beef. Top with pepper jack cheese. This is a great way to use up extra veggies from the garden.
Mushroom Swiss
Sauté sliced mushrooms with a little butter and garlic until soft. Top the burger with the mushrooms and Swiss cheese. It feels fancy but is super easy.
Gluten-Free
Use gluten-free buns. Everything else is naturally gluten-free. I’ve used BBQ chicken skewers as a side instead of fries to make the whole meal GF-friendly.
Lighter Version
Use 90/10 lean beef and skip the cheese. Serve on lettuce wraps instead of buns. It’s lower in calories but still satisfying.
Serving & Storage
How to Serve:
I usually serve these with a simple side like honey roasted carrots or a bag of chips. A side salad with bals vinaigrette is also great. For drinks, a cold mango pineapple smoothie is refreshing if it’s hot outside.
Toppings Bar:
When I have guests, I put out: extra cheddar, bacon bits, pickles, tomatoes, onions, and sauces. Everyone customizes their burger.
Storage Instructions:
Refrigerator: Store cooked burgers in an airtight container for up to 3 days. The buns should be stored separately to stay fresh.
Reheating: Best method: Reheat in a skillet over medium heat with a splash of water to steam them. Or use the microwave for 30-60 seconds, wrapped in a damp paper towel. Avoid the oven—it dries them out.
Freezing: You can freeze cooked burgers for up to 2 months. Wrap tightly in plastic and foil. Thaw in the fridge before reheating. Alternatively, freeze raw patties (as mentioned above) for up to 3 months.
Nutrition Information
I’m not a nutritionist, but here’s the breakdown if you’re tracking. Note that this is an estimate and varies based on the specific beef and buns used.
Per Serving (1 burger with bun and cheese):
- Calories: 450
- Protein: 28g
- Carbs: 30g
- Fat: 22g
- Sodium: 600mg
What’s Good: High protein, satisfying, uses simple ingredients.
What to Know: Higher in sodium from the seasoning and cheese. Use low-sodium buns to reduce this.
My Take: Look, this is comfort food. It’s not a diet recipe. But it’s way better than takeout, costs less, and I know exactly what’s in it. When I want to make it lighter, I skip the bun and add extra veggies. But usually? I just enjoy it.
Final Thoughts
So that’s my go-to end of summer grilled ground beef burgers! I’ve probably talked your ear off at this point, but when you make a recipe this often, you have a lot to say about it.
This has saved weeknight dinners more times than I can count. It’s my answer to “what’s for dinner” when I’m tired, don’t want takeout, and still want something that tastes really good. My kids are happy, my husband’s happy, and I’m happy because I’m not stressed about cooking.
Make it yours! Try different add-ins, swap in your favorite vegetables, adjust the spices. The best recipes are the ones you adapt to your family’s tastes.
If you make this, drop a comment and let me know what you think! I love hearing how recipes turn out in your kitchen. And if something doesn’t work, tell me that too—I’m here to help troubleshoot.
Happy cooking! And I hope your kitchen smells half as good as mine does right now.
Frequently Asked Questions
Q: Can I use ground turkey instead of beef?
A: You can, but the flavor will be different. Turkey is leaner, so the burgers will be drier. I recommend mixing turkey with some olive oil or butter to add moisture. Also, cook to 165°F, not 160°F.
Q: Why did my burgers shrink so much?
A: This is normal. Ground beef contains fat and water that render out during cooking. Making a thumbprint indent helps counteract the puffing up. If you want less shrinkage, use a higher fat ratio (80/20) and don’t press the patties.
Q: Can I make these in the oven?
A: Yes! Bake at 400°F on a wire rack for 15-20 minutes, flipping halfway. Add cheese in the last 5 minutes. They won’t have the char, but they’re still tasty and easier to clean up.
Q: How do I know when the burgers are done?
A: Use a meat thermometer. For ground beef, the safe internal temperature is 160°F. If you don’t have a thermometer, cut into one burger to check that the juices run clear and there’s no pink.
Q: Can I prepare the patties ahead of time?
A: Absolutely. Shape the patties, wrap them in plastic wrap, and refrigerate for up to 24 hours. Or freeze them for later. This is great for meal prep. Just take them out of the fridge 15 minutes before grilling to take the chill off.
Q: What’s the best cheese for these burgers?
A: Cheddar is classic. American cheese melts the best. Pepper jack adds spice. Provolone is mild and creamy. Try different ones to see what your family likes.
Q: Can I double this recipe?
A: Yes! Double everything. You might need to grill in batches if your grill is small. Don’t overcrowd the grill, or the burgers will steam instead of sear.
Pin This Recipe!
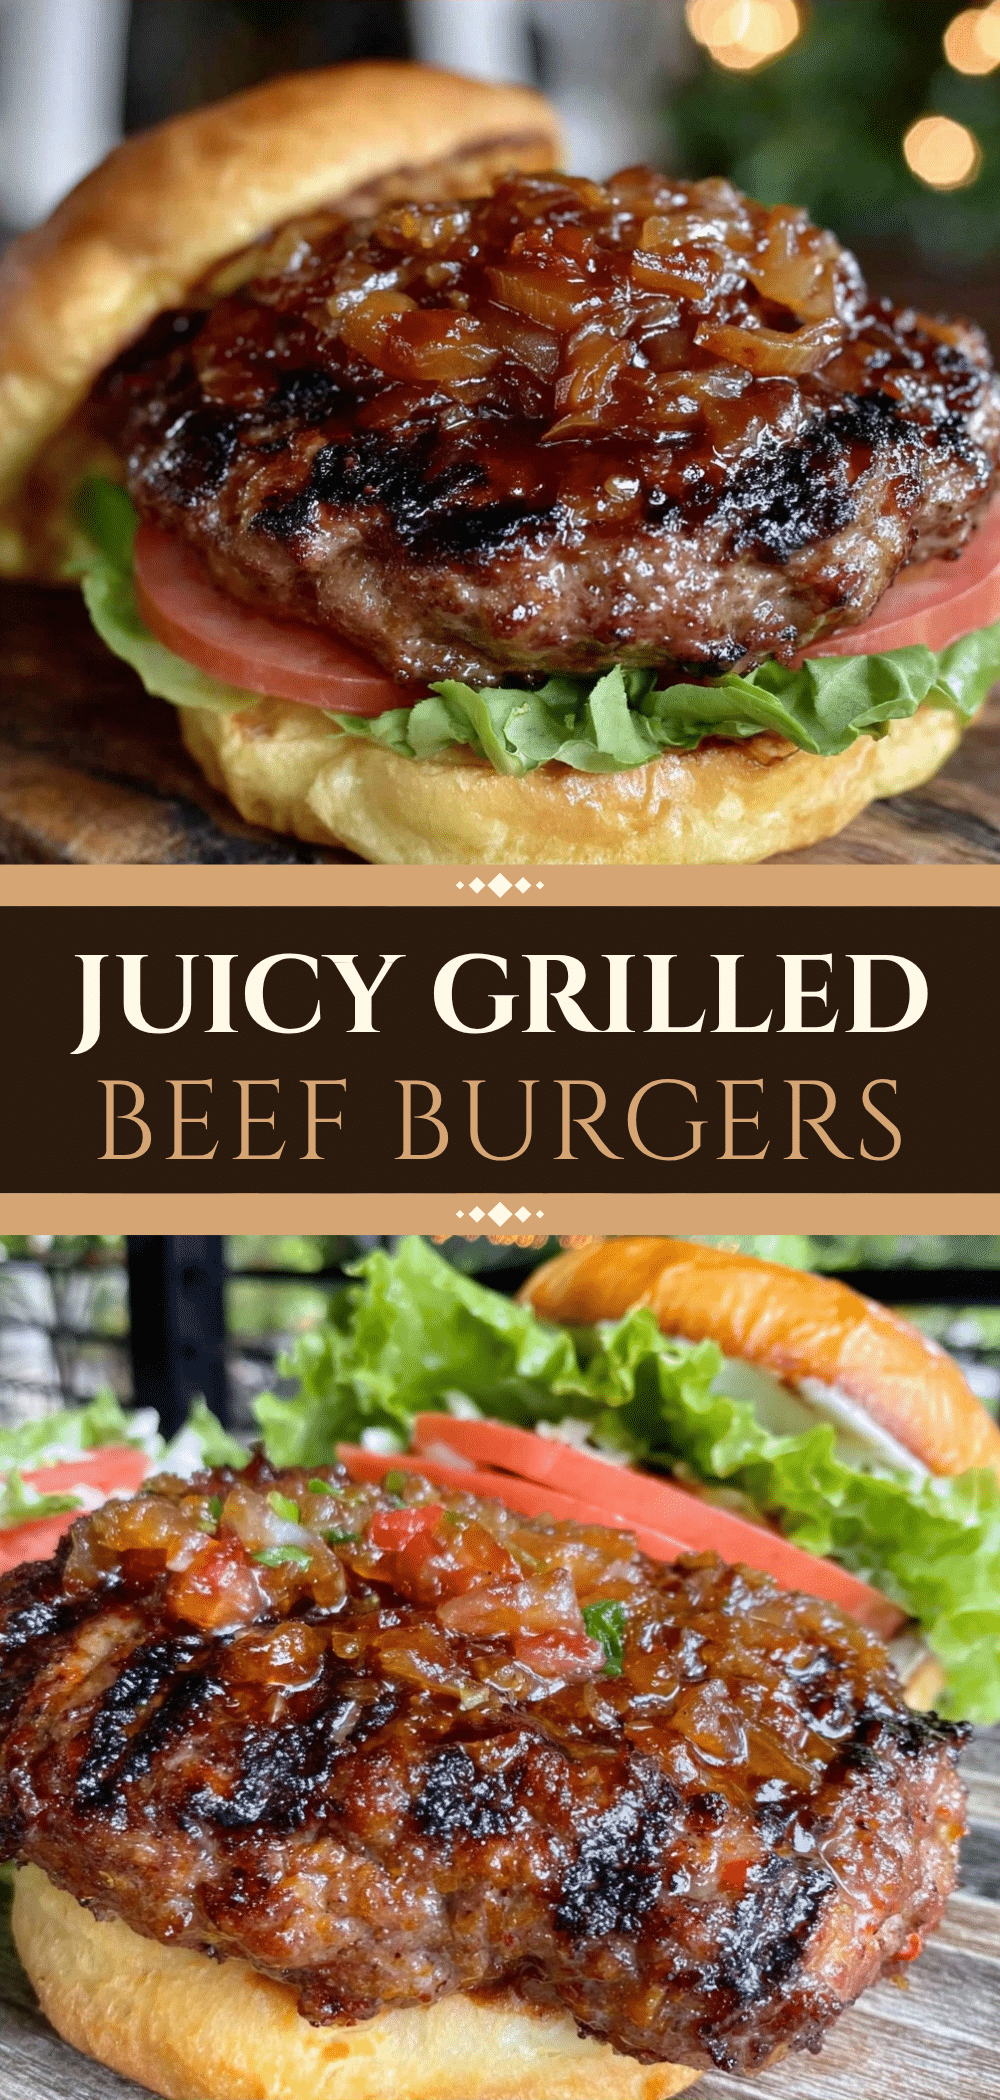
End of Summer Grilled Ground Beef Burgers
- Total Time: 25 minutes
- Yield: 4 servings 1x
Description
Juicy, flavorful ground beef burgers made in just 20 minutes. Perfect for busy weeknights, these burgers are budget-friendly, kid-approved, and easy to customize with your favorite toppings.
Ingredients
- 2 pounds ground beef (80/20 lean-to-fat ratio)
- 1 small yellow onion, finely diced
- 2 cloves garlic, minced
- 1 tablespoon Worcestershire sauce
- 1 teaspoon Dijon mustard
- 1 teaspoon Italian seasoning (or ½ tsp dried oregano and ½ tsp dried basil)
- 1 teaspoon kosher salt (or ½ teaspoon table salt)
- 1 teaspoon black pepper
- 1 large egg
- 8 hamburger buns (brioche or potato preferred)
- 8 slices cheddar cheese
- Lettuce, tomato, and pickles for serving
- Burger sauce (ketchup, mayo, and paprika) or store-bought sauce
- Butter or oil for brushing buns
Instructions
- In a large mixing bowl, combine ground beef, diced onion, minced garlic, Worcestershire sauce, Dijon mustard, Italian seasoning, salt, pepper, and egg. Mix gently until just combined; do not overmix.
- Divide the meat mixture into 8 equal portions (about 4 ounces each). Gently shape into patties about ¾-inch thick. Make a slight indent in the center of each patty with your thumb to prevent puffing.
- Preheat grill to medium-high heat (about 400°F). Clean grates and lightly oil them with vegetable oil to prevent sticking.
- Place patties on the grill. Do not move them for the first 4-5 minutes to allow a char to form. Flip the patties.
- If adding cheese, place slices on the patties now. Close the lid and cook for another 4-5 minutes, or until the internal temperature reaches 160°F.
- While burgers cook, brush the cut sides of the buns with melted butter or oil. Place cut-side down on the grill for 1-2 minutes until golden brown.
- Remove burgers from the grill and let them rest for 2-3 minutes to redistribute juices.
- Assemble burgers on toasted buns with lettuce, tomato, pickles, and sauce. Serve immediately.
Notes
[‘Keep the meat cold until mixing to ensure juicy burgers.’, ‘Do not press the patties while cooking, as this squeezes out juices.’, ‘Let burgers rest for 2-3 minutes after grilling to retain moisture.’, ‘Patties can be frozen raw for up to 3 months or cooked and frozen for up to 2 months.’, ‘For a lighter version, use 90/10 beef, skip cheese, and serve on lettuce wraps.’]
- Prep Time: 10 minutes
- Cook Time: 15 minutes
- Category: Main Course
- Cuisine: American
Nutrition
- Serving Size: 1 burger with bun an
- Calories: 450
- Sodium: 600
- Fat: 22
- Carbohydrates: 30
- Protein: 28
Keywords: ground beef burgers, grilled burgers, weeknight dinner, easy recipes, family meals, budget-friendly, summer grilling, kid-friendly



