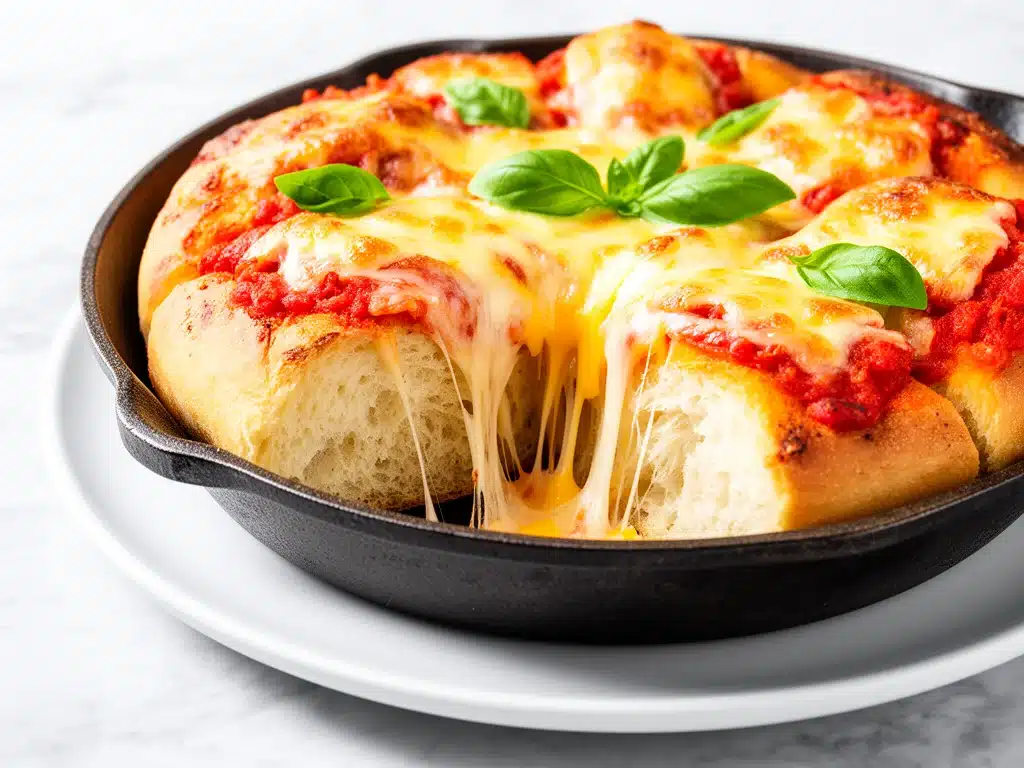
One hectic Thursday afternoon, I found myself staring blankly at the clock while my kids burst through the door, starving and more than a little cranky. I had exactly zero minutes to whip up something satisfying, fun, and kid-approved. After digging through the pantry and fridge, I threw together what I thought would be a quick snack—something cheesy, gooey, and easy to share. Thirty minutes later, we were all crowding around the kitchen island, tearing off pieces of this warm, pull-apart bread bursting with pizza flavors. That’s how this After-School Cheesy Pizza Pull-Apart Bread was born, and honestly, it’s been a family favorite ever since.
I’ve made this recipe over a dozen times now—not just for after-school snacks, but for game nights, casual dinners, and even potlucks. Each time, it disappears faster than I can say “extra cheese.” The magic? It’s ridiculously simple, uses ingredients you probably already have, and tastes like pizza met its perfect bread match. If you’re juggling busy afternoons and craving something that feels like a treat but comes together in a flash, this pull-apart bread is your new secret weapon.
Why You’ll Love This Recipe
This cheesy pizza pull-apart bread isn’t just a snack; it’s a game-changer for busy families. Here’s why it’s earned a spot in my rotation:
- Hands-Off, Quick Prep — I can throw this together in under 15 minutes, then let the oven do the rest. Perfect for when you’re juggling homework, snacks, and “what’s for dinner?” stress.
- Fun to Eat — The pull-apart style turns snack time into an event. Kids (and adults) love tearing off cheesy, saucy bites—no utensils required.
- Customizable — Whether you want to sneak in some veggies, add pepperoni, or keep it classic, this recipe handles swaps like a champ.
- Uses Pantry Staples — Most ingredients are probably sitting in your fridge or pantry right now—no last-minute grocery runs needed.
- Perfect Leftovers — If you’re lucky enough to have leftovers, they reheat beautifully in the oven or microwave without losing their gooey charm.
Honestly, this recipe feels like a little slice of comfort wrapped in bread. It’s the kind of snack that turns chaotic afternoons into moments of joy—plus, it’s the easiest way to get everyone around the table without fuss.
Ingredients You’ll Need
Here’s the best part: you probably have most of these ingredients already. I’m pretty particular about the type of cheese and bread I use, and I’ll tell you why as we go.
- Loaf of Italian or French bread (1 medium-sized) — A sturdy loaf works best here because it holds all the cheese and sauce without falling apart. I usually grab a slightly crusty Italian loaf from the bakery section.
- Shredded mozzarella cheese (2 cups / 200g) — Freshly shredded is key. Pre-shredded has those anti-caking agents that can affect melting. Mozzarella gives that classic stretchy pizza cheese vibe.
- Shredded cheddar cheese (1 cup / 100g) — Adds a sharp, tangy twist. I love the combo of mozzarella’s creaminess and cheddar’s bite.
- Pizza sauce (½ cup / 120ml) — Use your favorite brand or homemade. I like a slightly chunky sauce with herbs for extra flavor.
- Pepperoni slices (1 cup / about 30 slices) — Totally optional but highly recommended if your family loves classic pepperoni pizza.
- Butter (4 tablespoons / 60g), melted — Brushed over the bread for a golden crust and rich flavor. Unsalted so you can control salt levels.
- Garlic powder (1 teaspoon) — Sprinkled over butter to give that irresistible garlic aroma.
- Dried Italian seasoning (1 teaspoon) — Or a mix of dried basil and oregano. This adds a subtle herby note that takes it from basic to restaurant-worthy.
- Fresh parsley (2 tablespoons, chopped) — Optional, for garnish. Brightens the dish and makes it look fancy enough for company.
Optional add-ins: You can toss in diced bell peppers, sliced black olives, or even cooked sausage for a more loaded version. Just stuff them between the bread pieces with the cheese and sauce.
Equipment Needed
You don’t need fancy gear for this. Here’s what I actually use:
- Baking sheet or roasting pan — Big enough to hold your loaf comfortably. I line mine with parchment paper for easy cleanup.
- Sharp knife — For slicing the bread into a grid pattern. A serrated bread knife works best to avoid squishing the loaf.
- Small bowl — For mixing melted butter with garlic powder and Italian seasoning.
- Pastry brush — To spread that garlic butter evenly over the bread. If you don’t have one, the back of a spoon works fine.
- Mixing spoon — For stirring the butter and seasoning mixture.
If you’re feeling fancy, a pizza stone can be used to bake the bread for an extra crispy crust, but a regular baking sheet does just fine.
How to Make It: Step-by-Step
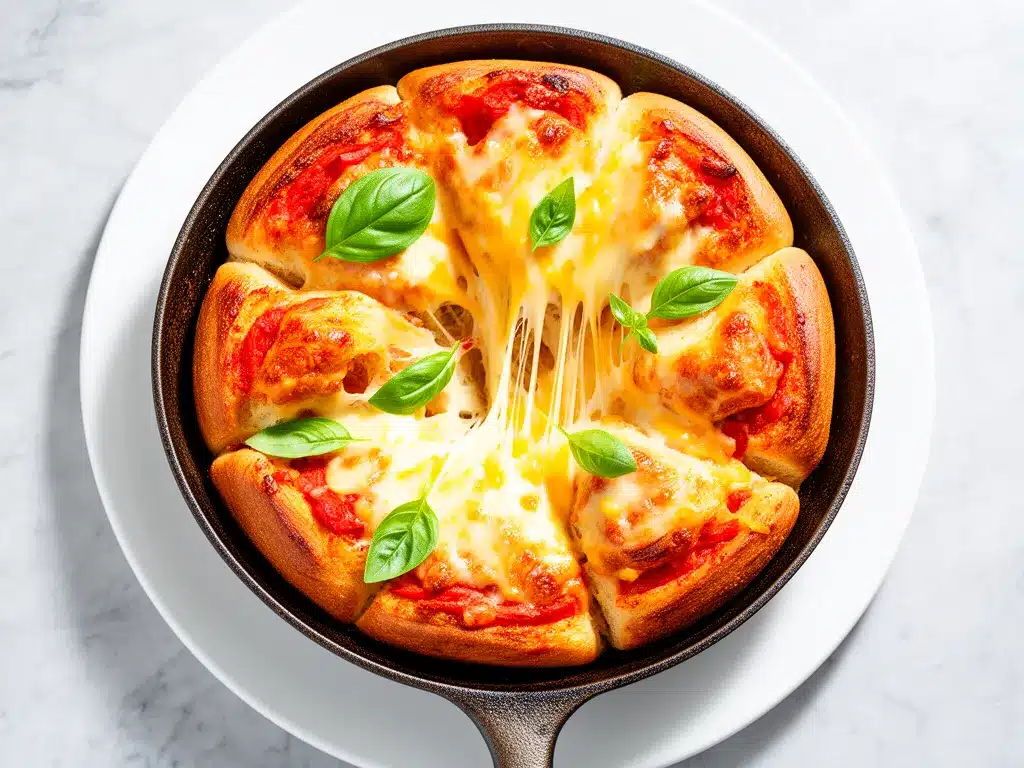
Alright, let’s make this! I’m walking you through exactly how I do it, including the little tricks I’ve picked up.
Step 1: Slice the Bread (5 minutes)
Lay your loaf on the baking sheet. Using a sharp serrated knife, cut the bread into a grid pattern—slice down vertically and horizontally about 1 to 1.5 inches apart, but don’t cut all the way through the bottom crust. You want the loaf to hold together like a puzzle. This is the secret to that irresistible pull-apart effect.
Step 2: Mix the Garlic Butter (2 minutes)
In a small bowl, combine melted butter, garlic powder, and Italian seasoning. Give it a good stir. This mixture will soak into the bread and add that golden, flavorful crust everyone loves.
Step 3: Stuff the Bread (8 minutes)
Gently pull apart each square just enough to stuff in a spoonful of pizza sauce, a sprinkle of mozzarella and cheddar, and a slice or two of pepperoni. Don’t be shy—stuff as much as you can between the slices. Then, drizzle or brush the garlic butter mixture all over the top and inside the cuts. This step can get a little messy, but that’s part of the fun.
Step 4: Bake (15-20 minutes)
Preheat your oven to 350°F (175°C). Bake the stuffed bread for 15-20 minutes until the cheese is melted and bubbly and the bread is golden and crispy on top. Your kitchen will smell like a pizzeria in no time. If you want extra crispiness, pop it under the broiler for 1-2 minutes—just watch closely so it doesn’t burn.
Step 5: Garnish and Serve (2 minutes)
Remove from the oven, sprinkle chopped fresh parsley over the top for a pop of color, and serve immediately. The best part is watching everyone dig in and pull apart their own cheesy pieces.
Expert Tips & Tricks
- Don’t cut all the way through the bread — Leaving the bottom intact keeps the loaf together and makes tearing off pieces easier.
- Use a serrated knife — This prevents the bread from squishing and keeps your cuts clean.
- Freshly shredded cheese melts better — Pre-shredded cheese often has additives that can make the texture grainy or clumpy.
- Brush butter generously — This adds flavor and helps the bread crisp up beautifully, so don’t skimp.
- Customize the fillings — Feel free to add sautéed mushrooms, jalapeños, or even pineapple for sweet and spicy kicks.
- Make ahead — You can prep the bread stuffed and buttered a few hours before baking; just cover it with plastic wrap and refrigerate. Bake fresh when ready.
- Reheating leftovers — Warm in a 350°F oven for 8-10 minutes to bring back crispiness. Microwave makes it chewy and soggy.
Variations & Substitutions
Once you’ve nailed the basic version, here’s how you can mix it up. I’ve tried all of these:
- Veggie-Loaded — Add diced bell peppers, black olives, and mushrooms along with the cheese for a colorful crowd-pleaser.
- Spicy Pepperoni — Toss in some crushed red pepper flakes or sliced jalapeños for a kick.
- Meat Lovers — Add cooked crumbled sausage or bacon bits between the layers for extra protein and flavor.
- Cheese Swap — Try provolone or Monterey Jack for different melty textures and flavors.
- Gluten-Free — Use a sturdy gluten-free loaf or pull apart rolls. The method stays the same.
- Vegan Version — Use vegan cheese shreds and a dairy-free butter substitute. There are some great brands that melt surprisingly well.
Serving & Storage
I usually serve this pull-apart bread straight from the pan at the kitchen table—there’s something cozy about everyone reaching in and sharing. It pairs perfectly with a simple green salad or a side of crunchy carrot sticks for some balance.
For leftovers, wrap the bread tightly in foil or store in an airtight container in the refrigerator for up to 3 days. When reheating, pop it in a 350°F oven for 8-10 minutes to bring back that crisp crust and melty cheese. If you microwave it, expect a softer texture, but it still hits the spot.
One time, I brought this to a neighborhood potluck, and people were asking for the recipe by name. It’s just that good and versatile.
Nutrition Information
| Nutrient | Per Serving (1/8 loaf) |
|---|---|
| Calories | 350 |
| Protein | 15g |
| Carbohydrates | 28g |
| Fiber | 2g |
| Sugar | 4g |
| Fat | 20g |
| Saturated Fat | 10g |
| Cholesterol | 50mg |
| Sodium | 700mg |
| Calcium | 300mg |
I’m no nutritionist, but here’s the gist: this bread offers a decent protein boost thanks to the cheese and pepperoni, plus calcium from the dairy. It’s definitely indulgent with the butter and cheese, so I consider it a treat or snack rather than a meal. You can lighten it up by swapping out the butter for olive oil and adding more veggies, but honestly, sometimes you just want all the cheesy goodness.
Final Thoughts
So that’s my go-to After-School Cheesy Pizza Pull-Apart Bread recipe! I’ve probably gone on too much, but when you make something this often, you learn all the little things that make it perfect every time.
This recipe has saved many chaotic afternoons and even casual dinners when I didn’t want to cook a full meal. It’s cozy, comforting, and—most importantly—fun to eat. The way the cheese stretches, the garlic butter crisping the bread, and the familiar pizza flavors all wrapped up in one easy dish make it a winner in my house.
Feel free to tweak it however your family likes (but don’t skip the garlic butter—that’s non-negotiable in my book). If you make this, drop a comment below and tell me how it turned out or what fun variations you tried. I’m always here to help if you get stuck or want to swap ingredients.
Happy snacking! And may your kitchen smell as amazing as mine does right now.
Frequently Asked Questions
Q: Can I use frozen bread for this recipe?
A: I wouldn’t recommend it. Frozen bread tends to be too soggy or dry once thawed, which can affect the texture after baking. Fresh or day-old bread works best because it holds up to the sauce and cheese without falling apart.
Q: Can I make this vegan or dairy-free?
A: Absolutely! Swap out the mozzarella and cheddar for your favorite vegan cheese shreds, and use a plant-based butter substitute. The garlic butter can be made with olive oil mixed with garlic powder and Italian herbs if you prefer. It won’t be exactly like the original, but it’s still delicious.
Q: My bread turned out soggy—what went wrong?
A: This usually happens if too much sauce is added or the bread wasn’t sturdy enough. Use just enough sauce to lightly coat inside the cuts, and pick a crusty loaf. Also, make sure to bake it long enough so the bread crisps up on top.
Q: Can I freeze leftover pull-apart bread?
A: I don’t recommend freezing it because the texture changes a lot after thawing. It tends to get mushy and the cheese separates. Better to enjoy fresh or refrigerate for a few days.
Q: How long does this stay fresh in the fridge?
A: Stored in an airtight container, it keeps well for up to 3 days. Just reheat in the oven to revive that crispy crust and melty cheese.
Q: Can I add other toppings like vegetables or different meats?
A: Totally! This recipe is super flexible. Diced bell peppers, olives, cooked sausage, or mushrooms all work great. Just stuff them in between the bread slices with the cheese and sauce.
Q: Do I have to use pizza sauce, or can I use marinara?
A: You can use marinara or any tomato-based sauce you like. Just keep in mind that some marinara sauces are thinner, so use sparingly to avoid soggy bread.
Pin This Recipe!
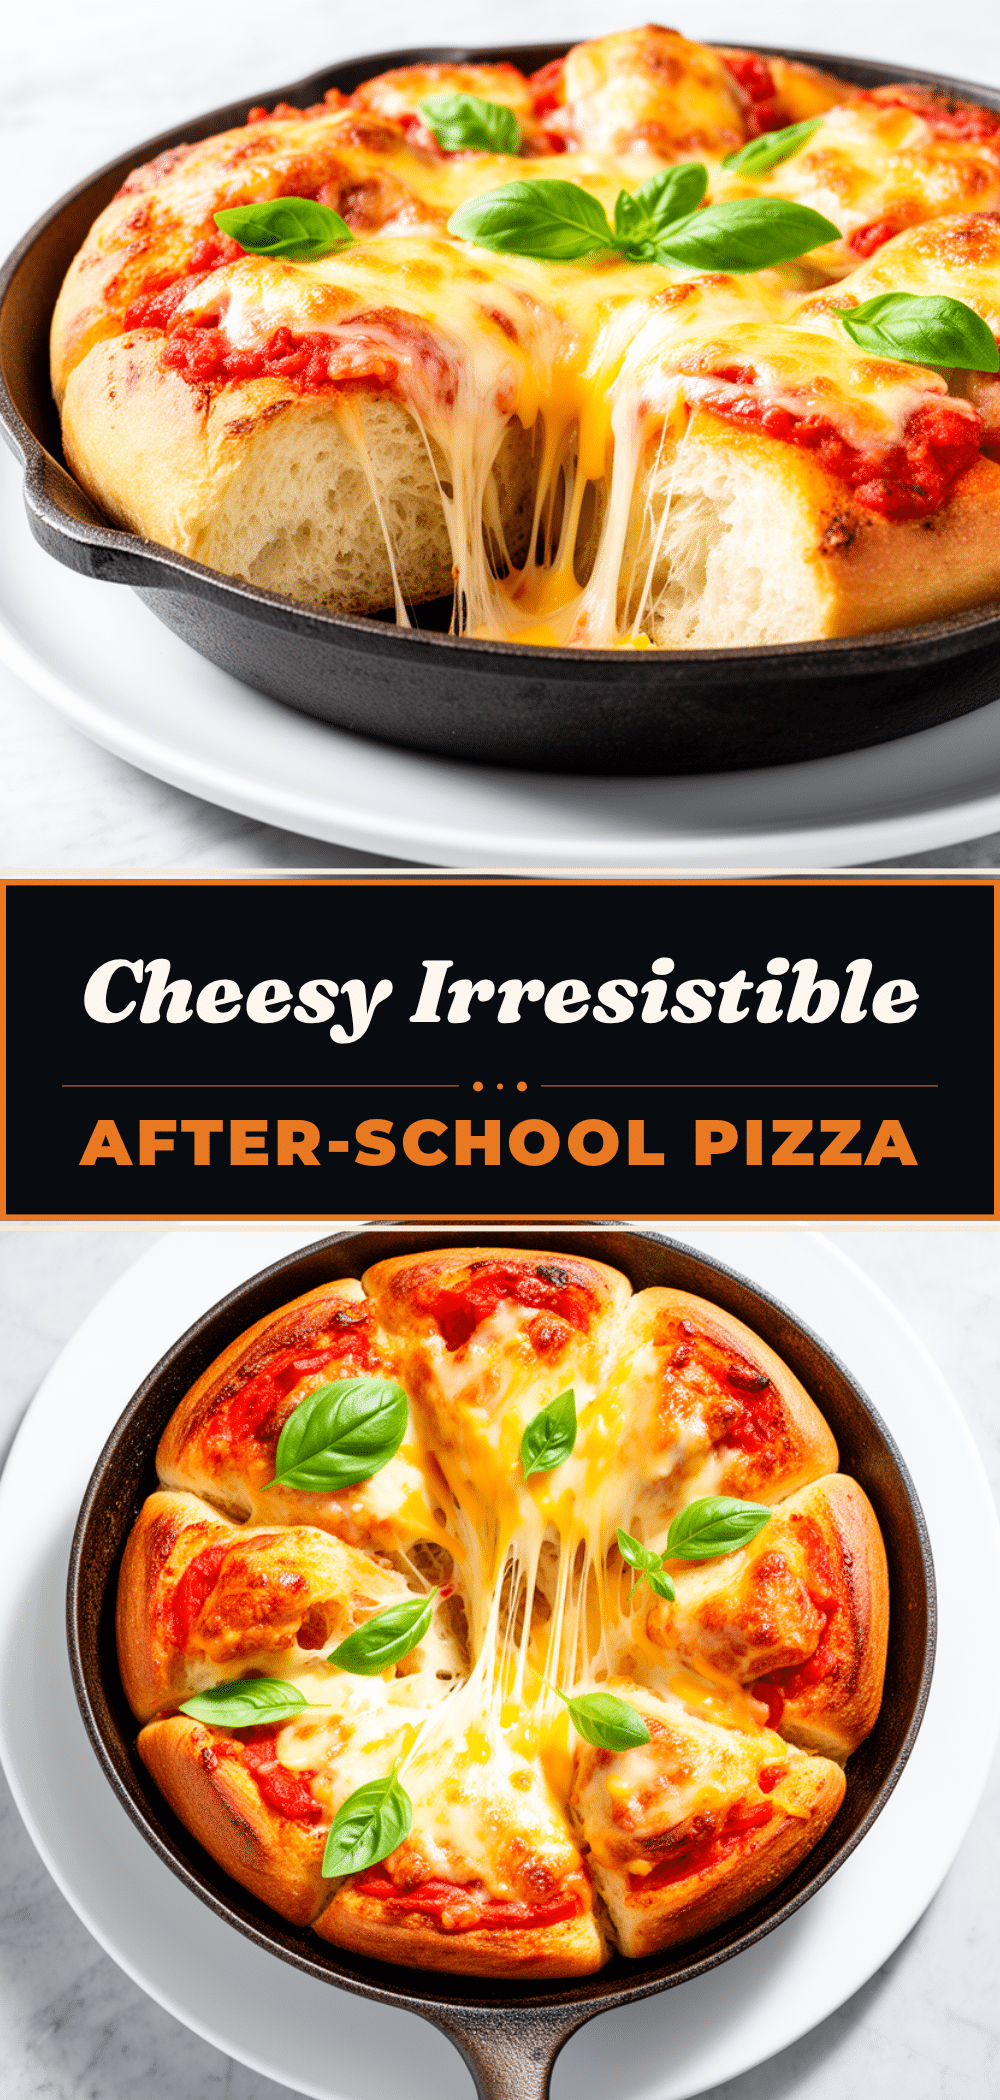
After-School Cheesy Pizza Pull-Apart Bread
- Total Time: 30-35 minutes
- Yield: 8 servings 1x
Description
A quick, fun, and kid-approved cheesy pizza pull-apart bread perfect for after-school snacks, game nights, or casual dinners. This recipe uses pantry staples and comes together in under 15 minutes prep time.
Ingredients
- 1 medium-sized loaf of Italian or French bread
- 2 cups (200g) shredded mozzarella cheese
- 1 cup (100g) shredded cheddar cheese
- ½ cup (120ml) pizza sauce
- 1 cup (about 30 slices) pepperoni slices (optional)
- 4 tablespoons (60g) unsalted butter, melted
- 1 teaspoon garlic powder
- 1 teaspoon dried Italian seasoning (or mix of dried basil and oregano)
- 2 tablespoons fresh parsley, chopped (optional)
- Optional add-ins: diced bell peppers, sliced black olives, cooked sausage
Instructions
- Preheat oven to 350°F (175°C).
- Lay the loaf on a baking sheet. Using a sharp serrated knife, cut the bread into a grid pattern about 1 to 1.5 inches apart vertically and horizontally, but do not cut all the way through the bottom crust.
- In a small bowl, mix melted butter, garlic powder, and Italian seasoning.
- Gently pull apart each bread square and stuff with pizza sauce, mozzarella, cheddar, and pepperoni slices. Add optional fillings if desired.
- Drizzle or brush the garlic butter mixture over the top and inside the cuts of the bread.
- Bake for 15-20 minutes until cheese is melted and bubbly and bread is golden and crispy. For extra crispiness, broil for 1-2 minutes watching carefully.
- Remove from oven, sprinkle with chopped fresh parsley, and serve immediately.
Notes
[‘Do not cut all the way through the bread to keep loaf intact.’, ‘Use freshly shredded cheese for better melting.’, ‘Brush butter generously for a golden, crispy crust.’, ‘Customize fillings with veggies, meats, or different cheeses.’, ‘Make ahead by prepping and refrigerating before baking.’, ‘Reheat leftovers in a 350°F oven for 8-10 minutes for best texture.’, ‘Avoid microwaving leftovers to prevent sogginess.’]
- Prep Time: 15 minutes
- Cook Time: 15-20 minutes
- Category: Snack
- Cuisine: American
Nutrition
- Serving Size: 1/8 of the loaf
- Calories: 350
- Sugar: 4
- Sodium: 700
- Fat: 20
- Saturated Fat: 10
- Carbohydrates: 28
- Fiber: 2
- Protein: 15
Keywords: cheesy pizza bread, pull-apart bread, after-school snack, kid-friendly, quick recipe, pizza pull-apart, easy snack



