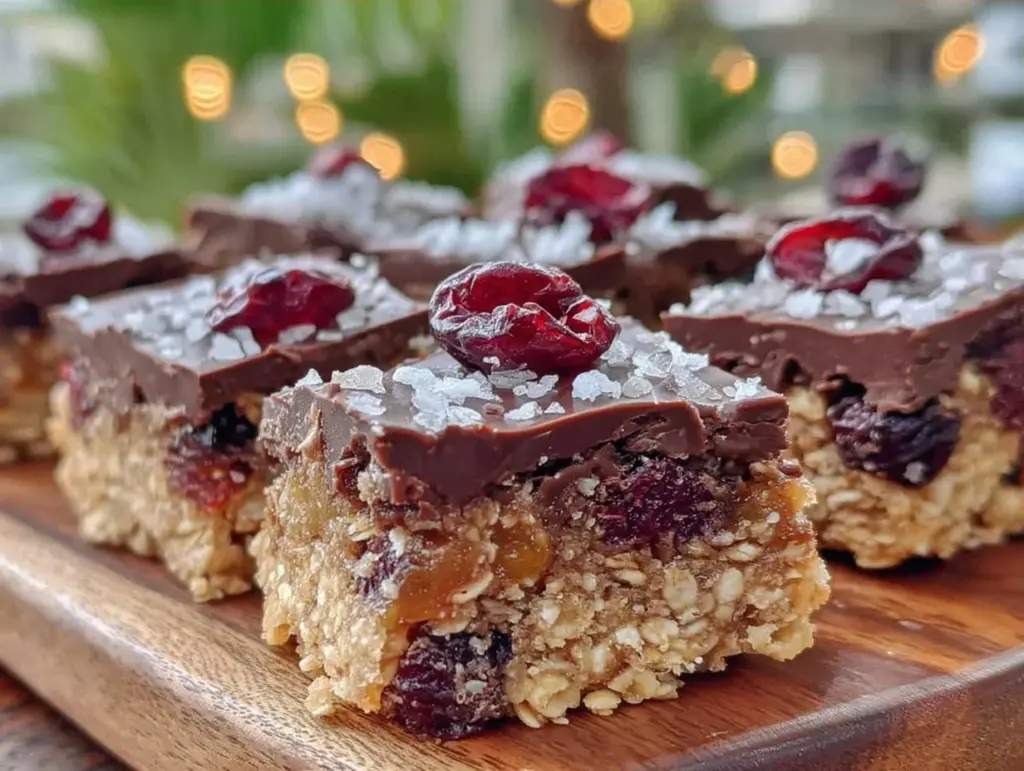
Last Saturday, I found myself standing in the middle of my backyard, holding a plastic tub of what I can only describe as “desperation cookies.” The sun was still beating down, the grill was smoking from the third batch of burgers, and my kids had just finished their third round of lemonade. I needed something sweet. Something cold. Something that didn’t require turning on the oven and heating up the entire house for a ten-minute treat.
I reached into the pantry and found exactly what I needed: oats, brown sugar, cocoa, and butter. That’s when I made these end of summer no-bake cookie bars. They are perfect for backyard parties because they are cheap, they don’t melt in the heat like ice cream, and they taste like the cookies you loved as a kid, just easier to eat with one hand while chasing a toddler.
I’ve made this batch about five times since August started. It’s become my secret weapon for those chaotic end-of-summer gatherings where you want to look like you planned everything perfectly, but really, you just assembled it in twenty minutes. These bars are chewy, chocolatey, and hold their shape even when it’s 90 degrees outside. Plus, they cost pennies per serving compared to buying bakery treats.
If you’ve ever panicked about dessert for a Labor Day cookout or just need a quick snack for the kids after school, you need this recipe in your rotation. It’s simple, it’s affordable, and it’s seriously delicious.
Why You’ll Love This Recipe
There are about ten reasons I keep making these no-bake cookie bars, but here are the big ones that will change your life during busy summer weekends.
Zero Oven Heat — Seriously, if you are trying to keep your kitchen cool in late August, this is your best friend. No baking time means no heating up the house. I made these while the grill was going, and the kitchen stayed perfectly comfortable.
Pantry Staples Only — You probably have 90% of these ingredients already. Butter, sugar, cocoa, oats, milk. If you have a box of oats and a jar of cocoa powder, you’re halfway done. No fancy specialty stores needed.
Stupid Simple — I’ve walked my teenage daughter through this recipe over FaceTime while she was at college. It’s basically boiling water, stirring in ingredients, and pressing it into a pan. There is no technique to mess up. No whipping, no folding, no tempering chocolate.
Budget-Friendly — This feeds a crowd for under $10. That’s a fraction of the cost of buying dessert at the grocery store. I love that I can stretch a dollar this far when I’m feeding a family of five.
Make-Ahead Magic — These bars actually get better after sitting in the fridge for a day. The flavors meld, and the texture sets perfectly. I often make them the night before a party so I’m not stressing in the morning.
Crowd-Pleaser — I’ve served these to my picky eaters, my neighbor’s gluten-sensitive friend (using gluten-free oats), and my husband’s coworkers. Everyone loves them. They are nostalgic comfort food that appeals to all ages.
This is my go-to when I need dessert to just work. No complicated techniques, no weird ingredients, just reliable, delicious food that makes everyone happy and leaves you with more time to enjoy your own party.
Ingredients You’ll Need
Here’s the best part: you probably have most of this already. This isn’t a recipe that requires a special trip to the store. It’s built on basics that every pantry should hold.
Unsalted butter (1/2 cup / 113g) — This is your base. Don’t use margarine if you can help it; it changes the texture. I use unsalted so I can control the saltiness, but salted works if you reduce the added salt slightly.
Granulated sugar (1 cup / 200g) — White sugar gives that classic cookie bar sweetness. Brown sugar is optional, but if you use it, stick to half white and half brown for a chewier texture. I usually just use all white sugar to keep it simple.
Unsweetened cocoa powder (1/3 cup / 30g) — This is the chocolate flavor. Use regular unsweetened cocoa, not hot chocolate mix. Hot chocolate mix has sugar and milk solids in it, which will throw off the balance. I keep a cheap box of Hershey’s on hand.
Milk (1/3 cup / 80ml) — Whole milk is best for richness, but 2% or even skim works fine. You just need liquid to help dissolve the sugar and bind the oats. Don’t skip this.
Vanilla extract (1 teaspoon) — Just a splash to round out the chocolate flavor. Pure vanilla is best, but imitation works in a pinch. I’ve made this with both and honestly, you can’t tell the difference in the final bar.
Salt (1/4 teaspoon) — Even though it’s sweet, a pinch of salt makes the chocolate pop. Don’t skip it. It balances the sugar.
Quick or Old-Fashioned Oats (3 cups / 270g) — This is the bulk. Quick oats make a softer bar, while old-fashioned oats make it chewier. I prefer old-fashioned for that hearty texture, but quick oats work if you want something softer. Do not use steel-cut oats—they never cook properly in this recipe.
Optional: Chocolate Chips (1/2 cup) — I sometimes toss in a handful of semi-sweet chocolate chips for extra gooeyness. It’s not necessary, but it’s nice if you have them.
Optional: Nuts (1/2 cup chopped walnuts or pecans) — My family isn’t huge on nuts, so I usually skip them, but they add a great crunch if you like them. Just chop them finely so they mix well.
Common questions I get: “Can I use honey instead of sugar?” No, the texture won’t set right. “Can I use almond milk?” Yes, but it might be slightly less rich. Stick to dairy for the best traditional texture.
Equipment Needed
You don’t need fancy equipment for this. Here’s what I actually use.
Medium Saucepan — I use a 3-quart saucepan. It needs to be big enough to hold the boiling mixture without bubbling over. My old stainless steel pan works fine.
9×9 Inch Baking Pan — Standard size. Line it with parchment paper or foil for easy cleanup. I prefer foil because it’s easier to lift the bars out once they set.
Wooden Spoon or Silicone Spatula — For stirring. You need something sturdy to mix the hot oats into the chocolate sauce. A regular spoon works, but a spatula scrapes the sides better.
Measuring Cups and Spoons — Standard stuff. Dollar store versions work fine.
Refrigerator — Obviously, you need space for the bars to set. If your fridge is small, you can use a cooler with ice packs in a pinch, but the fridge is best.
Tool Tips: Don’t have a 9×9 pan? An 8×8 will work, but the bars will be thicker and might take longer to set. Just adjust your expectations.
How to Make It: Step-by-Step
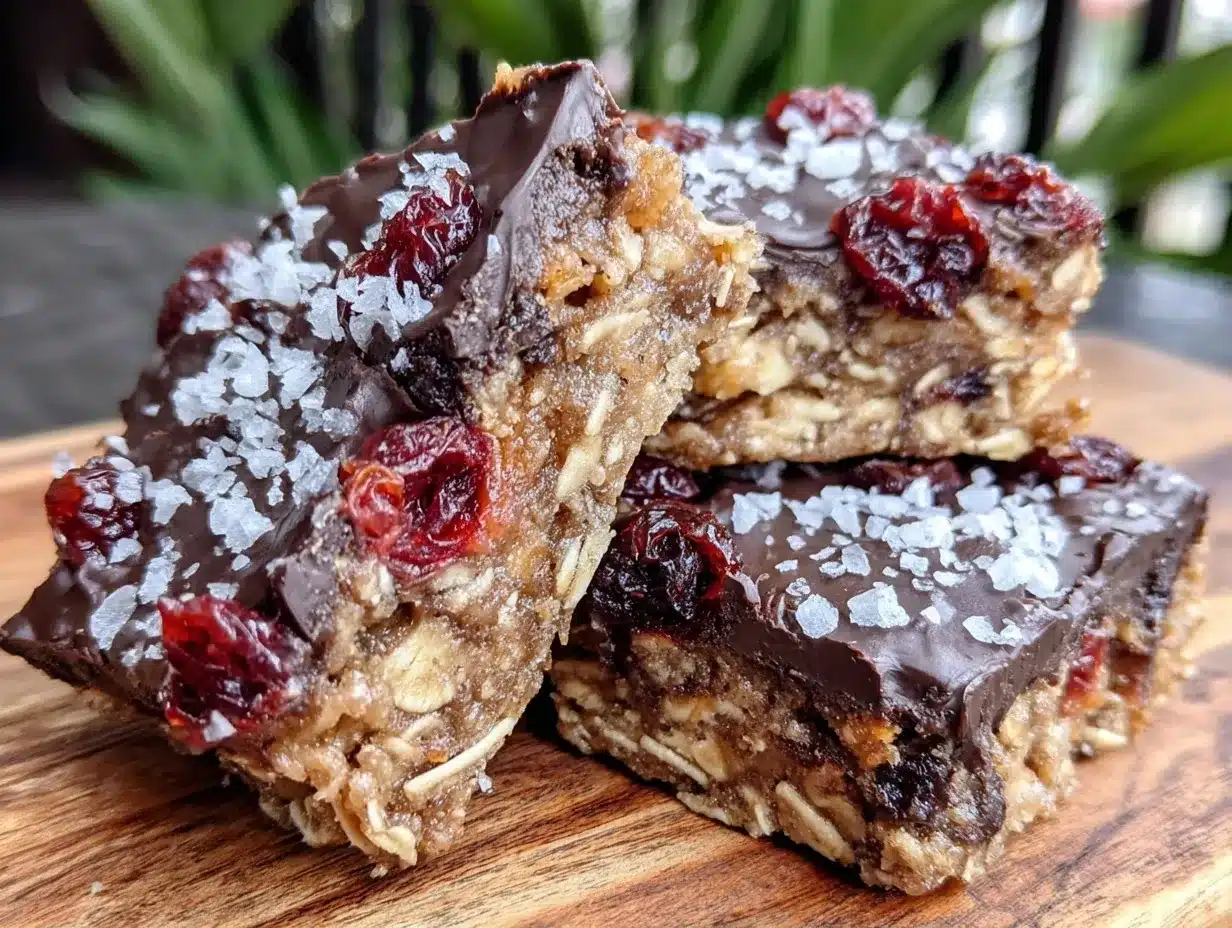
Alright, let’s make this! I’m walking you through exactly how I do it, including the little tricks I’ve picked up.
Step 1: Prep Your Pan (2 minutes)
Line your 9×9 inch baking pan with aluminum foil, leaving an overhang on the sides. This is crucial. These bars stick, and you will thank yourself later when you lift the whole block out to cut it. Lightly grease the foil with butter or cooking spray.
Step 2: Boil the Wet Ingredients (5 minutes)
In your medium saucepan, combine the butter, sugar, cocoa powder, milk, and salt. Place it over medium-high heat. Stir constantly until the butter melts and the mixture comes to a full boil. Once it boils, set your timer for exactly one minute. This is important—you need to boil it for that minute to dissolve the sugar properly. Don’t rush this step.
Step 3: Remove from Heat and Add Flavor (1 minute)
Remove the saucepan from the heat immediately after one minute. Stir in the vanilla extract. The mixture will look glossy and dark. If you’re adding chocolate chips or nuts, stir them in now while the mixture is hot so they melt or warm up slightly.
Step 4: Combine with Oats (2 minutes)
Pour the hot chocolate mixture over the oats in a large bowl. If you’re mixing in a large bowl, pour the oats into the saucepan instead—it’s easier to scrape the pot clean. Stir vigorously until every oat is coated. The mixture will look thick and clumpy. That’s good.
Step 5: Press into Pan (3 minutes)
Transfer the mixture to your prepared pan. Use a greased spatula or your hands (grease them with butter to prevent sticking) to press the mixture down firmly. Don’t just dump it in; press it down tight. This ensures the bars hold together when you cut them. Pack it in like you’re making a pie crust.
Step 6: Chill and Set (30-60 minutes)
Place the pan in the refrigerator. Let it chill for at least 30 minutes, but an hour is better. The bars need to cool completely so they firm up. If you try to cut them while they’re warm, they’ll be mushy. Patience pays off.
Step 7: Cut and Serve
Once set, lift the bars out of the pan using the foil overhang. Place them on a cutting board. Use a sharp knife to cut into squares. I cut them into 16 or 24 bars, depending on how hungry my family is. They store well, so cutting them into smaller squares means more servings.
Total Time: About 15 minutes active, plus 30 minutes chilling.
Expert Tips & Tricks
Here’s everything I’ve learned from making this dozens of times. These tips will save you from my mistakes.
Don’t Skip the Boil
The one-minute boil is non-negotiable. If you don’t boil the sugar mixture, the bars won’t set. The heat activates the sugar to create that sticky, fudge-like texture. I’ve tried skipping it once, and the result was just sweet oatmeal. Don’t do it.
Press Firmly
When you press the mixture into the pan, don’t be gentle. Pack it down. Loose bars crumble when you cut them. If they’re packed tight, they’ll hold their shape perfectly.
Grease Your Hands
The hot chocolate mixture is sticky. If you’re using your hands to press it down, grease them with a little butter or oil. It makes the process so much easier and keeps your hands clean.
Use a Sharp Knife
For clean cuts, use a sharp chef’s knife. If your knife is dull, the bars will squish instead of cutting. Wipe the knife clean between cuts if it gets sticky.
Double the Batch
This recipe doubles easily. If you’re feeding a crowd, double the ingredients and use a larger pot. Just make sure you have enough room to stir without spilling.
Storage Hack
Store the bars in an airtight container in the fridge for up to one week. If you’re making them for a party, make them 24 hours ahead. They taste even better the next day as the flavors meld.
Variations & Substitutions
Once you’ve nailed the basic version, here’s how you can mix it up. I’ve tried all of these.
Peanut Butter Swirl
Swirl 2 tablespoons of peanut butter into the chocolate mixture before pressing it into the pan. It adds a salty-sweet combo that is amazing. My kids love this version.
Coconut Edition
Add 1 cup of shredded coconut to the oats. It adds a tropical flavor that’s great for summer. I use sweetened coconut for extra sweetness.
Marshmallow Madness
Fold in 1 cup of mini marshmallows after removing the chocolate mixture from heat. It makes them extra gooey and sweet. Like a s’mores bar without the fire.
Gluten-Free
Use certified gluten-free oats. Everything else is naturally gluten-free. I’ve used Bob’s Red Mill gluten-free oats, and they work perfectly.
Vegan Version
Use vegan butter and almond milk. The texture might be slightly less firm, but it’s still delicious. I’ve made this for my vegan friend, and she loved it.
Flavor Boost
Add a pinch of cinnamon or espresso powder to the chocolate mixture. It deepens the chocolate flavor without making it taste like coffee.
Serving & Storage
How to Serve:
I usually serve these straight from the fridge. They are best cold and firm. Cut them into small squares for easy eating. They are perfect for picnics, potlucks, or just a snack at home.
Side Dishes:
These go great with a glass of cold milk or a cup of coffee. If you’re serving them at a party, pair them with some fresh fruit or a simple salad to balance the sweetness.
Storage Instructions:
Refrigerator:
Store in an airtight container for up to one week. The cold keeps them firm and fresh.
Freezer:
Yes, you can freeze these! Place them in a freezer-safe container with parchment paper between layers. They’ll last for up to three months. Thaw in the fridge overnight before serving.
Reheating:
You don’t need to reheat these. They are best served cold. If they get too hard from the fridge, let them sit at room temperature for 10 minutes before eating.
Pro tip: If you’re making these for a party, make them the night before. They’ll be perfectly set and ready to go.
Nutrition Information
I’m not a nutritionist, but here’s the breakdown if you’re tracking. These are estimates per bar (based on 16 bars).
| Nutrient | Amount |
|---|---|
| Calories | 180 |
| Protein | 3g |
| Carbs | 28g |
| Fiber | 2g |
| Sugar | 18g |
| Fat | 7g |
| Saturated Fat | 4g |
| Sodium | 50mg |
What’s Good:
– Good source of energy from oats
– Quick to make
– Affordable ingredients
What to Know:
– Higher in sugar due to the cocoa mixture
– Contains dairy (unless vegan substitutes used)
– Not suitable for gluten-free diets unless using GF oats
My Take:
Look, these are a treat. They’re sweet and delicious. But they’re also made with oats, which are a whole grain. I try to keep them in the fridge so I can grab one when I need a quick sugar fix. They’re way better than buying processed candy bars, and you know exactly what’s in them.
Final Thoughts
So that’s my end of summer no-bake cookie bars! I’ve probably talked your ear off at this point, but when you make a recipe this often, you have a lot to say about it.
This has saved me more times than I can count. It’s my answer to “what’s for dessert” when I’m tired, don’t want to bake, and still want something that tastes really good. My kids are happy, my husband’s happy, and I’m happy because I’m not stressed about cooking.
Make it yours! Try different add-ins, swap in your favorite nuts, or adjust the sweetness. The best recipes are the ones you adapt to your family’s tastes.
If you make this, drop a comment and let me know what you think! I love hearing how recipes turn out in your kitchen. And if something doesn’t work, tell me that too—I’m here to help troubleshoot.
Happy cooking! And I hope your kitchen smells half as good as mine does right now.
Frequently Asked Questions
Can I use steel-cut oats?
No, steel-cut oats will not work. They don’t cook properly in this no-bake recipe and will remain hard. Use quick oats or old-fashioned rolled oats only.
Why are my bars crumbly?
This usually means you didn’t press them down firmly enough, or you didn’t boil the sugar mixture long enough. Make sure you pack the mixture tight into the pan and boil for a full minute.
Can I make these ahead of time?
Yes! These bars actually taste better after sitting in the fridge for 24 hours. The flavors meld, and they set perfectly. I often make them the night before a party.
How do I store them?
Store them in an airtight container in the refrigerator for up to one week. You can also freeze them for up to three months. Just thaw in the fridge before serving.
Can I double the recipe?
Absolutely! Double the ingredients and use a larger pot. The cooking times stay the same. Just make sure you have enough room to stir without spilling.
Can I use honey instead of sugar?
It’s not recommended. Honey has different properties and won’t set the bars properly. Stick to granulated sugar for the best texture.
Can I add chocolate chips?
Yes! I often add a handful of semi-sweet chocolate chips. They add extra gooeyness and are a nice bonus. Stir them in after removing the mixture from heat.
Pin This Recipe!
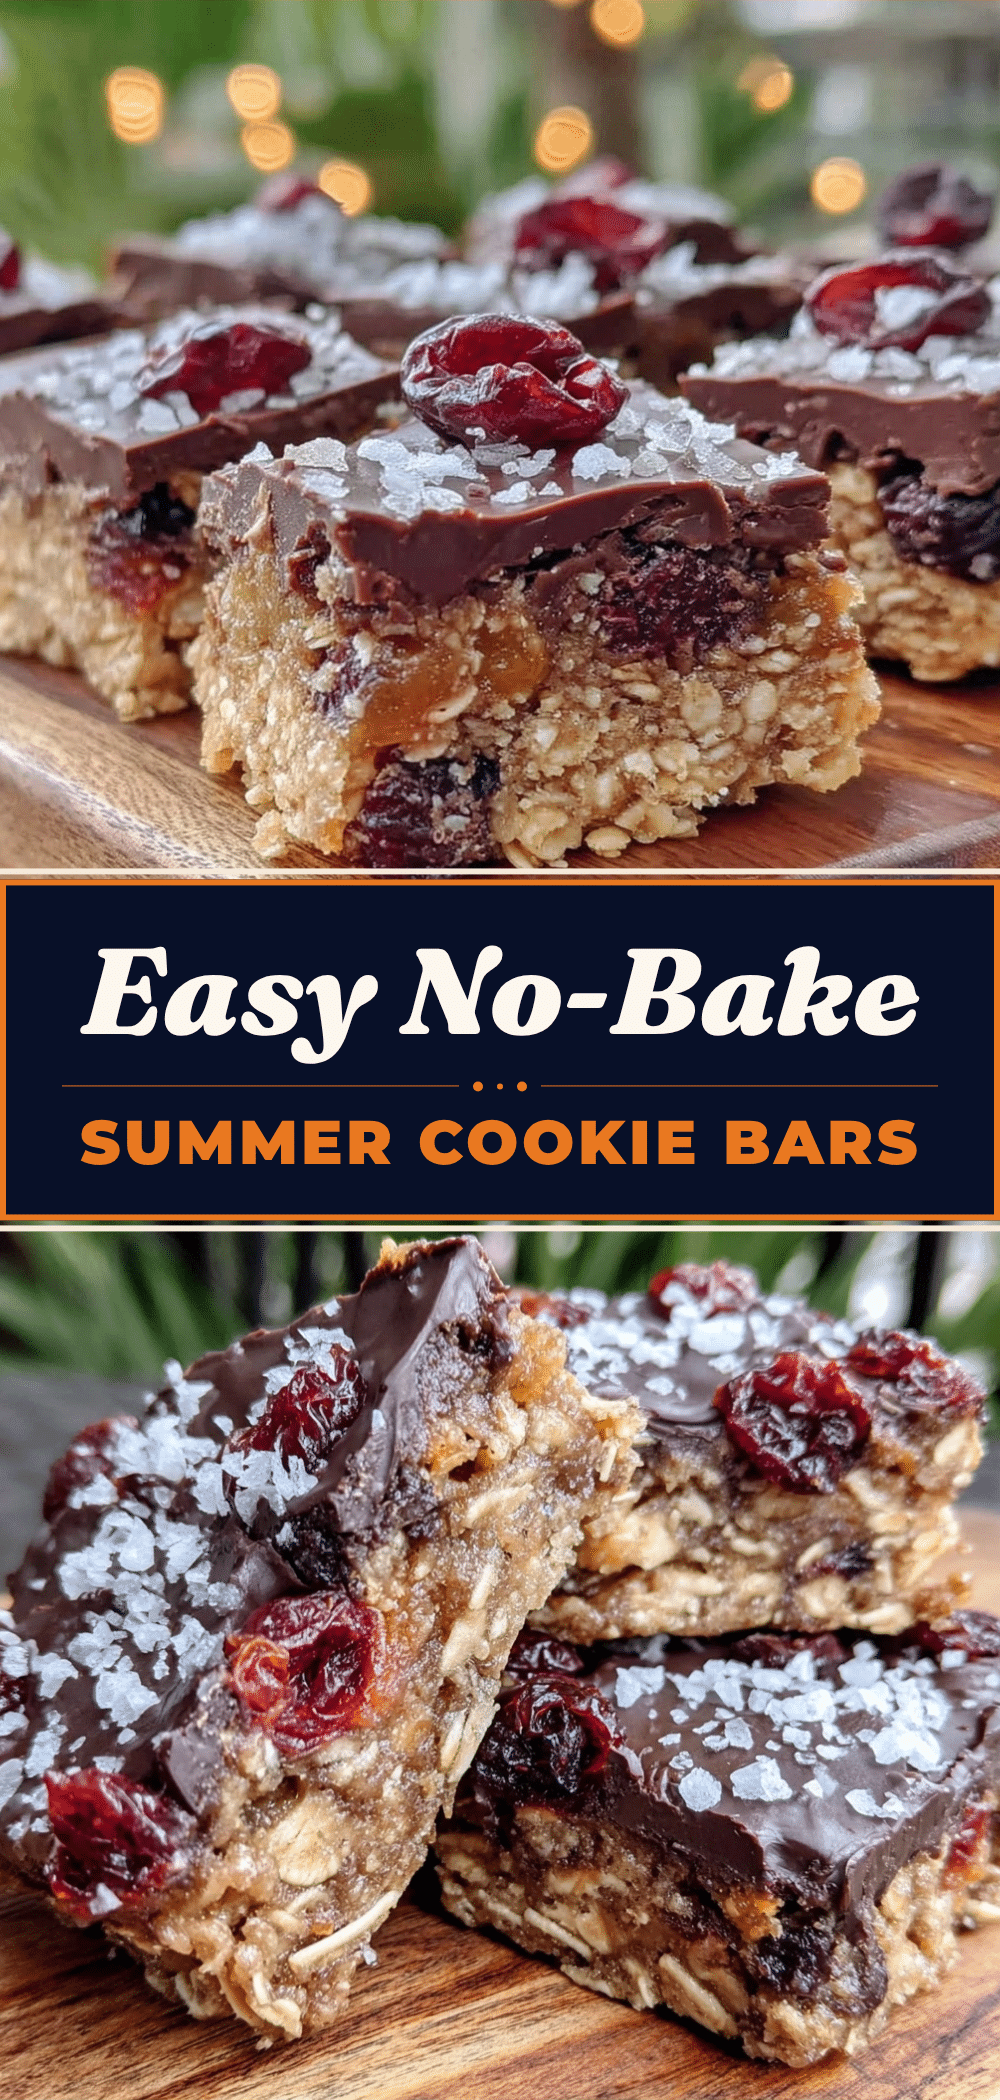
End of Summer No-Bake Cookie Bars: Budget-Friendly Make-Ahead Treat
- Total Time: 45 minutes
- Yield: 16 servings 1x
Description
These chewy, chocolatey no-bake cookie bars are a budget-friendly, make-ahead dessert perfect for summer gatherings. They require no oven, use simple pantry staples, and hold their shape in the heat.
Ingredients
- 1/2 cup unsalted butter
- 1 cup granulated sugar
- 1/3 cup unsweetened cocoa powder
- 1/3 cup milk
- 1 teaspoon vanilla extract
- 1/4 teaspoon salt
- 3 cups quick or old-fashioned oats
- 1/2 cup chocolate chips (optional)
- 1/2 cup chopped walnuts or pecans (optional)
Instructions
- Line a 9×9 inch baking pan with aluminum foil, leaving an overhang on the sides, and lightly grease the foil.
- In a medium saucepan over medium-high heat, combine butter, sugar, cocoa powder, milk, and salt.
- Stir constantly until the butter melts and the mixture comes to a full boil.
- Once boiling, set a timer for exactly one minute and continue to boil, stirring occasionally.
- Remove the saucepan from heat immediately after one minute and stir in the vanilla extract.
- If using, stir in chocolate chips or nuts while the mixture is hot.
- Pour the hot chocolate mixture over the oats in a large bowl (or pour oats into the saucepan) and stir vigorously until every oat is coated.
- Transfer the mixture to the prepared pan and press it down firmly and tightly using a greased spatula or greased hands.
- Refrigerate for at least 30 minutes, or up to 1 hour, until completely set and firm.
- Lift the bars out of the pan using the foil overhang and cut into squares or bars.
Notes
Do not skip the one-minute boil; it is essential for the sugar to dissolve and the bars to set properly. Press the mixture firmly into the pan to prevent crumbling. Steel-cut oats will not work in this recipe. For gluten-free, use certified gluten-free oats. For vegan, use vegan butter and almond milk.
- Prep Time: 15 minutes
- Cook Time: 5 minutes
- Category: Dessert
- Cuisine: American
Nutrition
- Serving Size: 1 bar
- Calories: 180
- Sugar: 18
- Sodium: 50
- Fat: 7
- Saturated Fat: 4
- Carbohydrates: 28
- Fiber: 2
- Protein: 3
Keywords: no-bake cookies, summer dessert, budget-friendly, make-ahead, chocolate oat bars, easy dessert, party treat



