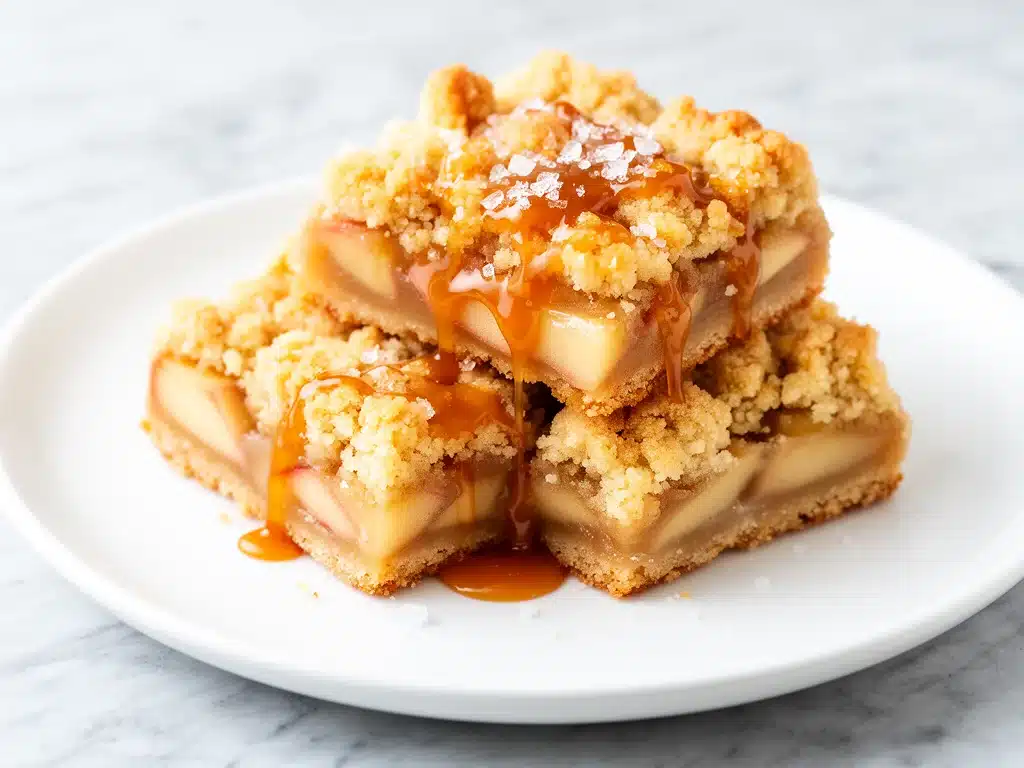
Last fall, I found myself staring at a basket full of apples, determined not to let them go to waste. I wanted something cozy, comforting, and downright addictive—without a million ingredients or hours in the kitchen. After a few experiments (and one batch that was way too soggy), I landed on these salted caramel apple crumble bars. They quickly became my obsession. The kind of dessert I make on repeat because it’s just that simple and satisfying.
Here’s the thing: these bars hit all the right notes. They’re buttery, sweet, a little salty, with that perfect crunch on top and tender apples underneath. Plus, they only need five ingredients you probably already have—or can easily grab. I’ve tested this recipe more than a dozen times to get the texture just right (seriously, one batch flopped so badly I almost gave up). But now? It’s a guaranteed crowd-pleaser, perfect for potlucks, afternoon snacks, or just because.
If you’re anything like me and love easy desserts with big flavor, this salted caramel apple crumble bars recipe is going to be your new kitchen staple.
Why You’ll Love This Recipe
This recipe has totally changed how I think about fall desserts. There are so many reasons it’s become a repeat for me:
- Simple Ingredients — Only five essentials, and most are pantry staples. No fancy caramel sauce required.
- Quick to Make — From chopping apples to pulling bars out of the oven, it takes about 40 minutes total, with minimal hands-on time.
- Perfect Texture — Crispy crumble top, soft apple layer, and a buttery base. It’s dessert magic.
- Make-Ahead Friendly — These bars keep well in the fridge and actually taste better the next day once the flavors meld.
- Versatile — Great for snacks, dessert, or even breakfast (hey, apples and oats make it almost healthy, right?). My kids sneak these straight from the pan.
For me, this recipe is like a warm hug from the oven. It’s the kind of dessert that makes the house smell incredible and gets everyone asking for seconds. If you want a no-fail fall treat with a little salty-sweet twist, you’re in the right place.
Ingredients You’ll Need
Here’s the best part: you probably have most of these ingredients already. I’m pretty picky about my apples and the caramel, so I’ll explain why I choose what I do.
- Apples (3 medium, peeled, cored, and diced / about 450g) — I use Granny Smith for the tartness that balances the sweet caramel and crumble. Fuji or Honeycrisp work too if you want it sweeter.
- Brown sugar (1 cup packed / 200g) — This adds that rich caramel flavor without having to make caramel from scratch. Light or dark brown sugar both work; dark is more intense.
- Butter (1 cup unsalted, cold and cubed / 225g) — This is key for the crumble and base. Cold butter creates that perfect flaky texture when baked.
- All-purpose flour (2 ½ cups / 315g) — The backbone of the crust and crumble. I sift mine to avoid lumps, but it’s not mandatory.
- Sea salt (1 teaspoon, plus a pinch for sprinkling) — Don’t skip the salt! It amplifies the caramel flavor and balances the sweetness. Use flaky sea salt for the topping if you have it.
Quick note: No caramel sauce needed here. The brown sugar and butter combo creates an easy salted caramel as it bakes. If you want to amp it up, drizzle with store-bought caramel sauce before serving.
Equipment Needed
You don’t need anything fancy for these bars. Here’s what I use and what works just fine as alternatives:
- 9×13-inch baking pan — I love using a glass pan so I can see the bottom browning. Metal pans work too; just watch the edges for burning.
- Mixing bowls — Two medium-sized bowls for mixing the crumble/base and the apple filling.
- Sharp knife — For peeling and dicing apples. A serrated peeler makes peeling faster.
- Measuring cups and spoons — Standard stuff. No need for fancy digital scales.
- Pastry cutter or two forks — To blend cold butter into the flour for the crumble. If you don’t have one, your fingers work, but don’t overwork the butter.
- Spatula or wooden spoon — For mixing the apples and sugar.
How to Make Salted Caramel Apple Crumble Bars: Step-by-Step
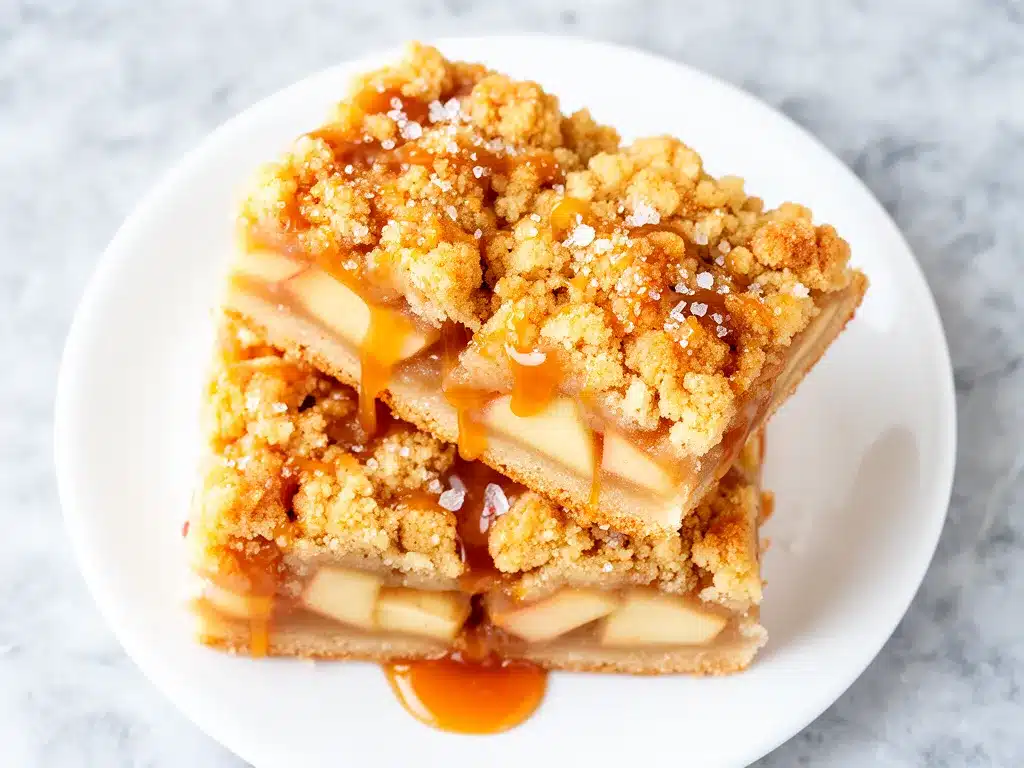
Alright, let’s bake! I’m walking you through every step, including the little tricks that make these bars come out perfectly every time.
Step 1: Prep Your Apples (10 minutes)
Start by peeling, coring, and dicing your apples into roughly ½-inch cubes. Toss them in a bowl with ½ cup of the brown sugar and ½ teaspoon of sea salt. Mix well and set aside. This lets the apples start macerating while you prepare the crust.
Step 2: Make the Crumble/Base (5 minutes)
In a large bowl, combine the flour and remaining ½ cup brown sugar. Add the cold, cubed butter. Using a pastry cutter or two forks, cut the butter into the flour mixture until it looks like coarse crumbs with some pea-sized bits. This is what gives the bars their signature crumbly texture.
Step 3: Press the Base (3 minutes)
Reserve about 1 ½ cups of the crumble mixture for the topping. Press the rest evenly into the bottom of your greased 9×13 pan. Use your fingers or the bottom of a glass to press firmly. This will form a sturdy base that crisps up nicely.
Step 4: Layer the Apples (2 minutes)
Spread the apple mixture evenly over the crust. Don’t worry if some of the juices leak out—that’s the caramel magic in the making.
Step 5: Add the Crumble Topping (3 minutes)
Sprinkle the reserved crumble mixture evenly over the apples. Then, sprinkle a pinch of sea salt on top. This little extra salt finish takes the flavor over the top.
Step 6: Bake (25-30 minutes)
Pop the pan into a preheated 350°F (175°C) oven. Bake until the top is golden brown and the apple filling is bubbling around the edges. You’ll smell that buttery caramel aroma filling your kitchen—my favorite part.
Step 7: Cool and Serve (15 minutes)
Let the bars cool completely in the pan before cutting. This helps the filling set so your bars hold together better. I like to serve mine slightly warm, sometimes with a scoop of vanilla ice cream or whipped cream because, why not?
Expert Tips & Tricks
- Cold Butter Is Crucial — Warm butter will make your crumble greasy and dense. Keep it in the fridge until the last minute.
- Don’t Skip the Salt — Salt balances the sweetness and brings out the caramel flavor. Flaky sea salt sprinkled on top is a game changer.
- Peeling Apples — I peel mine because the skin can be tough and separate from the filling, but if you like a bit of texture, leave it on.
- Let Bars Cool Completely — It’s tempting to dig in, but cutting too soon leads to gooey, messy bars. Patience pays off.
- Make Ahead — These bars taste even better the next day once flavors meld. Store in an airtight container in the fridge.
Real talk: I’ve burned the edges more times than I’d like to admit, so keep an eye on your oven around the 25-minute mark.
Variations & Substitutions
Once you’ve nailed the classic bars, these twists keep things interesting:
- Spiced Apple Crumble Bars — Add 1 teaspoon cinnamon and ¼ teaspoon nutmeg to the apple mixture for a warm, cozy flavor.
- Pecan Crunch — Toss ½ cup chopped pecans into the crumble topping for extra texture and nuttiness.
- Caramel Drizzle — Warm store-bought caramel sauce and drizzle it over the bars just before serving. Instant fancy.
- Gluten-Free — Use a gluten-free all-purpose flour blend. I tested this with Bob’s Red Mill and it works well.
- Vegan Version — Swap butter for coconut oil and use coconut sugar instead of brown sugar.
If you want a healthier snack option with apples, you might want to check out my soft apple cinnamon oatmeal bars—they’re a great everyday choice.
Serving & Storage
How to Serve: These bars are delicious on their own or topped with vanilla ice cream or whipped cream. They also pair beautifully with a hot cup of coffee or tea. If you’re hosting, try setting up a little toppings bar with chopped nuts, caramel sauce, and extra sea salt flakes.
Storing: Keep leftovers in an airtight container in the fridge for up to 4 days. They’re perfect for a grab-and-go snack or dessert. To reheat, warm a single bar in the microwave for 15-20 seconds or in a low oven until just warmed through.
Freezing: These bars freeze well. Wrap tightly in plastic wrap and foil, then freeze for up to 3 months. Thaw overnight in the fridge before reheating.
Nutrition Information
I’m not a nutritionist, but here’s a rough idea based on six servings:
| Calories | 320 |
|---|---|
| Protein | 3g |
| Carbohydrates | 45g |
| Fiber | 3g |
| Sugar | 25g |
| Fat | 14g |
| Saturated Fat | 8g |
| Cholesterol | 35mg |
| Sodium | 210mg |
| Calcium | 50mg |
This dessert is definitely a treat with butter and sugar, but it also delivers fiber from the apples and some calcium from the butter. I usually enjoy a small portion alongside a fresh fruit salad or a cup of tea to balance it out.
Final Thoughts
So there you have it: my trusty salted caramel apple crumble bars recipe that’s easy, simple, and totally addictive. I could go on about how this has saved me from last-minute dessert panic more times than I can count, but I’d rather you try it yourself and see. It’s honestly one of those desserts where you don’t have to be a pro baker to get incredible results.
Make it yours by adding your favorite nuts, spices, or even a drizzle of caramel sauce (because more caramel is always better). And if you’re juggling busy weeknights, these bars fit right into that rhythm—they bake while you check emails or pack lunches, and then you get to reward yourself with something delicious.
If you give this recipe a try, drop a comment below and tell me how it turned out! And if you run into any snags, I’m here to help troubleshoot. Happy baking, and may your kitchen smell as amazing as mine does right now.
Frequently Asked Questions
Q: Can I use any type of apple for these bars?
A: Absolutely! I recommend tart apples like Granny Smith because they balance the sweetness, but Fuji, Honeycrisp, or Gala work fine too. Just keep in mind sweeter apples will make the bars sweeter overall.
Q: Can I substitute the butter for something else?
A: You can try coconut oil or vegan butter if you need a dairy-free version, but the texture will be slightly different. Butter is what gives these bars that classic flaky crumble.
Q: How do I prevent the bars from getting soggy?
A: Two tricks: use firm apples and don’t skip the salt in the filling. Also, make sure to let the bars cool completely before slicing. That helps the filling set and keeps the base from getting mushy.
Q: Can I make these bars ahead of time?
A: Yes! They actually taste better the next day once the flavors meld. Store them in an airtight container in the fridge for up to 4 days.
Q: Is there a way to add more caramel flavor?
A: Definitely. You can drizzle store-bought caramel sauce over the bars just before serving or sprinkle a little caramel-flavored sea salt on top for an extra punch.
Q: Can I double this recipe?
A: Yes, just double all the ingredients and use a larger pan or two pans. Baking time will be similar, but keep an eye on the edges so they don’t burn.
Q: Can I use frozen apples?
A: I don’t recommend it. Frozen apples release too much water and make the bars soggy. Fresh apples are best for this recipe.
And if you’re looking for other easy, crowd-pleasing snacks with simple ingredients, my peanut butter banana energy bites or these no-bake chocolate oat cookies might fit the bill perfectly!
Pin This Recipe!
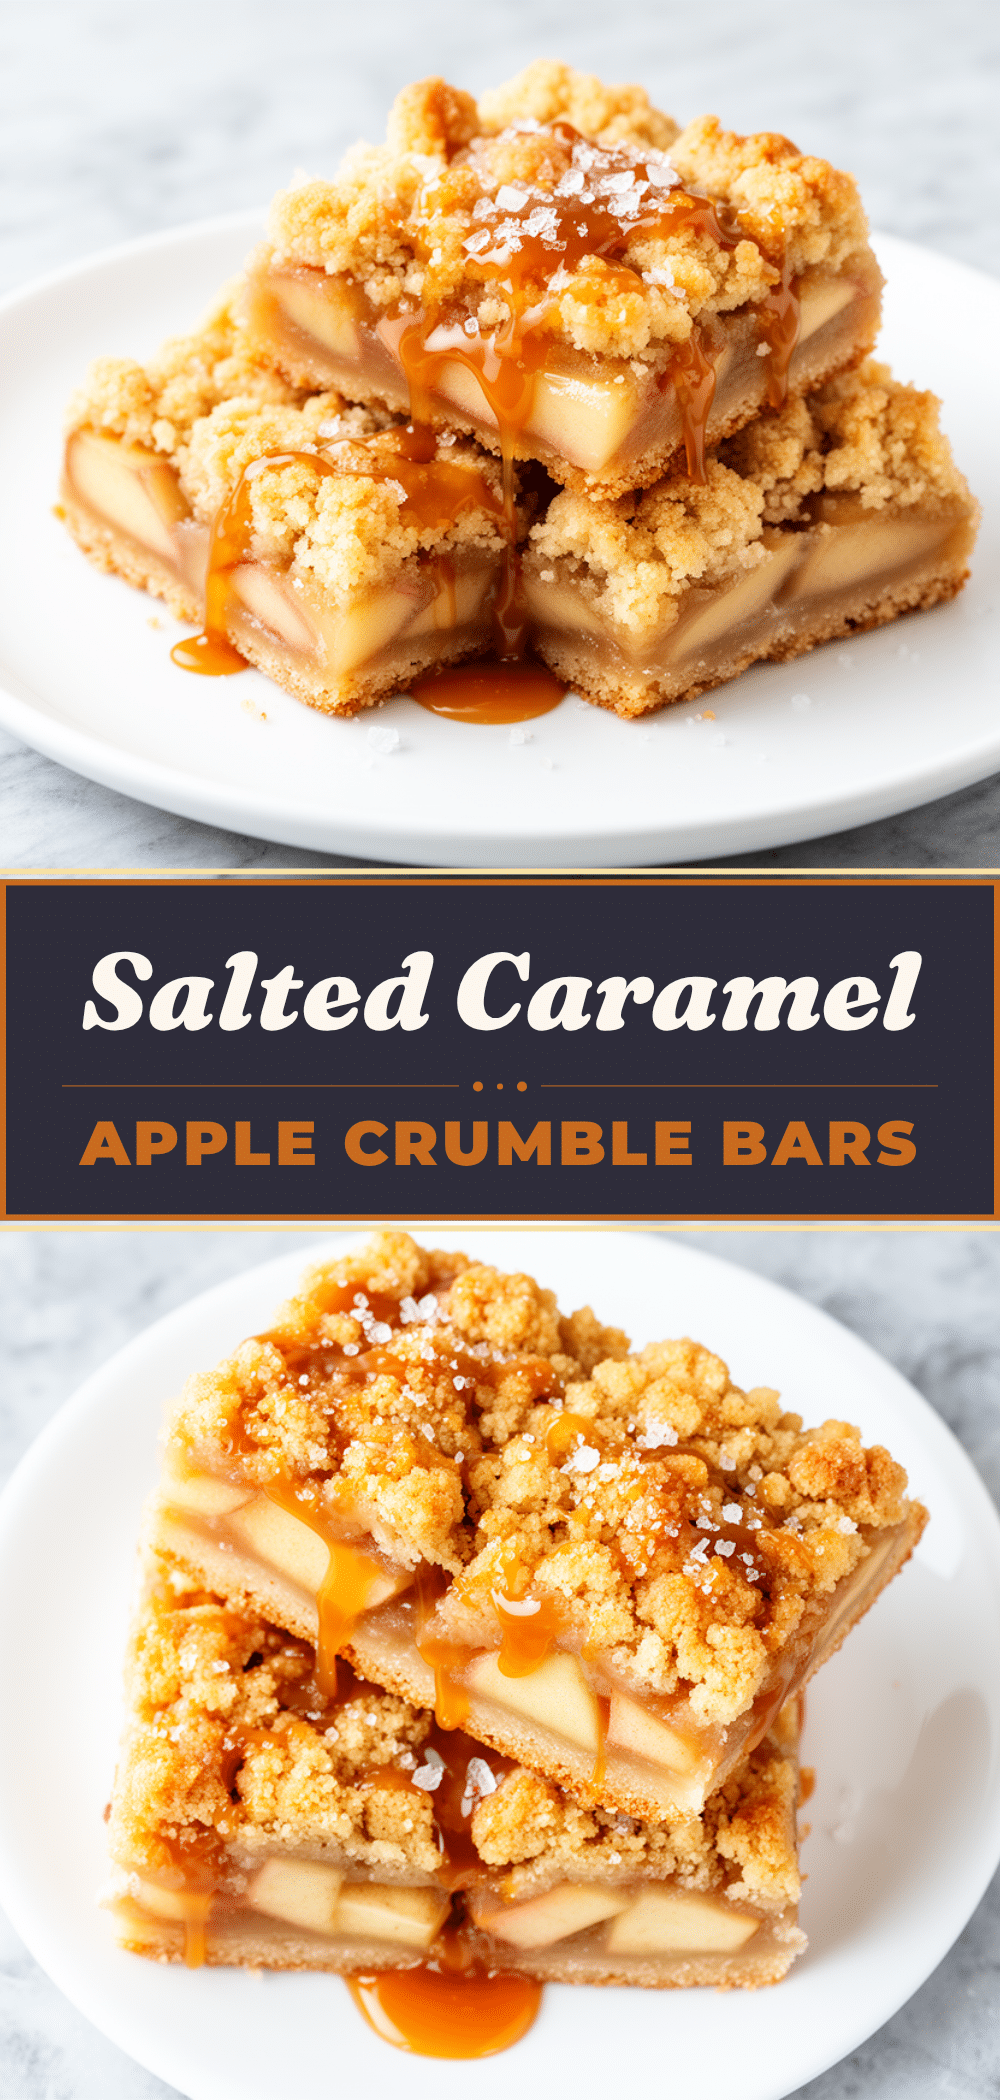
Salted Caramel Apple Crumble Bars
- Total Time: 50 minutes
- Yield: 6 servings 1x
Description
These salted caramel apple crumble bars are a simple, comforting dessert with a buttery base, tender apples, and a crispy crumble topping. Made with just five ingredients, they are perfect for potlucks, snacks, or anytime you want a cozy treat.
Ingredients
- 3 medium apples (about 1 lb), peeled, cored, and diced
- 1 cup packed brown sugar (200g), divided
- 1 cup unsalted cold butter, cubed (225g)
- 2 ½ cups all-purpose flour (315g)
- 1 teaspoon sea salt, plus a pinch for sprinkling
Instructions
- Preheat oven to 350°F (175°C).
- Peel, core, and dice apples into ½-inch cubes. Toss with ½ cup brown sugar and ½ teaspoon sea salt. Set aside.
- In a large bowl, combine flour and remaining ½ cup brown sugar. Add cold cubed butter and cut into the mixture using a pastry cutter or two forks until coarse crumbs form with some pea-sized bits.
- Reserve 1 ½ cups of the crumble mixture for topping. Press the remaining crumble mixture evenly into the bottom of a greased 9×13-inch baking pan to form the base.
- Spread the apple mixture evenly over the crust.
- Sprinkle the reserved crumble mixture evenly over the apples. Sprinkle a pinch of sea salt on top.
- Bake for 25-30 minutes until the top is golden brown and the apple filling is bubbling around the edges.
- Let the bars cool completely in the pan for about 15 minutes before cutting and serving.
Notes
Use cold butter to ensure a flaky crumble texture. Do not skip the sea salt as it balances the sweetness and enhances the caramel flavor. Let bars cool completely before cutting to prevent sogginess. Bars taste better the next day once flavors meld. Store in an airtight container in the fridge for up to 4 days. Can be frozen for up to 3 months.
- Prep Time: 20 minutes
- Cook Time: 30 minutes
- Category: Dessert
- Cuisine: American
Nutrition
- Serving Size: 1 bar (1/6 of recipe
- Calories: 320
- Sugar: 25
- Sodium: 210
- Fat: 14
- Saturated Fat: 8
- Carbohydrates: 45
- Fiber: 3
- Protein: 3
Keywords: salted caramel, apple crumble bars, easy dessert, fall dessert, 5-ingredient dessert, apple bars, caramel apple bars



