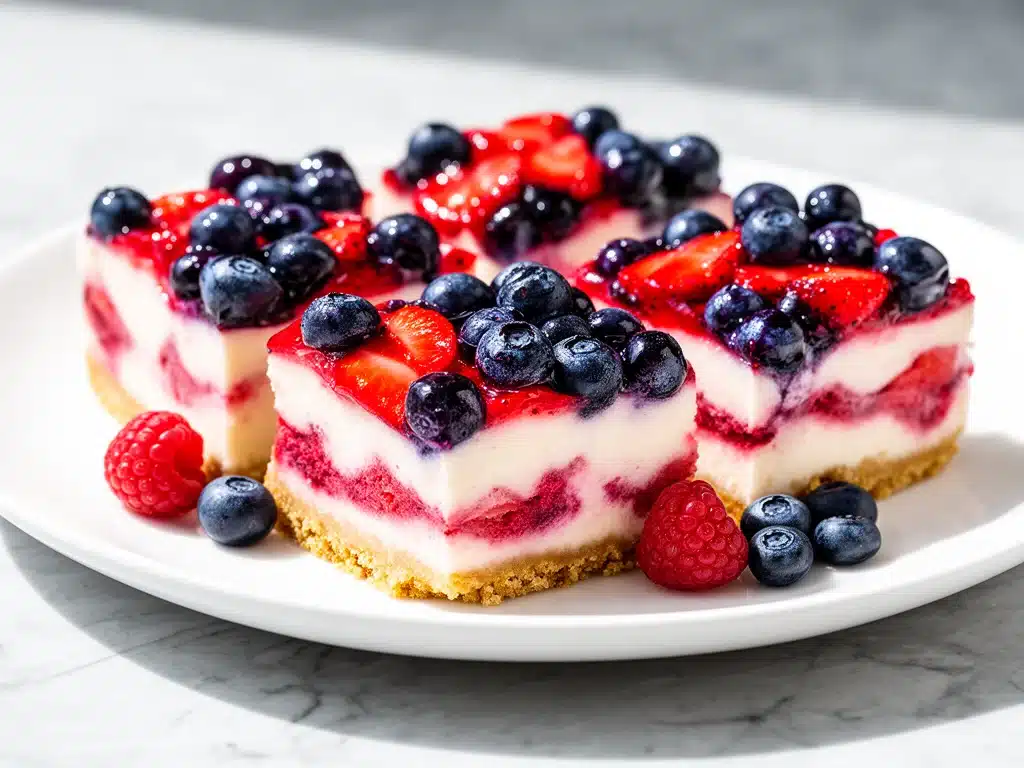
Last Labor Day, I found myself scrambling to pull together a dessert that felt festive without turning my kitchen into a disaster zone. With a busy weeknight looming and a fridge full of random berries, I tossed together what I thought would be a quick experiment: these Red White and Blue Berry Cheesecake Bars. I honestly wasn’t expecting much—just something sweet and colorful to celebrate the holiday without hours of fuss.
Fast forward to a few bites in, and my family was already asking for the recipe. Turns out, you don’t need a pile of ingredients or complicated steps to make a crowd-pleasing dessert that looks like it belongs on a fancy picnic table. These cheesecake bars deliver that classic creamy, tangy cheesecake flavor with the fresh pop of berries, all in just five easy ingredients.
I’ve made these bars multiple times since then—not just on holidays but as a go-to weeknight dessert when I want something impressive but easy. If you’ve ever felt overwhelmed by dessert recipes that require a million steps or fancy equipment, this one’s for you. Plus, if you happen to like quick, no-fuss treats like the soft apple cinnamon oatmeal bars I shared recently, I think you’ll really appreciate the simplicity and freshness of these cheesecake bars.
Why You’ll Love These Red White and Blue Berry Cheesecake Bars
These bars have quickly become my favorite easy dessert to whip up, especially when I’m short on time but want something that impresses. Here’s why I keep coming back to this recipe:
- Only 5 Ingredients — No fancy pantry staples or hard-to-find items. You probably have everything on hand already.
- Super Quick Prep — From start to finish, you’re looking at about 30 minutes, with only 10 minutes of active work. I’ve made these after juggling homework and dinner, and they still came together smoothly.
- Festive and Fresh — The red, white, and blue berries pack a vibrant punch (and are perfect for Labor Day or any summer get-together). I love how the berries add a fresh brightness to the creamy cheesecake.
- Perfect for Busy Weeknights — If you’re like me, weeknights are already full of chaos. Having a dessert that’s this easy feels like a small victory.
- Great for Leftovers — These bars keep well in the fridge for up to 4 days and actually taste better the next day once the flavors meld together.
This recipe hits that sweet spot where it’s both special enough for holiday celebrations and simple enough for a casual weeknight treat. Honestly, it’s saved me from last-minute dessert panic more times than I can count.
Ingredients You’ll Need
Here’s the best part: this recipe calls for just five ingredients, but I’m picky about which ones I use. Let me explain why.
- Graham cracker crumbs (1 ½ cups / 150g) — This is your crust base. I buy the plain kind and crush them myself, but pre-made crumbs work too. For a twist, you can use digestive biscuits if you want a slightly different flavor.
- Butter (6 tablespoons / 85g, melted) — Use unsalted so you can control the salt level. Melted butter binds those crumbs together perfectly for a sturdy crust.
- Cream cheese (16 ounces / 450g, softened) — Full-fat cream cheese is a must here. I learned the hard way that cold or low-fat versions make the texture grainy or less creamy.
- Sugar (¾ cup / 150g) — Granulated sugar sweetens the cheesecake just right without overpowering the berries.
- Mixed berries (2 ½ cups / 375g) — Use a mix of strawberries, blueberries, and raspberries for that classic red, white, and blue look. Fresh is best, but frozen berries work in a pinch (just thaw and drain well).
Quick tip: I always pick my berries over the weekend and wash them gently to avoid bruising. If you’re pressed for time, frozen berries are a great shortcut—they add the same vibrant color and flavor.
Equipment Needed
You don’t need fancy tools for these cheesecake bars. Here’s what I use every time:
- 8×8-inch baking pan — Glass or metal works fine. I prefer glass because it heats evenly and makes it easier to see when the crust is golden.
- Mixing bowls — One for the crust and one for the cheesecake filling. Nothing special, just regular bowls.
- Electric mixer or hand mixer — For whipping the cream cheese and sugar smooth. You can use a sturdy whisk, but it takes more elbow grease.
- Spoon or spatula — For mixing and spreading the filling evenly.
- Measuring cups and spoons — Accuracy matters for the crust and sugar.
Optional but nice: a food processor to crush graham crackers quickly, but I often just use a rolling pin and a zip-top bag. Also, a cooling rack helps the bars cool evenly if you have one.
How to Make It: Step-by-Step
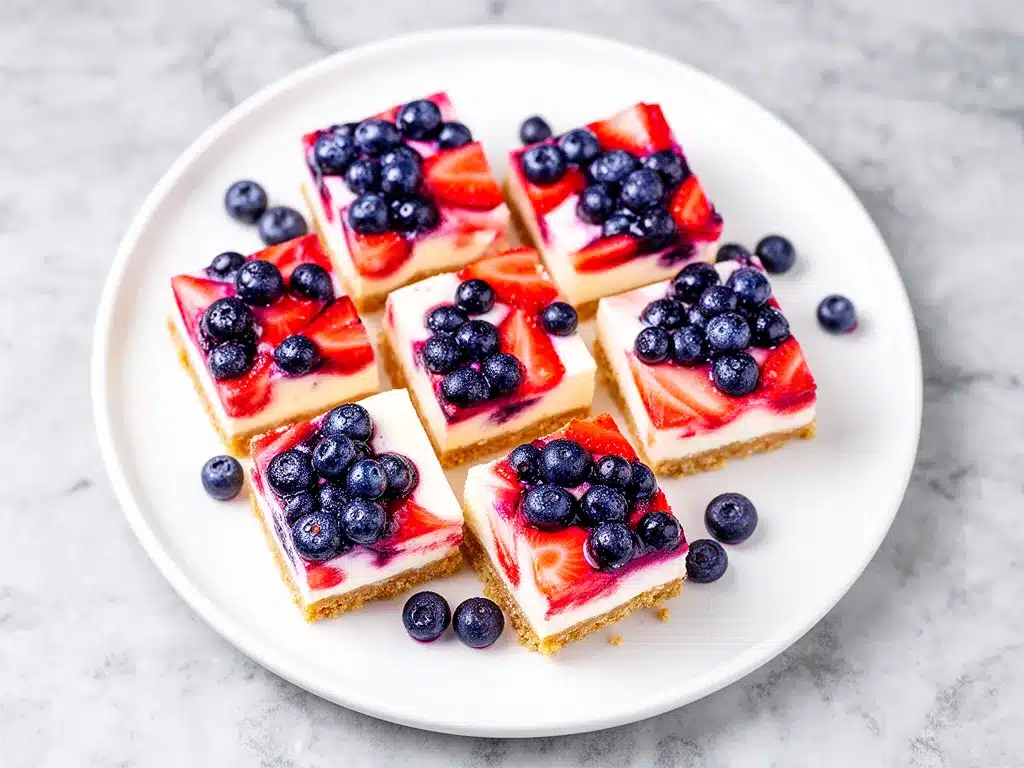
Alright, let’s get into how to make these Red White and Blue Berry Cheesecake Bars. I’m walking you through every step, including the little things that make a big difference.
Step 1: Prep the Crust (5 minutes)
Preheat your oven to 350°F (175°C). Start by combining the graham cracker crumbs and melted butter in a bowl. Stir until the crumbs are evenly coated and look like wet sand. Press this mixture firmly and evenly into the bottom of your 8×8 pan. I use the bottom of a glass to really pack it down—it helps the crust hold together better.
Step 2: Bake the Crust (10 minutes)
Pop the crust into the oven and bake for about 10 minutes until it’s golden and fragrant. This step gives it that toasty flavor and stops it from getting soggy under the cheesecake layer later. Once done, let it cool slightly while you prepare the filling.
Step 3: Make the Cheesecake Filling (5-7 minutes)
In a mixing bowl, beat the softened cream cheese with the sugar until smooth and creamy. No lumps! This usually takes 3-4 minutes with an electric mixer. If your cream cheese is cold, the filling won’t be as smooth, so plan ahead to soften it (leave it out for 30 minutes or microwave for 15 seconds if you’re in a rush).
Step 4: Assemble the Bars (5 minutes)
Spread the cream cheese mixture evenly over the cooled crust. Then, scatter the mixed berries on top. I like to arrange them in a loose red, white, and blue pattern—strawberries on one side, blueberries in the middle, and raspberries on the other—but honestly, just tossing them on works too. The berry juices will seep into the cheesecake a bit, adding extra flavor.
Step 5: Bake and Chill (15 minutes baking + 2-3 hours chilling)
Bake the assembled bars at 350°F (175°C) for 15 minutes—just enough to set the cheesecake without browning it. Once baked, remove from the oven and cool to room temperature, then chill in the fridge for at least 2 hours (overnight is even better). This chilling step is key for clean slices and that perfect creamy texture.
Step 6: Serve and Enjoy
Use a sharp knife to cut into bars. For clean cuts, wipe the knife with a damp towel between slices. These bars are perfect served cold right from the fridge, and they keep well in an airtight container for up to 4 days.
Expert Tips & Tricks
- Softened cream cheese is your best friend — I’ve ruined batches by trying to mix cold cream cheese. Leave it out for at least 30 minutes before starting, or microwave briefly.
- Don’t skip the chilling — The cheesecake needs time to set properly. If you’re in a rush, pop it in the freezer for 30 minutes, but don’t forget it or you’ll end up with icy bars.
- Use fresh berries when possible — Frozen berries add moisture, which can make the cheesecake a bit watery. If you use frozen, drain them well and pat dry.
- Press the crust firmly — This helps it hold together when you cut the bars. I press mine down with a glass or measuring cup.
- Try adding lemon zest — A little lemon zest in the cheesecake filling brightens the flavor and complements the berries beautifully.
If you love quick and easy treats, you might also like the after school no-bake chocolate oat cookies—they’re just as simple and a crowd favorite in my house.
Variations & Substitutions
Once you’ve nailed the basic recipe, here are some fun ways to switch it up:
- Swap berries — Use blackberries, cherries, or even kiwi for a different twist. I’ve made these with pomegranate seeds once, and it was surprisingly good.
- Make it vegan — Use vegan cream cheese and a dairy-free butter substitute. The crust works the same way.
- Crust alternatives — Try crushed vanilla wafers or gingersnaps instead of graham crackers. This adds a new flavor profile.
- Add a drizzle — A little white chocolate or berry sauce on top before serving amps up the wow factor.
- Mix in nuts — Sprinkle chopped pecans or almonds into the crust for extra crunch.
For a savory-sweet weeknight meal, I often pair desserts like this with simple mains—if you’re looking for easy dinner ideas, the chicken ranch wraps are a lifesaver on busy evenings.
Serving & Storage
I like serving these cheesecake bars chilled straight from the fridge. They’re perfect finger food at picnics or casual Labor Day gatherings. If you want to dress them up, top with a dollop of whipped cream or a sprinkle of powdered sugar right before serving.
For storage, keep them in an airtight container in the fridge for up to 4 days. They hold their texture well, and the flavors actually deepen overnight.
Reheating? Not really necessary here. But if you want to soften them a bit, let the bars sit at room temperature for 15 minutes before enjoying.
These bars don’t freeze well because the texture changes, so I recommend making them fresh or within a few days.
Nutrition Information
| Per Serving (based on 12 bars) | |
|---|---|
| Calories | 230 |
| Protein | 4g |
| Carbohydrates | 25g |
| Fiber | 2g |
| Sugar | 18g |
| Fat | 12g |
| Saturated Fat | 7g |
| Cholesterol | 40mg |
| Sodium | 150mg |
| Calcium | 80mg |
Not exactly diet food, but these bars offer a nice balance of carbs and fat to satisfy your sweet tooth without going overboard. Adding fresh berries boosts fiber and antioxidants, so that’s a win in my book.
Final Thoughts
So that’s my simple, festive Red White and Blue Berry Cheesecake Bars recipe—five ingredients, minimal effort, and maximum flavor. If you’ve ever felt like desserts need to be complicated or time-consuming, this one will surprise you.
It’s become my go-to for busy weeknights when I want something special without the stress. Plus, it’s a great way to bring a little holiday spirit into everyday meals. Don’t be afraid to make it yours—add your favorite berries, try a nutty crust, or toss in a splash of lemon zest. The best recipes are the ones you tweak until they feel just right.
If you try it, I’d love to hear how it turns out! Drop a comment and tell me about your berry choices or any fun twists you added. And if you ever want a quick snack that’s just as easy, the after school peanut butter banana energy bites are a personal favorite for busy days.
Happy baking—and I hope your kitchen smells as amazing as mine does right now!
Frequently Asked Questions
Can I use frozen berries instead of fresh?
You can, but make sure to thaw and drain them thoroughly to avoid excess moisture making the cheesecake soggy. Fresh berries give the best texture and flavor, but frozen works in a pinch.
Can I substitute the graham cracker crust with something else?
Absolutely! Crushed vanilla wafers, gingersnaps, or even digestive biscuits work well. Just make sure to keep the same quantity and press the crust firmly for structure.
How long do these cheesecake bars keep?
Stored in an airtight container in the fridge, they stay fresh for up to 4 days. The flavor actually improves after chilling overnight.
Can I make these bars ahead for a party?
Yes! Prepare the bars a day ahead and keep them chilled. Just slice right before serving for the cleanest cuts.
What if my cream cheese isn’t soft enough?
Softening cream cheese is key for a smooth filling. If you forgot to take it out, microwave it in 10-second bursts until just soft but not melted. Cold cream cheese will make lumps in your batter.
Are these bars gluten-free?
Not as written, since graham crackers contain gluten. You can substitute with gluten-free graham cracker crumbs or gluten-free cookie crumbs to make it safe.
Can I add other fruits or toppings?
Definitely! Try sliced kiwi, mango, or pomegranate seeds for a twist. A drizzle of white chocolate or a sprinkle of toasted coconut adds fun texture as well.
Pin This Recipe!
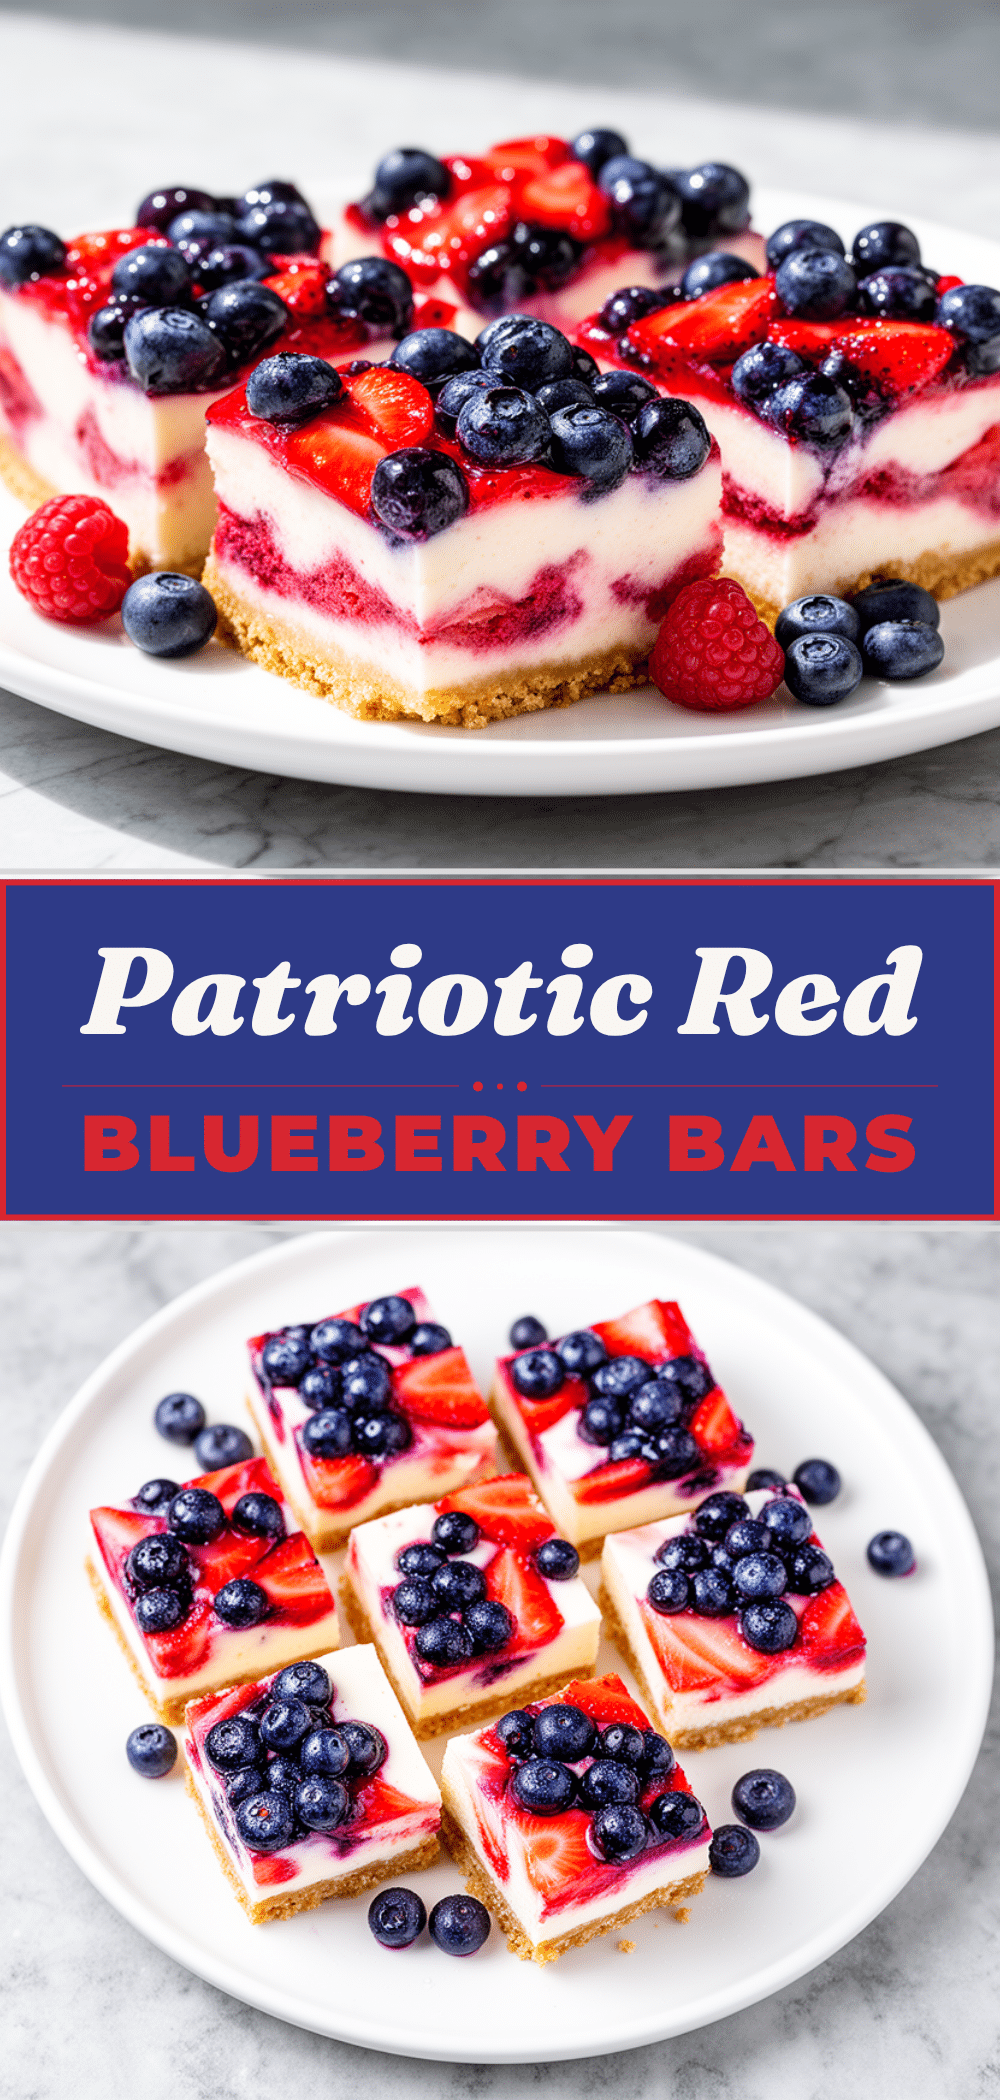
Red White and Blue Berry Cheesecake Bars
- Total Time: 2 hours 35 minutes
- Yield: 12 servings 1x
Description
A quick and easy 5-ingredient dessert featuring a creamy cheesecake layer topped with fresh red, white, and blue berries, perfect for busy weeknights or festive occasions.
Ingredients
- 1 ½ cups graham cracker crumbs (150g)
- 6 tablespoons unsalted butter, melted (85g)
- 16 ounces full-fat cream cheese, softened (450g)
- ¾ cup granulated sugar (150g)
- 2 ½ cups mixed berries (strawberries, blueberries, raspberries) (375g)
Instructions
- Preheat oven to 350°F (175°C). Combine graham cracker crumbs and melted butter in a bowl until evenly coated. Press mixture firmly into the bottom of an 8×8-inch baking pan.
- Bake crust for 10 minutes until golden and fragrant. Let cool slightly.
- In a mixing bowl, beat softened cream cheese with sugar until smooth and creamy, about 3-4 minutes with an electric mixer.
- Spread cream cheese mixture evenly over cooled crust. Scatter mixed berries on top, arranging if desired.
- Bake assembled bars at 350°F (175°C) for 15 minutes to set the cheesecake layer.
- Remove from oven and cool to room temperature, then chill in the refrigerator for at least 2 hours before slicing and serving.
Notes
Use softened cream cheese for a smooth filling. Chill bars for at least 2 hours for best texture. Fresh berries preferred; if using frozen, thaw and drain well. Press crust firmly to hold bars together. Optional: add lemon zest to filling for brightness.
- Prep Time: 10 minutes
- Cook Time: 25 minutes
- Category: Dessert
- Cuisine: American
Nutrition
- Serving Size: 1 bar (1/12th of rec
- Calories: 230
- Sugar: 18
- Sodium: 150
- Fat: 12
- Saturated Fat: 7
- Carbohydrates: 25
- Fiber: 2
- Protein: 4
Keywords: cheesecake bars, berry dessert, easy dessert, 5-ingredient recipe, quick cheesecake, red white and blue dessert, Labor Day dessert



