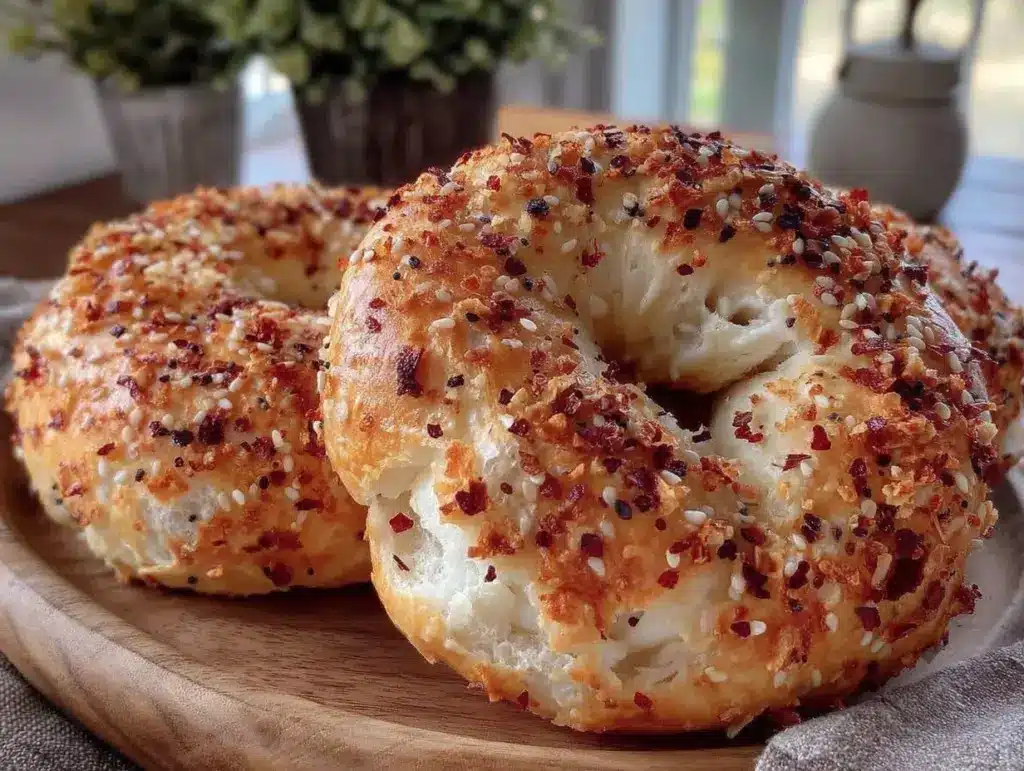
There is a specific kind of disappointment that comes with biting into a store-bought bagel that’s been sitting in the plastic bag for three days. It’s dense. It’s dry. It tastes like it was manufactured in a factory rather than baked in an oven. I used to buy those pre-packaged bags of “everything” bagels from the grocery store for years, convinced that making them at home was too complicated. I thought I’d need a bagel boiling station, a PhD in dough science, and at least four hours of my morning.
Then, one rainy Sunday morning, I decided to stop making excuses. I was craving that perfect crunch on the outside and that chewy, pillowy softness on the inside. I wanted the garlic, the onion, the sesame, and poppy seeds in every single bite. So, I threw flour, yeast, water, and salt into a bowl and waited to see what would happen. What I got was so good that I immediately ate two before they were even fully cooled. That was two years ago. Since then, I’ve made this homemade everything bagels recipe on repeat so often that my freezer is basically just a bagel vault.
Here’s the thing about bagels: once you make them from scratch, you realize that everything else is just a compromise. These aren’t just breakfast carbs. They’re fuel. With a solid base of whole wheat flour and a generous helping of protein-rich toppings, these things keep you full until lunch. They’re the kind of food that makes you feel good, not sluggish. And the best part? They’re surprisingly easy. You don’t need fancy equipment. You just need a little patience and a willingness to smell like a bakery for an hour.
Why You’ll Love This Recipe
I’ve tested this homemade everything bagels recipe more times than I care to admit. Some batches were too dense (oops, over-kneaded), and some were too flat (under-proofed). But this version? This is the gold standard. It’s the one I make when I want to impress guests, when I need a quick breakfast for the kids, or when I just need to comfort myself on a tough Tuesday.
- Actually Chewy, Not Dense — The secret is in the boiling step. Boiling the dough before baking creates that signature shiny, crisp crust and the chewy interior that makes bagels legendary. I boiled my first batch for 30 seconds per side, and it changed everything. My husband even asked if I bought them from a fancy shop (I didn’t tell him it took me 10 minutes of active time).
- Protein-Packed Fuel — I use a mix of bread flour and whole wheat flour. The bread flour gives the chew, but the whole wheat adds fiber and nutrients. These aren’t empty calories. They’re complex carbs that actually sustain you. Pair them with an egg or some nut butter, and you’re set for hours.
- Customizable Flavor — Yes, these are “everything” bagels, but you control the mix. Want more garlic? Add more dried garlic flakes. Want less poppy seeds? Skip them. I like to keep the ratio balanced, but if you have a preference, tweak it. This recipe is forgiving.
- Freezer-Friendly — Bagels freeze beautifully. I bake a double batch every month, let them cool completely, and freeze them in a single layer before bagging them. When I need breakfast, I just toss one in the toaster. It tastes fresh-baked. Seriously. I’ve toasted frozen bagels that tasted better than fresh ones from the bakery.
- Weekend Project, Weekday Win — The active time is about 20 minutes. The rest is waiting. You can mix the dough, let it rise, shape it, let it rise again, boil, and bake in about 90 minutes. That’s less time than it takes to drive to a bagel shop and wait in line.
This recipe has become my go-to for meal prep Sundays. I make a batch, slice them in half, toast them, and top them with cream cheese, avocado, or smoked salmon. It’s reliable, delicious, and honestly, kind of addictive. You’ll find yourself wanting bagels for every meal.
Ingredients You’ll Need
One of the best things about this homemade everything everything bagels recipe is that you probably have most of the ingredients already. You don’t need exotic spices or hard-to-find flours. Just basic pantry staples and a few key items that make a big difference.
For the Dough
Warm Water (1 ½ cups / 360ml) — This is the base. It needs to be warm, not hot. Think bathwater temperature (around 105-110°F). If it’s too hot, it’ll kill the yeast. If it’s too cold, the yeast won’t activate. I keep a thermometer on hand just for this.
Instant Yeast (2 ¼ teaspoons / 1 packet) — Standard packet size. Instant yeast works best because you don’t need to proof it first. Just mix it with the flour. Active dry yeast works too, but you’ll need to dissolve it in the water first and wait 5 minutes for it to bubble.
Bread Flour (3 ½ cups / 440g) — This is crucial. Bread flour has higher protein than all-purpose flour, which creates the gluten structure needed for that chewy bagel texture. I use King Arthur Bread Flour, but any good brand works. Don’t swap in all-purpose unless you want softer, less chewy bagels.
Whole Wheat Flour (1 ½ cups / 190g) — This adds nutrition and a nutty flavor. I use 100% whole wheat here because it’s hearty and keeps you full. If you prefer lighter bagels, you can swap this for more bread flour, but I love the density and fiber.
Sugar (1 tablespoon) — Just a little to feed the yeast and help with browning. Honey works too and adds a nice flavor.
Salt (2 teaspoons) — Essential for flavor and to control yeast activity. Use fine sea salt or kosher salt.
Vegetable Oil (2 tablespoons) — Adds a little richness and helps keep the dough soft. Olive oil works too, but it might add a stronger flavor.
For the Topping Mix
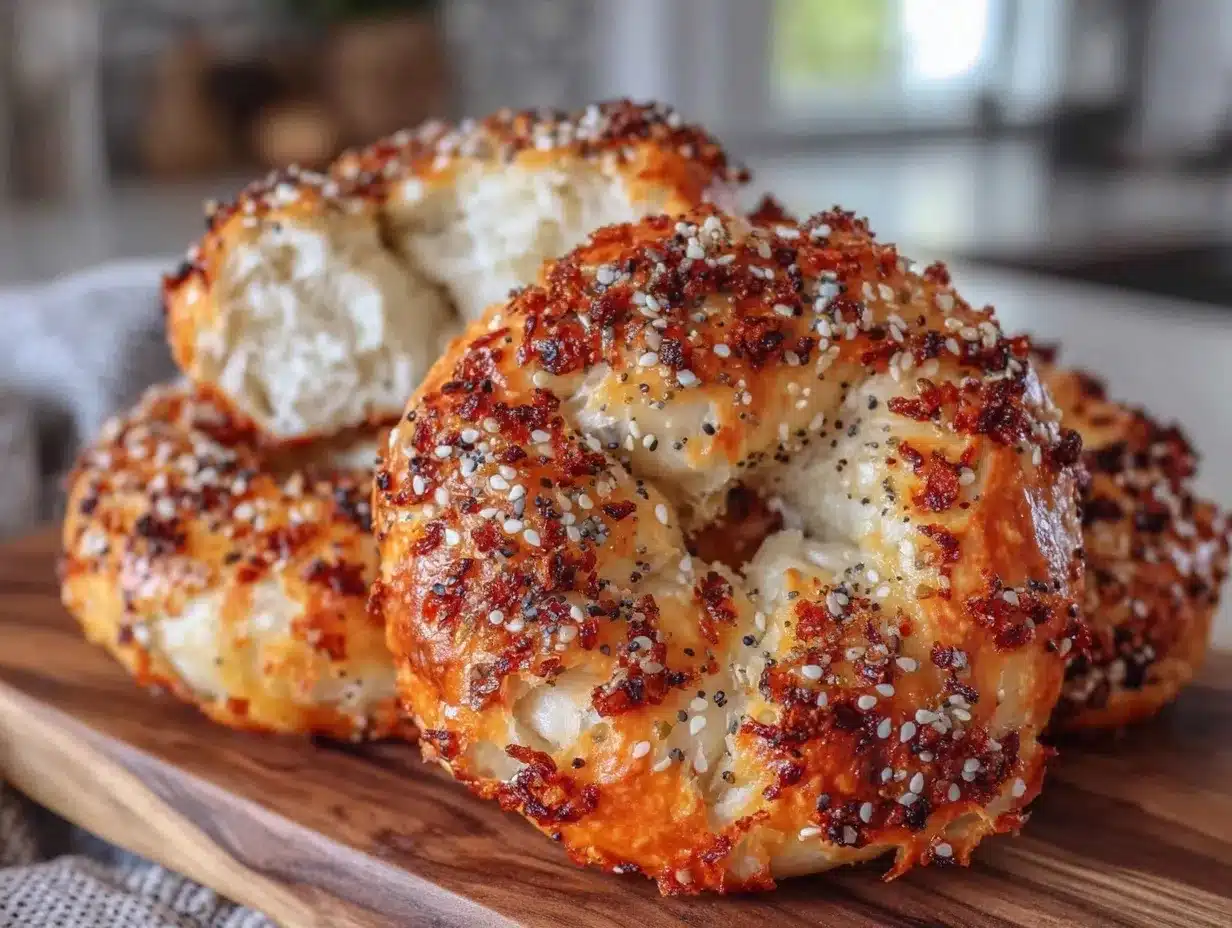
Everything Bagel Seasoning (3-4 tablespoons) — You can buy this pre-mixed at most grocery stores, or make your own. If you make your own, mix equal parts dried onion flakes, dried garlic flakes, sesame seeds, and poppy seeds. I like to add a pinch of flaky sea salt on top for crunch.
Egg Wash (1 egg beaten with 1 tablespoon water) — This helps the seasoning stick and gives the bagels that shiny, golden-brown finish. Some people use a baking soda bath instead, but I prefer the egg wash for flavor and color.
Optional Add-Ins
Cheese — I sometimes mix ½ cup of shredded cheddar or parmesan into the dough for a cheesy bagel. It’s delicious, especially with cream cheese.
Seeds — Sunflower seeds or pumpkin seeds add extra crunch and nutrition. I toss a handful into the dough along with the flour.
Equipment Needed
You don’t need a fancy kitchen to make these homemade everything bagels. Here’s what I actually use:
Large Mixing Bowl — I use a 5-quart bowl. It needs to be big enough to knead the dough without making a mess.
Stand Mixer with Dough Hook — Optional but helpful. Kneading by hand works fine, but it takes 8-10 minutes of arm work. A stand mixer does it in 5 minutes. I use my KitchenAid, but any brand works.
Measuring Cups and Spoons — Accurate measurements are key for baking. I use both volume and weight measurements because I’ve found that weighing flour is more consistent.
Large Pot — For boiling the bagels. A 6-quart pot works well. Make sure it’s deep enough so the water doesn’t boil over when you add the bagels.
Baking Sheet — Line it with parchment paper or a silicone baking mat. This prevents sticking and makes cleanup easier.
Parchment Paper — Essential for lining the baking sheet. It also helps transfer the boiled bagels to the oven without tearing them.
Pastry Brush — For applying the egg wash. A silicone brush is easier to clean than a natural bristle brush.
Timer — Because bagels rely on timing for proofing and boiling. I use my phone, but any timer works.
How to Make It: Step-by-Step
Alright, let’s make these homemade everything bagels! I’m walking you through exactly how I do it, including the little tricks I’ve picked up along the way. It’s easier than you think.
Step 1: Make the Dough (10 minutes)
In a large bowl, combine the warm water, sugar, and yeast. Let it sit for 5 minutes until it becomes foamy. This confirms your yeast is alive and active. If it doesn’t bubble, your yeast might be old, and your dough won’t rise.
Add the bread flour, whole wheat flour, salt, and oil. Mix until a shaggy dough forms. If using a stand mixer, use the dough hook on low speed for 5 minutes. If kneading by hand, turn the dough out onto a floured surface and knead for 8-10 minutes until smooth and elastic. The dough should be slightly sticky but not messy. If it’s too sticky, add a tablespoon of flour at a time. If it’s too dry, add a tablespoon of water.
Step 2: First Rise (1 hour)
Place the dough in a lightly oiled bowl, turning it once to coat. Cover with plastic wrap or a damp towel. Let it rise in a warm place for 1 hour, or until doubled in size. I usually leave it on the counter. If your kitchen is cold, you can put it in a turned-off oven with the light on for extra warmth.
Step 3: Shape the Bagels (15 minutes)
Punch down the dough to release air. Divide it into 8 equal pieces. Roll each piece into a smooth ball. Then, poke a hole in the center with your finger and gently stretch it to about 1.5 inches in diameter. You can also roll the edges on the counter to thin them out. The key is to make sure the hole stays open during baking. If it closes up, you’ll end up with a donut, not a bagel.
Place the shaped bagels on a parchment-lined baking sheet. Cover loosely with plastic wrap and let them rise again for 30 minutes. They should look puffy and soft.
Step 4: Boil the Bagels (10 minutes)
Bring a large pot of water to a boil. Reduce heat to a gentle simmer. I add 1 tablespoon of baking soda to the water. This helps create the signature bagel crust. Carefully drop the bagels into the water, 2-3 at a time. Boil for 30 seconds on each side. They will float, which is normal. Use a slotted spoon to remove them.
Place the boiled bagels back on the parchment-lined baking sheet. This step is crucial for that chewy texture.
Step 5: Add Toppings and Bake (20 minutes)
Preheat your oven to 425°F (220°C). Brush the boiled bagels with egg wash. Sprinkle generously with everything bagel seasoning, pressing it gently so it sticks.
Bake for 20-25 minutes, rotating the pan halfway through, until the bagels are deep golden brown. They should sound hollow when tapped on the bottom. If they sound dull, they need more time.
Let them cool on a wire rack for at least 10 minutes before slicing. This lets the interior set. If you cut them too soon, they’ll be gummy.
Expert Tips & Tricks
Here’s everything I’ve learned from making these homemade everything bagels dozens of times. These tips will save you from my mistakes.
- Don’t Skip the Boil — I know it seems like an extra step, but boiling is what makes a bagel a bagel. It sets the crust before the inside fully bakes, creating that chew. If you skip it, you’re just making small bread rolls.
- Use a Thermometer — Water temperature matters. If it’s too hot, you kill the yeast. If it’s too cold, the dough won’t rise. Aim for 105-110°F. If you don’t have a thermometer, test it with your finger. It should feel warm, not hot.
- Keep the Holes Open — When shaping, make sure the hole is big enough. It will shrink slightly during boiling and baking. If the hole closes up, the bagel will be dense in the middle.
- Season Generously — Don’t be shy with the seasoning. The boiled bagels need a good coat so the flavor sticks. I like to press the seeds in gently so they don’t fall off in the oven.
- Cool Completely Before Freezing — If you plan to freeze them, let them cool completely first. Trapped steam will make them soggy. Once cool, wrap them tightly in plastic wrap and store in a freezer bag for up to 3 months.
Common Mistakes:
Mistake: Bagels are dense. Fix: You might have over-kneaded the dough or used old yeast. Make sure your yeast is active, and don’t knead for more than 10 minutes by hand.
Mistake: Seasoning falls off. Fix: Your egg wash might have been too thin. Make sure the egg wash is thick and covers the bagel evenly. Also, press the seeds in gently.
Mistake: Bagels are pale. Fix: Your oven might be too cool. Use an oven thermometer to check. Also, make sure you’re boiling them long enough (30 seconds per side).
Variations & Substitutions
Once you’ve nailed the basic homemade everything bagels recipe, here’s how you can mix it up. I’ve tried all of these, and they’re all delicious.
Flavor Variations
Garlic Parmesan — Skip the everything seasoning and mix 2 tablespoons of grated parmesan and 1 teaspoon of garlic powder into the dough. Top with extra parmesan before baking.
Cinnamon Raisin — Add ½ cup of raisins and 1 tablespoon of cinnamon to the dough. Top with a sugar-cinnamon mix after boiling.
Herb and Olive Oil — Mix 1 tablespoon of dried rosemary and 1 tablespoon of dried thyme into the dough. Brush with olive oil before baking.
Seeded Crunch — Add 2 tablespoons of sunflower seeds and 2 tablespoons of pumpkin seeds to the dough. Top with extra seeds after boiling.
Dietary Modifications
Gluten-Free — Use a gluten-free bread flour blend. Note: The texture will be different. Gluten-free dough is stickier and doesn’t rise the same way. You may need to add xanthan gum if your blend doesn’t include it.
Lower Carb — Replace half the flour with almond flour. The bagels will be denser and less chewy, but they’ll have fewer carbs. I haven’t tried this extensively, but it’s worth experimenting with.
Vegan — Replace the egg wash with a mixture of aquafaba (chickpea water) and a little maple syrup. The bagels will still rise and bake normally.
Serving & Storage
How to Serve:
I usually serve these homemade everything bagels warm, sliced in half and toasted. The crunch is irresistible. Here are some of my favorite ways to enjoy them:
- Classic Cream Cheese — Plain cream cheese with a sprinkle of chives or everything seasoning.
- Avocado Toast Style — Mashed avocado, red pepper flakes, and a squeeze of lemon.
- Breakfast Sandwich — Toasted bagel with a fried egg, bacon, and cheese. It’s like a homemade bagel sandwich from a diner.
- With Soup — I love dipping these into my roasted red pepper soup or chicken and dumplings. The crust soaks up the broth perfectly.
Storage Instructions:
Room Temperature: Store in an airtight container for up to 2 days. They’ll stay soft, but the crust will lose some crunch.
Refrigerator: Not recommended. Bagels dry out quickly in the fridge.
Freezer: Wrap cooled bagels tightly in plastic wrap, then place in a freezer bag. Freeze for up to 3 months. Toast directly from frozen.
Reheating: The best way to reheat is in the toaster or toaster oven. It restores the crunch. If you prefer soft bagels, wrap them in a damp paper towel and microwave for 30 seconds.
Nutrition Information
I’m not a nutritionist, but here’s the breakdown if you’re tracking. These bagels are made with whole wheat flour, so they’re higher in fiber and protein than white flour bagels.
Per Serving (1 bagel, without toppings):
- Calories: 280
- Protein: 10g
- Carbs: 52g
- Fiber: 4g
- Sugar: 2g
- Fat: 3g
- Sodium: 350mg
What’s Good:
- High in fiber from whole wheat flour
- Good source of plant-based protein
- Low in added sugar
- Customizable with healthy toppings like avocado or nut butter
What to Know:
- Contains gluten
- Contains eggs (unless vegan modified)
- Calories can increase with toppings
My Take:
Look, these are carb-heavy, but they’re nutrient-dense carbs. They’re not a diet food, but they’re not junk food either. They’re real food. When I make these, I top them with healthy fats and proteins, which makes them a balanced meal. They fuel my day without feeling like a compromise.
Final Thoughts
So that’s my go-to homemade everything bagels recipe! I’ve probably talked your ear off at this point, but when you make a recipe this often, you have a lot to say about it. These bagels have saved my mornings. They’re my answer to “what’s for breakfast” when I want something substantial and delicious. My kids love them, my husband loves them, and I love them because they’re easy to make and even easier to eat.
Make them yours! Try different toppings, swap in your favorite seeds, or experiment with different flours. The best recipes are the ones you adapt to your family’s tastes. If you make these, drop a comment and let me know what you think! I love hearing how recipes turn out in your kitchen. And if something doesn’t work, tell me that too—I’m here to help troubleshoot.
Happy baking! And I hope your kitchen smells half as good as mine does right now.
Frequently Asked Questions
Can I use all-purpose flour instead of bread flour?
You can, but the texture will be different. Bread flour has more protein, which creates the chewy texture bagels are known for. If you use all-purpose, your bagels will be softer and less chewy. I recommend sticking with bread flour for the best results. If you have to use all-purpose, try adding a little vital wheat gluten to boost the protein.
Why did my bagels sink in the middle?
This usually happens if the hole is too big or if the dough wasn’t proofed enough. Make sure you’re punching down the dough properly and letting it rise until it’s puffy but not over-proofed. Also, when shaping, keep the hole size consistent. If it’s too big, it will expand and sink during baking.
Can I freeze the dough instead of the baked bagels?
Yes, you can. After the first rise, punch down the dough, divide it into balls, and freeze them on a baking sheet. Once frozen, transfer them to a freezer bag. When you’re ready to bake, thaw them overnight in the fridge, let them rise again, boil, and bake. The texture might be slightly different, but it’s still delicious.
What is the best everything bagel seasoning?
I like to make my own because it’s fresher and cheaper. Mix 2 tablespoons of sesame seeds, 2 tablespoons of poppy seeds, 1 tablespoon of dried garlic flakes, and 1 tablespoon of dried onion flakes. Add a pinch of flaky sea salt. Store it in an airtight container for up to 6 months. You can also buy pre-made seasoning, but check the ingredient list for preservatives.
How do I know when the bagels are done baking?
They should be deep golden brown, not light golden. They should also sound hollow when you tap the bottom. If they sound dull, they need more time. Also, the internal temperature should be around 190°F if you’re using a thermometer. But the color and sound test are usually reliable.
Can I make these ahead for a party?
Absolutely. Bake them a day ahead, let them cool, and store them in an airtight container. Reheat them in the toaster or oven before serving. They’ll be crisp and fresh-tasting. I often make a double batch for brunches and freeze half for later.
Why did my bagels taste bland?
You might not have used enough salt in the dough, or you didn’t season them generously enough. Bagels need salt to bring out the flavor of the flour. Make sure you’re using 2 teaspoons of salt in the dough and a good amount of seasoning on top. Also, make sure your yeast is fresh and active, as old yeast can affect the flavor.
Pin This Recipe!
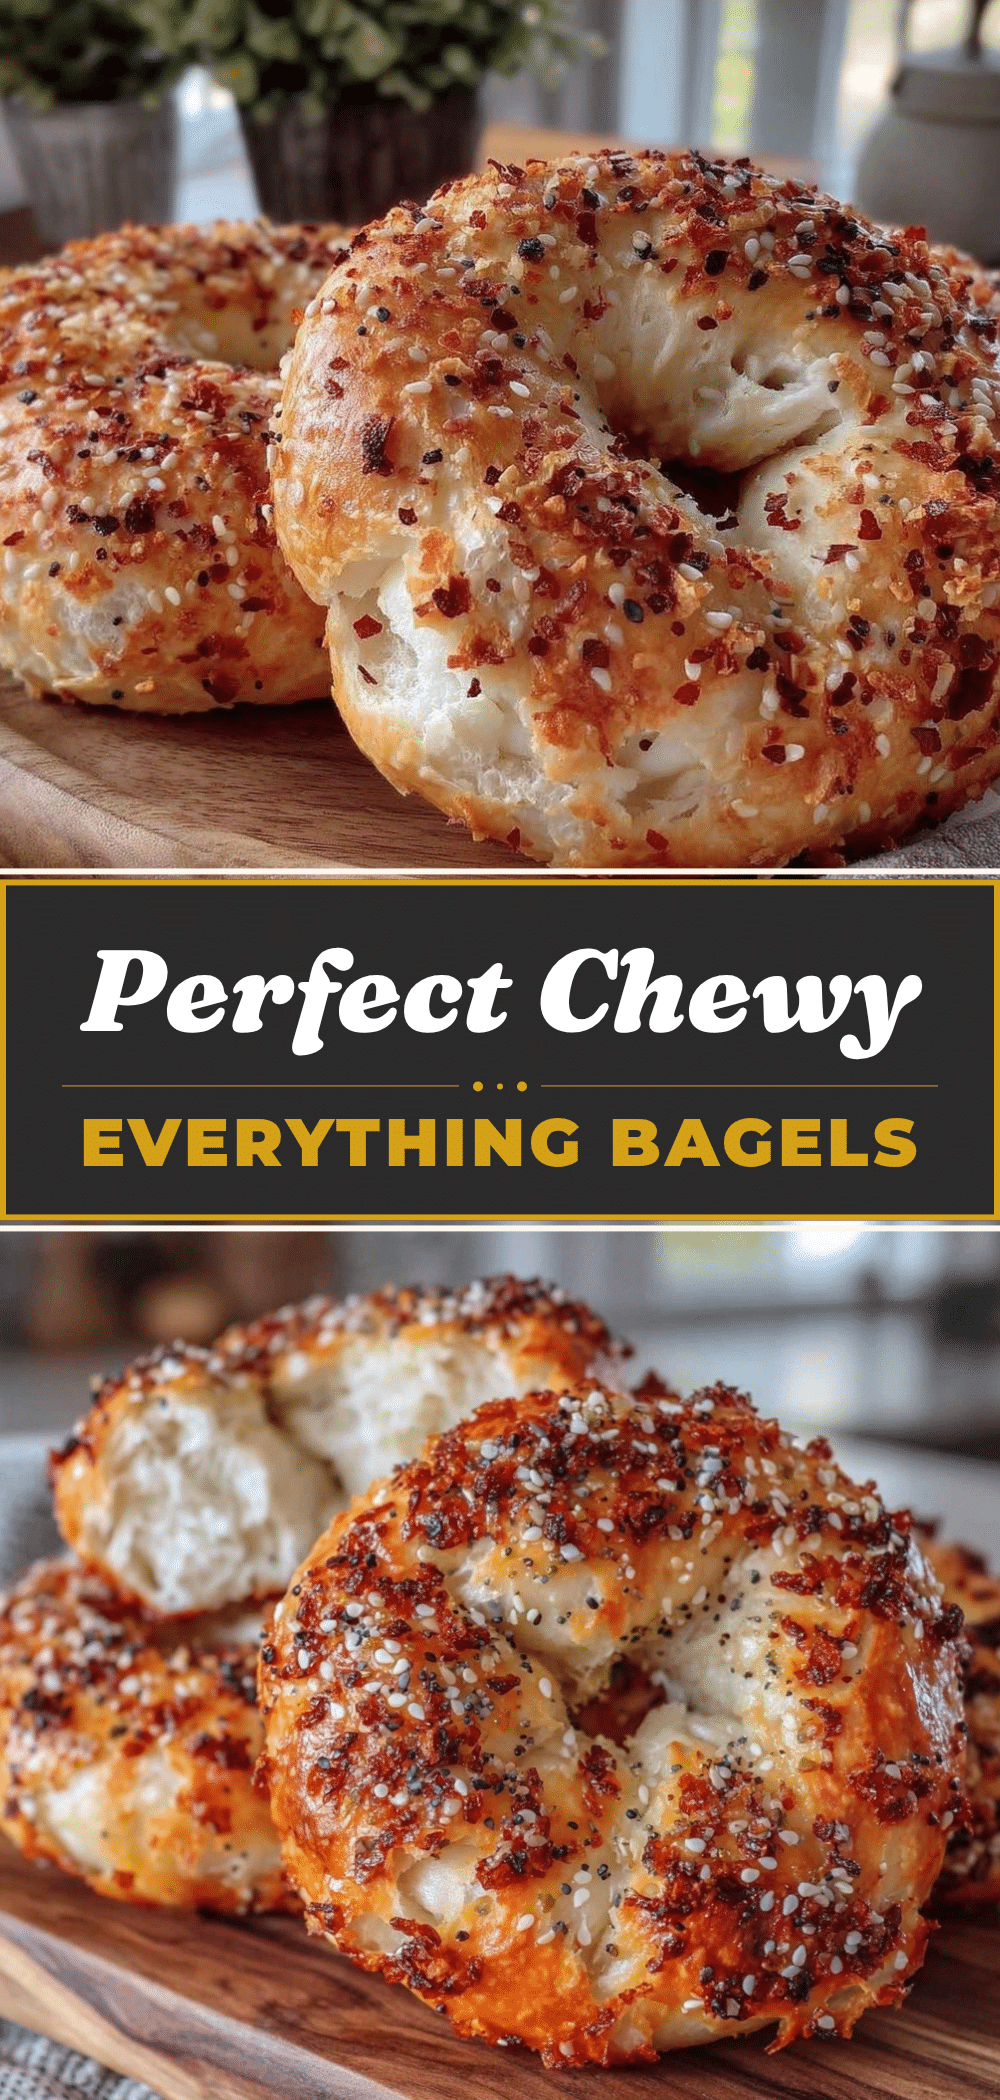

Homemade Everything Bagels: Fuel Your Day
- Total Time: 90 minutes
- Yield: 8 servings 1x
Description
These homemade everything bagels feature a chewy, pillowy interior and a crisp, shiny crust achieved through boiling. Made with a mix of bread and whole wheat flour, they are protein-packed, freezer-friendly, and surprisingly easy to make from scratch.
Ingredients
- 1 ½ cups warm water (105-110°F)
- 2 ¼ teaspoons instant yeast (1 packet)
- 1 tablespoon sugar
- 3 ½ cups bread flour
- 1 ½ cups whole wheat flour
- 2 teaspoons salt
- 2 tablespoons vegetable oil
- 3–4 tablespoons everything bagel seasoning
- 1 egg beaten with 1 tablespoon water (for egg wash)
- 1 tablespoon baking soda (for boiling water)
Instructions
- In a large bowl, combine warm water, sugar, and yeast. Let sit for 5 minutes until foamy.
- Add bread flour, whole wheat flour, salt, and oil. Mix until a shaggy dough forms.
- Knead the dough using a stand mixer with a dough hook for 5 minutes, or by hand for 8-10 minutes, until smooth and elastic.
- Place dough in a lightly oiled bowl, cover, and let rise in a warm place for 1 hour or until doubled in size.
- Punch down the dough and divide into 8 equal pieces. Roll each into a ball, poke a hole in the center, and stretch to 1.5 inches.
- Place shaped bagels on a parchment-lined baking sheet, cover loosely, and let rise again for 30 minutes.
- Bring a large pot of water to a boil, then reduce to a gentle simmer. Add 1 tablespoon baking soda.
- Boil bagels for 30 seconds per side (2-3 at a time). Remove with a slotted spoon and place back on the baking sheet.
- Preheat oven to 425°F (220°C). Brush boiled bagels with egg wash and sprinkle generously with everything bagel seasoning.
- Bake for 20-25 minutes, rotating halfway, until deep golden brown and hollow when tapped.
- Cool on a wire rack for at least 10 minutes before slicing.
Notes
Ensure water temperature is between 105-110°F to activate yeast without killing it. Keep the hole in the center of the bagel open during shaping to prevent a dense center. Boiling is essential for the signature chewy texture. For best results, cool completely before freezing to prevent sogginess.
- Prep Time: 20 minutes
- Cook Time: 30 minutes
- Category: Breakfast
- Cuisine: American
Nutrition
- Serving Size: 1 bagel
- Calories: 280
- Sugar: 2
- Sodium: 350
- Fat: 3
- Carbohydrates: 52
- Fiber: 4
- Protein: 10
Keywords: homemade bagels, everything bagels, bread flour, whole wheat bagels, breakfast recipe, freezer friendly, chewy bagels



