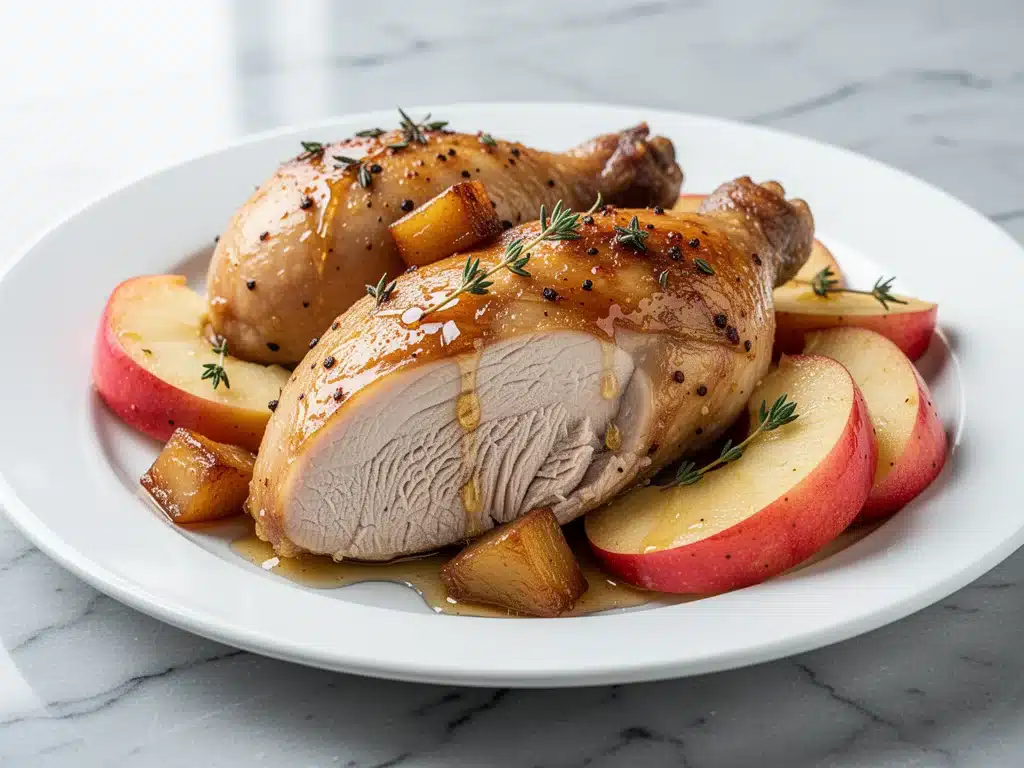
Last year, I stood in my kitchen at 6 PM on the eve of Rosh Hashanah, staring at a dry, sad-looking chicken and feeling a wave of panic. I had promised my in-laws a “traditional” holiday meal, and by traditional, I meant the kind of golden, glistening centerpiece that makes people stop mid-sentence to say, “Wait, did you make this?” Instead, I was looking at a bird that looked like it had been boiled in maple syrup and then forgotten in the oven for an extra hour.
My mother-in-law is lovely, but she has a radar for dry poultry. I could feel her eyes scanning the platter, calculating exactly how much of the meat she could salvage without being rude. It was mortifying. I had followed a recipe exactly, but I missed the crucial step of understanding *why* certain things work together. I was treating it like a weeknight roast, not a holiday centerpiece.
This year, I decided to do things differently. I wanted that perfect balance of savory herbs and sweet honey, with apples that caramelized just enough to add a tart crunch without turning into mush. I tested this Rosh Hashanah Honey Roasted Chicken with Apples three times over two weeks. The first time, I under-seasoned the brine. The second time, I burned the garlic. But the third time? It was perfect. Golden skin, juicy meat, and a sauce so good I caught my husband dipping bread into the pan drippings like it was a fancy restaurant.
If you’re worried about pulling off a holiday main dish that looks impressive but is actually manageable, you’re in the right place. This isn’t just a chicken recipe; it’s a tradition starter. It’s sweet, it’s savory, and it smells like autumn in your house. Let’s get cooking.
Why You’ll Love This Holiday Chicken
I’ve made a lot of holiday meals over the years, from Thanksgiving turkeys to Christmas hams, and this honey roasted chicken has become my absolute favorite for Rosh Hashanah. Here’s why it keeps showing up on my holiday table:
It’s Actually Meaningful — Rosh Hashanah is all about sweetening the new year. Roasting chicken with honey and apples isn’t just tasty; it’s symbolic. The honey represents sweetness, and the apples represent a fruitful year. It feels like you’re cooking with intention, not just calories.
Minimal Active Effort — You spend about 20 minutes prepping, and then you just roast. While the chicken is in the oven, you can host guests, set the table, or finally watch that episode of the show you’ve been putting off. The oven does 90% of the work.
Perfectly Juicy Every Time — The brine step (trust me, it’s worth the extra 30 minutes) ensures the meat stays moist even if you’re distracted. I’ve served this to picky eaters and food snobs alike, and everyone goes back for seconds.
One-Pan Wonder — Okay, you need a roasting pan and a pot for the brine, but the actual cooking is all in one vessel. Cleanup is a breeze compared to a multi-course meal with ten different side dishes.
Flavor That Improves — The apples break down slightly during roasting, creating a natural sauce in the pan. When you spoon that over the chicken, it’s pure magic. It’s better than any gravy you could make.
This recipe has saved me from holiday stress more times than I can count. It’s reliable, it’s delicious, and it makes everyone feel special. No complicated techniques, just good food and good company.
Ingredients You’ll Need
Here’s the best part: most of these ingredients are probably already in your kitchen or easy to grab at the local market. I’m particular about three things here, and I’ll tell you exactly why.
For the Brine
Water (1 gallon / 3.7 liters) — Cold water. I use filtered if I have it, but tap is fine. You need enough to fully submerge the chicken.
Kosher Salt (½ cup / 120g) — Do not use table salt. Kosher salt dissolves differently and has a cleaner flavor. Morton’s Kosher is my go-to. This is crucial for tenderizing the meat.
Granulated Sugar (¼ cup / 50g) — Helps balance the salt and promotes browning. White sugar works perfectly.
For the Chicken & Roasting
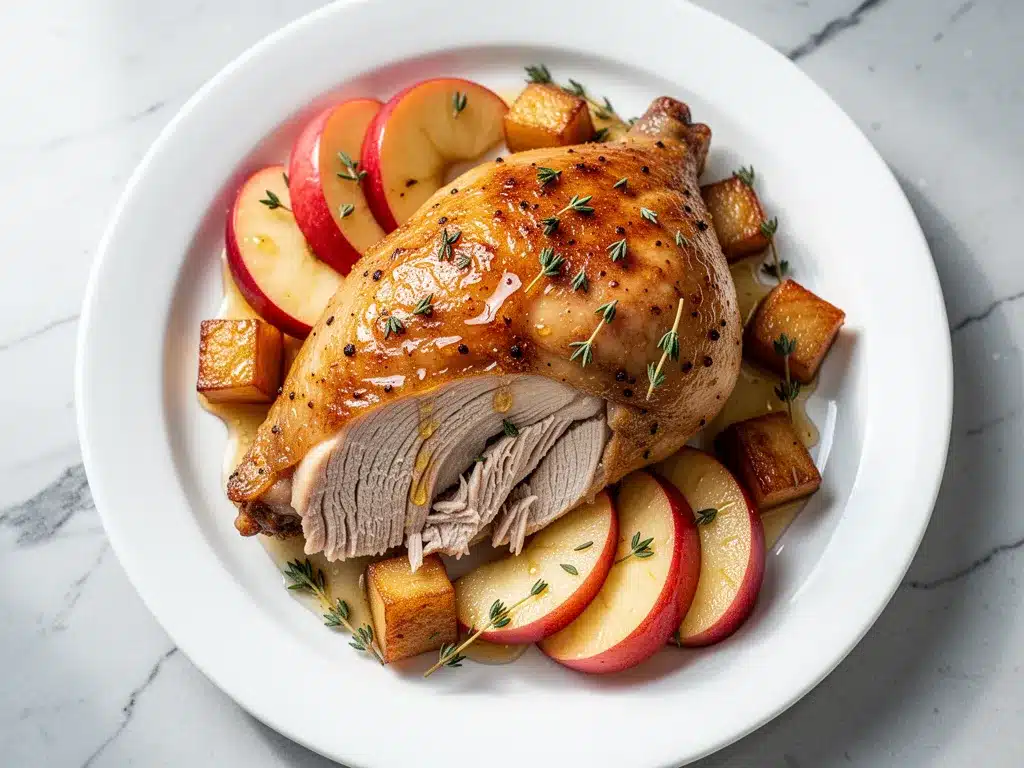
Whole Chicken (4-5 pounds / 1.8-2.2 kg) — Look for a bird that’s packed tightly, not loose and flappy. I prefer organic if budget allows, but standard grocery store birds work great. Make sure it’s thawed completely if frozen.
Honey (½ cup / 170g) — Use good quality honey. I like a wildflower or clover honey for a floral note. Manuka is too strong for this. You want the sweetness to shine, not the medicinal taste.
Apple Cider (1 cup / 240ml) — Not apple juice from a carton. Real hard cider adds a nice tartness that cuts through the honey. If you don’t drink alcohol, use apple juice with a splash of apple cider vinegar for acidity.
Fresh Thyme (4-5 sprigs) — Fresh herbs make a huge difference. Dried thyme works in a pinch, but fresh is aromatic and beautiful. Rosemary is good too, but thyme is classic for this dish.
Garlic (6 cloves, smashed / about 2 tablespoons) — Don’t mince it for the stuffing. Smash it with the flat of your knife. It releases flavor slowly without burning.
Unsalted Butter (4 tablespoons / 56g) — Softened. This goes under the skin to keep the breast meat moist.
Black Pepper (1 tablespoon / freshly cracked) — Freshly cracked is non-negotiable. Pre-ground pepper tastes dusty.
For the Roast
Apples (4 medium / about 600g) — I use a mix of Granny Smith and Honeycrisp. Granny Smith holds its shape and adds tartness. Honeycrisp adds sweetness and texture. Avoid Red Delicious—they turn to mush.
Yellow Onion (1 large / about 300g) — Quartered. This goes in the bottom of the pan to create a bed for the chicken and add flavor to the drippings.
Chicken Broth (1 cup / 240ml) — Low-sodium. I use it to deglaze the pan and make the sauce. Vegetable broth works for a vegetarian version, though the flavor profile changes slightly.
Flour (1 tablespoon) — Optional, for thickening the sauce if you want it gravy-like.
Optional Add-ins:
Carrots (2 large, chopped) — I like to roast these alongside the chicken for a complete meal.
Potatoes (2 large, quartered) — Toss in olive oil and salt before adding to the pan.
Shopping Tips:
– Buy a chicken that fits your roasting pan. If it’s too big, you’ll crowd the apples and the chicken won’t roast evenly.
– I always check the expiration date on the honey. Old honey crystallizes and is harder to pour.
Equipment Needed
You don’t need fancy equipment for this. Here’s what I actually use.
Large Roasting Pan — I use a 13×9 inch stainless steel pan. It needs to be deep enough to hold the chicken and the apples without spilling. My old aluminum roaster works fine, but stainless steel is easier to clean.
Large Bowl or Stockpot — For the brine. Make sure it’s big enough to hold the gallon of water and the chicken. A clean trash can liner inside a bowl works if you’re short on space.
Measuring Cups and Spoons — Standard stuff. Dollar store versions work fine.
Sharp Knife — For cutting the apples and onions. Dull knives are dangerous and frustrating.
Cutting Board — Any size works. I use plastic for easier cleanup.
Tongs — For handling the hot chicken. Metal tongs are best.
Whisk — For mixing the sauce. Or just a fork if you’re being lazy.
Instant-Read Thermometer — This is the game-changer. It tells you exactly when the chicken is done, so you don’t guess. I have one from ThermoWorks that’s been with me for years.
Optional but nice:
– Trivet or Rack — If your roasting pan has one, use it. It elevates the chicken for even air circulation. If not, the quartered onions work as a natural rack.
How to Make It: Step-by-Step
Alright, let’s make this! I’m walking you through exactly how I do it, including the little tricks I’ve picked up.
Step 1: Brine the Chicken (30 minutes to 2 hours)
In a large bowl or stockpot, combine the water, kosher salt, and sugar. Stir until fully dissolved. Submerge the chicken completely. If it floats, weigh it down with a plate. Refrigerate for at least 30 minutes, or up to 2 hours. Don’t go longer than 4 hours, or the meat can get too salty. This step is crucial for juicy meat.
Step 2: Prep the Chicken and Oven (10 minutes)
Remove the chicken from the brine and pat it completely dry with paper towels. This is important—dry skin equals crispy skin. Rub the softened butter under the skin of the breast and over the legs. Season generously with black pepper. Stuff the cavity with the smashed garlic cloves and thyme sprigs. This infuses flavor from the inside out.
Step 3: Prepare the Pan (5 minutes)
Preheat your oven to 425°F (220°C). Place the quartered onion in the bottom of your roasting pan. Arrange the sliced apples around the onion. Place the chicken on top of the apples and onions, breast-side up. Pour the apple cider around the chicken, not directly on it.
Step 4: Roast the Chicken (1 hour to 1 hour 15 minutes)
Roast for 30 minutes, then reduce the heat to 375°F (190°C). Continue roasting for another 30-45 minutes. Baste the chicken with pan juices every 20 minutes. The chicken is done when the internal temperature reaches 165°F (74°C) in the thickest part of the thigh, and the skin is golden brown. If the skin is browning too fast, tent it loosely with foil.
Step 5: Make the Sauce (10 minutes)
Remove the chicken from the pan and let it rest on a cutting board for 15 minutes. This keeps the juices inside. While it rests, place the roasting pan on the stove over medium heat. Add the chicken broth and scrape up any browned bits from the bottom. If you want a thicker sauce, whisk in the flour and cook for 1 minute. Stir in the honey until melted and combined. Taste and adjust salt if needed.
Step 6: Serve
Carve the chicken and spoon the honey-apple sauce over the top. Serve with the roasted apples and onions. It’s beautiful and delicious.
Total Time: About 2 hours (including brining and resting), but only 45 minutes of active work.
Expert Tips & Tricks
Here’s everything I’ve learned from making this dozens of times. These tips will save you from my mistakes.
Dry Skin is Crispy Skin
I cannot stress this enough. After brining, pat the chicken dry. Then, leave it uncovered in the fridge for an hour before roasting. This air-dries the skin further, ensuring it gets crispy instead of steaming.
Don’t Skip the Rest
I know it’s tempting to carve immediately. Don’t. Let the chicken rest for at least 15 minutes. The juices redistribute throughout the meat. If you cut too soon, all that delicious juice runs out onto the plate, leaving you with dry chicken.
Use a Thermometer
Stop guessing. Insert the thermometer into the thickest part of the thigh, avoiding the bone. When it hits 165°F, it’s done. If it’s 160°F, take it out; the residual heat will finish cooking it. Overcooked chicken is dry chicken.
Apple Selection Matters
I’ve tried Gala and Fuji, and they get too soft. Granny Smith and Honeycrisp hold their shape and provide a nice contrast to the tender chicken. If you can’t find Honeycrisp, use Fuji, but add a splash of vinegar to the cider for acidity.
Common Mistakes (and how to avoid them)
Mistake: Chicken is dry
Fix: You likely overcooked it or didn’t brine it. Use a thermometer and don’t skip the brine.
Mistake: Sauce is too thin
Fix: Let the chicken rest longer so the juices don’t dilute the sauce. Also, simmer the sauce longer to reduce it.
Mistake: Skin is pale
Fix: Your oven might be underheating. Check your oven temperature with a separate thermometer. Also, make sure the skin is dry before roasting.
Variations & Substitutions
Once you’ve nailed the basic version, here’s how you can mix it up. I’ve tried all of these.
Gluten-Free
This recipe is naturally gluten-free if you use gluten-free chicken broth and skip the flour thickener. Check your honey label to be sure.
Dairy-Free
Replace the butter with olive oil. Rub it under the skin and over the outside. The result is slightly less rich but still delicious.
Veggie-Loaded
Add carrots and potatoes to the pan. Toss them in olive oil and salt before adding. They roast alongside the chicken and soak up all the flavor. This is how I get my kids to eat vegetables.
Spicy Twist
Add a teaspoon of cayenne pepper to the honey sauce. It adds a nice kick that balances the sweetness. Great for those who like a little heat.
Herb Swap
If you don’t like thyme, use rosemary or sage. Sage is particularly good with apples. Just be careful not to use too much, as it’s strong.
Different Apples
If you can’t find Honeycrisp, use Pink Lady or Braeburn. They have a good balance of sweet and tart.
Serving & Storage
How to Serve:
I usually serve this straight from the platter at the dinner table. It looks rustic and stays warm. Pair it with classic apple pie for dessert to keep the apple theme going. Or try a cinnamon roll apple cobbler for a sweeter, cozier option.
Side Dishes:
– Roasted root vegetables (carrots, parsnips, beets)
– Mashed potatoes (to soak up the sauce)
– A simple green salad with apple cider vinaigrette
– Cinnamon apple dump cake is a great easy dessert if you want something minimal.
Storage:
Store leftovers in an airtight container in the fridge for up to 3 days. The chicken stays moist if stored in the pan juices.
Reheating:
Best method: Reheat in the oven at 350°F (175°C) covered with foil for 20 minutes. This keeps the skin from getting soggy.
Microwave method: Heat in 30-second intervals, covered with a damp paper towel. This prevents drying out.
Freezing:
You can freeze the cooked chicken, but the skin may lose its crispiness. Thaw in the fridge and reheat gently.
Nutrition Information
I’m not a nutritionist, but here’s the breakdown if you’re tracking.
Per Serving (based on 6 servings):
– Calories: 450
– Protein: 35g
– Carbs: 25g
– Fiber: 3g
– Sugar: 18g
– Fat: 22g
– Saturated Fat: 6g
– Cholesterol: 110mg
– Sodium: 600mg
What’s Good:
– High protein from the chicken
– Fiber from the apples
– No refined sugars (the honey is natural)
What to Know:
– Higher in sodium from the brine
– Contains honey (not vegan)
My Take:
“This is a hearty, flavorful meal. It’s not diet food, but it’s made with whole ingredients. When I want to make it lighter, I skip the skin and use less honey. But usually? I just enjoy it in moderation.”
Final Thoughts
So that’s my go-to Rosh Hashanah Honey Roasted Chicken with Apples! I’ve probably talked your ear off at this point, but when you make a recipe this often, you have a lot to say about it.
This has saved holiday dinners more times than I can count. It’s my answer to “what’s for dinner” when I want something special but manageable. My family is happy, my guests are impressed, and I’m happy because I’m not stressed about cooking.
Make it yours! Try different apples, swap in your favorite herbs, adjust the honey. The best recipes are the ones you adapt to your family’s tastes.
If you make this, drop a comment and let me know what you think! I love hearing how recipes turn out in your kitchen. And if something doesn’t work, tell me that too—I’m here to help troubleshoot.
Happy cooking! And I hope your kitchen smells half as good as mine does right now.
Frequently Asked Questions
Can I use apple juice instead of apple cider?
You can, but the flavor will be sweeter and less complex. Apple cider has a tartness that balances the honey. If you use juice, add a tablespoon of apple cider vinegar to the pan for acidity.
Why did my chicken skin get soggy?
Usually, this means the skin wasn’t dry enough before roasting, or the oven wasn’t hot enough. Pat the chicken dry thoroughly and consider air-drying it in the fridge for an hour before cooking.
Can I make this ahead for a dinner party?
Sort of. You can brine the chicken the day before. Then, roast it the day of. The chicken is best served fresh, but leftovers are good too.
Can I use frozen chicken?
No. You must thaw the chicken completely before brining. Brining a frozen chicken is unsafe and ineffective.
How do I know when the chicken is done?
Use a meat thermometer. Insert it into the thickest part of the thigh. When it reads 165°F (74°C), it’s done. The juices should run clear.
Can I add other vegetables?
Yes! Carrots, potatoes, and parsnips work great. Just chop them into similar sizes so they cook evenly.
Is this recipe gluten-free?
Yes, naturally. Just ensure your chicken broth and honey are certified gluten-free if you have celiac disease.
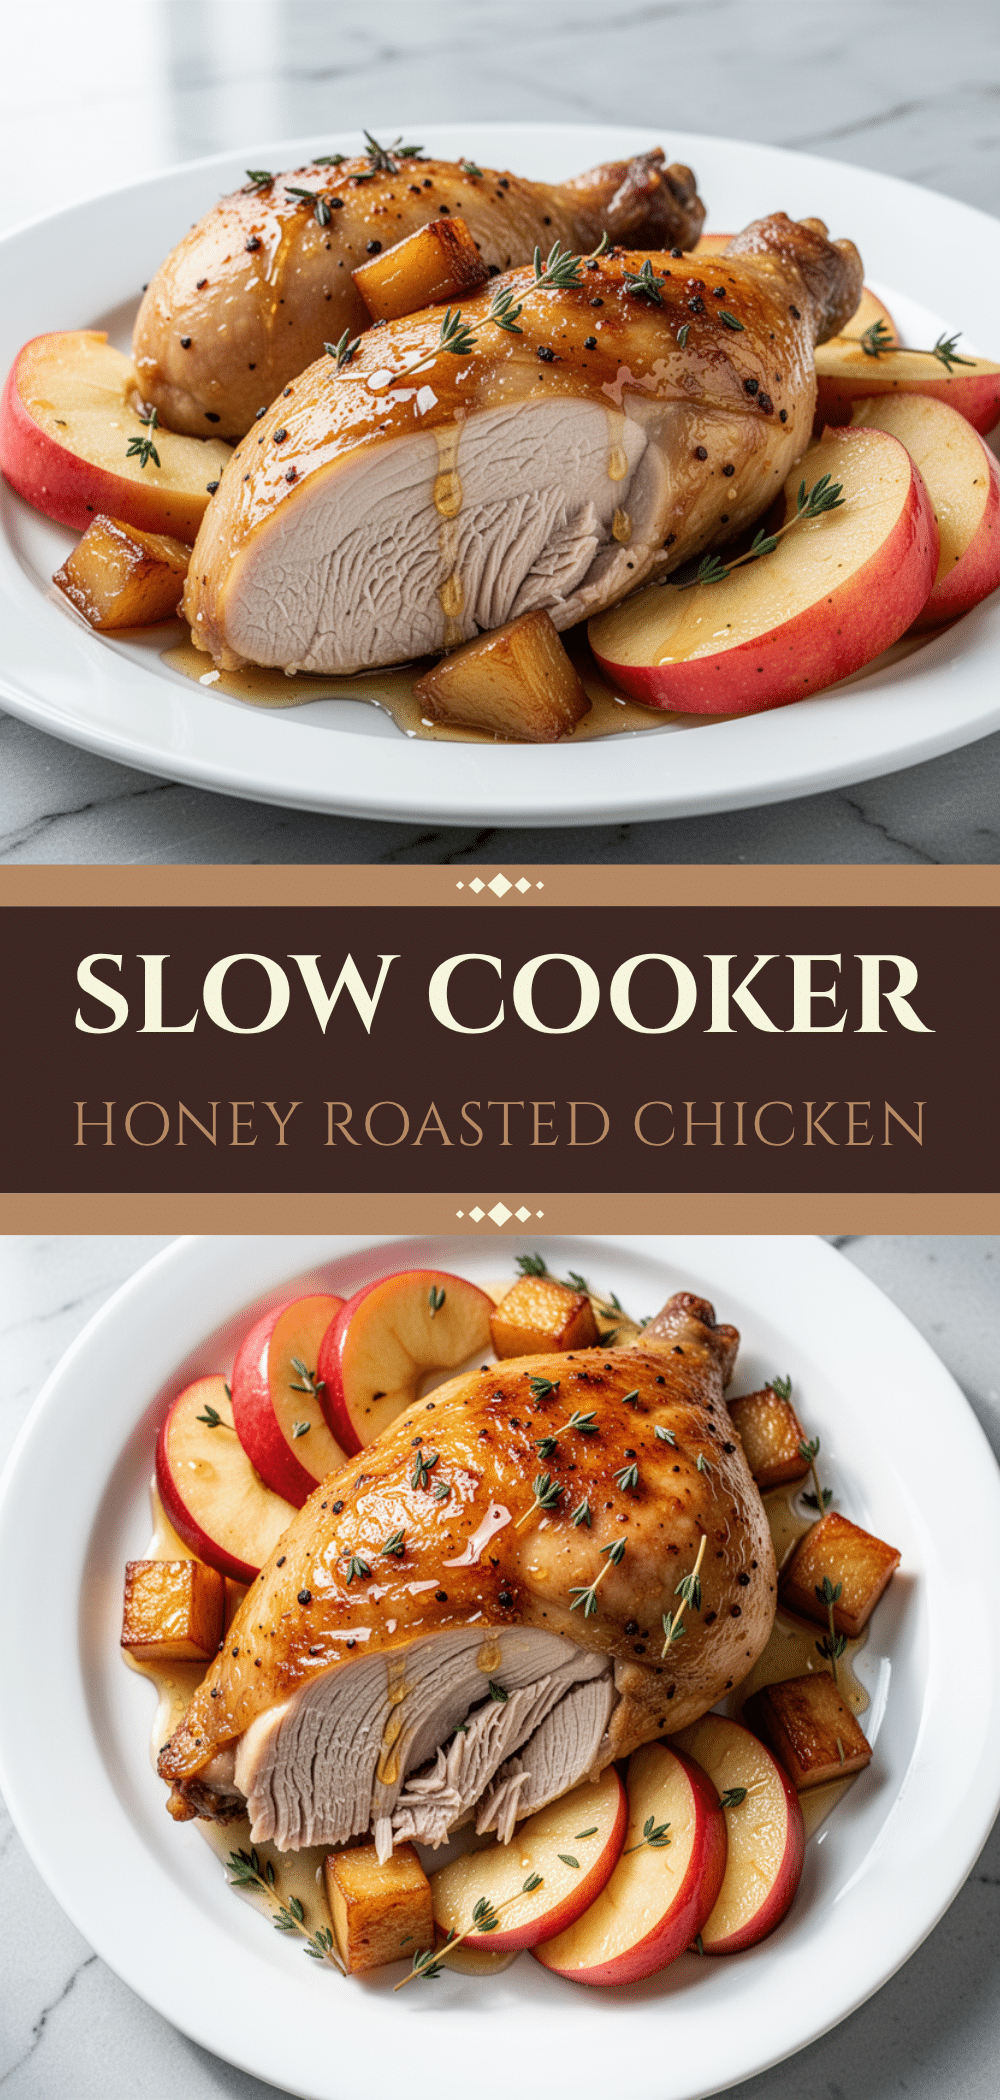
Pin This Recipe!
Rosh Hashanah Honey Roasted Chicken with Apples
- Total Time: 2 hours
- Yield: 6 servings 1x
Description
A juicy, golden-roasted chicken brined for tenderness and glazed with sweet honey and tart apples, creating a symbolic and impressive centerpiece for Rosh Hashanah.
Ingredients
- 1 gallon cold water
- 1/2 cup kosher salt
- 1/4 cup granulated sugar
- 1 whole chicken (4–5 pounds), thawed
- 1/2 cup honey
- 1 cup apple cider
- 4–5 sprigs fresh thyme
- 6 cloves garlic, smashed
- 4 tablespoons unsalted butter, softened
- 1 tablespoon freshly cracked black pepper
- 4 medium apples (mix of Granny Smith and Honeycrisp), sliced
- 1 large yellow onion, quartered
- 1 cup low-sodium chicken broth
- 1 tablespoon flour (optional, for thickening)
Instructions
- In a large bowl or stockpot, combine water, kosher salt, and sugar. Stir until dissolved. Submerge the chicken completely and refrigerate for 30 minutes to 2 hours.
- Remove chicken from brine and pat completely dry with paper towels. Rub softened butter under the skin of the breast and over the legs. Season generously with black pepper.
- Stuff the cavity with smashed garlic cloves and thyme sprigs.
- Preheat oven to 425°F (220°C). Place quartered onion in the bottom of a roasting pan. Arrange sliced apples around the onion.
- Place chicken on top of apples and onions, breast-side up. Pour apple cider around the chicken.
- Roast for 30 minutes, then reduce heat to 375°F (190°C). Continue roasting for 30-45 minutes, basting every 20 minutes, until internal temperature reaches 165°F (74°C).
- Remove chicken from pan and let rest for 15 minutes.
- While chicken rests, place roasting pan on stove over medium heat. Add chicken broth and scrape up browned bits. Whisk in flour if desired, then stir in honey until melted and combined.
- Carve chicken and spoon honey-apple sauce over the top. Serve with roasted apples and onions.
Notes
Ensure the chicken is completely dry before roasting for crispy skin. Do not brine for more than 4 hours to avoid over-salting. Use a meat thermometer to ensure the chicken reaches 165°F. Let the chicken rest for 15 minutes before carving to retain juices.
- Prep Time: 45 minutes
- Cook Time: 1 hour 15 minutes
- Category: Main Course
- Cuisine: Jewish
Nutrition
- Serving Size: 1/6 of the chicken w
- Calories: 450
- Sugar: 18
- Sodium: 600
- Fat: 22
- Saturated Fat: 6
- Carbohydrates: 25
- Fiber: 3
- Protein: 35
Keywords: Rosh Hashanah, honey roasted chicken, holiday dinner, kosher chicken, apple chicken, Jewish holiday recipes, easy roast chicken



