I still remember the Tuesday in November three years ago when I was standing in my kitchen at 5:45 PM, staring at the clock in sheer panic. The house was cold, the kids were already complaining about being hungry, and I had absolutely nothing in the fridge that looked edible except a bag of frozen peas and some sad-looking carrots. I didn’t want to order takeout—it was too expensive, and we’d just end up with three different containers of half-eaten food by morning. I didn’t want to make something complicated because I was too tired to chop five different things.
So, I did what I always do when I’m desperate: I emptied out the vegetable drawer and threw everything onto a baking sheet with some chicken thighs I had thawing in the sink. I tossed them with olive oil, salt, pepper, and whatever dried herbs were sitting in the back of my spice rack. I shoved the whole thing into the oven and went to help my son with his homework.
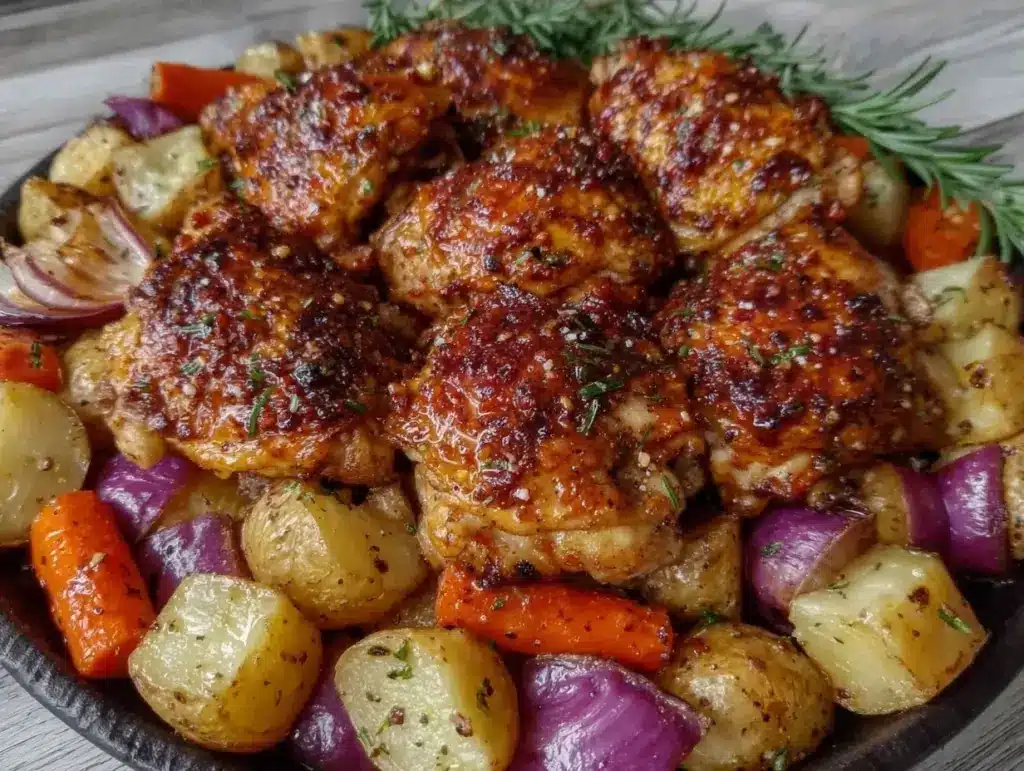
Twenty minutes later, the smell hit me. It wasn’t just “dinner” smell. It was *roasted* smell. Crispy, savory, sweet. When I pulled that sheet pan out, the chicken skin was actually crispy—not soggy and steamed like it usually is on sheet pan meals. The carrots were caramelized. The potatoes were golden. And the best part? There was one pan to wash.
That accidental dinner became the Crispy Sheet Pan Chicken Dinner. I’ve made it at least forty times since then, tweaking the seasoning and the veggies, but the core method stays the same. It’s cheap, it feeds a family of four for under $15, and it tastes like you spent hours in the kitchen (even though you didn’t). If you’re looking for a reliable, budget-friendly family meal that doesn’t require a PhD in cooking, this is it. It’s the kind of dinner that makes tired parents feel like heroes.
Why You’ll Love This Recipe
There are a dozen reasons I keep coming back to this sheet pan chicken, but let’s be real—here are the big ones that actually matter when you’re trying to get dinner on the table.
One Pan, Zero Stress — Seriously. You chop, you toss, you bake. That’s it. The cleanup is literally one baking sheet and maybe a mixing bowl. I’ve made this on nights when I was too exhausted to stand at the sink for more than five minutes. It works.
Stupid Cheap — Chicken thighs are cheaper than breasts, and root vegetables are cheap year-round. This meal costs pennies per serving compared to delivery. I’ve calculated it, and it’s usually under $3.50 per person. That’s a win in my book.
Crispy Skin Guaranteed — The biggest complaint about sheet pan dinners is soggy chicken. I’ve solved that. By drying the chicken and using a little baking powder trick, the skin gets genuinely crispy, not just “dry.” It’s the texture that makes everyone ask for seconds.
Kid-Approved (Even the Picky Ones) — My youngest used to refuse anything that looked “brown.” But roasted carrots? Sweet and crunchy? He eats them by the handful now. The chicken is seasoned simply, so it’s not spicy or weird. It’s just good, familiar food.
Meal Prep Friendly — This reheats beautifully. I often double the batch on Sunday, store the chicken and veggies separately, and just reheat portions during the week. It tastes almost as good as day one.
This is my go-to when I need dinner to just work. No fancy techniques, no expensive ingredients, just reliable, delicious food that makes everyone happy and leaves me with one pan to wash.
Ingredients You’ll Need
Here’s the best part: you probably have most of this already. I’m particular about a few things, but mostly, this is pantry staples and budget-friendly produce.
For the Chicken
Chicken thighs (2 lbs / 900g) — Boneless, skin-on. I know breasts are “leaner,” but thighs stay juicy and don’t dry out in the oven. Plus, they’re cheaper. Skin-on is non-negotiable for that crispy texture. If you must use breasts, pound them to even thickness so they cook at the same rate.
Olive oil (3 tablespoons / 45ml) — Just regular extra virgin. You don’t need the fancy stuff. Enough to coat the chicken and help the spices stick.
Dried Italian seasoning (2 teaspoons) — Or a mix of dried oregano, thyme, and basil. This gives that classic “roasted dinner” flavor without needing fresh herbs, which wilt and get mushy in the oven.
Garlic powder (1 teaspoon) — Not fresh garlic here for the chicken rub, because fresh garlic burns at high heat. Powder gives even flavor without the risk of bitter bits.
Smoked paprika (½ teaspoon) — This is my secret weapon. It adds a subtle smokiness that mimics grilling. If you don’t have it, regular paprika works, but smoked is better.
Salt and black pepper — Generous amounts. Don’t be shy. The chicken needs seasoning.
For the Vegetables
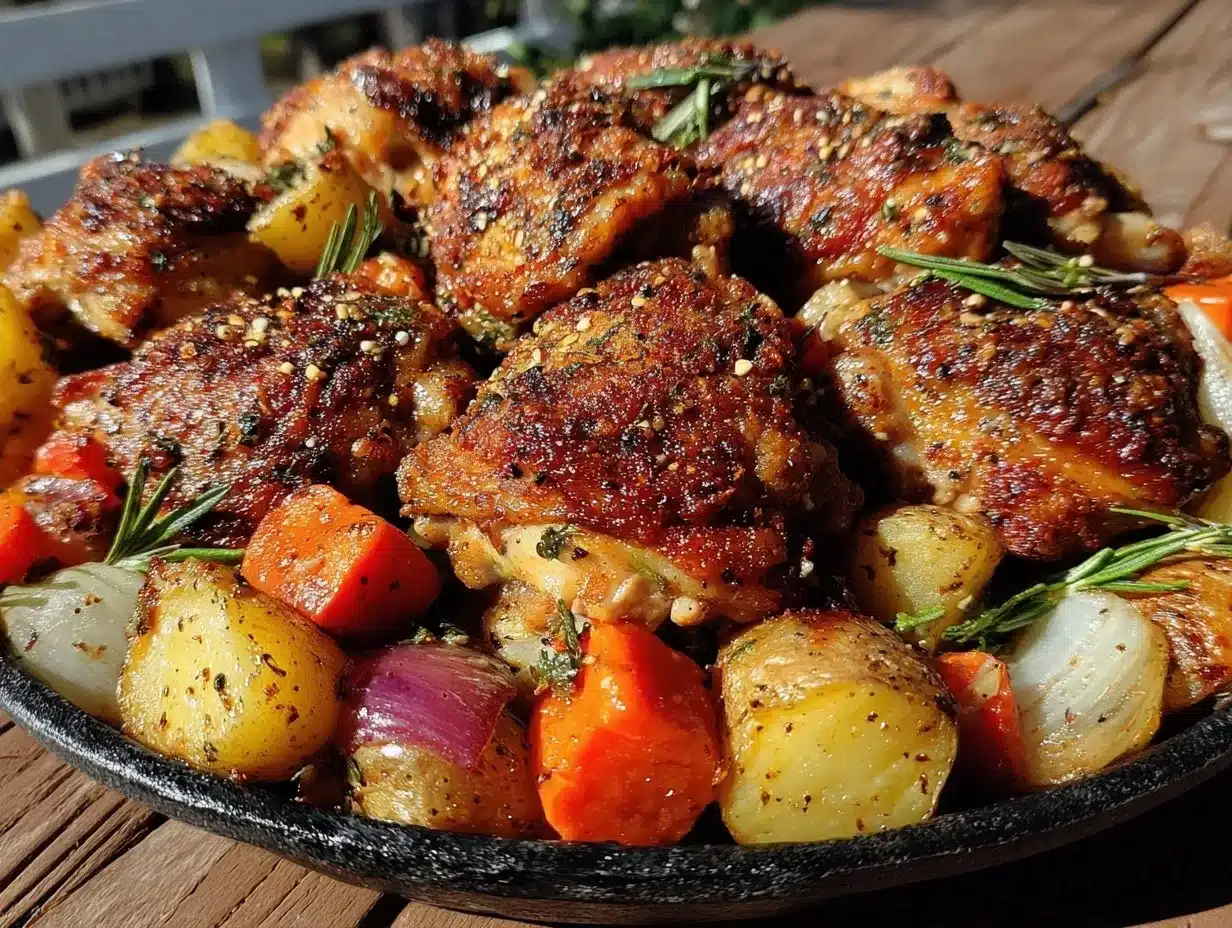
Red potatoes (1.5 lbs / 700g, halved) — Yukon Gold work too. Red potatoes hold their shape better and don’t turn to mush. Cut them into even halves or quarters so they cook uniformly.
Broccoli florets (2 cups) — Fresh or frozen (thawed and dried well) both work. Fresh is better for texture, but frozen saves time and money. I use frozen in the winter.
Carrots (3 medium, chopped into 1-inch pieces) — Peeling is optional. I leave the skins on for extra fiber and color. Chopping them into chunks ensures they cook at the same speed as the potatoes.
Onion (1 large red onion, wedged) — Adds sweetness as it roasts. Cut into wedges so they don’t disintegrate.
Optional: Bell peppers (1 large, chopped) — I add these if they’re cheap at the store. They get a bit soft but add nice color.
For the Finish
Fresh parsley (2 tablespoons, chopped) — For color and freshness. It brightens up the heavy roasted flavors. Skip it if you don’t have it, but it makes a difference.
Lemon wedges — A squeeze of lemon right before eating cuts through the richness. It’s a game-changer.
Equipment Needed
You don’t need fancy gear for this. Here’s what I actually use.
Large rimmed baking sheet — I use a half-sheet pan (18×13 inches). If you have a smaller one, you might need to use two pans. Don’t crowd the chicken! Airflow is key for crispiness.
Large mixing bowl — For tossing the chicken and veggies in oil and spices. I use a big plastic one from the dollar store.
Sharp knife and cutting board — For chopping the veggies. A dull knife makes chopping potatoes a struggle.
Paper towels — Critical for drying the chicken. See the tips below!
Aluminum foil or parchment paper — I line my pan with foil for easy cleanup. It’s not strictly necessary, but it saves me from scrubbing baked-on cheese and oil later.
How to Make It: Step-by-Step
Alright, let’s make this! I’m walking you through exactly how I do it, including the little tricks I’ve picked up over the years.
Step 1: Prep Your Oven and Pan (5 minutes)
Preheat your oven to 425°F (220°C). This high heat is essential. Lower temps steam the chicken; high heat crisps it. Line your baking sheet with foil or parchment paper. Spray it lightly with cooking spray or rub with a little oil to prevent sticking.
Step 2: Dry the Chicken (Important!)
Pat the chicken thighs completely dry with paper towels. This is the step most people skip, but it’s the secret to crispy skin. Moisture is the enemy of crispiness. If the chicken is wet, it steams. If it’s dry, it fries. Place the dried chicken on a plate while you chop veggies.
Step 3: Season the Chicken
In your large bowl, toss the dried chicken thighs with olive oil, Italian seasoning, garlic powder, smoked paprika, salt, and pepper. Make sure every piece is coated. Set aside.
Step 4: Chop and Season Veggies
While the chicken rests, chop your potatoes, carrots, onions, and broccoli. Toss them in a separate bowl with 2 tablespoons of olive oil, salt, pepper, and a pinch of dried thyme. Spread them out on the baking sheet in a single layer. Don’t pile them up!
Step 5: Arrange the Chicken
Place the chicken thighs on top of the vegetables, skin-side up. Make sure the chicken isn’t touching each other too much. Air needs to circulate around the skin to get it crispy. If your pan is crowded, use two sheets.
Step 6: Roast
Put the pan in the oven. Roast for 25-30 minutes. The chicken is done when the internal temperature reaches 165°F (74°C) and the skin is golden brown and crispy. The veggies should be tender and caramelized at the edges. If the veggies are cooking faster than the chicken, remove them halfway through and let the chicken finish alone.
Step 7: Rest and Serve
Let the chicken rest for 5 minutes before serving. This keeps the juices inside. Sprinkle with fresh parsley and serve with lemon wedges on the side.
Expert Tips & Tricks
Here’s everything I’ve learned from making this dozens of times. These tips will save you from my mistakes.
Dry Chicken = Crispy Skin
I can’t stress this enough. Wet chicken = soggy chicken. Use paper towels. Be aggressive. If you’re in a hurry, let the chicken sit uncovered in the fridge for 30 minutes after drying to air-dry the skin further.
Don’t Crowd the Pan
If the veggies and chicken are piled on top of each other, they steam. Spread them out. If you’re feeding a large family, use two pans. It’s better than sacrificing texture.
Use a Meat Thermometer
Chicken thighs are forgiving, but overcooked chicken is dry. Pull it at 165°F. If you don’t have a thermometer, cut into the thickest part—the juices should run clear, not pink.
Double the Batch
I always double this recipe for meal prep. It takes the same amount of time to cook two pans as one. Store the chicken and veggies in separate containers in the fridge for up to 4 days. Reheat in the oven or air fryer to keep the chicken crispy.
Veggie Swap Strategy
Root vegetables (potatoes, carrots, sweet potatoes) take longer to cook. Tender veggies (broccoli, zucchini, bell peppers) cook faster. If using zucchini, add it in the last 10 minutes so it doesn’t turn to mush.
Variations & Substitutions
Once you’ve nailed the basic version, here’s how you can mix it up. I’ve tried all of these.
Spicy Version
Add 1 teaspoon of cayenne pepper or red pepper flakes to the chicken rub. It adds a nice kick without overwhelming the flavor.
Honey Glazed
Brush the chicken with a mixture of 1 tablespoon honey and 1 tablespoon soy sauce during the last 5 minutes of cooking. It caramelizes beautifully.
Low-Carb/Keto
Skip the potatoes and carrots. Double the broccoli and add cauliflower. Use olive oil and herbs only. This fits perfectly into a low-carb lifestyle.
Vegan Option
Swap chicken for firm tofu cubes or chickpeas. Toss chickpeas with spices and roast for 20 minutes. Add veggies in the last 15 minutes. It’s surprisingly satisfying.
Different Proteins
You can use chicken breasts, but pound them to ½-inch thickness and reduce cooking time to 20-25 minutes. Sausage links also work great—prick them with a fork to prevent bursting.
Serving & Storage
How to Serve:
I usually serve this straight from the pan to the table—it looks rustic and stays warm. But here are other ways I’ve enjoyed it:
- With a Salad: A simple green salad with balsamic vinaigrette balances the heavy roasted flavors.
- With Rice: Serve over fluffy white rice or quinoa to soak up any extra juices.
- With Bread: Crusty bread is great for mopping up the oil and spices.
Storage Instructions:
Refrigerator:
Store in an airtight container for up to 4 days. The chicken and veggies keep well separately. If stored together, the veggies may absorb some chicken fat, which is actually delicious.
Reheating:
Best Method: Oven or Air Fryer. Reheat at 375°F for 10-15 minutes. This restores the crispiness. If you microwave it, the skin will get chewy and sad. Avoid the microwave if you care about texture.
Freezing:
You can freeze the cooked chicken for up to 3 months. Veggies freeze okay but may get soft upon thawing. I usually freeze just the chicken and reheat with fresh veggies.
Nutrition Information
I’m not a nutritionist, but here’s the breakdown if you’re tracking. This is based on 4 servings.
Per Serving:
- Calories: ~450
- Protein: 35g
- Carbs: 25g
- Fat: 22g
- Fiber: 4g
Look, this is comfort food. It’s not a diet recipe, but it’s balanced. The chicken provides lean protein, and the veggies add fiber and vitamins. When I want to make it lighter, I reduce the oil slightly and add more broccoli. But usually? I just eat a reasonable portion and enjoy it.
Final Thoughts
So that’s my go-to Crispy Sheet Pan Chicken Dinner! I’ve probably talked your ear off at this point, but when you make a recipe this often, you have a lot to say about it.
This has saved weeknight dinners more times than I can count. It’s my answer to “what’s for dinner” when I’m tired, don’t want takeout, and still want something that tastes really good. My kids are happy, my husband’s happy, and I’m happy because I’m not stressed about cooking.
Make it yours! Try different veggies, swap in your favorite herbs, adjust the spice level. The best recipes are the ones you adapt to your family’s tastes. If you make this, drop a comment and let me know what you think! I love hearing how recipes turn out in your kitchen. And if something doesn’t work, tell me that too—I’m here to help troubleshoot.
Happy cooking! And I hope your kitchen smells half as good as mine does right now.
Frequently Asked Questions
Can I use chicken breasts instead of thighs?
Yes, but they cook faster and can dry out. If you use breasts, pound them to an even thickness (about ½ inch) and check the temperature after 20 minutes. Remove them as soon as they hit 165°F. Thighs are more forgiving and stay juicier, which is why I prefer them.
Why is my chicken skin soggy?
Two reasons: either the chicken wasn’t dry enough before seasoning, or the pan was too crowded. Make sure you pat the skin dry with paper towels, and give the pieces room to breathe on the pan. High heat (425°F) is also crucial for crisping.
Can I make this ahead of time?
You can prep the veggies and season the chicken up to 24 hours in advance. Store them separately in the fridge. When ready to cook, just toss everything on the pan and bake. This saves evening time significantly.
What if my veggies are done before the chicken?
This happens if your veggies are cut small or your oven runs hot. Remove the veggies with a slotted spoon and set them aside on a plate. Let the chicken finish roasting for the remaining time. Then return the veggies to the pan for the last 5 minutes to reheat.
Can I freeze leftovers?
Yes, the chicken freezes well for up to 3 months. Veggies may lose some texture but are still good for soups or stews later. I usually freeze the chicken portions for quick lunches.
Is this recipe kid-friendly?
Absolutely. The seasoning is mild and savory, not spicy. The roasted veggies are sweet and tender. If your kids are picky, you can serve the veggies and chicken separately on their plates. Most kids love the crispy chicken skin!
Can I add cheese to this?
Yes! Sprinkle some Parmesan or mozzarella over the veggies in the last 5 minutes of cooking. It melts nicely and adds a salty kick. Just be careful not to burn the cheese.
Pin This Recipe!
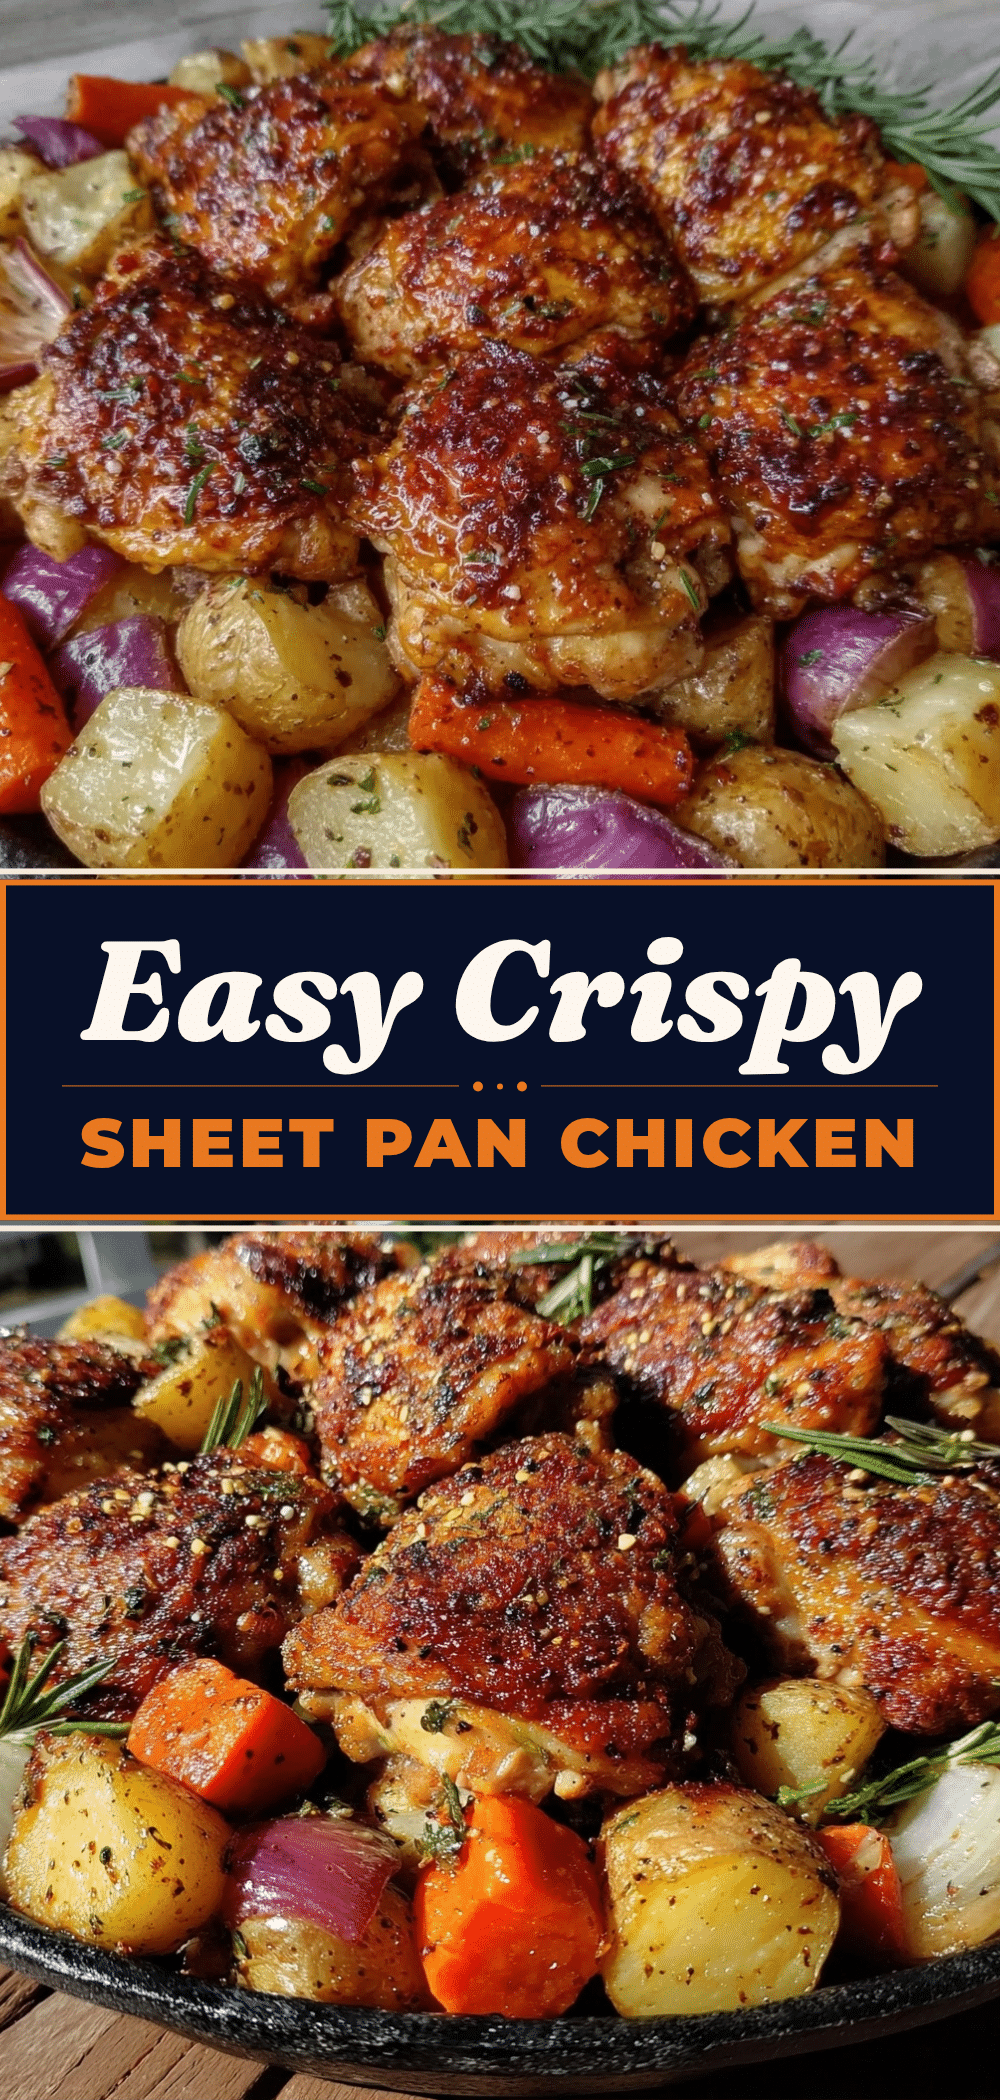
Crispy Sheet Pan Chicken Dinner: 1-2 Pan Family Meal
- Total Time: 45 minutes
- Yield: 4 servings 1x
Description
A budget-friendly, one-pan roasted chicken dinner featuring crispy skin-on thighs and caramelized root vegetables. This easy weeknight meal feeds a family of four with minimal prep and cleanup.
Ingredients
- 2 lbs (900g) boneless, skin-on chicken thighs
- 3 tablespoons extra virgin olive oil (divided)
- 2 teaspoons dried Italian seasoning
- 1 teaspoon garlic powder
- 1/2 teaspoon smoked paprika
- Salt and black pepper (generous amounts)
- 1.5 lbs (700g) red potatoes, halved
- 2 cups broccoli florets
- 3 medium carrots, chopped into 1-inch pieces
- 1 large red onion, cut into wedges
- 1 large bell pepper, chopped (optional)
- 2 tablespoons fresh parsley, chopped
- Lemon wedges for serving
Instructions
- Preheat oven to 425°F (220°C). Line a large rimmed baking sheet (18×13 inches) with aluminum foil or parchment paper and lightly grease.
- Pat chicken thighs completely dry with paper towels to ensure crispy skin.
- In a large bowl, toss dried chicken thighs with 1 tablespoon olive oil, Italian seasoning, garlic powder, smoked paprika, salt, and pepper until evenly coated.
- In a separate bowl, toss potatoes, carrots, onion, and broccoli with 2 tablespoons olive oil, salt, pepper, and a pinch of dried thyme.
- Spread the seasoned vegetables in a single layer on the prepared baking sheet.
- Place chicken thighs skin-side up on top of the vegetables, ensuring pieces are not touching to allow air circulation.
- Roast for 25-30 minutes, or until chicken internal temperature reaches 165°F (74°C) and skin is golden brown and crispy.
- If vegetables are cooking faster than chicken, remove them halfway through and let chicken finish roasting alone.
- Let chicken rest for 5 minutes before serving.
- Sprinkle with fresh parsley and serve with lemon wedges.
Notes
Dry the chicken thoroughly with paper towels before seasoning; moisture is the enemy of crispy skin. Do not crowd the pan, as this causes steaming instead of roasting. If using zucchini, add it in the last 10 minutes of cooking. For meal prep, store chicken and veggies separately in the fridge for up to 4 days. Reheat in oven or air fryer to maintain crispiness.
- Prep Time: 15 minutes
- Cook Time: 30 minutes
- Category: Main Course
- Cuisine: American
Nutrition
- Serving Size: 1 chicken thigh and
- Calories: 450
- Sugar: 6
- Sodium: 600
- Fat: 22
- Saturated Fat: 5
- Carbohydrates: 25
- Fiber: 4
- Protein: 35
Keywords: sheet pan dinner, crispy chicken, family meal, budget friendly, one pan meal, weeknight dinner, roasted chicken, easy recipes