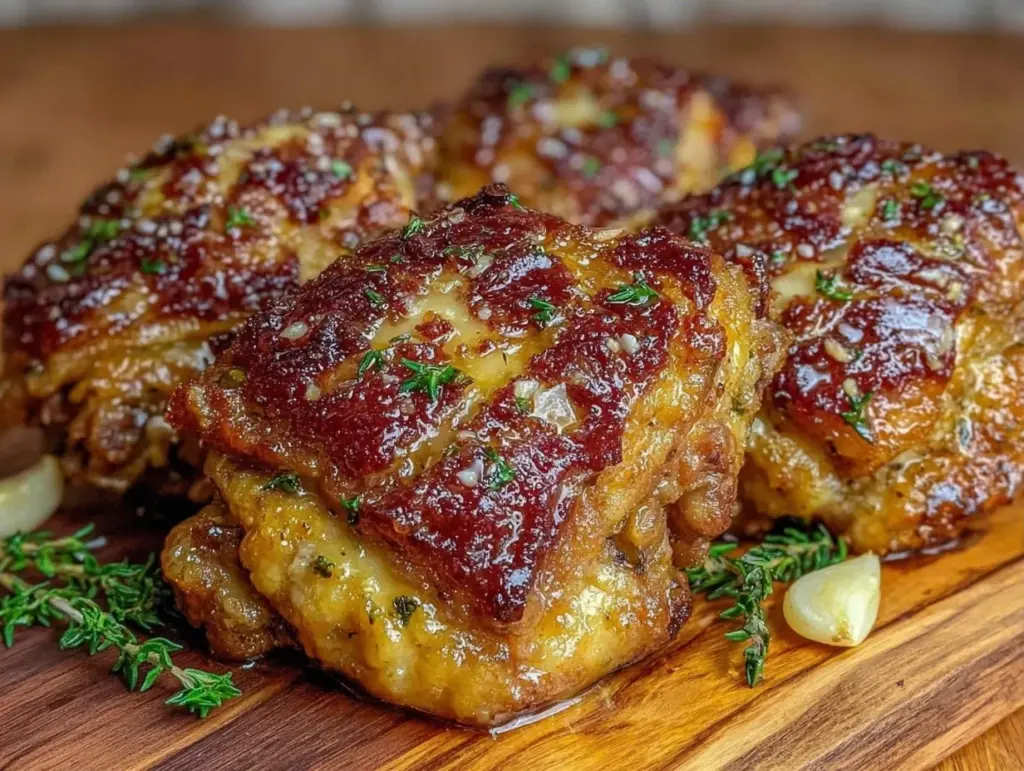
I have a confession to make. For the longest time, I was terrified of chicken thighs. Not because I didn’t like them, but because I was convinced they were either going to be dry and tough or greasy and sad. I stuck to chicken breasts because I thought that’s what “healthy” and “easy” looked like. Spoiler alert: it wasn’t. It was just expensive, dry, and always left me with that post-dinner “what did I just eat?” feeling.
Then, about three years ago, I had a total kitchen epiphany while trying to save money during a particularly tight month. I bought a family pack of bone-in, skin-on chicken thighs because they were dirt cheap. Like, seriously, you could feed a small army for the price of one takeout box. I threw them in the oven with some garlic, herbs, and butter, expecting the worst. Instead, I got crispy, juicy, golden-brown perfection. It was the first time I realized that chicken thighs are actually the unsung heroes of budget cooking.
These crispy baked chicken thighs with garlic herb butter have become the backbone of our weekly meal plan. They are better than takeout, cheaper than a restaurant meal, and honestly? Easier to make than ordering delivery. I’ve made this recipe at least fifty times in the last two years, tweaking the herb blend and the butter ratio until it was absolutely perfect. My kids, who usually pick at their food, clear their plates every single time. Even my husband, who claims he’s “not a big chicken person,” asks me to make this on repeat.
So, if you’re tired of dry breast meat or spending too much on dinner, put down the takeout menu. Let’s talk about why this budget-friendly, oven-roasted chicken is about to become your new best friend.
Why You’ll Love This Crispy Baked Chicken Thighs Recipe
There are a lot of chicken recipes out there, but this one is different. It’s not just about cooking meat; it’s about creating a meal that feels special without the special price tag. Here’s why this crispy baked chicken thighs recipe is the one you’ll keep coming back to:
- Stupid Simple Cleanup — Seriously, if you can throw stuff on a baking sheet, you can make this. One pan. That’s it. No standing over a hot stove, no splattering oil, no complicated techniques. I make this on nights when I’m exhausted and just want to sit down.
- Actually Budget-Friendly — Chicken thighs are consistently the cheapest cut of chicken at the grocery store. By buying bone-in, skin-on, you’re getting more flavor and moisture for less money. This feeds four people for under $15, which is a miracle in today’s economy.
- Crispy Skin, Juicy Meat — The secret is in the dry brine and the butter. The skin gets shatteringly crisp while the meat stays tender and juicy. No rubbery chicken here. Just pure, savory goodness.
- Kid-Approved Flavor — Garlic and butter? Yes, please. My kids think this tastes like restaurant chicken wings but healthier. It’s the perfect way to get them to eat dinner without a fight.
- Perfect for Meal Prep — These thighs reheat beautifully. In fact, I often make a double batch on Sunday so I have protein ready for lunches all week. They hold up in the fridge for up to four days without getting dry.
Real talk: this is my go-to when I need dinner to just work. No stress, no waste, just reliable, delicious food that makes everyone happy. If you’ve been looking for a creamy Tuscan garlic chicken alternative that’s lighter but still packed with flavor, this is it.
Ingredients You’ll Need
Here’s the best part: you probably have most of this already in your pantry and fridge. This recipe relies on simple, affordable ingredients that you likely already own. I’m particular about three things here, and I’ll tell you exactly why.
For the Chicken
Bone-in, skin-on chicken thighs (about 3-4 pounds / 1.5 kg) — Do not use boneless, skinless thighs if you want this crispy result. The bone adds flavor, and the skin protects the meat from drying out while creating that golden crust. Look for a family pack; it’s usually the cheapest per pound.
Salt (1 tablespoon / 15g) — Kosher salt is best because it’s easier to control. You’ll use this for dry brining the chicken, which is the secret to crispy skin. This step draws out moisture and seasons the meat deeply.
Black pepper (1 teaspoon / 2g) — Freshly cracked is non-negotiable. Pre-ground pepper loses its punch. I buy a peppercorn grinder and crack it fresh every time.
Garlic powder (1 teaspoon / 2g) — This adds a consistent garlic flavor that sticks to the skin. I use it alongside fresh garlic for a double hit of flavor.
Smoked paprika (1 teaspoon / 2g) — This gives the chicken a beautiful color and a subtle smoky depth. It’s not spicy, just flavorful. If you don’t have it, regular paprika works, but you’ll miss that smoky note.
Dried thyme (1 teaspoon / 1g) — Thyme pairs perfectly with chicken and garlic. Dried herbs are fine here because they roast well. Fresh herbs can burn in the oven, so I stick to dried for the rub.
Dried oregano (1 teaspoon / 1g) — Adds an earthy, slightly bitter note that balances the richness of the butter and skin.
For the Garlic Herb Butter
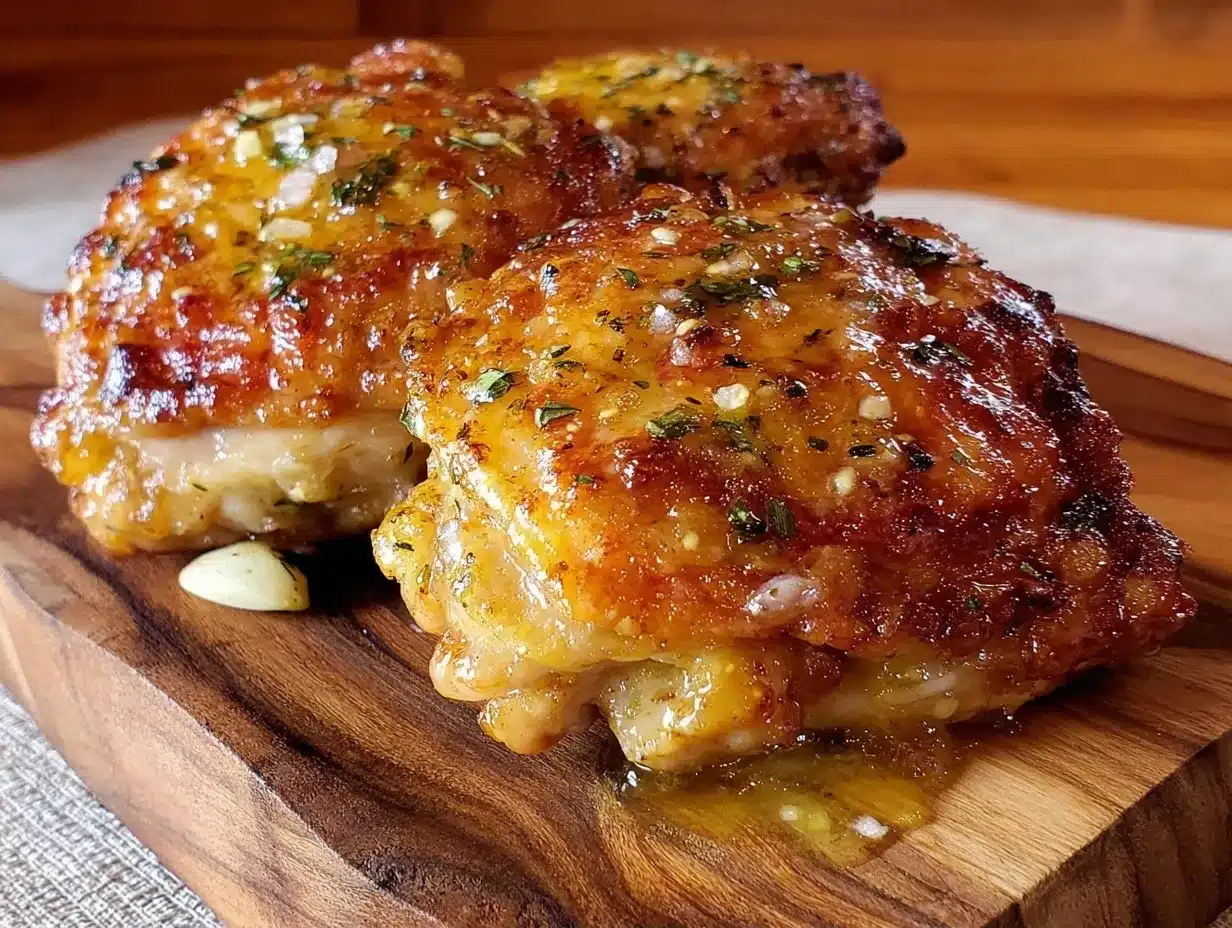
Unsalted butter (4 tablespoons / 57g) — Softened, not melted. I use unsalted so I can control the sodium. If you only have salted, reduce the salt in the rub by half.
Fresh garlic (4 cloves, minced / about 2 tablespoons) — Yes, four cloves. Don’t skimp. The garlic infuses the butter and roasts into a sweet, mellow flavor. Fresh only—no jarred garlic in this recipe. It tastes metallic.
Fresh parsley (2 tablespoons, chopped / about 5g) — Adds a fresh, bright finish. If you don’t have fresh parsley, dried parsley works, but fresh is better. I usually have a bunch in my fridge that’s about to wilt, and this is the perfect use for it.
Lemon juice (1 teaspoon / 5ml) — A tiny splash cuts through the richness of the butter and fat. It’s subtle but makes a huge difference in the flavor profile.
Optional Add-ins:
- Red pepper flakes (½ teaspoon) — If you like a little kick, add this to the butter. It’s optional but nice.
- Zest of one lemon — For extra brightness. I add this when I want the chicken to feel more summery.
Shopping Shortcut: I buy my chicken in bulk from Costco or Sam’s Club when it’s on sale, then freeze it in portions. This way, I always have budget-friendly chicken thighs on hand without overspending.
Equipment Needed
You don’t need fancy equipment for this. Here’s what I actually use.
Large baking sheet — I use a rimmed half-sheet pan. The rim keeps the juices from dripping onto the oven floor. I prefer aluminum for even heating, but stainless steel works too.
Wire rack (optional but recommended) — Placing a wire rack on your baking sheet allows air to circulate under the chicken, making the bottom skin crispier too. If you don’t have one, just put the chicken directly on the parchment paper—it still works great.
Parchment paper — I line my baking sheet with parchment for easy cleanup. Chicken skin can stick and burn, and parchment saves you from scrubbing.
Small bowl — For mixing the garlic herb butter. Any small bowl will do.
Measuring spoons — Standard stuff. Dollar store versions work fine.
Sharp knife — For chopping the parsley and mincing the garlic. Dull knives make you cry more—learned this the hard way.
Pastry brush — For spreading the butter. If you don’t have one, just use the back of a spoon. It’s not fancy, but it works.
Tip: I’m obsessed with my garlic parmesan smashed potatoes which also use a baking sheet, so I often cook both at the same time if I have enough oven space.
How to Make It: Step-by-Step
Alright, let’s make this! I’m walking you through exactly how I do it, including the little tricks I’ve picked up.
Step 1: Prep the Oven and Pan (5 minutes)
Preheat your oven to 425°F (220°C). This high heat is crucial for crispy skin. Line a large baking sheet with parchment paper and place a wire rack on top if you have one. If not, just line the sheet directly. The parchment is your best friend for cleanup.
Step 2: Dry Brine the Chicken (5 minutes)
Pat the chicken thighs completely dry with paper towels. This is the most important step for crispy skin. Moisture is the enemy of crispiness. Once they’re dry, sprinkle them evenly with salt, pepper, garlic powder, smoked paprika, thyme, and oregano. Rub the spices into the skin and meat on both sides. Let them sit on the counter for 15-30 minutes while you prep the butter. This dry brine draws out moisture and seasons the meat deeply.
Step 3: Make the Garlic Herb Butter (5 minutes)
In a small bowl, mix the softened butter, minced garlic, chopped parsley, lemon juice, and a pinch of salt (if using unsalted butter). Stir until combined. It should look like a fragrant, green-flecked paste. If the butter is too hard to mix, let it sit at room temperature for a few more minutes. You want it spreadable, not melted.
Step 4: Butter the Chicken (5 minutes)
Take the spoonfuls of garlic herb butter and spread it generously over the skin of each chicken thigh. Make sure you get it under the skin if you can, but definitely cover the top. The butter will baste the chicken as it roasts, keeping the meat juicy while the skin crisps up.
Step 5: Bake Until Golden (35-40 minutes)
Place the chicken on the baking sheet, skin-side up. Make sure the pieces aren’t touching each other; they need space for air to circulate. Bake for 35-40 minutes, or until the skin is deep golden brown and crispy, and the internal temperature reaches 165°F (74°C) at the thickest part. If you don’t have a thermometer, cut into one thigh to check—the juices should run clear, not pink.
Step 6: Rest and Serve (5 minutes)
Remove the chicken from the oven and let it rest for 5 minutes before serving. This allows the juices to redistribute. If you cut into it immediately, all the juice will run out, and the meat will be dry. Serve warm, with extra parsley sprinkled on top if you like.
Total Time: About 50 minutes (15 minutes active, 35 minutes hands-off)
Troubleshooting:
- Skin isn’t crispy? Make sure you patted the chicken dry and didn’t skip the dry brine step. Also, ensure your oven is fully preheated to 425°F.
- Chicken is dry? You might have overcooked it. Chicken thighs can handle a bit more heat than breasts, but 165°F is the target. Use a thermometer to be safe.
- Burning? If the skin is browning too fast, tent the pan loosely with foil for the last 10 minutes of cooking.
Expert Tips & Tricks
Here’s everything I’ve learned from making this dozens of times. These tips will save you from my mistakes.
Pat Dry, Pat Dry, Pat Dry
This is the #1 tip. Wet chicken steams; dry chicken crisps. I’ve made this mistake before and ended up with soggy skin. Now I use a fresh paper towel for every single thigh. It takes an extra minute, but it’s worth it.
Don’t Crowd the Pan
If you put too many chicken pieces on the pan, they’ll steam instead of roast. Give them some breathing room. If you’re cooking a large batch, use two pans or cook in two batches. I’d rather cook in batches than have soggy chicken.
Room Temperature Butter
Cold butter won’t spread evenly. Let your butter sit out for 15-20 minutes before mixing. If you forget, you can microwave it for 5-second intervals until soft, but don’t melt it. Melted butter soaks into the skin instead of coating it.
Use a Thermometer
I know, it sounds like a chef thing, but it’s the best way to ensure perfect chicken every time. Chicken thighs are forgiving, but they can still dry out if overcooked. An instant-read thermometer takes the guesswork out.
Pro Trick: The Broil Finish
If your skin isn’t quite as crispy as you want it, turn the broiler on for the last 2-3 minutes of cooking. Watch it like a hawk—it can go from golden to burnt in seconds. This gives you that extra crunch.
Make-Ahead Strategy
You can prep the chicken up to 24 hours in advance. Pat it dry, season it, and store it uncovered in the fridge. The dry air in the fridge will further dry out the skin, making it even crispier. This is perfect for busy weeknights.
Variations & Substitutions
Once you’ve nailed the basic version, here’s how you can mix it up. I’ve tried all of these.
Spicy Version
Add 1 teaspoon of cayenne pepper or red pepper flakes to the spice rub. If you like heat, this is a game-changer. I add this when I want something with a bit more kick.
Herb-Forward
Double the thyme and oregano, and add 1 teaspoon of dried rosemary. Rosemary pairs beautifully with garlic and chicken. It gives the dish a more rustic, French-inspired flavor.
Lemon Pepper
Skip the paprika and thyme, and use lemon pepper seasoning instead. It’s a quick shortcut if you don’t have individual spices. Add extra lemon zest to the butter for brightness.
Dietary Modifications:
- Dairy-Free: Substitute the butter with olive oil or avocado oil. The skin will still crisp up, though it won’t have the same rich flavor. I use olive oil when I’m avoiding dairy.
- Gluten-Free: This recipe is naturally gluten-free. Just double-check your spice blends to ensure they don’t contain hidden gluten (some pre-mixed blends do).
Pairing Ideas:
This chicken pairs perfectly with honey roasted carrots with fresh thyme for a complete, colorful meal. The sweetness of the carrots balances the savory chicken.
Serving & Storage
How to Serve:
I usually serve this straight from the pan at the dinner table—it looks rustic and stays warm. But here are other ways I’ve enjoyed it:
Side Dishes:
- Brown butter garlic mashed potatoes (obviously)
- Simple green salad with balsamic vinaigrette
- Roasted broccoli or green beans
- Cauliflower rice for a low-carb option
Toppings Bar:
When I have guests, I put out: extra parsley, lemon wedges, red pepper flakes, and hot sauce. Everyone customizes their bowl.
Storage Instructions:
Refrigerator:
Store in an airtight container for up to 4 days. The skin will soften in the fridge—totally normal. To restore crispiness, reheat in a 400°F oven for 10 minutes.
Reheating:
Best method: Oven or air fryer. Microwave will make the skin soggy. I reheat in a 400°F oven for 10-15 minutes, or until heated through.
Freezing:
You can freeze cooked chicken thighs for up to 3 months. Let them cool completely, then store in a freezer-safe bag. Thaw in the fridge overnight and reheat in the oven.
Meal Prep:
I often make a double batch on Sunday. Half for weeknight dinners, half for lunches. They’re perfect for salads or grain bowls throughout the week.
Nutrition Information
I’m not a nutritionist, but here’s the breakdown if you’re tracking. Note that this is an estimate and can vary based on the specific chicken and butter used.
Per Serving (based on 4 servings, 1 thigh each):
- Calories: 350
- Protein: 25g
- Carbs: 1g
- Fat: 26g
- Saturated Fat: 10g
- Sodium: 320mg
What’s Good:
– High in protein
– Low in carbs (keto-friendly)
– Rich in vitamins from the herbs
What to Know:
– Higher in fat due to skin and butter
– Contains dairy (butter)
– Moderate sodium
My Take:
Look, this is comfort food with butter and skin. It’s not a diet recipe. But it’s way better than takeout, costs less, and I know exactly what’s in it. When I want to make it lighter, I remove the skin before eating and use less butter. But usually? I just eat a reasonable portion and enjoy it.
Final Thoughts
So that’s my go-to crispy baked chicken thighs with garlic herb butter! I’ve probably talked your ear off at this point, but when you make a recipe this often, you have a lot to say about it.
This has saved weeknight dinners more times than I can count. It’s my answer to “what’s for dinner” when I’m tired, don’t want takeout, and still want something that tastes really good. My kids are happy, my husband’s happy, and I’m happy because I’m not stressed about cooking.
Make it yours! Try different herbs, add some chili flakes, or serve it with different sides. The best recipes are the ones you adapt to your family’s tastes. If you make this, drop a comment and let me know what you think! I love hearing how recipes turn out in your kitchen. And if something doesn’t work, tell me that too—I’m here to help troubleshoot.
Happy cooking! And I hope your kitchen smells half as good as mine does right now.
Frequently Asked Questions
Can I use chicken breasts instead of thighs?
You can, but the result will be very different. Chicken breasts lean and dry out quickly. If you use breasts, reduce the cooking time to 25-30 minutes and watch them closely. I don’t recommend it for this specific crispy skin method, as thighs have the fat content needed to stay juicy under high heat.
Why is my chicken skin not crispy?
Usually, this means the skin was too wet. Make sure you pat it dry thoroughly and let it sit uncovered in the fridge for at least 30 minutes (or up to 24 hours) to air-dry. Also, ensure your oven is fully preheated to 425°F. If the oven isn’t hot enough, the skin will steam instead of crisp.
Can I make this in an air fryer?
Absolutely! This works great in an air fryer. Cook at 400°F for 18-22 minutes, flipping halfway through. The air fryer makes the skin even crispier. Just make sure not to overcrowd the basket. I often make a smaller batch in the air fryer for quick lunches.
How do I store leftovers?
Store in an airtight container in the fridge for up to 4 days. To reheat, use an oven or air fryer at 400°F for 10 minutes to restore crispiness. Avoid the microwave, as it will make the skin soggy.
Can I freeze raw chicken thighs with the rub on?
Yes, you can. Season the chicken, wrap it tightly in plastic wrap and foil, and freeze for up to 3 months. Thaw in the fridge overnight before baking. Note that the skin might not get as crispy if frozen raw, but it will still be delicious.
What sides go well with this chicken?
I love serving this with crispy garlic parmesan smashed potatoes or honey roasted carrots. A simple green salad or roasted vegetables also work well. It’s versatile enough to pair with almost anything.
Is this recipe kid-friendly?
Yes! The garlic and butter flavor is mild and appealing to most kids. If your children are sensitive to herbs, you can omit the thyme and oregano and just use salt, pepper, and garlic powder. They’ll still love the crispy skin and juicy meat.
Pin This Recipe!
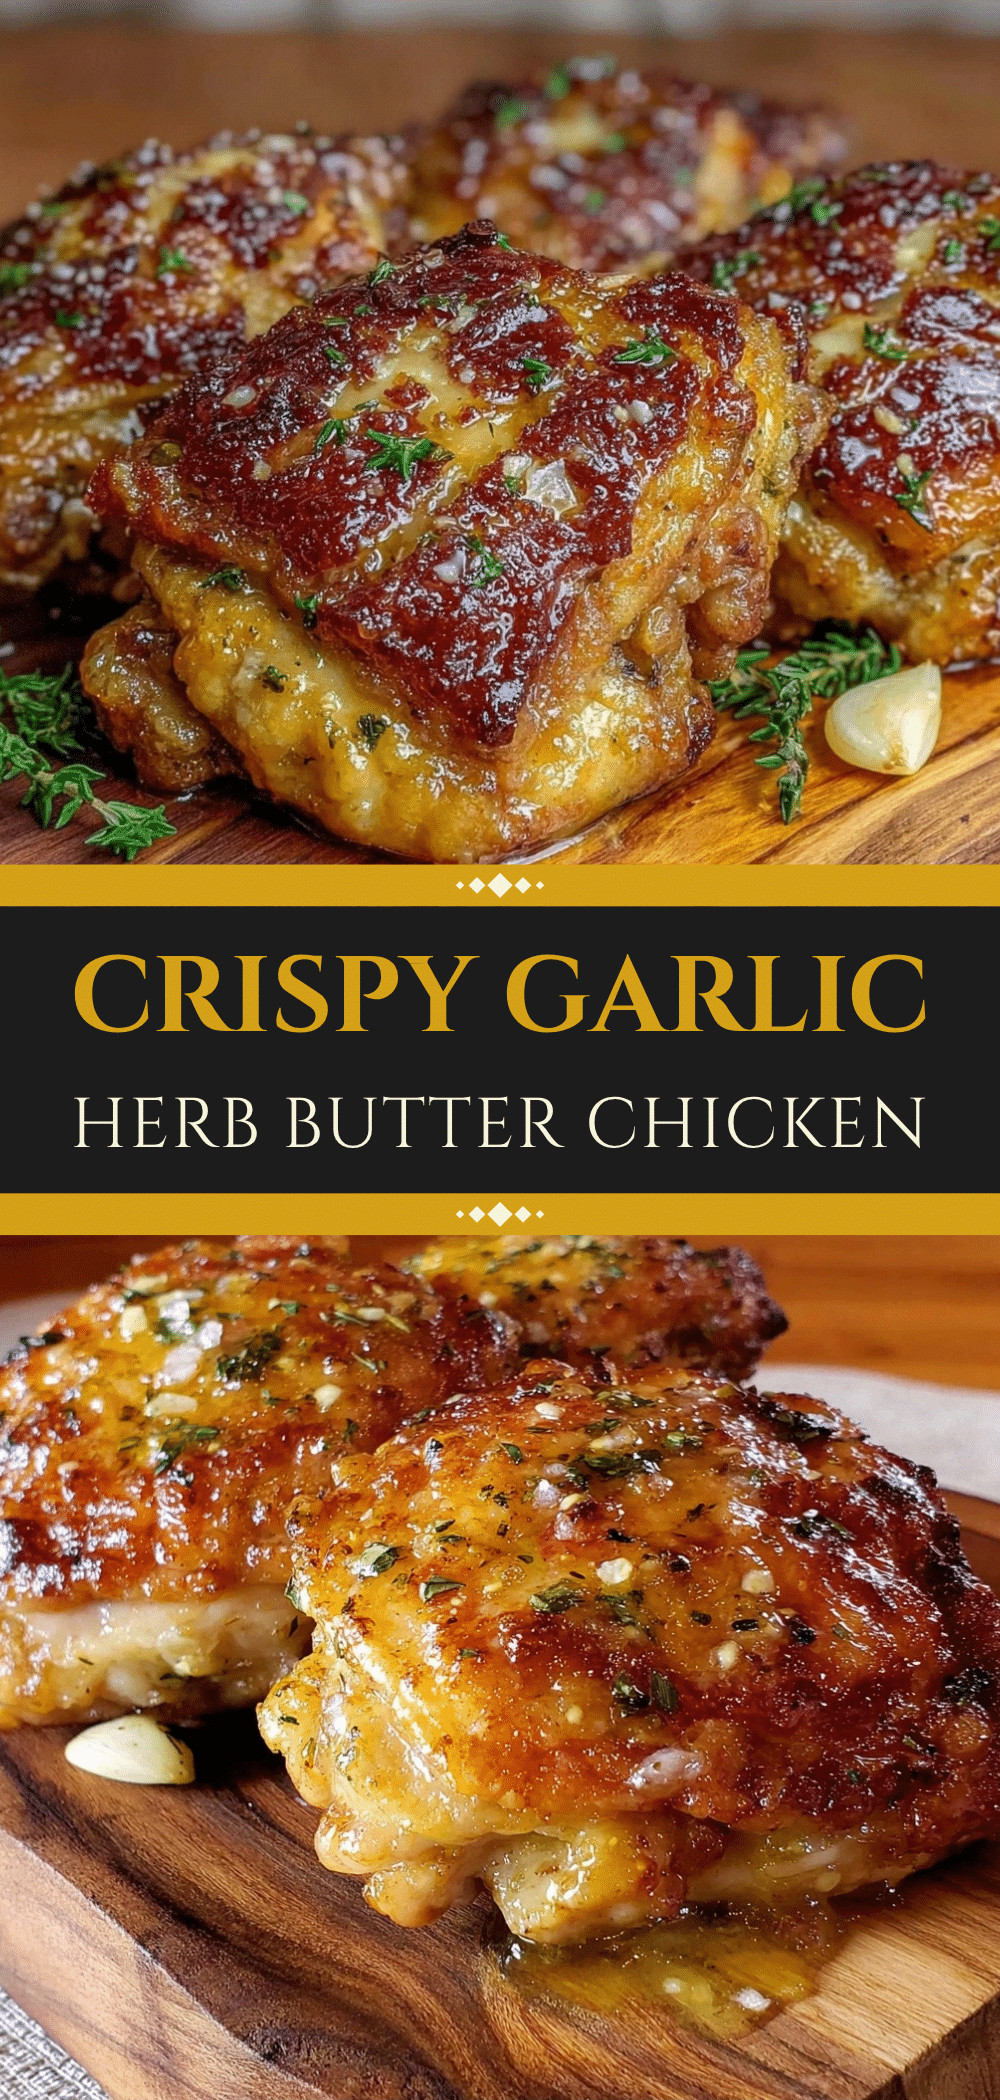

Crispy Baked Chicken Thighs: Best Budget Family Meal
- Total Time: 50 minutes
- Yield: 4 servings 1x
Description
These crispy baked chicken thighs with garlic herb butter are a budget-friendly, easy-to-make family favorite. Featuring bone-in, skin-on thighs dry-brined for maximum crispiness and basted with a savory herb butter, this oven-roasted meal delivers restaurant-quality flavor without the hassle.
Ingredients
- 3–4 pounds bone-in, skin-on chicken thighs
- 1 tablespoon kosher salt
- 1 teaspoon freshly cracked black pepper
- 1 teaspoon garlic powder
- 1 teaspoon smoked paprika
- 1 teaspoon dried thyme
- 1 teaspoon dried oregano
- 4 tablespoons unsalted butter, softened
- 4 cloves fresh garlic, minced
- 2 tablespoons fresh parsley, chopped
- 1 teaspoon lemon juice
- Optional: ½ teaspoon red pepper flakes
- Optional: Zest of one lemon
Instructions
- Preheat oven to 425°F (220°C). Line a large rimmed baking sheet with parchment paper and place a wire rack on top if available.
- Pat chicken thighs completely dry with paper towels. Sprinkle evenly with salt, pepper, garlic powder, smoked paprika, thyme, and oregano. Rub spices into the skin and meat on both sides. Let sit on the counter for 15-30 minutes to dry brine.
- In a small bowl, mix softened butter, minced garlic, chopped parsley, lemon juice, and a pinch of salt (if using unsalted butter) until combined into a paste.
- Spread the garlic herb butter generously over the skin of each chicken thigh, getting under the skin if possible.
- Place chicken on the baking sheet skin-side up, ensuring pieces are not touching. Bake for 35-40 minutes until skin is deep golden brown and internal temperature reaches 165°F (74°C).
- Remove from oven and let rest for 5 minutes before serving. Garnish with extra parsley if desired.
Notes
Patting the chicken dry is crucial for crispy skin. Do not crowd the pan; cook in batches if necessary. For extra crispiness, broil for the last 2-3 minutes. Leftovers can be stored in the fridge for up to 4 days or frozen for up to 3 months. Reheat in the oven or air fryer to maintain crispiness.
- Prep Time: 15 minutes
- Cook Time: 35-40 minutes
- Category: Main Course
- Cuisine: American
Nutrition
- Serving Size: 1 thigh per serving
- Calories: 350
- Sodium: 320
- Fat: 26
- Saturated Fat: 10
- Carbohydrates: 1
- Protein: 25
Keywords: crispy baked chicken thighs, budget family meal, garlic herb butter, easy dinner, keto friendly, high protein, one pan meal



