Last year, I showed up to our neighborhood Labor Day picnic with a sad-looking container of store-bought potato salad. You know the kind—the one that’s been sitting in the sun for three hours, the mayo has separated, and it tastes like regret. My husband politely ate two bites, and I spent the rest of the afternoon feeling like the worst hostess ever. That was the moment I decided enough was enough. I wasn’t going to bring another mediocre side dish to a summer gathering again.
I spent the next few weekends experimenting. I wanted something that could survive the heat without turning into a greasy mess, something that tasted even better the next day (because let’s be honest, there are almost always leftovers), and most importantly, something that wouldn’t break the bank. I needed a budget-friendly solution that could feed a crowd of picky eaters, from my toddler who only likes yellow things to my teenager who claims everything is “bland.”
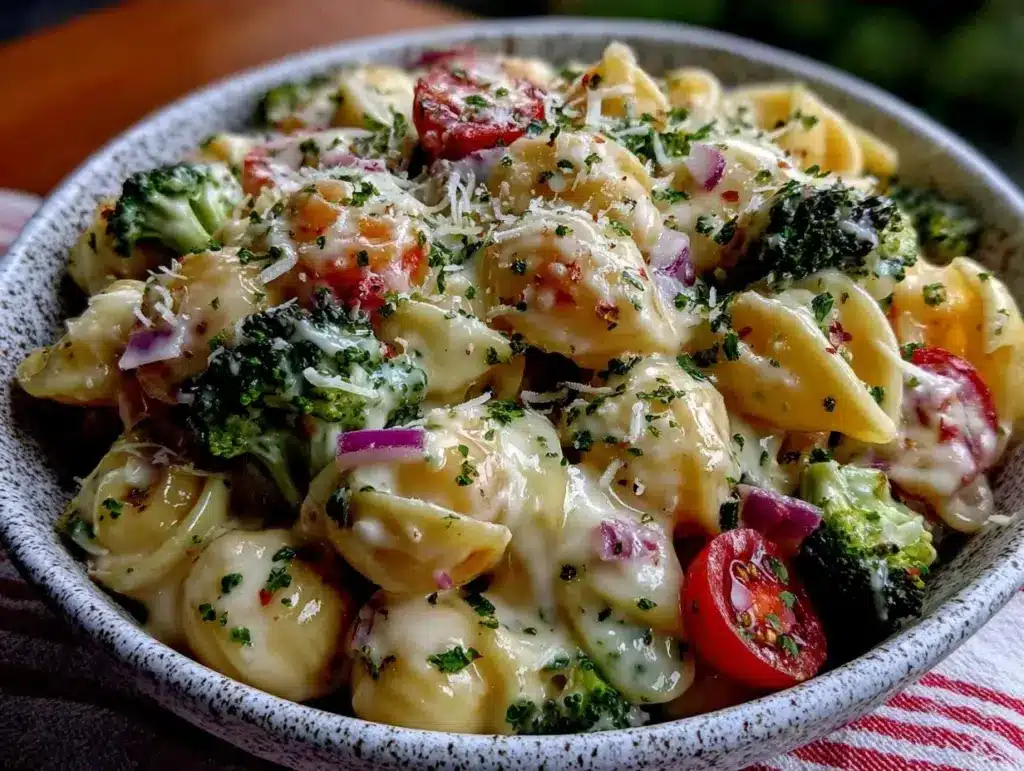
That experimentation led to this Labor Day Picnic Pasta Salad with Creamy Ranch Dressing. It’s my go-to now. It’s creamy, it’s tangy, it’s packed with crunchy veggies, and it uses ingredients I already have in my pantry. It’s the kind of dish that disappears in minutes, leaving everyone asking for the recipe. I’ve made this for family reunions, office potlucks, and lazy weekend barbecues, and it never fails to impress. If you’re tired of the same old potato salad routine, you need to try this.
Why You’ll Love This Pasta Salad
There’s a reason this recipe has taken over our summer meal rotation. It’s not just tasty; it’s practical. Here’s why this creamy ranch pasta salad is the ultimate crowd-pleaser:
- Stupid Simple — Seriously, if you can boil water and chop a cucumber, you can make this. I’ve made this while helping my kids with homework. It requires zero fancy techniques.
- Lightning Fast — 30 minutes from start to finish, and only 15 of those are active. The rest is just waiting for the pasta to boil and cool. Perfect for those last-minute “oh no, guests are coming” moments.
- Pantry-Friendly — You probably have 80% of these ingredients already. Mayo, ranch dressing, pasta, frozen veggies—basics we all stock up on.
- Crowd-Pleaser — I’ve served this to my vegetarian sister, my gluten-sensitive neighbor (using GF pasta), and my meat-loving dad. Everyone loves it. It’s universally appealing.
- Makes Amazing Leftovers — This actually tastes better the next day. The pasta absorbs the dressing and gets even creamier. I deliberately make extra for lunch throughout the week.
- Budget-Smart — Feeds 6-8 people for under $10. That’s cheaper than buying side dishes at a grocery store deli counter.
This is my answer to “what’s for dinner” when I’m tired, don’t want takeout, and still want something that tastes really good. It’s reliable, delicious, and makes everyone happy.
Ingredients You’ll Need
Here’s the best part: you probably have most of this already. I’m particular about a few things here, but overall, this is a very forgiving recipe. I keep these items stocked just so I can throw this together on a whim.
For the Base
Rotini or Penne Pasta (1 pound / 450g) — I use rotini because the spirals hold the creamy dressing perfectly. Penne works too. Any short, sturdy pasta works. Avoid long noodles like spaghetti—they get messy and don’t coat well. I always use Barilla because it cooks evenly every time.
Mayonnaise (½ cup / 120g) — Use full-fat for the best texture. Light mayo works if you’re watching calories, but it changes the mouthfeel. I prefer Hellmann’s or Duke’s for a tangier profile.
Ranch Dressing (½ cup / 120g) — I use a creamy store-bought ranch like Hidden Valley or Kraft. It adds that classic tangy flavor without needing to mix spices from scratch. If you want to make your own, mix ½ cup mayo with 1 packet of dry ranch seasoning.
Sour Cream (¼ cup / 60g) — This adds richness and helps stabilize the dressing so it doesn’t get too runny in the heat. Greek yogurt works as a lighter substitute, but it’s tangier.
For the Crunch and Color
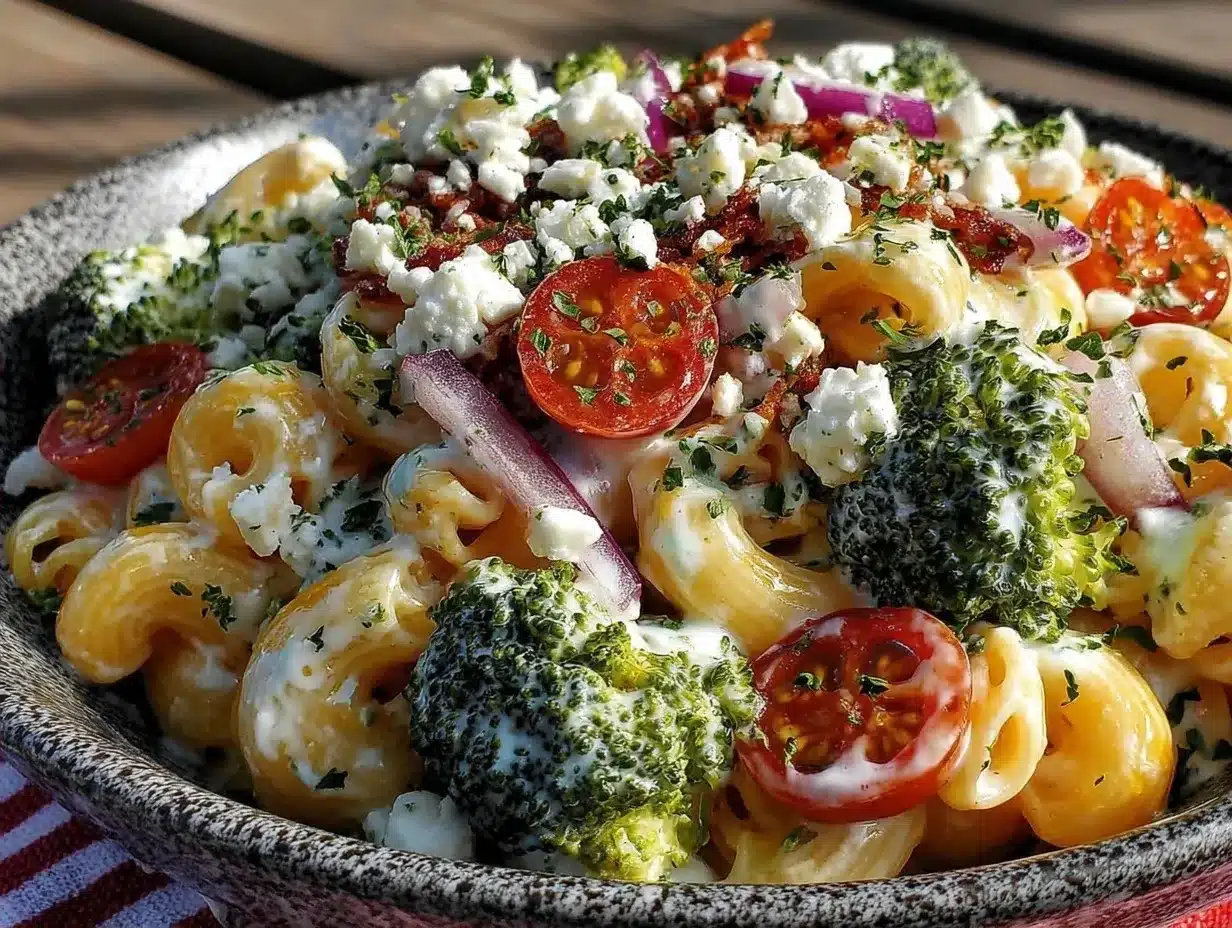
Shredded Cheddar Cheese (1 cup / 100g) — Sharp cheddar adds flavor that cuts through the creaminess. Mild cheddar is fine if you’re serving kids. Pre-shredded cheese has anti-caking agents that might make the salad slightly grainy, so block cheese is better if you have time.
Cherry Tomatoes (1 cup, halved) — Adds bursts of sweetness and acidity. I throw these in whenever I have them. Roma tomatoes work too, just dice them small.
Cucumber (1 medium, diced) — Adds that essential crunch. I peel it first if the skin is thick, but leave it on if it’s thin. It keeps the salad fresh and light.
Red Onion (¼ cup, finely diced) — Adds a sharp bite. If your family is sensitive to raw onion, soak the diced onion in cold water for 10 minutes to mellow the flavor. Or swap for green onions.
Frozen Peas and Corn (1 cup total, thawed) — This is my secret weapon. It adds sweetness, color, and texture without needing to chop anything. I buy the frozen mix and just thaw it under warm water. It’s budget-friendly and always available.
Optional Add-ins
Crumbled Bacon (½ cup) — For the meat-eaters in the family. Adds smokiness and crunch. I use this when I want to stretch the meal into a main dish.
Diced Ham (1 cup) — Leftover ham works great here. It makes the salad heartier and more like a lunchbox meal.
Black Olives (½ cup, sliced) — If your family loves them, they add a nice salty contrast. I skip them for my kids but add them for myself.
Fresh Dill or Parsley (2 tablespoons, chopped) — Adds a fresh herbal note. Dill pairs especially well with the ranch flavor. I use dried if I’m in a rush, but fresh is better.
Equipment Needed
You don’t need fancy equipment for this. Here’s what I actually use.
Large Pot — I use a 6-quart pot. Needs to fit a pound of pasta comfortably. My ancient pot from college still works fine.
Large Mixing Bowl — A 4-quart bowl is ideal. Glass or stainless steel works best because it’s easy to clean and doesn’t stain from the turmeric in the pasta.
Colander — For draining pasta. Or just use the lid to drain—I do this when I’m lazy.
Sharp Knife — For chopping onions and cucumbers. Dull knives make you cry more—learned this the hard way.
Cutting Board — Any size works. I use plastic for easier cleanup.
Measuring Cups and Spoons — Pretty standard stuff. Dollar store versions work fine.
Whisk or Large Spoon — For mixing the dressing. A whisk ensures there are no lumps of mayo.
How to Make It: Step-by-Step
Alright, let’s make this! I’m walking you through exactly how I do it, including the little tricks I’ve picked up over the years.
Step 1: Cook the Pasta (10 minutes)
Bring a large pot of salted water to a boil—it should taste like the ocean. Add the rotini and cook according to package directions until al dente (usually 8-10 minutes). IMPORTANT: Do not overcook the pasta. It will soften more when it sits in the dressing. Drain the pasta in a colander and rinse it under cold water to stop the cooking. This is crucial for a cold salad; hot pasta will melt the cheese and make the salad mushy.
Step 2: Prep the Veggies (5 minutes)
While the pasta cooks, chop your veggies. Dice the cucumber and red onion. Halve the cherry tomatoes. If you’re using frozen peas and corn, thaw them under warm water and drain well. Excess water is the enemy of creamy salad, so make sure everything is dry. Pat the tomatoes and cucumbers dry with a paper towel if needed.
Step 3: Make the Dressing (3 minutes)
In your large mixing bowl, whisk together the mayonnaise, ranch dressing, and sour cream until smooth and creamy. Taste it. If you want it tangier, add a splash of lemon juice or a pinch of garlic powder. If you want it creamier, add a little more mayo. This is your base, so get it right.
Step 4: Combine Everything (5 minutes)
Add the cooled pasta to the bowl with the dressing. Add the shredded cheddar, diced cucumber, red onion, tomatoes, and thawed peas and corn. If you’re adding bacon or ham, toss that in now. Toss everything together gently but thoroughly. You want every piece of pasta coated in that creamy ranch goodness.
Step 5: Chill and Serve (30 minutes minimum)
Cover the bowl with plastic wrap and refrigerate for at least 30 minutes. This allows the flavors to meld and the pasta to absorb the dressing. I usually make this the night before, so it’s fully chilled and ready to go. Stir it again before serving. If it looks too thick, add a splash of milk or buttermilk to loosen it up.
Total Time: About 30 minutes active, plus chilling time.
Built-in Troubleshooting:
- Sauce too thick? Add milk or buttermilk one tablespoon at a time until desired consistency.
- Sauce too thin? Add more shredded cheese or a bit more mayo. Let it chill longer; the pasta will absorb liquid.
- Pasta is mushy? You overcooked it or didn’t rinse it cold enough next time, cook 1 minute less and rinse thoroughly.
Expert Tips & Tricks
Here’s everything I’ve learned from making this dozens of times. These tips will save you from my mistakes.
Don’t Skip the Cold Rinse
This is the #1 tip. Rinsing the pasta under cold water stops the cooking process and removes excess starch. If you don’t do this, your pasta salad will be sticky and warm, which is not what you want for a picnic. I learned this the hard way with a gloopy disaster that wouldn’t hold its shape.
Drain Your Veggies Well
Watery veggies = watery salad. If you’re using tomatoes or cucumbers, pat them dry. If you’re using frozen peas, squeeze out the water. I use a clean kitchen towel to pat them dry. It takes an extra minute but makes a huge difference in texture.
Make It Ahead
This salad tastes better the next day. The flavors meld together overnight. I usually make it Sunday night for Monday lunch or the night before a weekend BBQ. Cover it tightly and store in the fridge for up to 4 days.
Adjust for Dietary Needs
Gluten-free? Use gluten-free rotini. Dairy-free? Use vegan mayo and dairy-free ranch. I’ve made this for my lactose-intolerant friend using almond milk yogurt and vegan mayo, and she loved it. It’s adaptable.
Pro Trick for Extra Flavor
Add a pinch of garlic powder and onion powder to the dressing. It boosts the ranch flavor without needing fresh garlic. I keep a jar of garlic powder in my pantry specifically for this.
Variations & Substitutions
Once you’ve nailed the basic version, here’s how you can mix it up. I’ve tried all of these.
Protein-Packed Version
Add 1 cup diced cooked chicken (rotisserie works great) or ½ cup crumbled bacon. My husband prefers this version—it makes it more filling and turns it into a main dish. You can also use crispy air fryer chicken thighs for extra flavor.
Southwest Twist
Swap ranch dressing for taco seasoning mixed with mayo. Add black beans, corn, diced bell peppers, and jalapeños. Top with cilantro. It’s a totally different vibe—spicy and fresh.
Italian Style
Use Italian dressing instead of ranch. Add salami, pepperoni, mozzarella balls, and artichoke hearts. It’s like a deconstructed antipasto. Great for summer gatherings.
Lighter Version
Use Greek yogurt instead of sour cream and light mayo. Reduce cheese to ½ cup. It’s thinner but still good. I make this when I’m trying to be “healthy,” though it’s still pretty rich.
Vegan Version
Use vegan mayo, vegan ranch, and nutritional yeast instead of cheese. Add chickpeas for protein. It’s different but still tasty. My vegan friend requests this version sometimes.
Serving & Storage
How to Serve
I usually serve this straight from the bowl at the dinner table—it looks rustic and stays cool. But here are other ways I’ve enjoyed it:
- As a side dish to Labor Day BBQ chicken skewers—the smoky chicken pairs perfectly with the creamy salad.
- On top of mixed greens for a hearty lunch.
- In sandwich wraps with turkey and avocado.
Side Dishes
Pair this with grilled veggies, corn on the cob, or honey roasted carrots with fresh thyme for a balanced meal. It also goes great with burgers and hot dogs.
Storage Instructions
Refrigerator: Store in an airtight container for up to 4 days. The salad will thicken in the fridge—totally normal. Stir in a splash of milk or dressing before serving to loosen it up.
Freezing: Honestly, this doesn’t freeze well because of the mayo and dairy. The texture gets weird when thawed. Make it fresh or store in the fridge.
Meal Prep: Make the salad on Sunday, store in the fridge. It’s perfect for grab-and-go lunches. I pack it in mason jars for the week.
Pro Tip
If leftovers are drying out, stir in a tablespoon of mayo and a splash of milk when reheating (though it’s best eaten cold). It brings back that creamy texture.
Nutrition Information
I’m not a nutritionist, but here’s the breakdown if you’re tracking. This is comfort food with mayo and cheese. It’s not a diet recipe, but it’s way better than takeout.
Per Serving (based on 8 servings):
- Calories: 380
- Protein: 12g
- Carbs: 45g
- Fiber: 2g
- Sugar: 4g
- Fat: 18g
- Saturated Fat: 7g
- Cholesterol: 35mg
- Sodium: 450mg
What’s Good: Decent protein from pasta and cheese. Can add vegetables to boost nutrition. More filling than it looks.
What to Know: Higher in calories from mayo and cheese. Contains dairy and gluten. Moderate sodium (use low-sodium broth if adding ham).
Final Thoughts
So that’s my go-to Labor Day Picnic Pasta Salad! I’ve probably talked your ear off at this point, but when you make a recipe this often, you have a lot to say about it. This has saved summer gatherings more times than I can count. It’s my answer to “what’s for dinner” when I’m tired, don’t want takeout, and still want something that tastes really good.
Make it yours! Try different add-ins, swap in your favorite vegetables, adjust the ranch (though more is always better in my opinion). The best recipes are the ones you adapt to your family’s tastes. If you make this, drop a comment and let me know what you think! I love hearing how recipes turn out in your kitchen.
Happy cooking! And I hope your kitchen smells half as good as mine does right now.
Frequently Asked Questions
Can I use elbow macaroni instead of rotini?
Absolutely! Elbow macaroni is classic for pasta salad. It holds the dressing well and is kid-friendly. Just make sure to rinse it cold. I’ve used elbows, penne, and fusilli, and they all work great.
Why did my salad turn out watery?
Usually means your veggies were too wet. Tomatoes and cucumbers release water. Pat them dry thoroughly. Also, if you didn’t rinse the pasta cold enough, the heat continued to cook it, making it soft and releasing starch. Next time, rinse under cold water until cold to the touch.
Can I make this ahead for a dinner party?
Yes! This is actually better the next day. Make it up to 2 days ahead and store in the fridge. Stir it before serving. If it’s too thick, add a splash of milk or dressing. I do this all the time for parties.
Can I use Greek yogurt instead of sour cream?
You can, but it will be tangier and thinner. Use full-fat Greek yogurt to keep it creamy. I’ve done this when I ran out of sour cream—it works okay, just not as rich. Half-and-half is a better middle ground if you want creaminess without the heaviness.
How do I reheat leftovers without it getting dry?
Don’t reheat it! This salad is best served cold or at room temperature. Heating it will make the mayo separate and the pasta mushy. If you must eat it warm, gently warm the dressing separately and toss with warm pasta, but it’s not recommended.
Can I double this recipe?
Absolutely! Double everything and use your biggest bowl. The cooking times stay the same. I do this when I’m feeding a crowd. Just make sure your bowl is big enough for tossing—use a large mixing bowl or even a clean trash can liner (just kidding, but seriously, use a big bowl!).
Pin This Recipe!
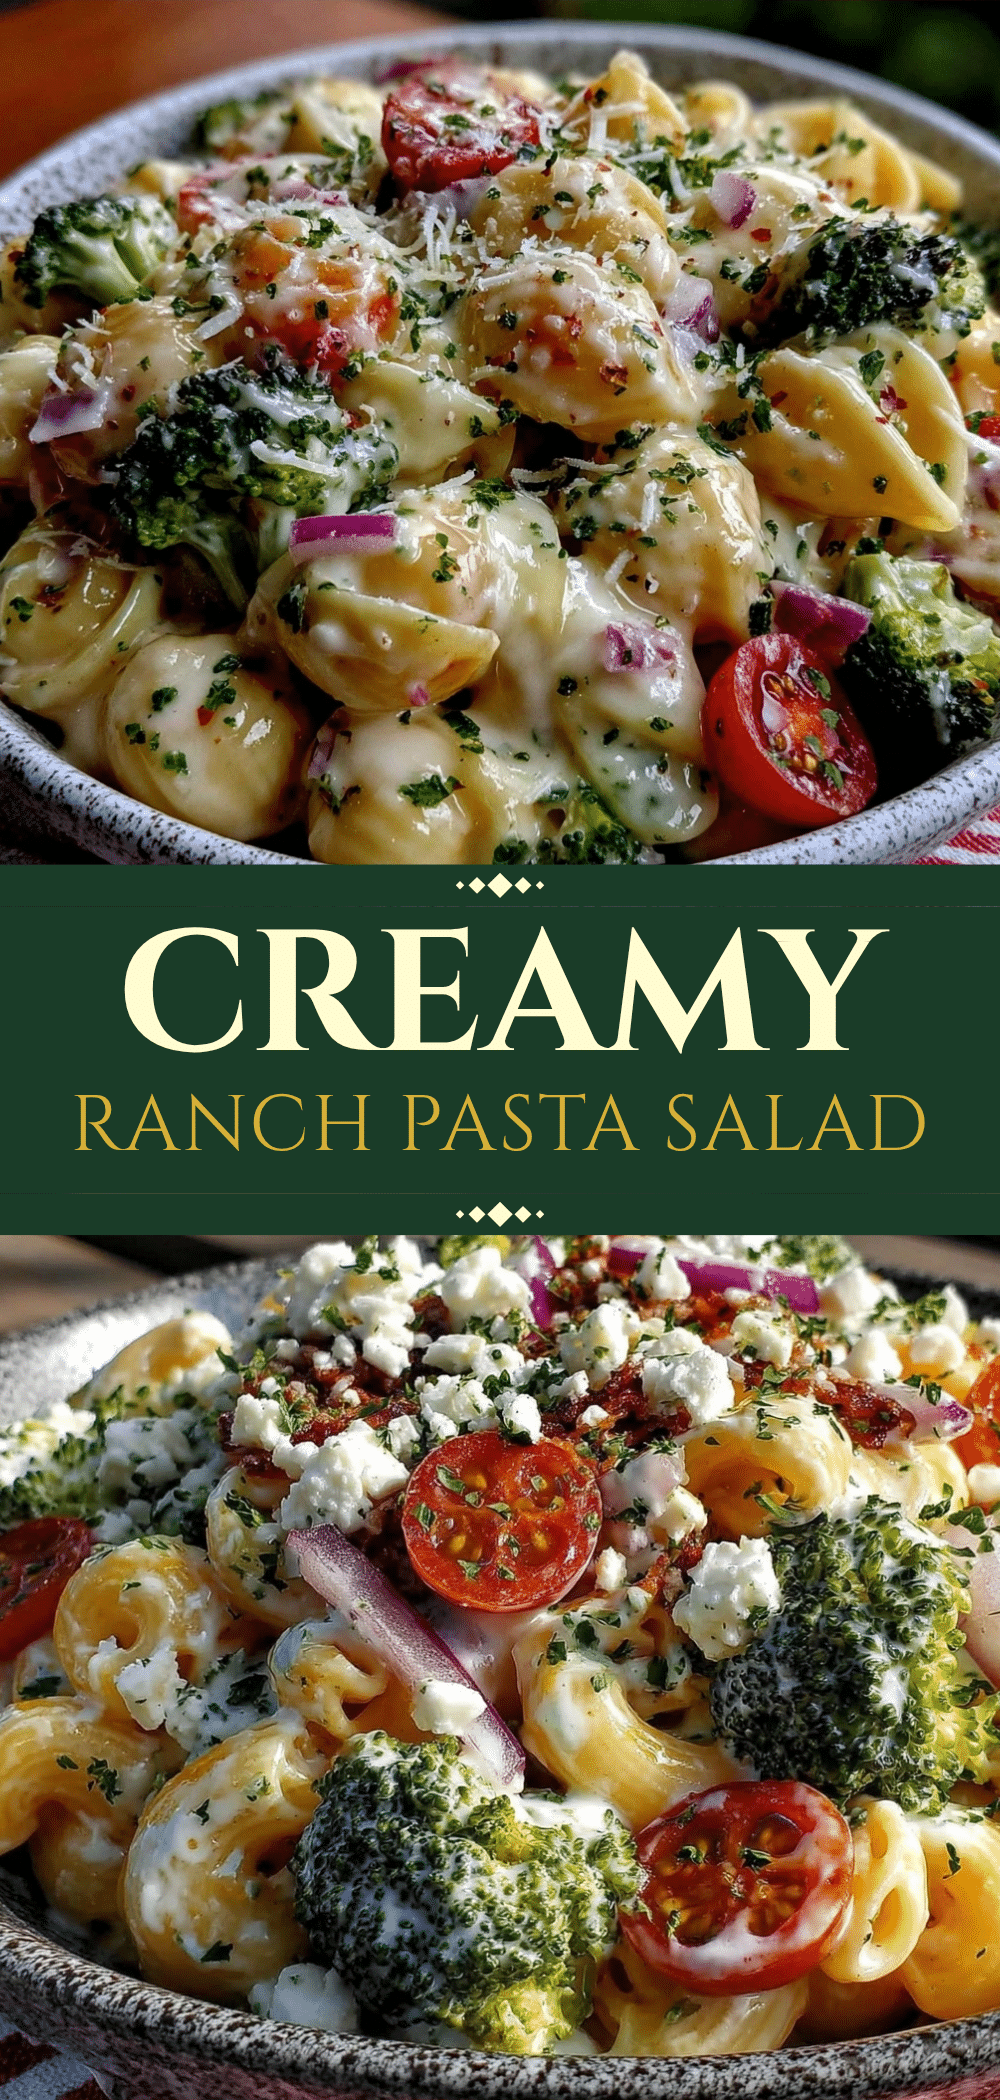
Labor Day Picnic Pasta Salad: 5-Ingredient Budget-Friendly Ranch
- Total Time: 30 minutes
- Yield: 8 servings 1x
Description
A creamy, tangy, and budget-friendly ranch pasta salad that is perfect for summer picnics and potlucks. It uses pantry staples, feeds a crowd, and tastes even better the next day.
Ingredients
- 1 pound (450g) Rotini or Penne Pasta
- ½ cup (120g) Mayonnaise (full-fat preferred)
- ½ cup (120g) Creamy Ranch Dressing
- ¼ cup (60g) Sour Cream
- 1 cup (100g) Shredded Cheddar Cheese
- 1 cup Cherry Tomatoes, halved
- 1 medium Cucumber, diced
- ¼ cup Red Onion, finely diced
- 1 cup Frozen Peas and Corn, thawed and drained
Instructions
- Bring a large pot of salted water to a boil. Add pasta and cook according to package directions until al dente (8-10 minutes).
- Drain the pasta in a colander and rinse thoroughly under cold water to stop the cooking process. Set aside to cool.
- While pasta cooks, prep vegetables: dice cucumber and red onion, halve cherry tomatoes, and ensure frozen peas/corn are thawed and well-drained.
- In a large mixing bowl, whisk together mayonnaise, ranch dressing, and sour cream until smooth.
- Add the cooled pasta, shredded cheddar, cucumber, red onion, tomatoes, and peas/corn to the bowl with the dressing.
- Toss everything together gently but thoroughly until the pasta is evenly coated.
- Cover the bowl with plastic wrap and refrigerate for at least 30 minutes to allow flavors to meld.
- Stir again before serving. If the salad is too thick, add a splash of milk or buttermilk to loosen.
Notes
Do not skip rinsing the pasta with cold water; this prevents the salad from becoming mushy. Ensure all vegetables are patted dry to prevent a watery salad. This dish tastes better the next day as the pasta absorbs the dressing. It does not freeze well due to the dairy content.
- Prep Time: 15 minutes
- Cook Time: 10 minutes
- Category: Side Dish
- Cuisine: American
Nutrition
- Serving Size: 1 cup
- Calories: 380
- Sugar: 4
- Sodium: 450
- Fat: 18
- Saturated Fat: 7
- Carbohydrates: 45
- Fiber: 2
- Protein: 12
Keywords: pasta salad, ranch dressing, picnic recipe, budget friendly, summer side dish, meal prep, crowd pleaser, easy dinner



