There was a specific year, about five Christmases ago, when I decided to “upgrade” my holiday appetizer spread. I’m talking fancy cheese balls wrapped in prosciutto, deviled eggs stuffed with caviar, and some sort of bruschetta that required a food processor and three different types of heirloom tomatoes. I spent six hours in the kitchen, sweating over a stove, while my family sat in the living room eating plain potato chips and laughing at a bad movie.
When I finally brought out the elaborate spread, the reaction was polite. “Oh, that looks nice,” my aunt said. But then I brought out the backup plan: a simple loaf of bread slathered in butter, garlic, and cheese, baked until it was golden and gooey. The room went silent. Then, chaos. People abandoned their wine glasses. My nephew, who usually only eats nuggets, was digging into the bread with his hands. By the time the movie credits rolled, the fancy cheese balls were untouched, but the cheesy garlic pull-apart bread was gone. Completely. Zero crumbs left.
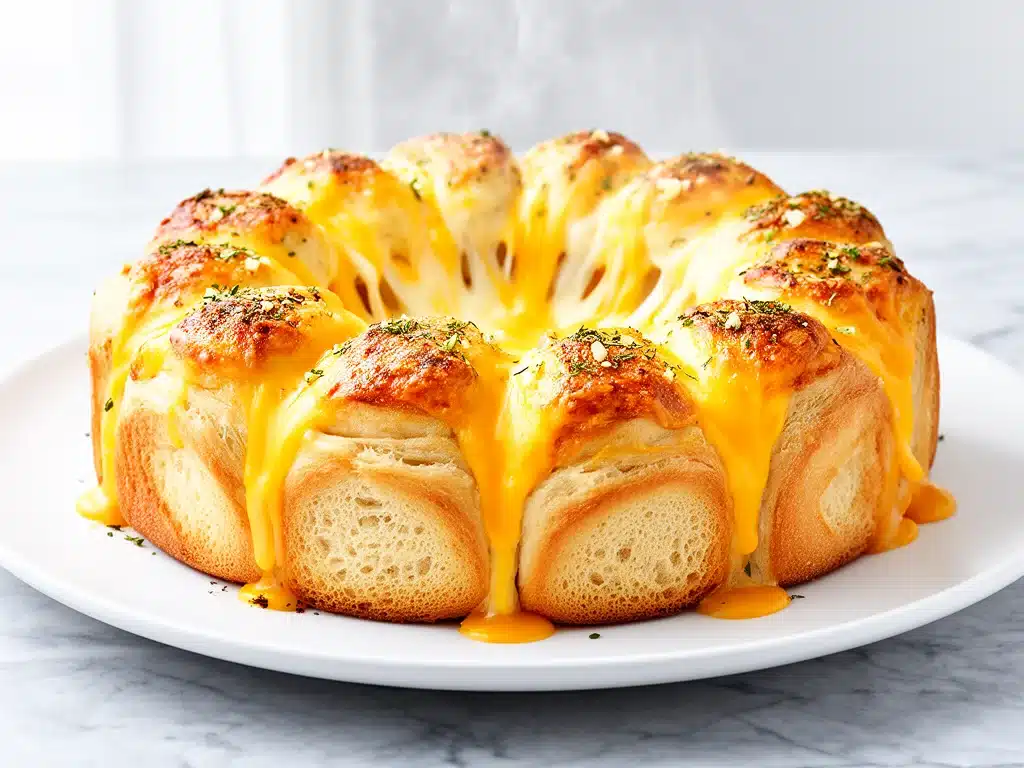
That was the moment I realized I didn’t need to be fancy. I needed to be delicious. And honestly? This cheesy garlic pull-apart bread has been my holiday hero ever since. It’s the kind of dish that smells like heaven the moment it hits the oven, drawing people into the kitchen whether they meant to come in there or not. It’s crispy on the outside, soft and steamy on the inside, and packed with enough garlic and cheese to make anyone question their life choices (in the best way possible).
I’ve made this pull-apart bread for every gathering since that Christmas: Thanksgiving, Super Bowl parties, New Year’s Eve, and even random Tuesday nights when I just need comfort food. It’s ridiculously easy to make—seriously, if you can tear bread and spread butter, you can do this—but it tastes like you spent hours in the kitchen. My family asks for it by name now. “Is the garlic bread coming?” they’ll ask, and I just smile and head to the pantry.
Why You’ll Love This Cheesy Garlic Pull-Apart Bread
Let’s be real. Appetizers are usually an afterthought. They’re the stuff you throw on a plate while the main dish finishes cooking. But this cheesy garlic pull-apart bread? It’s the main event. Here’s why it’s become my absolute go-to for any gathering, big or small:
It’s Stupid Simple — I’m not exaggerating. You don’t need to knead dough or proof anything. You buy a loaf of French bread or Italian bread (or even a baguette), slice it, mix a butter-garlic-cheese paste, spread it, and bake it. That’s it. I’ve made this while multitasking—answering emails, helping with homework, or watching TV. It requires zero culinary skill, just a willingness to eat a lot of cheese.
It’s Ready in 30 Minutes — From start to finish, this takes about 30 minutes. Ten minutes of prep, twenty minutes of baking. That means you can have it ready while your main course is finishing up, or you can make it ahead and reheat it (though it’s best fresh). I’ve served this to guests who arrived right on time, and it was still warm and gooey. No stress. No panic.
It’s a Crowd-Pleaser Guaranteed — I’ve served this to picky eaters, gourmet foodies, vegetarians, and people who claim they “don’t like bread.” Everyone loves it. The garlic is mellowed by the butter and cheese, so it’s not overpowering. The cheese gets crispy and brown in spots, which is the best part. I’ve seen adults and kids alike line up for seconds. It’s the kind of food that brings people together.
It’s Perfect for Sharing — There’s something satisfying about pulling apart a loaf of bread and dipping it into gooey cheese. It’s interactive. It’s fun. It breaks the ice at parties. I’ve seen strangers at potlucks start talking about the bread before they even know each other’s names. It’s a social lubricant, honestly.
It’s Budget-Friendly — A loaf of bread, a stick of butter, a cup of cheese, and some garlic powder. That’s it. You can make this for under $10, and it feeds a crowd. Compared to buying expensive appetizers at the grocery store or ordering catered trays, this is a steal. Plus, you control the ingredients, so you can use good cheese if you want to splurge, or save money if you’re on a budget.
It’s Versatile — Once you master the basic version, you can switch it up. Add jalapeños for heat, use different cheeses for flavor, or toss in some herbs for freshness. I’ve made it with cheddar, mozzarella, parmesan, and even cream cheese. Every variation is delicious. It’s a blank canvas for your tastebuds.
This cheesy garlic pull-apart bread is my answer to “what should I bring to the party?” It’s reliable, it’s delicious, and it always makes me look like a genius. Even when I’m running late or feeling lazy, I know this recipe will save the day. It’s the ultimate comfort food appetizer, and once you try it, you’ll understand why it’s my holiday staple.
Ingredients You’ll Need
Here’s the thing: this recipe uses ingredients you probably already have in your kitchen. It’s not fancy. It’s not obscure. It’s just good, honest food. I’m particular about a few things here, but mostly, it’s about getting the balance right between butter, garlic, and cheese.
French Bread or Italian Loaf (1 large loaf, about 1.5 lbs / 680g) — This is the base. You want a loaf that’s sturdy enough to hold the toppings but soft enough to pull apart easily. French bread is classic, but Italian bread works too. Avoid soft sandwich bread—it’ll get soggy. And definitely don’t use a crusty baguette that’s too hard to tear. Look for a loaf that’s about 12-14 inches long. I usually buy the bakery-style loaves that are still warm from the oven.
Unsalted Butter (½ cup / 113g, softened) — This is the carrier for the garlic and cheese. Softened butter spreads easily. If you’re in a hurry, microwave it for 10-15 seconds, but don’t melt it completely. You want it creamy, not liquid. I use unsalted butter so I can control the saltiness, especially since the cheese is already salty.
Garlic (4-5 cloves, minced / about 1 tablespoon) — Fresh garlic is non-negotiable here. I know it’s easier to use jarred garlic, but the flavor is just not the same. Jarred garlic has a metallic, preserved taste that doesn’t work in this recipe. Fresh garlic gives that sharp, aromatic punch that mellows out when baked. If you’re sensitive to raw garlic, don’t worry—the baking process softens it significantly. I mince mine finely so it distributes evenly.
Shredded Mozzarella Cheese (1 cup / 100g) — Mozzarella is the star for the gooey, stretchy factor. It melts beautifully and gets golden brown in the oven. I use low-moisture mozzarella because it melts better than fresh mozzarella, which can be too watery. Shred it yourself from a block if you can—pre-shredded cheese has anti-caking agents that can make it melt less smoothly. But honestly, if you’re lazy, pre-shredded works fine. No judgment.
Grated Parmesan Cheese (½ cup / 50g) — Parmesan adds that savory, salty, umami punch. It also helps create a crispy crust on top. I use freshly grated Parmesan because it melts better and has a more intense flavor. If you only have pre-grated, it’s okay, but the flavor will be milder. This is the cheese that makes people say, “What is that flavor?” It’s the secret weapon.
Dried Parsley (1 teaspoon) — Parsley adds a pop of color and a fresh, herbal note. It cuts through the richness of the butter and cheese. I use dried parsley because it’s convenient and has a concentrated flavor. Fresh parsley works too, but add it after baking so it doesn’t burn. I sprinkle it on top right before serving for a nice green contrast.
Garlic Powder (½ teaspoon) — This is optional, but I recommend it. It adds an extra layer of garlic flavor that’s more subtle than fresh garlic. It’s like a garlic backup plan. If you’re a garlic lover, don’t skip it. If you’re not, you can leave it out.
Salt and Black Pepper (to taste) — A pinch of salt and a crack of black pepper balance the flavors. Taste your butter mixture before spreading it on the bread. If it needs more salt, add it now. The cheese is salty, so you might not need much, but it’s better to adjust early.
Optional Add-Ins:
- Jalapeños (2 tablespoons, diced) — For a spicy kick. I add these if I want a Southwest vibe.
- Red Pepper Flakes (½ teaspoon) — For a little heat without the chunkiness of jalapeños.
- Chopped Green Onions (2 tablespoons) — For a fresh, oniony bite. Add these after baking.
- Cooked Bacon Bits (¼ cup) — For a smoky, savory twist. I use this for game day parties.
Pro Tip: Don’t skimp on the garlic. This is garlic bread, after all. I’ve made it with less garlic before, and it just tasted like buttery bread. The garlic is what makes it special. And don’t use margarine. It doesn’t taste the same. Butter is worth the calories.
Equipment You’ll Need
You don’t need any fancy gadgets for this. Here’s what I actually use in my kitchen:
Baking Sheet — A standard 13×18 inch sheet pan works perfectly. I line it with parchment paper for easy cleanup, but foil works too. Just grease it lightly if you use foil.
Small Bowl — For mixing the butter and garlic. Any small bowl will do. I use a ramekin or a small mixing bowl.
Small Whisk or Fork — To mix the butter, garlic, and cheese. A fork works fine if you don’t want to wash a whisk.
Sharp Knife — For slicing the bread. A serrated bread knife is ideal, but any sharp knife will work. Just be careful—slicing bread can be tricky if it’s too soft.
Pastry Brush (Optional) — For brushing extra butter on the bread before baking. I don’t always use this, but it helps get that extra crispy edge.
Grater (Optional) — If you’re grating your own cheese, a box grater works well. Microplane is great for Parmesan.
Measuring Spoons — For the garlic powder and parsley. Accuracy helps, but eyeballing it is fine if you’re confident.
Timer — To keep track of baking time. I use my phone, but any timer works.
Tip: If you don’t have a baking sheet, you can use a large oven-safe skillet or even a casserole dish, but a sheet pan is best for even browning.
How to Make Cheesy Garlic Pull-Apart Bread
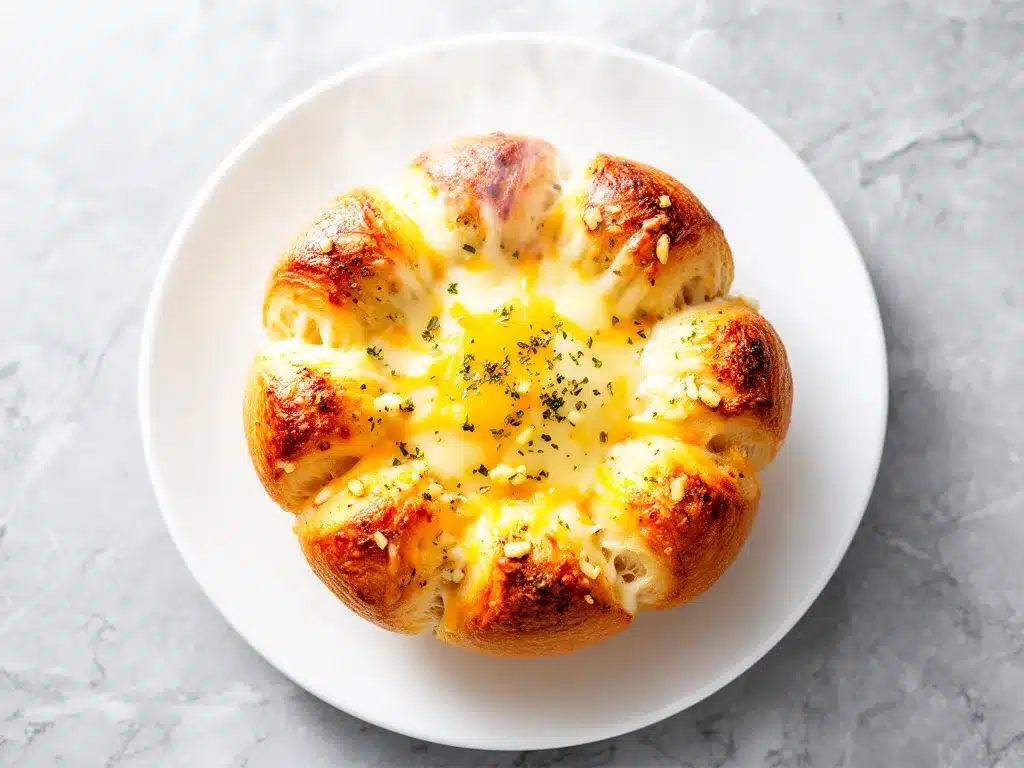
Alright, let’s make this! I’m walking you through exactly how I do it, including the little tricks I’ve picked up over the years. This is straightforward, but there are a few key steps to get it right.
Step 1: Prep the Bread (5 minutes)
Preheat your oven to 375°F (190°C). Line a baking sheet with parchment paper or foil. Take your loaf of French or Italian bread and slice it lengthwise down the middle, but not all the way through. You want to create a hinge so the bread stays in one piece. Imagine you’re opening a book. If the bread is too soft to slice cleanly, freeze it for 15 minutes first—it’ll be easier to cut. Once sliced, open it up like a sandwich.
Step 2: Make the Garlic Butter Mixture (5 minutes)
In a small bowl, combine the softened butter, minced fresh garlic, garlic powder, dried parsley, salt, and black pepper. Mix well until it’s a smooth paste. Taste it—if it needs more garlic or salt, adjust now. This mixture is the flavor bomb, so get it right. If you’re adding jalapeños or red pepper flakes, mix them in now.
Step 3: Spread the Mixture (5 minutes)
Open the bread and spread the garlic butter mixture evenly over the cut sides. Don’t be shy—use it all. If you have extra, brush it on the outside crust too. The goal is to coat every nook and cranny. Use a spatula or a knife to spread it. If the bread is dense, you might need to gently press the butter into the crumb.
Step 4: Add the Cheese (2 minutes)
Sprinkle the shredded mozzarella and grated Parmesan cheese evenly over the buttered surface. Don’t just pile it in the middle—distribute it so every piece gets cheese. I like to press the cheese into the butter slightly so it sticks and doesn’t fall off in the oven.
Step 5: Bake Until Golden (15-20 minutes)
Place the bread on the prepared baking sheet and bake in the preheated oven for 15-20 minutes. You’re looking for the cheese to be melted, bubbly, and golden brown in spots. The edges of the bread should be crispy. Keep an eye on it after 15 minutes—ovens vary, and you don’t want the cheese to burn. If it’s browning too fast, tent it loosely with foil.
Step 6: Cool and Pull Apart (5 minutes)
Remove the bread from the oven and let it cool for 5 minutes. This is crucial—it’s extremely hot and cheesy, and you’ll burn your mouth if you dive in immediately. The cheese will set slightly, making it easier to pull apart. Use your hands to tear off pieces and serve warm.
Total Time: About 30 minutes (10 minutes prep, 20 minutes baking)
Expert Tips & Tricks
Here’s everything I’ve learned from making this dozens of times. These tips will save you from my mistakes.
Don’t Use Cold Butter — Softened butter is key. If it’s too cold, it won’t spread evenly, and you’ll get clumps of butter instead of a smooth coating. If you forgot to take it out, microwave it for 10 seconds. It should be pliable, not liquid.
Freeze the Bread First — If your bread is too soft or stale, freeze it for 15-20 minutes before slicing. It’ll be easier to cut lengthwise without tearing. This is a game-changer for soft sandwich-style loaves.
Use Low-Moisture Mozzarella — Fresh mozzarella has too much water and can make the bread soggy. Low-moisture mozzarella melts better and stays gooey without dripping. If you only have fresh mozzarella, pat it dry with paper towels first.
Grate Your Own Parmesan — Pre-grated Parmesan has anti-caking agents that prevent it from melting smoothly. Freshly grated Parmesan gives a better texture and more intense flavor. It takes 2 minutes and makes a huge difference.
Don’t Skip the Parsley — Parsley adds color and freshness. Without it, the bread looks brown and bland. It’s a small detail that makes a big visual impact. If you don’t have dried parsley, use fresh parsley but add it after baking to prevent burning.
Watch the Oven — Ovens vary wildly. Check the bread at 15 minutes. If the cheese is bubbling and golden, it’s done. If it’s still pale, give it another 5 minutes. Burnt cheese tastes bitter, so err on the side of under-baking.
Let It Cool — I know it’s tempting to dive in, but let it cool for 5 minutes. The cheese will set slightly, making it easier to pull apart without sliding off. Plus, you’ll avoid burning your tongue.
Double the Garlic — If you’re a garlic lover, double the garlic. I always use at least 5 cloves for a large loaf. It’s not too much—it’s perfect. The baking process mellows the raw bite, leaving a sweet, aromatic flavor.
Variations & Substitutions
Once you’ve nailed the basic version, here’s how you can mix it up. I’ve tried all of these, and they’re all delicious.
Jalapeño Popper Bread — Add 2 tablespoons of diced jalapeños and ¼ cup of cream cheese to the butter mixture. Top with cheddar cheese instead of mozzarella. This is spicy, creamy, and perfect for game day.
Italian Herb Bread — Swap parsley for dried Italian seasoning (oregano, basil, thyme). Add ¼ cup of grated Romano cheese. This is classic and aromatic, great with pasta dinners.
Bacon Cheddar Bread — Mix ¼ cup of cooked, crumbled bacon into the butter mixture. Top with sharp cheddar cheese. This is smoky, salty, and incredibly satisfying.
Spinach Artichoke Bread — Mix ¼ cup of chopped spinach and 2 tablespoons of chopped artichoke hearts into the butter. Top with mozzarella and Parmesan. This is like a deconstructed spinach artichoke dip.
Garlic Parmesan Crust — Skip the mozzarella and just brush the outside crust with garlic butter and sprinkle with Parmesan. Bake until crispy. This is lighter and focuses on the crust.
Dietary Modifications:
- Gluten-Free — Use a gluten-free French bread loaf. Most brands work well. Check the ingredients to ensure it’s sturdy enough to hold the toppings.
- Dairy-Free — Use dairy-free butter and dairy-free cheese shreds. The flavor won’t be exactly the same, but it’s still tasty. I’ve used Miyoko’s butter and Follow Your Heart cheese.
- Vegan — Combine dairy-free butter, dairy-free cheese, and nutritional yeast for a savory punch. Add garlic powder and parsley. It’s surprisingly good.
Pro Tip: These variations are flexible. Mix and match ingredients to suit your taste. The basic formula is butter + garlic + cheese + bread. Swap out the cheese or add-ins to create new flavors.
Serving & Storage
How to serve it:
I usually serve this straight from the baking sheet, placed in the center of the table. It’s rustic and inviting. People just grab pieces and start eating. It’s perfect for parties, potlucks, or casual dinners at home. Pair it with a salad or soup for a complete meal. I also love serving it alongside chicken ranch wraps for a light lunch spread.
Side Dishes:
- Tomato basil soup
- Caesar salad
- Roasted vegetables
- Minestrone soup
Toppings Bar:
For parties, I put out small bowls of extra Parmesan, red pepper flakes, and chopped parsley. Guests can customize their pieces. It’s fun and interactive.
Storage Instructions:
Refrigerator: Store leftovers in an airtight container for up to 3 days. The bread will stale, but the flavor remains. Reheat in the oven at 350°F for 10 minutes to crisp it up. Don’t microwave—it’ll get chewy.
Freezing: You can freeze this bread, but the texture changes. Freeze it before baking, wrapped tightly in plastic and foil. Thaw and bake when needed. The cheese might separate slightly after freezing, but it’s still edible. I prefer making it fresh.
Reheating: Oven is best. 350°F for 10-15 minutes. If you’re in a hurry, microwave for 30 seconds, but expect a softer crust. Never reheat in the microwave for more than 30 seconds—it’ll get rubbery.
Pro Tip: If you’re making this ahead for a party, assemble it the night before, cover it, and refrigerate. Bake it the day of. It saves time and still tastes fresh.
Nutrition Information
I’m not a nutritionist, but here’s the breakdown if you’re tracking. This is per serving (1 piece, based on 8 servings from one loaf).
| Nutrient | Amount |
|---|---|
| Calories | 280 |
| Protein | 10g |
| Carbs | 28g |
| Fiber | 1g |
| Sugar | 2g |
| Fat | 16g |
| Saturated Fat | 9g |
| Cholesterol | 35mg |
| Sodium | 420mg |
What’s Good: Decent protein from the cheese. It’s filling and satisfying. You can add vegetables to boost nutrition.
What to Know: Higher in calories and fat from the butter and cheese. Contains dairy and gluten. Moderate sodium. Use low-sodium cheese and butter to reduce sodium.
My Take: Look, this is comfort food. It’s not a diet recipe. But it’s way better than store-bought appetizers, and you know exactly what’s in it. When I want to make it lighter, I use less butter and more veggies. But usually? I just enjoy a reasonable portion and savor every bite.
Final Thoughts
So that’s my go-to cheesy garlic pull-apart bread! I’ve probably talked your ear off at this point, but when you make a recipe this often, you have a lot to say about it. This has saved holiday dinners more times than I can count. It’s my answer to “what should I bring?” when I’m tired, don’t want takeout, and still want something that tastes really good. My family is happy, my guests are happy, and I’m happy because I’m not stressed about cooking.
Make it yours! Try different add-ins, swap in your favorite cheeses, adjust the garlic (though more is always better in my opinion). The best recipes are the ones you adapt to your family’s tastes. If you make this, drop a comment and let me know what you think! I love hearing how recipes turn out in your kitchen. And if something doesn’t work, tell me that too—I’m here to help troubleshoot.
Happy cooking! And I hope your kitchen smells half as good as mine does right now.
Frequently Asked Questions
Q: Can I use a baguette instead of French bread?
A: You can, but a baguette is harder to slice lengthwise without it falling apart. If you use a baguette, slice it diagonally into thick pieces and arrange them on the baking sheet. The flavor will be the same, but the presentation will be different. I prefer a larger loaf for the pull-apart effect.
Q: Why did my cheese separate or get oily?
A: The heat was too high, or the cheese was old. Mozzarella can separate if overheated. Always bake at 375°F, not higher. Also, use fresh cheese. Old cheese has broken down proteins that don’t melt well. If it’s oily, it’s still edible, just not pretty.
Q: Can I make this ahead of time?
A: Yes! Assemble the bread up to 24 hours ahead. Cover it tightly and refrigerate. Bake it the day of, adding 5 minutes to the baking time if it’s cold from the fridge. This is perfect for holiday parties where you need to prep early.
Q: Can I freeze this bread?
A: It’s better to freeze it before baking. Wrap the assembled, unbaked bread tightly in plastic and foil. Thaw in the fridge overnight, then bake as directed. The texture might be slightly different, but it’s still delicious. I don’t recommend freezing baked bread—it gets soggy.
Q: How do I reheat leftovers without it getting dry?
A: Oven is best. Reheat at 350°F for 10-15 minutes. This restores the crispiness. Microwave only if you’re in a rush, and do it in 30-second intervals. Add a splash of water to the bread if it’s very dry, but it’s rare.
Q: Can I use pre-minced garlic?
A: You can, but fresh garlic tastes so much better. Pre-minced garlic has a preserved taste that doesn’t work well here. If you must use it, use half the amount because it’s stronger. But honestly, mincing 4 cloves takes 2 minutes. Buy pre-peeled garlic cloves if you want to save time.
Q: Can I double this recipe?
A: Absolutely! Double all ingredients and use two baking sheets. Bake them on separate racks, rotating halfway through for even browning. I do this when I’m feeding a crowd. Just make sure your oven has space for two sheets.
Pin This Recipe!
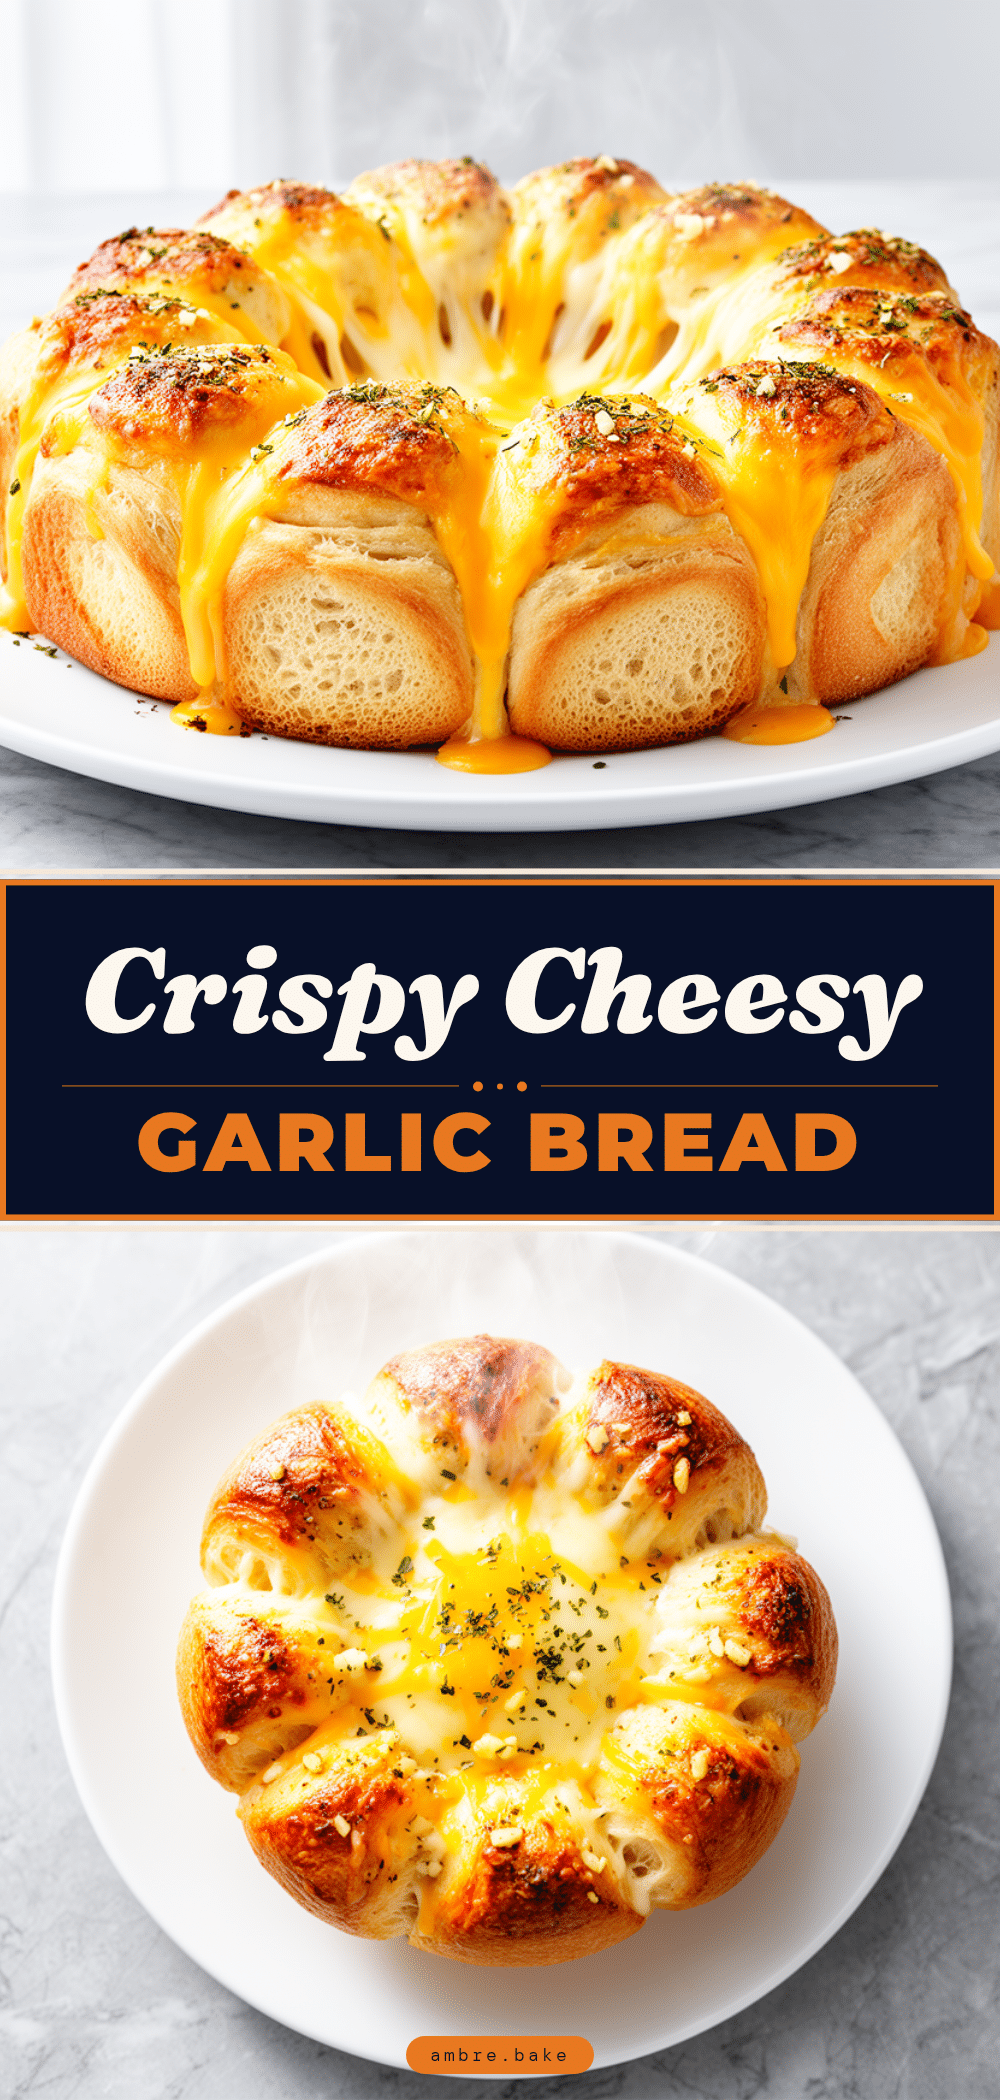

Cheesy Garlic Pull-Apart Bread: 30-Minute Party Favorite
- Total Time: 30 minutes
- Yield: 8 servings 1x
Description
A simple, crowd-pleasing appetizer made with French bread, garlic butter, and melted cheese. It’s crispy on the outside, soft on the inside, and ready in just 30 minutes.
Ingredients
- 1 large loaf French or Italian bread (about 1.5 lbs / 680g)
- ½ cup unsalted butter, softened (113g)
- 4–5 cloves garlic, minced (about 1 tablespoon)
- 1 cup shredded low-moisture mozzarella cheese (100g)
- ½ cup grated Parmesan cheese (50g)
- 1 teaspoon dried parsley
- ½ teaspoon garlic powder
- Salt and black pepper to taste
Instructions
- Preheat oven to 375°F (190°C). Line a baking sheet with parchment paper or foil.
- Slice the bread loaf lengthwise down the middle, leaving a hinge so it stays in one piece. Open it up like a book.
- In a small bowl, mix softened butter, minced garlic, garlic powder, dried parsley, salt, and pepper until smooth.
- Spread the garlic butter mixture evenly over the cut sides of the bread.
- Sprinkle mozzarella and Parmesan cheese evenly over the buttered surface, pressing slightly to adhere.
- Bake for 15-20 minutes until cheese is melted, bubbly, and golden brown.
- Let cool for 5 minutes before tearing into pieces and serving warm.
Notes
For best results, use low-moisture mozzarella and freshly grated Parmesan. If the bread is too soft to slice, freeze it for 15 minutes first. Do not skip the cooling time to avoid burning your mouth on hot cheese.
- Prep Time: 10 minutes
- Cook Time: 20 minutes
- Category: Appetizer
- Cuisine: American
Nutrition
- Serving Size: 1 piece
- Calories: 280
- Sugar: 2
- Sodium: 420
- Fat: 16
- Saturated Fat: 9
- Carbohydrates: 28
- Fiber: 1
- Protein: 10
Keywords: garlic bread, pull-apart bread, party appetizer, cheesy bread, easy recipe, holiday food, comfort food