Last Tuesday, I was staring at the clock. It was 5:15 PM, I was exhausted from a day of Zoom calls, and my brain had completely shut down. My kids were already complaining that they were “hangry,” and I knew that if I didn’t feed them something soon, we’d be ordering pizza again. But here’s the thing—I didn’t want pizza. I wanted something sweet, something comforting, but something that wouldn’t leave me feeling like a food coma zombie by bedtime.
I opened the fridge, and there it was: a can of full-fat coconut milk, a bag of leftover instant rice (I know, I know, don’t judge me—this is a weeknight hack), and a lime that had been hiding in the crisper drawer for two weeks.
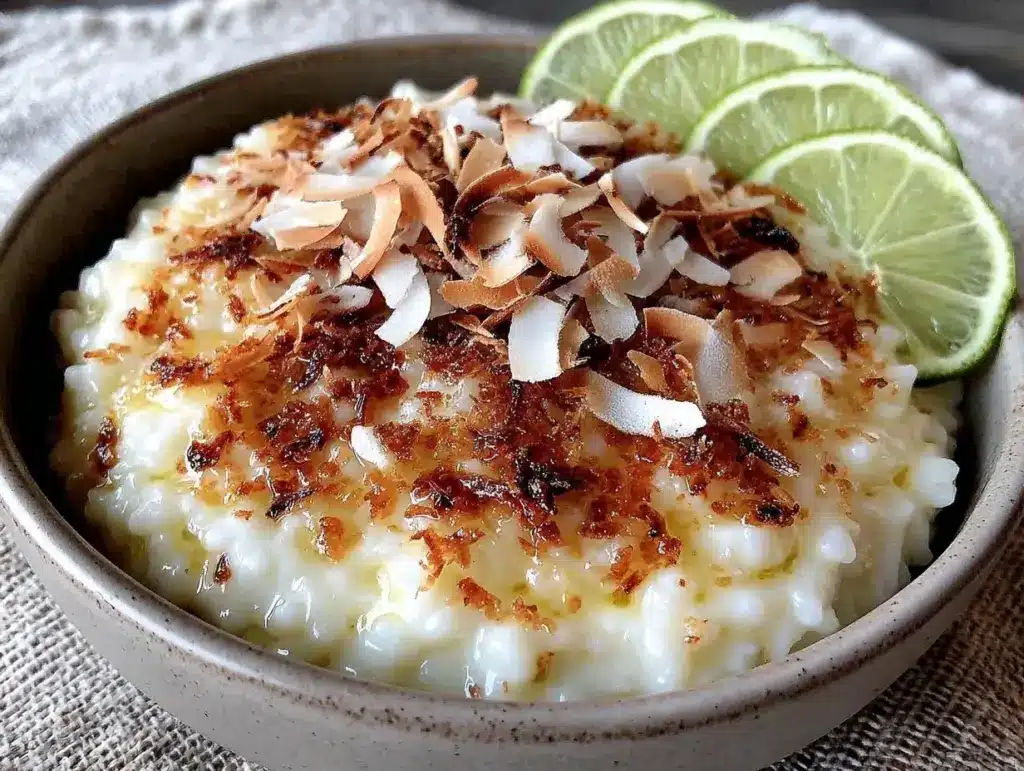
I threw them together with a pinch of salt and some maple syrup. Fifteen minutes later, I had a bowl of warm, creamy, dairy-free coconut lime rice pudding that smelled like a tropical vacation. My kids devoured it. My husband asked for seconds. And I didn’t have to dirty a single extra dish beyond the pot and the spoon.
This dairy-free coconut lime rice pudding has become my secret weapon for those “5pm and nothing planned” moments. It’s fast, it’s creamy without any dairy, and it’s got this bright, zesty kick that makes it feel fancy even though it’s basically just pantry staples. If you’re looking for an easy weeknight dessert that actually feels good to eat, you need to try this. I’ve made it at least a dozen times since that random Tuesday, and it never fails to save the evening.
Why You’ll Love This Recipe
Look, I’m not going to lie to you. Sometimes “healthy” desserts taste like cardboard. And sometimes “quick” desserts taste like sugar water. This coconut lime rice pudding? It’s the sweet spot. It’s the kind of dessert that makes you forget you’re eating something light.
Here’s why this dairy-free coconut lime rice pudding keeps me coming back to the stove:
- Stupid Simple — Seriously, if you can pour, stir, and wait, you can make this. I’ve made it while folding laundry and answering emails. There’s no fancy technique here, just good ingredients coming together.
- Lightning Fast — 15 minutes from start to finish. I use pre-cooked rice to skip the boiling step, but even if you start with raw rice, it’s still under 30 minutes. Perfect for when hunger strikes unexpectedly.
- Dairy-Free & Vegan Friendly — No milk, no butter, no cream. Just rich coconut milk. It’s naturally vegan and gluten-free, so it’s safe for almost everyone at the table. Even my dairy-sensitive friends love this.
- Light but Satisfying — This isn’t a heavy, cloying dessert. The lime cuts through the richness of the coconut, making it feel refreshing rather than indulgent. I can eat two bowls and still feel ready to tackle the evening.
- Pantry Staples — You probably have coconut milk and rice already. Limes are cheap. Maple syrup is in the cabinet. This is the definition of “cook what you have.”
- Great Leftovers — It thickens up in the fridge, so it’s perfect for meal-prepping desserts. I’ll make a big batch on Sunday and eat it for breakfast or a snack all week long.
This is my go-to when I need dinner to just work. No complicated techniques, no weird ingredients, just reliable, delicious food that makes everyone happy. It’s the kind of recipe that reminds you that cooking doesn’t have to be hard to be good.
Ingredients You’ll Need
Here’s the best part: you probably have most of this already. I’m particular about two ingredients here—the coconut milk and the lime—and I’ll tell you exactly why they matter.
For the Base
Full-fat coconut milk (1 can / 400ml) — This is non-negotiable. You need the full-fat version for that creamy, pudding-like texture. Light coconut milk will make this soup, not pudding. Shake the can well before opening. I keep a stash of these in my pantry specifically for nights like this.
Pre-cooked rice (1.5 cups / 200g) — I use leftover white rice or even instant rice for speed. Jasmine or short-grain rice works best because it’s naturally stickier and creamier. If you’re starting with raw rice, you’ll need to cook it first (see variations below).
Coconut water or milk (1/4 cup / 60ml) — I use coconut water to thin it out slightly if it’s too thick, or more coconut milk if I want it extra rich. Just enough to get the right consistency.
For the Flavor
Maple syrup (3-4 tablespoons / 45-60ml) — I prefer maple syrup over sugar because it adds a subtle depth of flavor that complements the lime. Adjust to taste. If you’re not vegan, honey works too, but maple keeps it dairy-free.
Fresh lime juice (2 tablespoons / 30ml) — Yes, fresh. Bottled lime juice tastes artificial and bitter. You need about two limes. Squeeze them into a small bowl and measure it out. The acidity is what balances the sweet coconut.
Lime zest (1 teaspoon) — This is where the real lime flavor lives. The juice is tart, but the zest is aromatic and bright. Grate only the green part of the peel—avoid the white pith, which is bitter.
Salt (1/4 teaspoon) — A pinch of salt is crucial. It makes the coconut taste more like coconut and the lime taste more like lime. Don’t skip it.
Vanilla extract (1/2 teaspoon) — Optional, but it adds a warm background note that ties everything together. I use pure vanilla, not imitation.
Optional Toppings
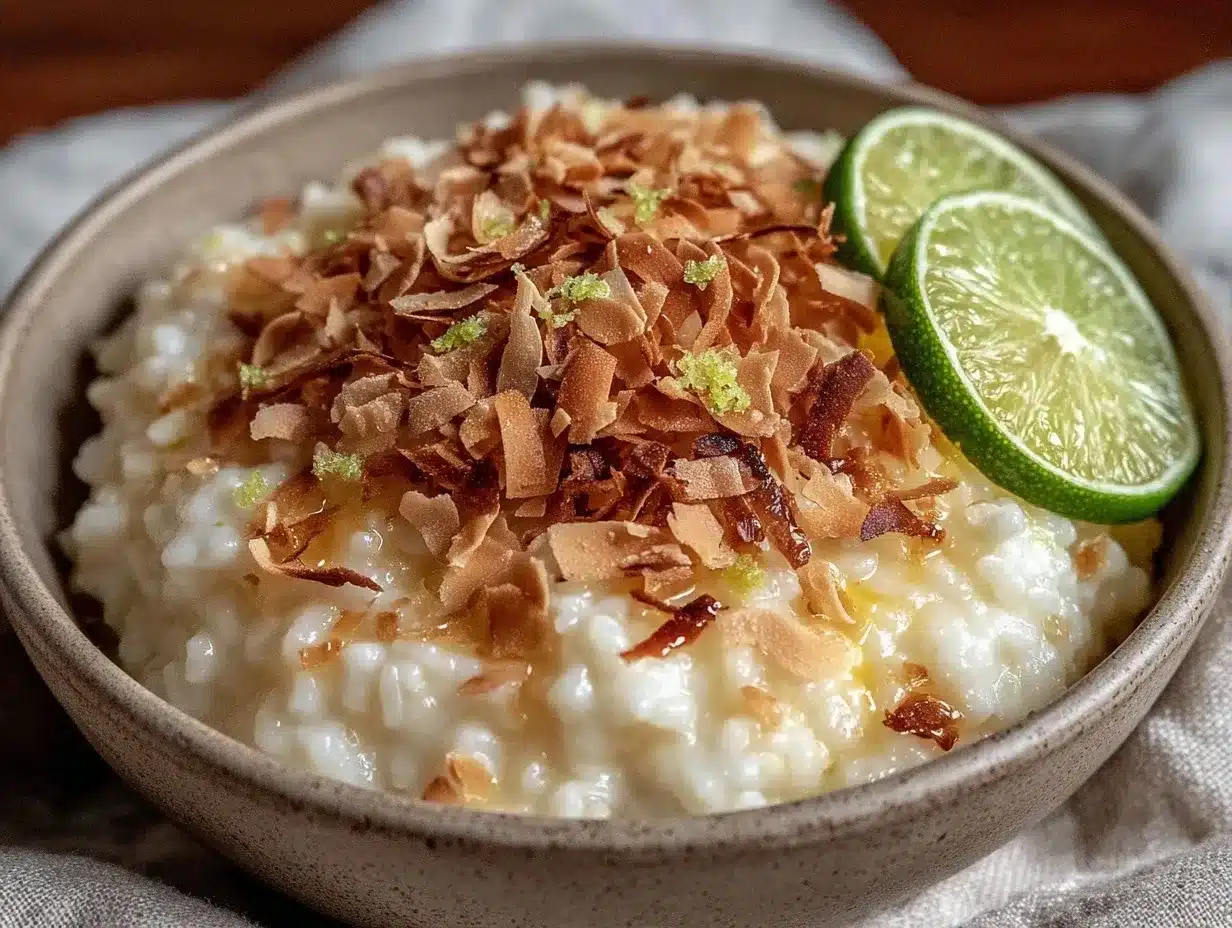
Shredded coconut — Toasted shredded coconut adds crunch and looks beautiful. I keep a bag of unsweetened coconut flakes for this.
Fresh mint leaves — A few torn leaves on top make it look like you tried way harder than you actually did.
Coconut yogurt — A dollop of vanilla coconut yogurt adds extra creaminess if you’re feeling fancy.
Quick tip: I buy my limes in bulk because I use them for everything—from this pudding to my frozen apple cider slushie and my pumpkin spice chai frappe. If your limes aren’t very juicy, roll them on the counter before cutting to release more juice.
Equipment Needed
You don’t need fancy equipment for this. Here’s what I actually use.
Saucepan — A small to medium saucepan works best. I use a 2-quart pot. It needs to be wide enough to stir easily but not so wide that the liquid evaporates too fast. My old stainless steel pot from college still works fine.
Whisk — For stirring. A silicone whisk is nice because it won’t scratch the pot, but a regular metal whisk works too. You need to stir constantly to get that creamy texture.
Zester or Microplane — For the lime zest. A regular grater works, but a microplane gives you finer zest that disperses better. I’m obsessed with my microplane from IKEA—it’s like $3 and makes life easier.
Juicer or hands — For the lime juice. I usually just squeeze by hand. It’s faster and I don’t have to wash another tool.
Measuring cups and spoons — Pretty standard stuff. Dollar store versions work fine.
Serving bowls — I serve it in small ramekins or bowls. It looks cute and portion-controlled.
How to Make It: Step-by-Step
Alright, let’s make this! I’m walking you through exactly how I do it, including the little tricks I’ve picked up.
Step 1: Prep Your Ingredients (2 minutes)
Before you start cooking, zest your limes. I do this first because if you wait until the pot is hot, you’ll burn your fingers. Get both the zest and the juice ready. Measure out your coconut milk, maple syrup, and rice. Once you start cooking, things move fast.
Step 2: Combine Base Ingredients (1 minute)
Add the coconut milk, pre-cooked rice, maple syrup, salt, and vanilla extract to the saucepan. Stir well to combine. If the rice is cold from the fridge, that’s fine—it will heat up quickly.
Step 3: Simmer and Stir (5-7 minutes)
Place the saucepan over medium heat. Bring the mixture to a gentle simmer. You’ll see small bubbles forming around the edges. Once it’s simmering, reduce the heat to low. This is the important part: stir constantly. Use your whisk to scrape the bottom of the pot to prevent sticking. The rice will start to absorb the coconut milk and soften further. This takes about 5-7 minutes. Don’t walk away!
Step 4: Add the Lime (1 minute)
Once the mixture has thickened to a pudding consistency, remove the pot from the heat. Stir in the fresh lime juice and lime zest. The acid from the lime will slightly thicken the pudding further and brighten the flavor. Taste it. If you want it sweeter, add a little more maple syrup. If you want it tangier, add more lime juice.
Step 5: Serve or Chill (Optional)
Serve it warm right away. It’s amazing hot and creamy. Or, let it cool to room temperature and then refrigerate for 30 minutes. It will thicken up more in the fridge and become even more pudding-like. I love it both ways.
Total Time: About 15 minutes (5 minutes active, 10 minutes mostly hands-off stirring)
Expert Tips & Tricks
Here’s everything I’ve learned from making this dozens of times. These tips will save you from my mistakes.
Stir, Stir, Stir
The key to creamy rice pudding is constant stirring. If you let it sit, the rice will stick to the bottom and burn. I set a timer for every 2 minutes to remind myself to stir. It’s not hard, but it’s easy to forget when you’re watching TV.
Don’t Skip the Zest
I’ve made this with just lime juice a few times, and it tastes flat. The zest has the essential oils that make it taste like *lime*. It’s worth the extra minute to zest the limes properly.
Use Leftover Rice
If you have leftover rice from last night’s dinner, use it! It works perfectly. If you don’t, cook a small batch of rice ahead of time. Instant rice works in a pinch, but it can get mushy if you over-stir. I prefer day-old rice for the best texture.
Control the Sweetness
Maple syrup varies in sweetness. Start with 3 tablespoons, taste, and add more if needed. You want the lime to shine, so don’t make it too sweet. It should be a balance of sweet and tart.
Common Mistakes (and how to avoid them):
Mistake: Pudding is too thin
Fix: Simmer it longer. The rice needs time to release its starch and thicken the coconut milk. If it’s still too thin after 10 minutes, add a teaspoon of cornstarch mixed with a little water.
Mistake: Pudding is too thick
Fix: Add a splash of coconut water or milk. It’s easy to fix—just stir it in over low heat.
Mistake: Burnt bottom
Fix: This happens if the heat is too high. Keep it on low once it starts simmering. If it does burn, don’t try to salvage it—start over. Burnt coconut milk tastes awful.
Pro Trick I’ve Learned:
For Extra Creaminess
Add a tablespoon of coconut cream (the thick part from the top of the can) at the end. It makes it feel like a luxury dessert.
Variations & Substitutions
Once you’ve nailed the basic version, here’s how you can mix it up. I’ve tried all of these.
Tropical Mango Version
Swap the lime for mango puree. Add 1/2 cup of fresh mango chunks when you simmer. It’s like a mango sticky rice pudding. My kids love this one.
Spiced Pumpkin Version
Add 1 teaspoon of pumpkin pie spice and 1/2 cup of pumpkin puree. This is similar to my fall maple brown sugar rice pudding but with a tropical twist. It’s great for autumn.
Chocolate Coconut Version
Stir in 2 tablespoons of cocoa powder with the coconut milk. Add a pinch of sea salt on top. It’s like a coconut chocolate mousse in pudding form.
Gluten-Free & Vegan
This recipe is naturally gluten-free and vegan. Just make sure your maple syrup is pure and your coconut milk doesn’t have any added thickeners like guar gum if you’re sensitive.
Using Raw Rice
If you want to start with raw rice, you’ll need to cook it first. Rinse 1/2 cup of white rice, add 1 cup of water, and bring to a boil. Simmer for 15-18 minutes until tender. Then proceed with the recipe. It will take longer overall, but the texture is slightly better.
Different Nuts
Add toasted almonds, cashews, or pecans for crunch. I love toasted pecans with the lime flavor—it’s a weird combo that actually works.
Serving & Storage
How to Serve:
I usually serve this warm straight from the pot. It’s cozy and comforting. But here are other ways I’ve enjoyed it:
Side Dishes:
- It’s a dessert on its own, but I sometimes serve it with no-churn pumpkin caramel ice cream on top for a decadent treat.
- Pair it with a side of fresh berries for a pop of color.
- Serve it alongside fig and honey ricotta galette for a mixed dessert platter.
Toppings Bar:
When I have guests, I put out: toasted coconut flakes, fresh mint, lime wedges, and a drizzle of extra maple syrup. Everyone customizes their bowl.
Storage Instructions:
Refrigerator:
Store in an airtight container for up to 4 days. The pudding will thicken significantly in the fridge. It’s best eaten within 2 days for the freshest lime flavor.
Reheating:
Best method: Add to a saucepan with a splash of coconut milk over low heat. Stir until warm and creamy again.
Microwave method: Heat in 30-second intervals, stirring between. Add a splash of coconut milk if it’s too thick.
Freezing:
I don’t recommend freezing this. The texture of the rice changes when frozen and thawed—it can become grainy. It’s best made fresh or stored in the fridge for a few days.
Pro tip: If leftovers are drying out, stir in a tablespoon of coconut milk when reheating. Brings back that creamy texture.
Nutrition Information
I’m not a nutritionist, but here’s the breakdown if you’re tracking.
Per Serving (based on 4 servings):
| Nutrient | Amount |
|---|---|
| Calories | 280 |
| Protein | 4g |
| Carbs | 35g |
| Fiber | 2g |
| Sugar | 18g |
| Fat | 14g |
| Saturated Fat | 12g |
| Sodium | 15mg |
What’s Good:
- Good source of healthy fats from coconut milk
- Gluten-free and dairy-free
- Lower in protein than some desserts, but satisfying
What to Know:
- Higher in calories from coconut milk
- Contains natural sugars from maple syrup
- Moderate carb content from rice
My Take:
Look, this is a dessert with coconut milk and rice. It’s not a diet recipe. But it’s way better than store-bought pudding, costs less, and I know exactly what’s in it. When I want to make it lighter, I use light coconut milk and reduce the maple syrup. But usually? I just eat a reasonable portion and enjoy it.
Final Thoughts
So that’s my go-to dairy-free coconut lime rice pudding! I’ve probably talked your ear off at this point, but when you make a recipe this often, you have a lot to say about it.
This has saved weeknight dinners more times than I can count. It’s my answer to “what’s for dessert” when I’m tired, don’t want takeout, and still want something that tastes really good. My kids are happy, my husband’s happy, and I’m happy because I’m not stressed about cooking.
Make it yours! Try different add-ins, swap in your favorite fruits, adjust the lime (though more is always better in my opinion). The best recipes are the ones you adapt to your family’s tastes.
If you make this, drop a comment and let me know what you think! I love hearing how recipes turn out in your kitchen. And if something doesn’t work, tell me that too—I’m here to help troubleshoot.
Happy cooking! And I hope your kitchen smells half as good as mine does right now.
Frequently Asked Questions
Can I use almond milk instead of coconut milk?
You can, but the texture will be much thinner and less creamy. Coconut milk is high in fat, which gives this pudding its rich texture. If you must use almond milk, add a tablespoon of cornstarch to thicken it. But honestly, it won’t be the same. I recommend sticking with coconut milk for the best results.
Why did my pudding turn out watery?
Usually means you didn’t simmer it long enough, or you added too much liquid. The rice needs time to absorb the coconut milk and release its starch. Let it simmer for a full 7-10 minutes, stirring constantly. If it’s still watery, cook it a bit longer or add a teaspoon of cornstarch mixed with water.
Can I make this ahead for a dinner party?
Absolutely! Make the pudding up to 2 days ahead and store in the fridge. Let it come to room temperature or warm it gently before serving. The flavors actually meld and improve after a day. I do this all the time for parties.
Can I use brown rice instead of white rice?
You can, but brown rice takes much longer to cook and has a chewier texture. If you use cooked brown rice, it will work, but the pudding won’t be as creamy. White rice (jasmine or short-grain) is best for this recipe because it breaks down more easily.
How do I reheat leftovers without it getting dry?
Add a splash of coconut milk or water to a saucepan, add your leftover pudding, and heat gently over low heat, stirring frequently. The extra liquid brings back the creamy texture. Microwave sort of works but tends to dry it out. If you do microwave, definitely add a splash of liquid first and heat in short bursts, stirring between.
Can I double this recipe?
Yes! Double everything and use a larger saucepan. The cooking times stay the same, but you’ll need to stir more vigorously to prevent sticking. I do this when I’m meal-prepping or feeding a crowd.
Is this recipe gluten-free?
Yes, this recipe is naturally gluten-free. Just make sure your coconut milk and maple syrup don’t have any added gluten-containing ingredients (which is rare, but always check labels if you have celiac disease).
Pin This Recipe!
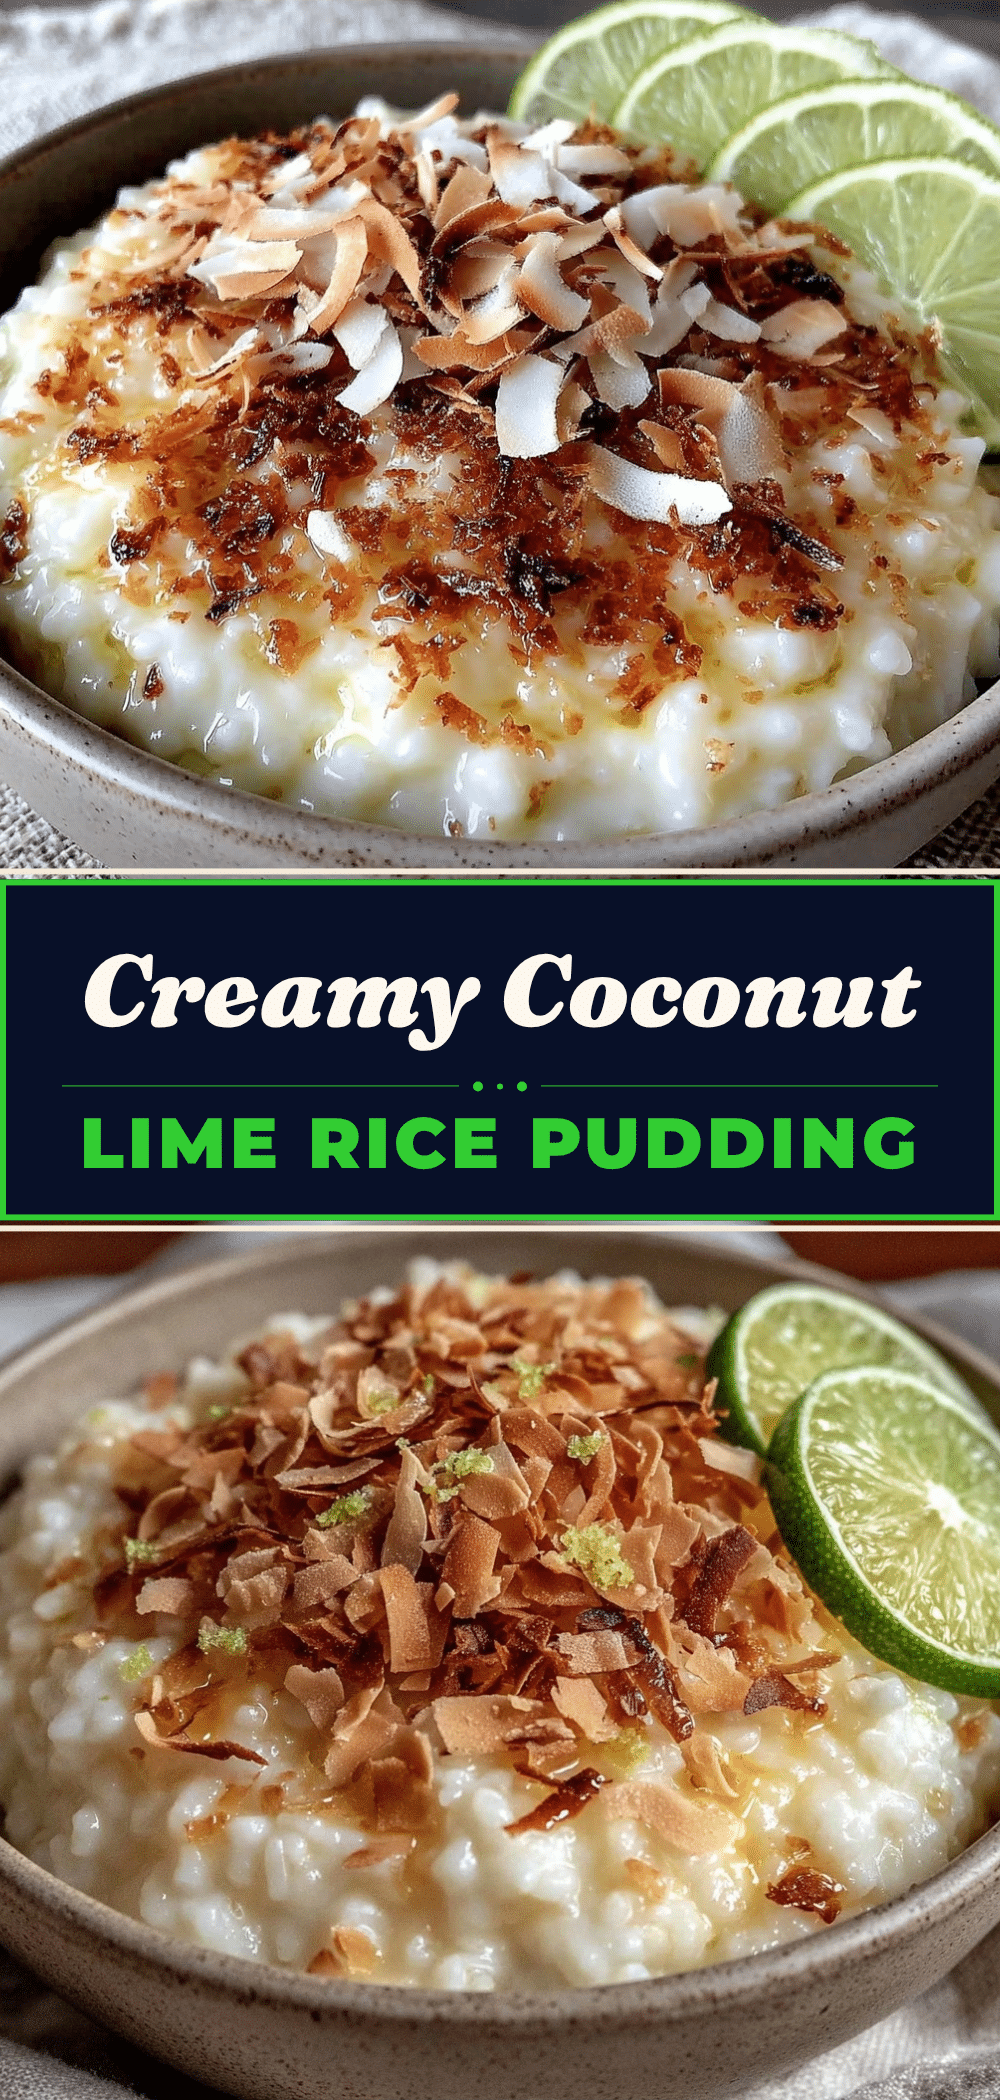

Dairy-Free Coconut Lime Rice Pudding
- Total Time: 15 minutes
- Yield: 4 servings 1x
Description
A quick, creamy, and dairy-free dessert made with pantry staples. This 15-minute coconut lime rice pudding is naturally vegan, gluten-free, and perfect for busy weeknights.
Ingredients
- 1 can (400ml) full-fat coconut milk, shaken well
- 1.5 cups (200g) pre-cooked white rice (jasmine or short-grain preferred)
- 1/4 cup (60ml) coconut water or extra coconut milk
- 3–4 tablespoons (45-60ml) maple syrup
- 2 tablespoons (30ml) fresh lime juice
- 1 teaspoon lime zest
- 1/4 teaspoon salt
- 1/2 teaspoon vanilla extract
Instructions
- Zest the limes and squeeze the juice. Measure out all other ingredients.
- In a small to medium saucepan, combine the coconut milk, pre-cooked rice, maple syrup, salt, and vanilla extract. Stir to combine.
- Place the saucepan over medium heat and bring to a gentle simmer.
- Reduce heat to low and stir constantly for 5-7 minutes until the mixture thickens and the rice softens. Do not walk away.
- Remove the pot from the heat.
- Stir in the fresh lime juice and lime zest.
- Taste and adjust sweetness or tartness if needed.
- Serve warm immediately, or let cool to room temperature and refrigerate for 30 minutes for a thicker, chilled pudding.
Notes
Use full-fat coconut milk for the best creamy texture. Stir constantly to prevent sticking and burning. If the pudding is too thin, simmer longer or add a teaspoon of cornstarch mixed with water. If too thick, add a splash of coconut water. Do not freeze as the texture becomes grainy.
- Prep Time: 2 minutes
- Cook Time: 13 minutes
- Category: Dessert
- Cuisine: American
Nutrition
- Serving Size: 1 bowl
- Calories: 280
- Sugar: 18
- Sodium: 15
- Fat: 14
- Saturated Fat: 12
- Carbohydrates: 35
- Fiber: 2
- Protein: 4
Keywords: dairy-free, vegan, gluten-free, coconut lime rice pudding, quick dessert, weeknight dessert, healthy dessert, 15 minute recipe



