
Last Thursday night, I was staring at a half-risen ball of dough and wondering if I had actually ruined my starter for good. It was 7:30 PM. I had just gotten home from work, my back hurt, and the only thing I wanted was to eat something warm and comforting without ordering takeout. I looked at that sad, flat dough in my bowl, sighed, and decided to just dump it into a sheet pan, slap some olive oil on it, and call it a night.
What came out of the oven twenty minutes later wasn’t just “good for a beginner.” It was genuinely restaurant-quality. Crispy edges, airy bubbles, salty olive oil pockets, and that intoxicating smell of rosemary and yeast that fills the entire kitchen. I ate it straight from the pan with my hands, burning my fingers, not caring at all. That’s when I realized something important: sourdough focaccia doesn’t have to be a weekend project. It doesn’t have to be perfect. And it definitely doesn’t have to be hard.
This beginner sourdough focaccia with rosemary is the recipe I’ve been testing and tweaking for months to make it actually fit into a real human’s life. I’ve made this at least a dozen times since that Thursday, and I’ve learned exactly which steps matter and which ones you can totally skip if you’re tired. If you’ve been intimidated by sourdough, or if you think baking bread requires a degree in chemistry, let me reassure you: this is the one trick that makes the difference between a dense brick and a cloud-like masterpiece. And it has nothing to do with kneading.
Why You’ll Love This Recipe
There are about ten reasons I keep making this, but here are the big ones. This isn’t just another bread recipe; it’s a weeknight savior that tastes like you spent hours in the kitchen.
Stupid Simple — Seriously, if you can mix ingredients and press dough, you can make this. I’ve walked my teenage son through it over FaceTime while he was at college. He didn’t mess it up. The dough is wet and sticky, so there’s zero kneading. You just mix, let it rest, and press it into a pan. That’s it.
Uses Your Discard — If you have a sourdough starter, you know the guilt of throwing it away. This recipe is the perfect way to use your discard or active starter. It turns what would be compost into dinner. I love that it reduces waste while feeding my family.
Lightning Fast (Once You Know the Rhythm) — Yes, it needs time to rise, but most of that time is passive. You can mix the dough while your dinner is cooking, let it rise while you watch TV, and bake it while you set the table. Active time is about 15 minutes. I make this on weeknights when I get home at 7 PM and still want a “from scratch” meal.
Crunchy and Chewy — The secret isn’t in the flour; it’s in the oil. By using a generous amount of good olive oil in the pan, you get these incredibly crispy, golden edges that contrast with the soft, airy interior. It’s texture heaven.
Crowd-Pleaser — I’ve served this to my gluten-sensitive friends (if you use GF flour blend, though traditional is best), my picky kids, and my bread-snobby neighbor. Everyone asks for the recipe. It’s the perfect side for soups, salads, or just eating with your hands.
This is my go-to when I need dinner to just work. No complicated techniques, no weird ingredients, just reliable, delicious food that makes everyone happy. If you’ve been looking for a cranberry pecan sourdough focaccia but were intimidated by the technique, this basic rosemary version is the perfect place to start.
Ingredients You’ll Need
Here’s the best part: you probably have most of this already. Sourdough focaccia is incredibly pantry-friendly. I’m particular about three ingredients here, and I’ll tell you exactly why.
For the Dough
All-purpose flour (400g / 3 ½ cups) — I use King Arthur or Bob’s Red Mill. Bread flour makes it chewier, but AP flour gives that tender, focaccia-like crumb that beginners prefer. Don’t go too crazy with whole wheat; it makes the dough too dense for this style.
Water (320ml / 1 ⅓ cups, warm) — This is a high-hydration dough. Don’t be scared of the wetness. Warm water (around 80°F) helps activate the starter faster. If your house is cold, use slightly warmer water. If it’s hot, use cool. You’re aiming for a mixable, not baking, temperature.
Sourdough starter (100g / ½ cup) — Active and bubbly. If your starter is dormant, feed it 4-6 hours before you start. I use both discard and active starter for this. If you’re using discard, the rise time will be longer, but it still works. If you’re using active starter, it rises faster. I prefer active for weeknight speed.
Salt (8g / 1 ½ tsp) — Kosher salt is best. I use Diamond Crystal because it’s less salty by volume than Morton’s. If you use Morton’s, reduce to 1 ¼ tsp. Salt controls the yeast and adds flavor. Don’t skip it.
For the Topping
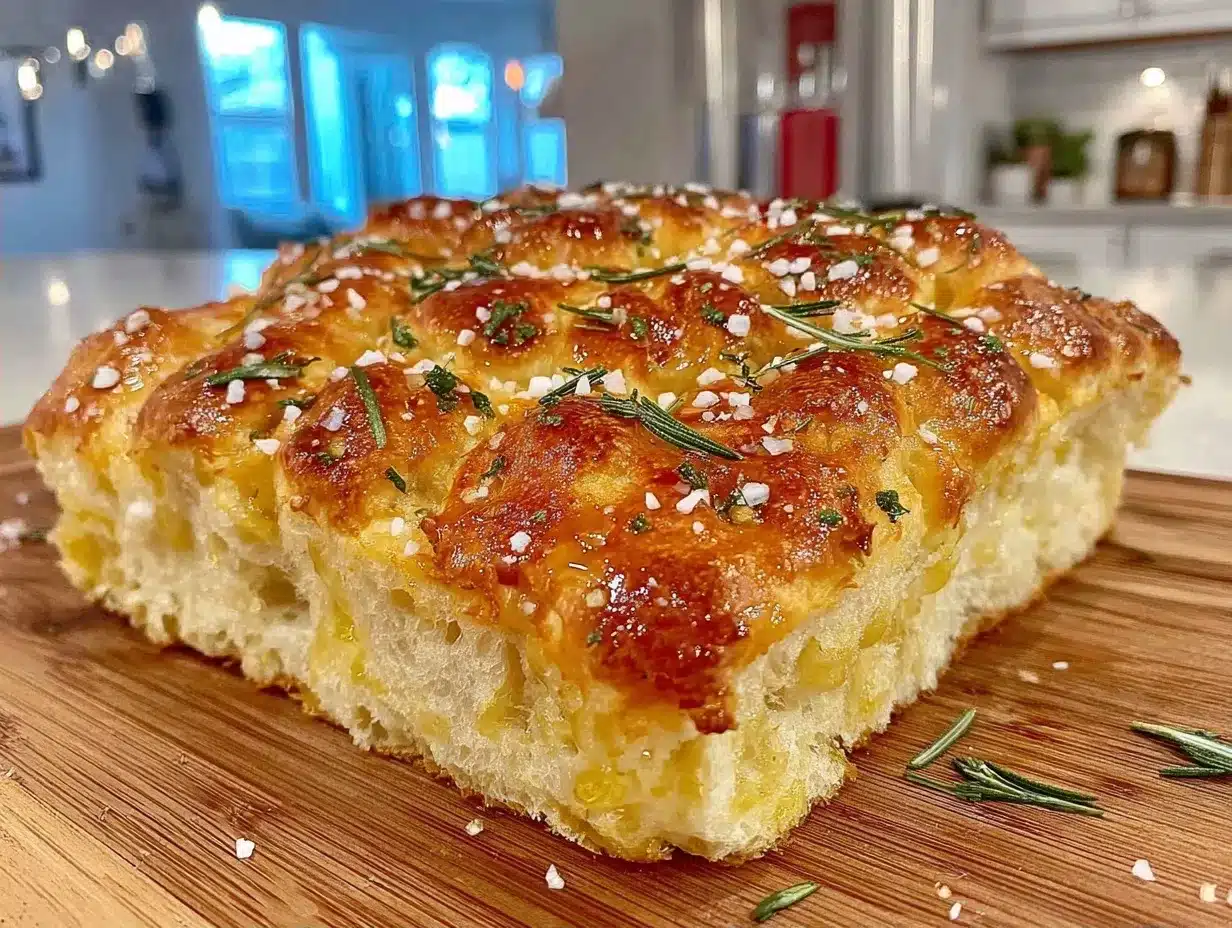
Extra virgin olive oil (⅓ cup / 80ml) — This is non-negotiable. I use a decent quality oil because you’re going to taste it. Cheap oil tastes bitter in baked goods. I drizzle half into the pan and half on top. It creates those signature crispy pockets.
Fresh rosemary (2 tablespoons, chopped) — Fresh is so much better than dried. Dried rosemary is like eating pine needles in this context. If you only have dried, use 1 tablespoon, but fresh is the way to go. I grow mine on my windowsill, which is a huge win.
Flaky sea salt (for finishing) — Maldon or any flaky salt. You sprinkle this on top before baking. It crunches and bursts with saltiness against the sweet olive oil. It’s the finishing touch that makes it feel fancy.
Optional Add-ins: Cherry tomatoes (halved), sliced onions, or olives. I love adding cherry tomatoes for a burst of acidity. If you want to try something different, check out my brown butter sage gnocchi for another carb-heavy comfort food that pairs well with this bread.
Equipment Needed
You don’t need fancy equipment for this. Here’s what I actually use.
9×13 inch baking pan — I use a metal pan, not glass. Metal conducts heat better, giving you those crispy edges. If you use glass, reduce the oven temp by 25°F. A rimmed sheet pan works too, but a 9×13 gives you thicker, fluffier focaccia.
Stand mixer or large bowl — I use my stand mixer with the dough hook for convenience, but a wooden spoon and strong arms work fine. The dough is sticky, so a mixer saves your wrists.
Cling wrap or damp towel — To cover the bowl during rising. I use cling wrap because it’s faster to clean up.
Silicone spatula — For scraping the sticky dough out of the bowl. Don’t use a metal spoon; it won’t get all the dough.
Pastry brush — Optional, but helpful for drizzling oil evenly. I just use my fingers if I’m being lazy.
How to Make It: Step-by-Step
Alright, let’s make this! I’m walking you through exactly how I do it, including the little tricks I’ve picked up. The “one trick” I mentioned earlier? It’s the stretch and fold. It develops gluten without kneading. Trust me on this.
Step 1: Mix the Dough (5 minutes)
In a large bowl, combine the warm water and sourdough starter. Whisk until the starter is dissolved. Add the flour and salt. Mix with a wooden spoon or stand mixer on low speed until no dry flour remains. The dough will look shaggy and sticky. That’s good. It’s supposed to be sticky. If it’s too dry, add 1 tablespoon of water. If it’s too wet, add 1 tablespoon of flour. Aim for a sticky, wet consistency.
Step 2: The Stretch and Fold (5 minutes, repeated 3 times)
This is the magic step. Let the dough rest for 30 minutes. Then, wet your hands with water (so it doesn’t stick). Grab one side of the dough, stretch it up, and fold it over the center. Do this for all four sides. Rotate the bowl 90 degrees and repeat. Do this every 30 minutes for 2 hours. You’ll do this 3-4 times. The dough will transform from a sticky mess into a smooth, elastic ball. This is where the gluten develops without any kneading.
Step 3: First Rise (4-6 hours)
After the final stretch and fold, cover the bowl with cling wrap. Let it sit at room temperature for 4-6 hours. It’s done when it’s puffy, jiggly, and has bubbles on the surface. It should nearly double in size. If your kitchen is cold, it might take longer. Don’t rush this. Patience is key.
Step 4: Prep the Pan (5 minutes)
Generously oil your 9×13 baking pan with olive oil. Use your fingers to coat the bottom and sides. Pour in the dough. It will be sticky. Wet your hands again and gently press the dough into the pan. Don’t try to be neat. Press it into the corners. Drizzle the remaining olive oil over the top. Cover with cling wrap and let it rise again for 1-2 hours. It should puff up and fill the pan.
Step 5: Add Toppings and Bake (25 minutes)
Preheat your oven to 425°F (220°C). Once the dough has risen, press your fingertips into the surface to create dimples. This is fun and helps the oil pool. Sprinkle with chopped rosemary and flaky sea salt. Add any other toppings now. Bake for 20-25 minutes until golden brown and crispy. The edges should be dark gold. If they’re browning too fast, tent with foil.
Step 6: Cool and Serve
Let it cool in the pan for 5 minutes, then lift it out onto a wire rack. Slice while warm. It’s best eaten the day it’s baked, but it keeps well (see storage below).
Expert Tips & Tricks
Here’s everything I’ve learned from making this dozens of times. These tips will save you from my mistakes.
The Dough Should Stick
Many beginners add too much flour, thinking the dough is too wet. It’s supposed to stick to your hands. If you add too much flour, the focaccia will be dense. Wet your hands instead of adding flour. This is the #1 mistake I see.
Temperature Matters
If your kitchen is below 70°F, the rise will be slow. I put my bowl in the oven with just the light on for the first rise. It creates a warm, draft-free environment. For the second rise, I do the same. Warmth = happy yeast.
Don’t Skip the Oil
The oil isn’t just for flavor; it’s for texture. It prevents the bottom from steaming and makes it crispy. Use enough oil. I mean, really use enough. ⅓ cup minimum.
The Dimple Test
When you press your fingers into the dough, if it springs back immediately, it needs more time. If it stays dimpled, it’s ready. This applies to both rises.
Common Mistakes
Mistake: Dough is too flat. Fix: It didn’t rise enough. Check your starter’s activity. Make sure it’s bubbly before using.
Mistake: Edges are burnt. Fix: Your oven runs hot. Tent with foil or reduce temp by 25°F.
Variations & Substitutions
Once you’ve nailed the basic version, here’s how you can mix it up. I’ve tried all of these.
Garlic Parmesan
Skip the rosemary. Add 3 cloves of minced garlic and ½ cup grated Parmesan before baking. Amazing with pasta.
Sweet Focaccia
Add cinnamon and sugar to the dough. Top with sliced apples or figs after baking. Drizzle with honey. It’s like a dessert bread.
Vegetable Loaded
Add sliced zucchini, bell peppers, or onions before baking. Sauté them first if they release a lot of water, so the dough doesn’t get soggy.
Gluten-Free
Use a 1:1 gluten-free flour blend with xanthan gum. The dough will be even stickier. You may need to add a bit more water. It rises differently, so keep an eye on it.
Dairy-Free
This recipe is naturally dairy-free. Just ensure your starter doesn’t contain milk (some feeders add milk, which is rare but possible).
Serving & Storage
How to Serve:
I usually serve this straight from the pan, torn into pieces. It’s perfect with pumpkin alfredo pasta or a simple green salad. The crispy edges are the best part.
Storage:
Store in an airtight container at room temperature for up to 2 days. It will stale quickly because of the oil, so eat it fast. For longer storage, freeze slices in a bag for up to 3 months. Reheat in the oven at 350°F for 10 minutes to crisp up.
Reheating:
Don’t microwave it. It will get chewy and tough. Oven or toaster oven is best. If you microwave, do it for 10 seconds max, but expect a softer texture.
Nutrition Information
I’m not a nutritionist, but here’s the breakdown if you’re tracking. This is per slice (1/12 of the pan).
Per Serving:
– Calories: 180
– Protein: 4g
– Carbs: 24g
– Fiber: 1g
– Fat: 8g
– Sodium: 220mg
It’s a carb-heavy side dish, so pair it with protein and vegetables. The olive oil adds healthy fats, but it’s calorie-dense. Enjoy in moderation.
Final Thoughts
So that’s my beginner sourdough focaccia! I’ve probably talked your ear off at this point, but when you make a recipe this often, you have a lot to say about it. This has saved weeknight dinners more times than I can count. It’s my answer to “what’s for dinner” when I’m tired, don’t want takeout, and still want something that tastes really good.
Make it yours! Try different toppings, swap in your favorite herbs, or adjust the salt to your taste. The best recipes are the ones you adapt to your family’s tastes. If you make this, drop a comment and let me know what you think! I love hearing how recipes turn out in your kitchen. And if something doesn’t work, tell me that too—I’m here to help troubleshoot.
Happy baking! And I hope your kitchen smells half as good as mine does right now.
Frequently Asked Questions
Can I use active sourdough discard instead of active starter?
Yes! In fact, I often use discard because it’s more convenient. The rise time will be longer (maybe 6-8 hours for the first rise) because the yeast isn’t as active. Just be patient. The flavor might be slightly tangier, which is nice.
Why is my focaccia dense?
Usually, this means you added too much flour during the mixing or folding process. The dough should be sticky. If you added flour to make it less sticky, you’ve changed the hydration ratio. Next time, wet your hands instead of adding flour. Also, ensure your starter was active and bubbly.
Can I make this ahead?
Yes. After the first rise, you can punch down the dough, put it in the pan, cover it, and refrigerate for up to 24 hours. Take it out 2 hours before baking to come to room temperature and do the second rise. This is great for meal prepping.
What if I don’t have fresh rosemary?
You can use dried rosemary, but use half the amount. Fresh is better, but dried works in a pinch. Just sprinkle it evenly over the top.
How do I know when it’s done baking?
Look at the edges. They should be deep golden brown, not pale yellow. The top should be golden, and the bottom should sound hollow when you tap it. Internal temperature should be around 190°F if you have a thermometer.
Pin This Recipe!
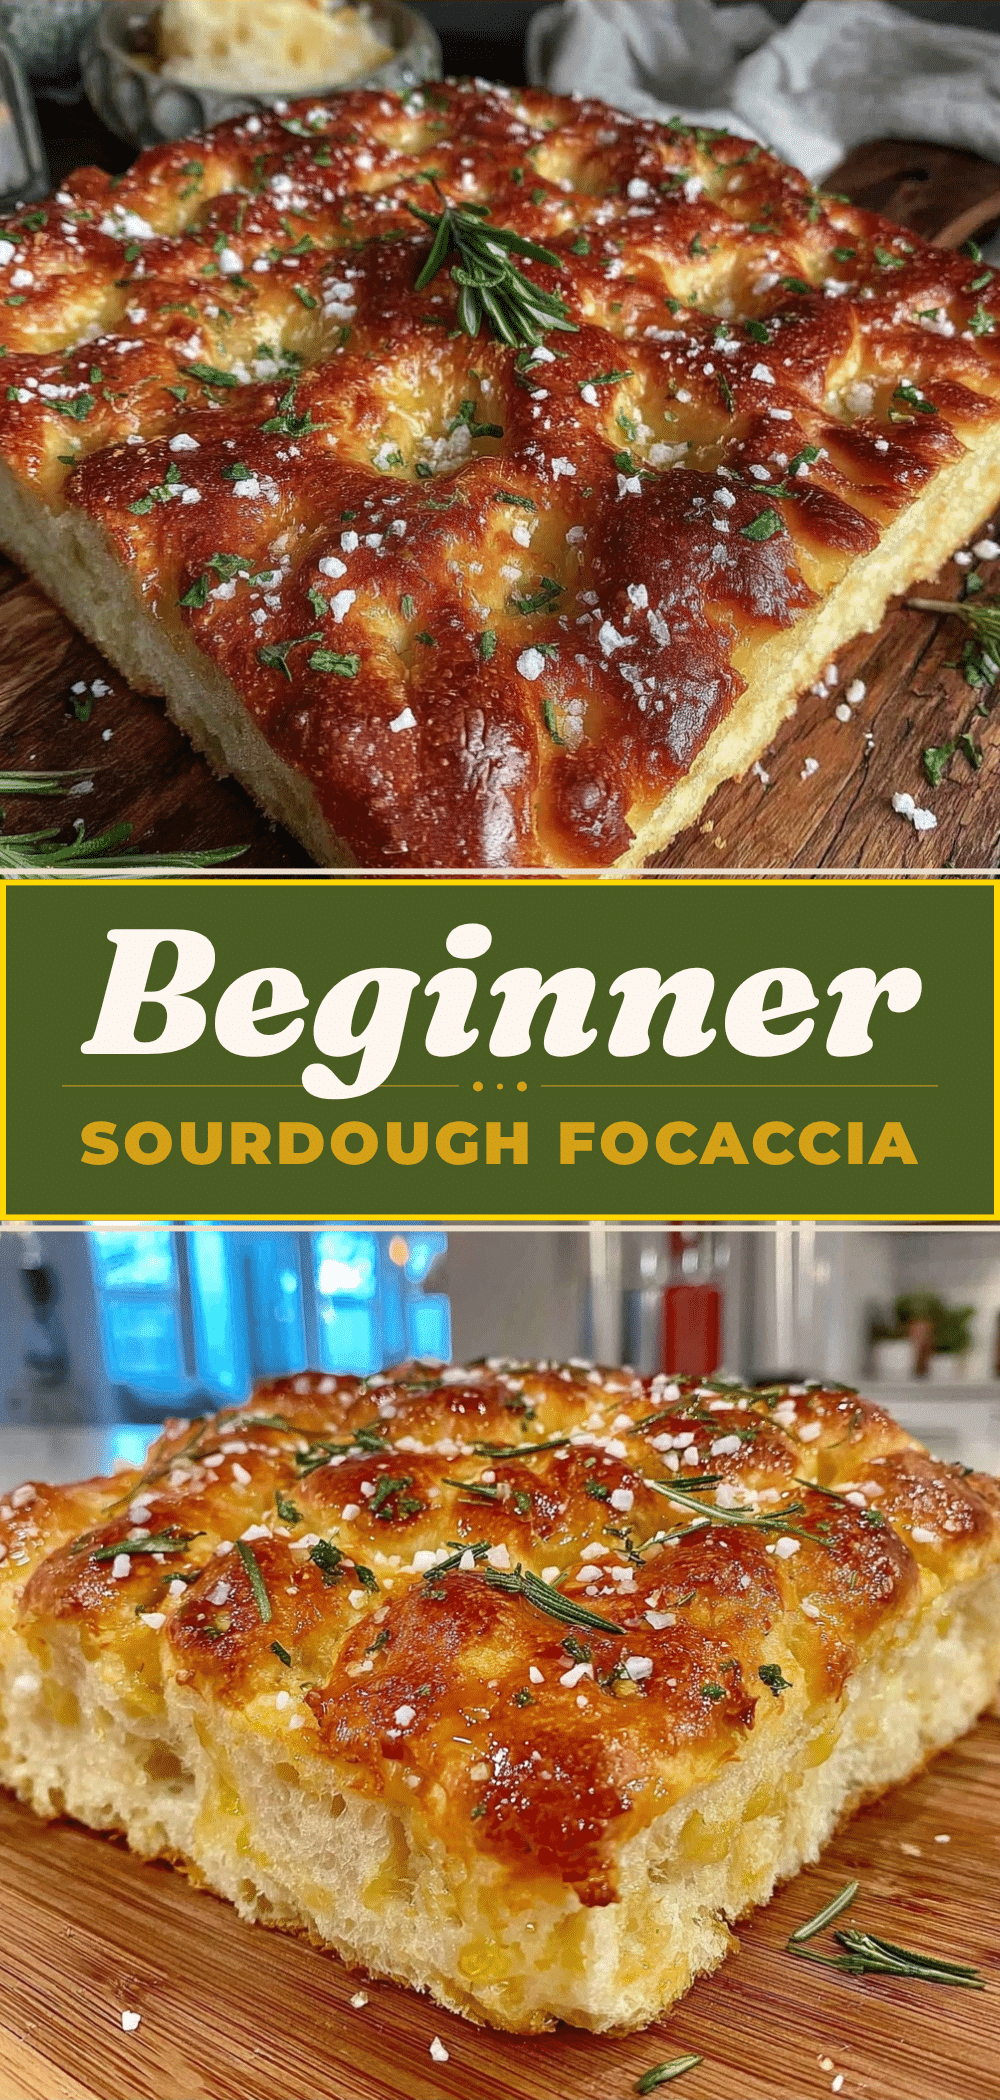

Beginner Sourdough Focaccia: Easy Rosemary Recipe
- Total Time: 45 minutes
- Yield: 12 servings 1x
Description
A simple, weeknight-friendly sourdough focaccia that requires no kneading. This recipe uses a stretch-and-fold technique to create crispy, golden edges and a soft, airy interior with rosemary and olive oil.
Ingredients
- 400g (3 ½ cups) all-purpose flour
- 320ml (1 ⅓ cups) warm water (around 80°F)
- 100g (½ cup) active sourdough starter or discard
- 8g (1 ½ tsp) kosher salt
- ⅓ cup (80ml) extra virgin olive oil, divided
- 2 tablespoons fresh rosemary, chopped
- Flaky sea salt (e.g., Maldon) for finishing
Instructions
- In a large bowl, whisk warm water and sourdough starter until dissolved. Add flour and salt, mixing until no dry flour remains. The dough should be shaggy and sticky.
- Let the dough rest for 30 minutes. Wet your hands, then perform a ‘stretch and fold’: grab one side of the dough, stretch it up, and fold it over the center. Repeat for all four sides, rotating the bowl 90 degrees each time.
- Repeat the stretch and fold process every 30 minutes for 2 hours (3-4 times total) until the dough becomes smooth and elastic.
- Cover the bowl with cling wrap and let it rise at room temperature for 4-6 hours until puffy, jiggly, and nearly doubled in size.
- Generously oil a 9×13 inch metal baking pan. Wet your hands and gently press the dough into the pan, coating corners. Drizzle with remaining olive oil.
- Cover and let the dough rise again for 1-2 hours until it puffs up and fills the pan.
- Preheat oven to 425°F (220°C). Press fingertips into the dough to create dimples. Sprinkle with chopped rosemary and flaky sea salt.
- Bake for 20-25 minutes until the edges are dark gold and crispy. Tent with foil if browning too quickly.
- Cool in the pan for 5 minutes, then transfer to a wire rack. Slice and serve warm.
Notes
The dough should be sticky; do not add extra flour. Wet your hands instead. If your kitchen is cold, rise the dough in an oven with just the light on. For a gluten-free version, use a 1:1 gluten-free flour blend with xanthan gum. Store in an airtight container at room temperature for up to 2 days or freeze for up to 3 months.
- Prep Time: 15 minutes
- Cook Time: 25 minutes
- Category: Side Dish
- Cuisine: Italian
Nutrition
- Serving Size: 1 slice (1/12 of the
- Calories: 180
- Sodium: 220
- Fat: 8
- Saturated Fat: 1
- Carbohydrates: 24
- Fiber: 1
- Protein: 4
Keywords: sourdough focaccia, rosemary bread, beginner sourdough, easy bread recipe, weeknight dinner, olive oil bread, gluten-free option



