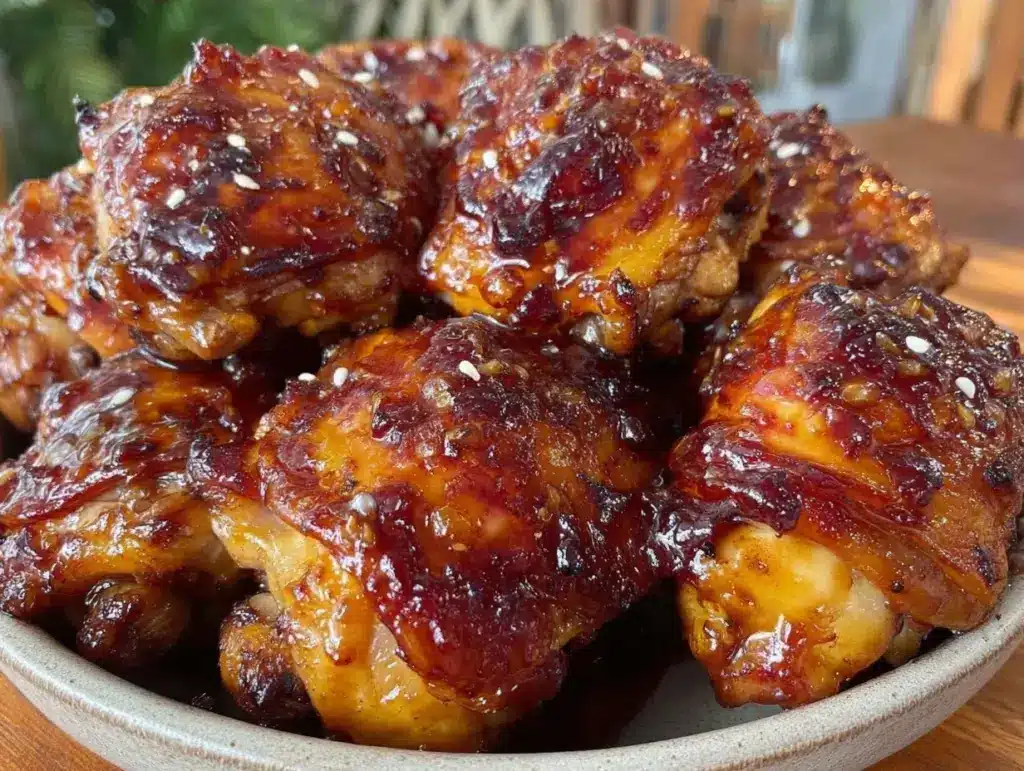
Let’s be honest for a second. There is a specific kind of disappointment that hits when you open a takeout container after a long, exhausting week. You expect that sticky, glossy, perfectly balanced sauce. You expect tender meat. Instead, you get lukewarm, soggy noodles and chicken that tastes like it’s been sitting under a heat lamp since 2019. The sauce is either too sweet, too salty, or just… chemical. It’s the “umami bomb” that doesn’t quite land right, leaving you feeling heavy but unsatisfied.
I hit that wall last Tuesday. I had three deadlines looming, my kids were arguing over something trivial, and I was too tired to cook. I ordered the usual: sesame chicken. Thirty minutes later, the delivery driver handed me a bag that smelled vaguely of microwaved plastic. That night, I stared at that container and realized I was done. Done with the sodium spike, done with the vague ingredient lists, and done with paying $18 for a meal that left me hungry an hour later.
So, I decided to reverse-engineer my favorite takeout dish. But with a twist. I didn’t want just “good” chicken; I wanted better. I wanted something that actually fueled my body for the rest of the evening without leaving me in a food coma. That’s how these Sticky Baked Sesame Chicken Thighs were born.
Here’s the thing about takeout chicken: it’s usually breast meat, battered, deep-fried in oil you can’t see, and coated in a sugar-laden glaze. It’s empty calories with a side of guilt. But thighs? Thighs are different. They’re richer, more flavorful, and hold up to high heat without drying out. By baking them instead of frying, and using a sauce made from real honey, soy, and ginger, I created a meal that’s high-protein, genuinely sticky, and ridiculously easy. It’s the kind of dinner that makes my husband ask for seconds before the plates are even cleared. It’s comfort food that actually respects your body. And yes, it’s better than takeout. I stand by that.
Why You’ll Love This Sticky Baked Sesame Chicken Thighs Recipe
I’ve tested this recipe at least eight times over the last month. It’s become my secret weapon for weeknights when I need something that feels indulgent but keeps me on track with my protein goals. There are about ten reasons I keep making this, but here are the big ones that matter most.
Actually High-Protein
Most “healthy” chicken recipes rely on breast meat, which can be dry and boring. Chicken thighs are naturally higher in protein per ounce and stay juicy even if you leave them in the oven five minutes too long. I’m talking about a solid 30+ grams of protein per serving. That’s the kind of fuel that keeps your energy stable from 5 PM until bedtime. No crash, no slump.
Crispy Without the Deep Fryer
This is the game-changer. We use a light dusting of cornstarch to create that crackly, takeout-style crust without submerging the chicken in hot oil. The result is a texture that’s genuinely crispy on the outside and succulent on the inside. It mimics the fried version so well that my kids don’t even miss the oil. It’s a huge win for anyone trying to cut back on fried foods without giving up the crunch.
Sauce That Sticks (Literally)
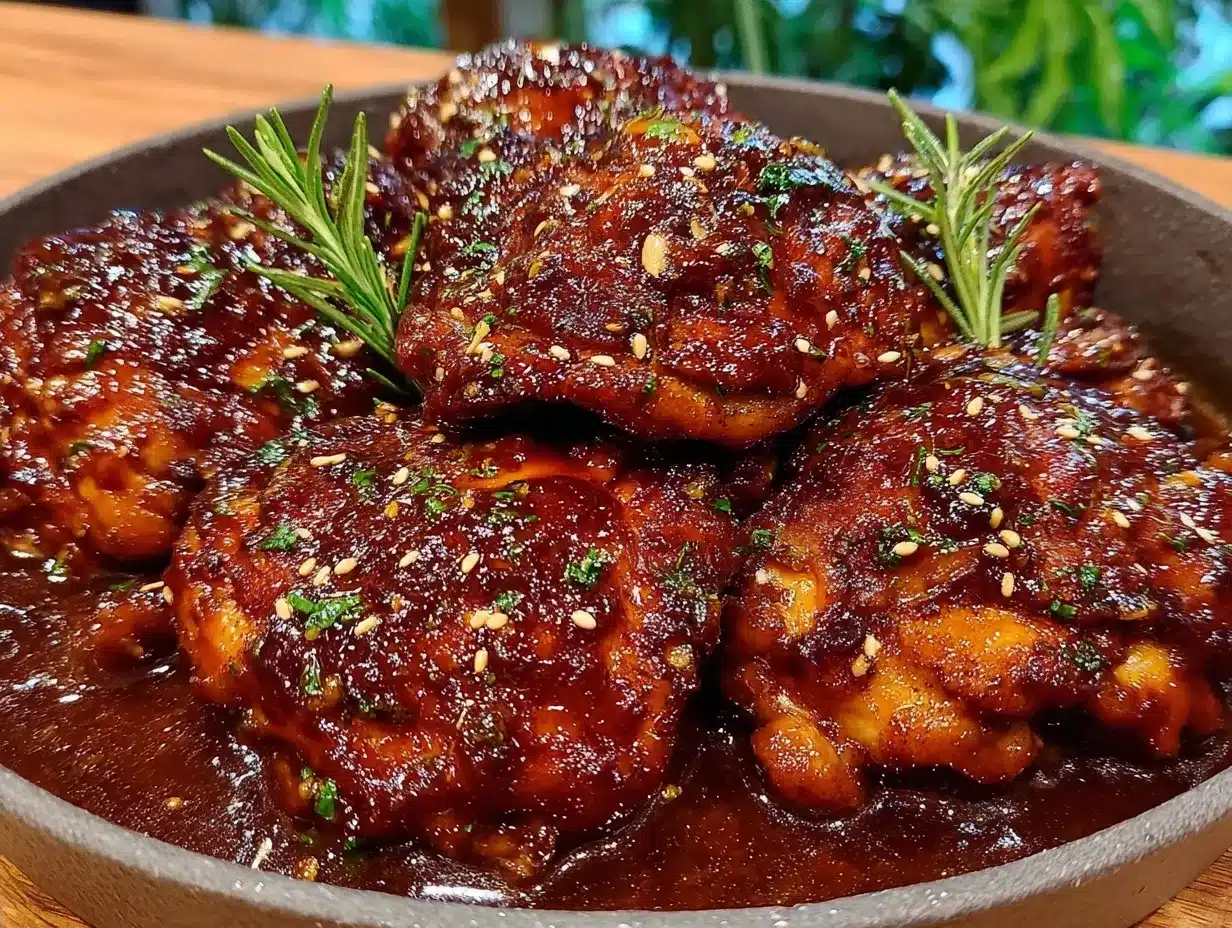
Takeout sauce often slides right off the chicken because it’s too thin or too sugary. This glaze is balanced. The honey provides viscosity, the soy sauce adds savory depth, and a touch of rice vinegar cuts the sweetness. It clings to every nook and cranny of the chicken, creating those irresistible sticky bits that you’ll want to lick off your fingers.
Pantry-Friendly Ingredients
You probably have 80% of this already in your kitchen. Soy sauce, honey, ginger, garlic, sesame oil. These aren’t exotic ingredients you need to hunt down. It’s a 30-minute meal that uses what you have. I keep these staples stocked specifically so I can throw this together on a whim when I’m too tired to think.
Makes Amazing Leftovers
This reheats beautifully. Unlike some baked dishes that dry out, the sauce rehydrates the chicken slightly, making it even more flavorful the next day. I deliberately make extra for lunch. It’s perfect over cauliflower rice or quinoa for a high-protein lunch that doesn’t feel like “diet food.”
This is my go-to when I need dinner to just work. No complicated techniques, no weird ingredients, just reliable, delicious food that makes everyone happy. If you’ve been looking for a chicken dinner recipe that actually delivers on flavor and nutrition, this is it.
Ingredients You’ll Need
Here’s the best part: you probably have most of this already. I’m particular about three ingredients here, and I’ll tell you exactly why. This looks like a standard stir-fry list, but the ratios are what make the difference between “okay” and “addictive.”
For the Chicken
Chicken thighs (2 pounds / 900g) — Boneless, skinless is easiest, but I prefer bone-in, skin-on for maximum flavor. Just remove the skin before eating if you want to reduce fat. Thighs are forgiving. If you use breast meat, reduce the cooking time by 5 minutes to prevent dryness. I buy mine from the local butcher when possible, but any organic thighs work.
Cornstarch (2 tablespoons) — This is the secret to the crispy crust. It draws out moisture and creates that shatteringly crisp exterior. Don’t skip it. Arrowroot powder works too, but cornstarch is what I trust.
Neutral oil (1 tablespoon) — For tossing the chicken. Avocado oil or canola oil works. Olive oil has a lower smoke point and might burn in the hot oven.
Salt and black pepper — Basic seasoning. I use about 1 teaspoon of kosher salt and a good crack of pepper. Don’t be shy; the chicken needs seasoning underneath the sauce.
For the Sticky Sauce
Honey (1/3 cup) — The primary sweetener. It provides that thick, sticky texture. If you’re avoiding refined sugar, you can use pure maple syrup, but the flavor profile shifts slightly. I stick with honey for that classic takeout taste.
Soy sauce (1/4 cup) — Low-sodium is best so you can control the saltiness. Tamari if you need gluten-free. It provides the savory, umami base that balances the honey.
Rice vinegar (2 tablespoons) — This adds acidity. Without it, the dish is cloyingly sweet. It brightens everything up. Apple cider vinegar works in a pinch, but rice vinegar is milder and more authentic.
Garlic (4 cloves, minced) — Fresh garlic is non-negotiable. Jarred garlic has a metallic aftertaste that ruins the balance. Mince it finely so it dissolves into the sauce.
Fresh ginger (1 tablespoon, grated) — Again, fresh. Grate it on a microplane. It adds a spicy, warm kick that cuts through the richness. If you only have ground ginger, use 1/2 teaspoon, but the flavor is different.
Sesame oil (1 teaspoon) — Toasted sesame oil. This is potent. A little goes a long way. It provides that distinct “sesame chicken” aroma. Don’t use raw sesame oil here.
Red pepper flakes (1/2 teaspoon) — Optional, but I recommend it. It adds a subtle heat that keeps the flavor profile interesting. Adjust to your spice tolerance.
For Garnish
Green onions (2-3, sliced thinly) — Adds freshness and color. It’s not just decoration; the onion bite cuts through the sticky sauce.
Sesame seeds (1 tablespoon) — Toasted sesame seeds are best. Sprinkle them on right before serving. It adds a nutty crunch and looks beautiful.
Steamed jasmine rice or cauliflower rice — To serve alongside. The sauce is meant to be poured over rice. I often switch between white rice and cauliflower rice depending on my carb intake for the day.
Equipment Needed
You don’t need fancy equipment for this. Here’s what I actually use.
Large baking sheet — I use a half-sheet pan (18×13 inches). It needs to be big enough to hold the chicken in a single layer. Crowding the pan steams the chicken instead of baking it.
Parchment paper — Essential for easy cleanup. The honey sauce will caramelize and stick. Parchment saves you from scrubbing. I also lightly grease it for extra insurance.
Mixing bowls — One medium bowl for tossing the chicken in cornstarch, and one small bowl for whisking the sauce. I use glass bowls because they don’t retain odors.
Whisk — For the sauce. You want it emulsified and smooth before pouring.
Tongs — For flipping the chicken. Forks can tear the meat. Tongs are gentler.
Microplane or grater — For the ginger and garlic. A fine grate ensures the flavor distributes evenly.
Small saucepan or microwave-safe bowl — To warm the sauce slightly before baking. Warm sauce blends better with the cornstarch.
How to Make It: Step-by-Step
Alright, let’s make this! I’m walking you through exactly how I do it, including the little tricks I’ve picked up to ensure that perfect sticky crunch.
Step 1: Prep the Chicken (5 minutes)
Pat the chicken thighs completely dry with paper towels. This is crucial. Moisture is the enemy of crispiness. If the chicken is wet, it’ll steam. Once dry, season generously with salt and pepper. In a large bowl, toss the chicken with the cornstarch. You want a light, even coating. It should look dusty, not clumpy. Shake off any excess.
Step 2: Arrange on the Pan (2 minutes)
Line your baking sheet with parchment paper. Place the chicken pieces in a single layer, leaving space between them. Do not overlap! If they touch, they won’t crisp. I usually fit 8-10 thighs on a standard half-sheet pan. If you have more, use two pans.
Step 3: Initial Bake (15 minutes)
Preheat your oven to 400°F (200°C). Place the chicken in the oven and bake for 15 minutes. This cooks the chicken through and starts to crisp the exterior. You’ll notice the edges starting to brown.
Step 4: Whisk the Sauce (3 minutes)
While the chicken bakes, whisk together the honey, soy sauce, rice vinegar, minced garlic, grated ginger, sesame oil, and red pepper flakes in a small bowl. If the honey is too thick, microwave it for 15 seconds to loosen it. It should be smooth and glossy.
Step 5: Glaze and Finish (10 minutes)
Remove the chicken from the oven. Pour half the sauce over the chicken. Flip the pieces so they are coated on both sides. Return to the oven and bake for another 5-7 minutes. The sauce will bubble and thicken into a sticky glaze. Watch it closely—honey burns fast!
Step 6: Broil for the Crunch (2 minutes)
Switch the oven to broil. Brush the remaining sauce over the chicken. Broil for 2-3 minutes until the sauce is caramelized and sticky. Keep your eye on it! It goes from perfect to burnt in seconds. You want those dark, sticky edges.
Step 7: Garnish and Serve
Remove from the oven. Sprinkle with sliced green onions and toasted sesame seeds. Let it rest for 2 minutes so the sauce sets slightly. Serve immediately over rice.
Expert Tips & Tricks
Here’s everything I’ve learned from making this dozens of times. These tips will save you from my mistakes.
Dry the Chicken Well
I cannot stress this enough. If your chicken is wet, the cornstarch will clump, and the crust won’t form. I literally use two sets of paper towels. One to pat, one to press. It’s worth the extra minute.
Don’t Skip the Broil
The broiler is what creates that caramelized, sticky finish. Baking alone leaves the sauce glossy but not tacky. The high heat from the broiler triggers the Maillard reaction, giving you that deep, savory-sweet flavor.
Toast Your Sesame Seeds
Raw sesame seeds are bland. Toast them in a dry pan for 2 minutes until they smell nutty. It’s a small step that elevates the final dish significantly.
Adjust the Sweetness
Taste your sauce before pouring it on. If you like it sweeter, add more honey. If you like it tangy, add more vinegar. This is your canvas. I usually add a splash of water if the sauce is too thick, to help it spread.
Common Mistakes
Mistake: Soggy chicken. Fix: Ensure your oven is fully preheated and don’t crowd the pan. Steam is the enemy.
Mistake: Burnt sauce. Fix: Broil for only 1-2 minutes. Honey burns at 350°F, and your broiler is way hotter. Watch like a hawk.
Mistake: Underseasoned chicken. Fix: Season the chicken before adding cornstarch. The sauce is salty, but the meat needs salt too.
Variations & Substitutions
Once you’ve nailed the basic version, here’s how you can mix it up. I’ve tried all of these.
Spicy Version
Add 1 tablespoon of gochujang (Korean chili paste) or sriracha to the sauce. It adds a deep, fermented heat that’s incredible.
Teriyaki Style
Swap the rice vinegar for mirin. Add a splash of sake if you have it. It’s sweeter and more delicate.
Dairy-Free & Gluten-Free
Use tamari instead of soy sauce. Everything else is naturally gluten-free and dairy-free. This is a naturally GF dish, which is great for sharing.
Veggie-Loaded
Roast broccoli or bell peppers on the same pan as the chicken. Toss them in the sauce at the end. It adds fiber and volume without adding many calories.
Protein Swaps
Chicken breast works, but reduce baking time. Shrimp works too—cook for only 5-7 minutes total. Salmon is delicious with this glaze too, though the texture is different.
Serving & Storage
How to Serve
I usually serve this straight from the pan at the dinner table. It looks rustic and stays warm. Pair it with roasted vegetables or a simple green salad. The sticky sauce is best poured over steamed jasmine rice or cauliflower rice.
Storage
Store leftovers in an airtight container in the fridge for up to 4 days. The chicken stays moist, and the sauce continues to penetrate the meat.
Reheating
Best method: Oven or air fryer at 350°F for 10 minutes. This restores the crispiness. Microwave works but makes the chicken chewy. If you must microwave, add a splash of water to the bowl to create steam.
Freezing
I don’t recommend freezing baked chicken with sauce. The texture changes. Freeze the raw chicken with the cornstarch coating, then bake and sauce fresh.
Nutrition Information
I’m not a nutritionist, but here’s the breakdown if you’re tracking. This is fuel, not just food.
Per Serving (based on 4 servings, 2 thighs each):
- Calories: 380
- Protein: 32g
- Carbs: 22g
- Fiber: 1g
- Sugar: 18g (from honey)
- Fat: 18g
- Sodium: 680mg
What’s Good: High protein, low carb (if you skip rice), healthy fats from the chicken skin (if left on).
What to Know: Higher in sodium due to soy sauce. Use low-sodium soy sauce to reduce. Sugar comes from honey, which is natural but still calorie-dense.
Look, this is comfort food. It’s not a diet recipe. But it’s way better than takeout, costs less, and I know exactly what’s in it. When I want to make it lighter, I skip the rice and double the veggies. But usually? I just eat a reasonable portion and enjoy it.
Final Thoughts
So that’s my go-to sticky baked sesame chicken thighs! I’ve probably talked your ear off at this point, but when you make a recipe this often, you have a lot to say about it.
This has saved weeknight dinners more times than I can count. It’s my answer to “what’s for dinner” when I’m tired, don’t want takeout, and still want something that tastes really good. My kids are happy, my husband’s happy, and I’m happy because I’m not stressed about cooking. It fuels my day without feeling like diet food.
Make it yours! Try different add-ins, swap in your favorite vegetables, adjust the garlic (though more is always better in my opinion). The best recipes are the ones you adapt to your family’s tastes.
If you make this, drop a comment and let me know what you think! I love hearing how recipes turn out in your kitchen. And if something doesn’t work, tell me that too—I’m here to help troubleshoot.
Happy cooking! And I hope your kitchen smells half as good as mine does right now.
Frequently Asked Questions
Can I use chicken breast instead of thighs?
You can, but thighs are much better for this recipe. Breast meat dries out quickly in the oven. If you must use breast, reduce the baking time by 5-7 minutes and watch it closely. Thighs stay juicy and flavorful, which is worth the switch.
Why is my sauce too thin?
The sauce thickens as it cools and as it reduces in the oven. If it’s too thin after broiling, leave the chicken in the oven for another 2 minutes without the broiler to let the liquid evaporate. You can also make a quick slurry with cornstarch and water and drizzle it over the chicken for the last minute.
Can I make this ahead for a dinner party?
Sort of. You can prep the chicken and mix the sauce up to 24 hours ahead. Store them separately in the fridge. When ready to cook, bake the chicken as directed. Freshness matters for the crispiness, so don’t bake it too far in advance.
Why did my sauce burn?
Honey burns very easily. If you see smoke or dark spots, your oven was too hot or you broiled for too long. Next time, broil for only 1-2 minutes and keep the door slightly ajar if your oven allows it. Lower the rack position if possible.
Can I use low-sodium soy sauce?
Yes! I actually recommend it. Soy sauce varies wildly in salt content. Low-sodium lets you control the final saltiness. You can always add a pinch of salt to the chicken if needed.
How do I reheat leftovers without it getting dry?
Add a splash of water or broth to a skillet, add your leftover chicken, and heat gently over low heat, stirring frequently. The extra liquid brings back the sticky texture. Microwave sort of works but tends to dry it out. If you do microwave, definitely add a splash of water first and heat in short bursts.
Can I double this recipe?
Absolutely! Double everything and use two baking sheets. Rotate the sheets halfway through baking for even cooking. The cooking times stay the same. I do this when I’m meal-prepping or feeding a crowd.
Pin This Recipe!
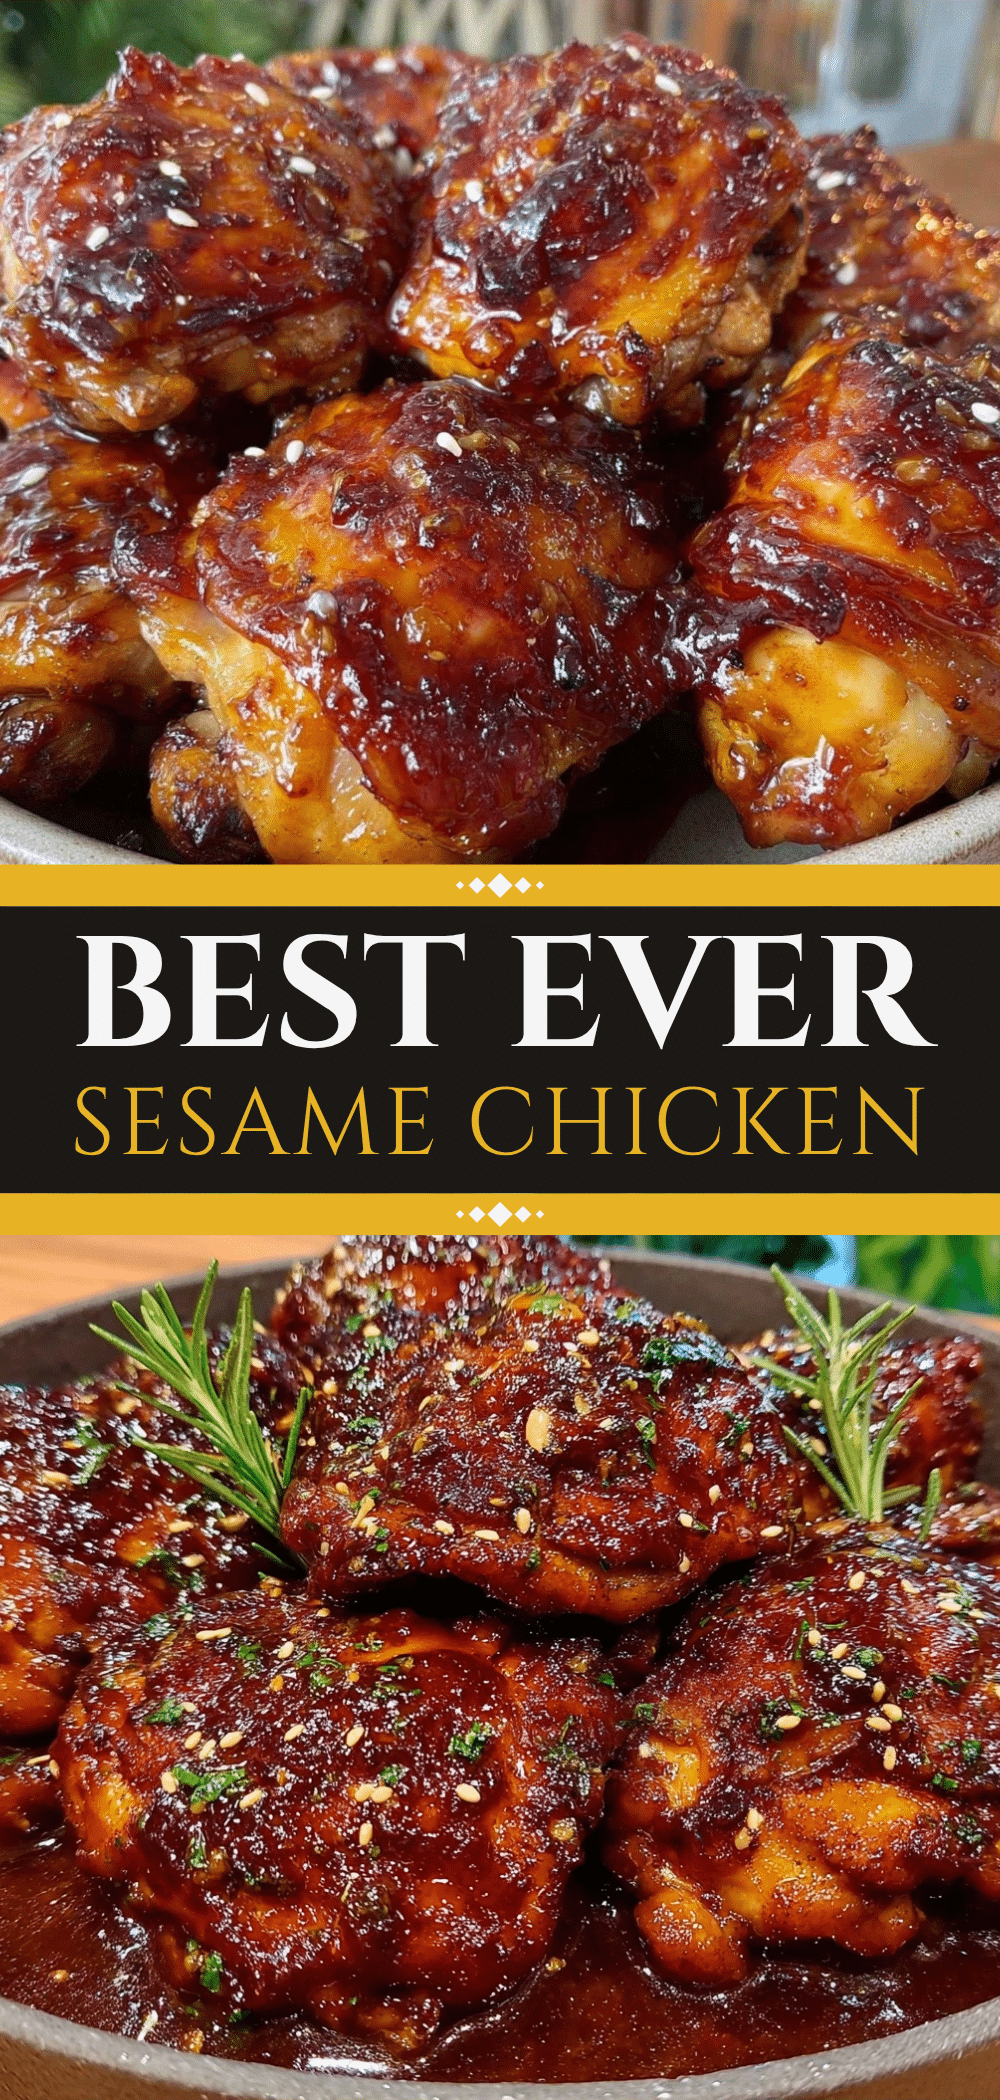

Sticky Baked Sesame Chicken Thighs
- Total Time: 29 minutes
- Yield: 4 servings 1x
Description
A high-protein, baked alternative to takeout sesame chicken. These thighs are coated in cornstarch for a crispy crust and glazed with a sticky, savory-sweet sauce made from honey, soy, and ginger.
Ingredients
- 2 pounds boneless, skinless chicken thighs
- 2 tablespoons cornstarch
- 1 tablespoon neutral oil (avocado or canola)
- 1 teaspoon kosher salt
- Black pepper to taste
- 1/3 cup honey
- 1/4 cup low-sodium soy sauce (or tamari for gluten-free)
- 2 tablespoons rice vinegar
- 4 cloves garlic, minced
- 1 tablespoon fresh ginger, grated
- 1 teaspoon toasted sesame oil
- 1/2 teaspoon red pepper flakes (optional)
- 2–3 green onions, sliced thinly
- 1 tablespoon toasted sesame seeds
- Steamed jasmine rice or cauliflower rice for serving
Instructions
- Preheat oven to 400°F (200°C).
- Pat chicken thighs completely dry with paper towels and season generously with salt and pepper.
- In a large bowl, toss chicken with cornstarch until lightly and evenly coated. Shake off excess.
- Line a large baking sheet with parchment paper. Arrange chicken in a single layer with space between pieces.
- Bake for 15 minutes.
- While chicken bakes, whisk together honey, soy sauce, rice vinegar, garlic, ginger, sesame oil, and red pepper flakes in a small bowl.
- Remove chicken from oven. Pour half the sauce over the chicken and flip to coat both sides.
- Return to oven and bake for another 5-7 minutes until sauce bubbles and thickens.
- Switch oven to broil. Brush remaining sauce over chicken and broil for 2-3 minutes until caramelized and sticky. Watch closely to prevent burning.
- Remove from oven, sprinkle with green onions and sesame seeds, and let rest for 2 minutes before serving over rice.
Notes
Ensure chicken is completely dry before coating with cornstarch to achieve crispiness. Do not crowd the pan. Honey burns easily, so watch closely during the broiling step. For a spicy version, add gochujang or sriracha to the sauce.
- Prep Time: 7 minutes
- Cook Time: 22 minutes
- Category: Main Course
- Cuisine: Asian
Nutrition
- Serving Size: 2 thighs per serving
- Calories: 380
- Sugar: 18
- Sodium: 680
- Fat: 18
- Saturated Fat: 4
- Carbohydrates: 22
- Fiber: 1
- Protein: 32
Keywords: sesame chicken, baked chicken, high protein, healthy takeout alternative, sticky chicken, easy dinner, gluten-free option



