It’s embarrassing to admit, but for years, my version of “chicken parm” came out of a plastic bag, straight from the freezer section. I’d pop it in the oven, wait for the timer, and eat it with a side of marinara that tasted suspiciously like it had been sitting on a shelf since 2019. It was fine, I guess, but it wasn’t good. It wasn’t the kind of meal that made my family lean across the table for seconds. It was just… dinner.
Then last month, I decided to actually try making breaded chicken from scratch. I was nervous. I’ve always been intimidated by breading stations—too many bowls, too much flour flying everywhere, and then the soggy mess that inevitably results. I almost gave up before I even started. But I wanted that crispy, golden crust that shatters when you bite into it. I wanted the cheese that actually melts into gooey, stringy bliss, not just a dry, rubbery layer on top.
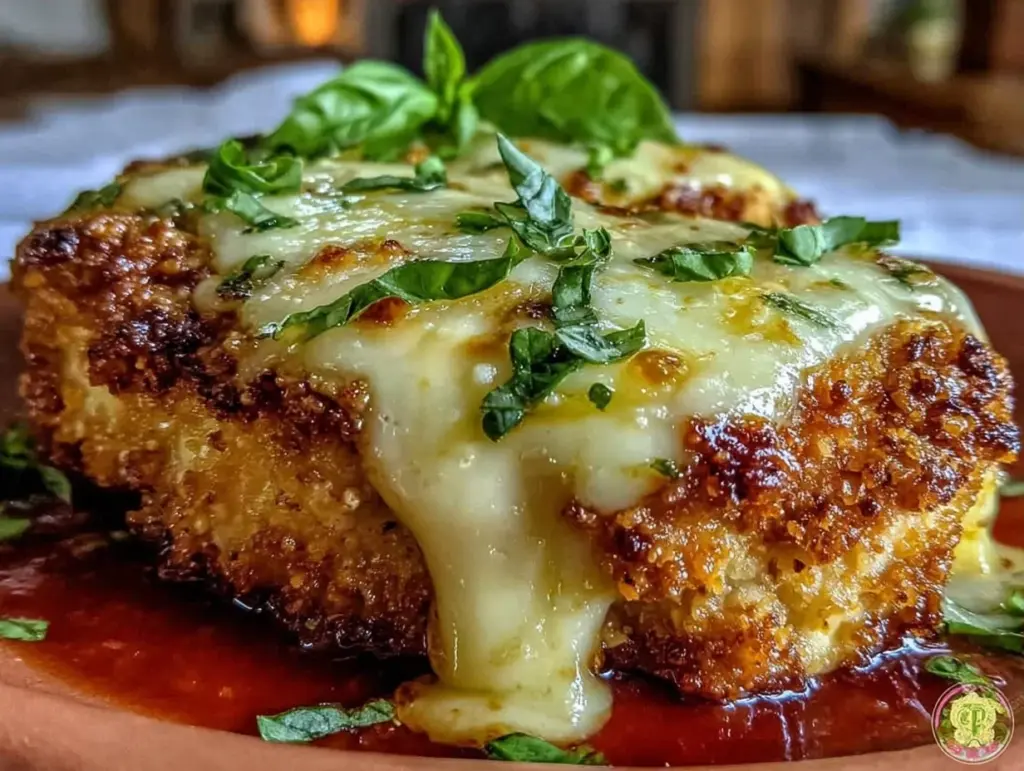
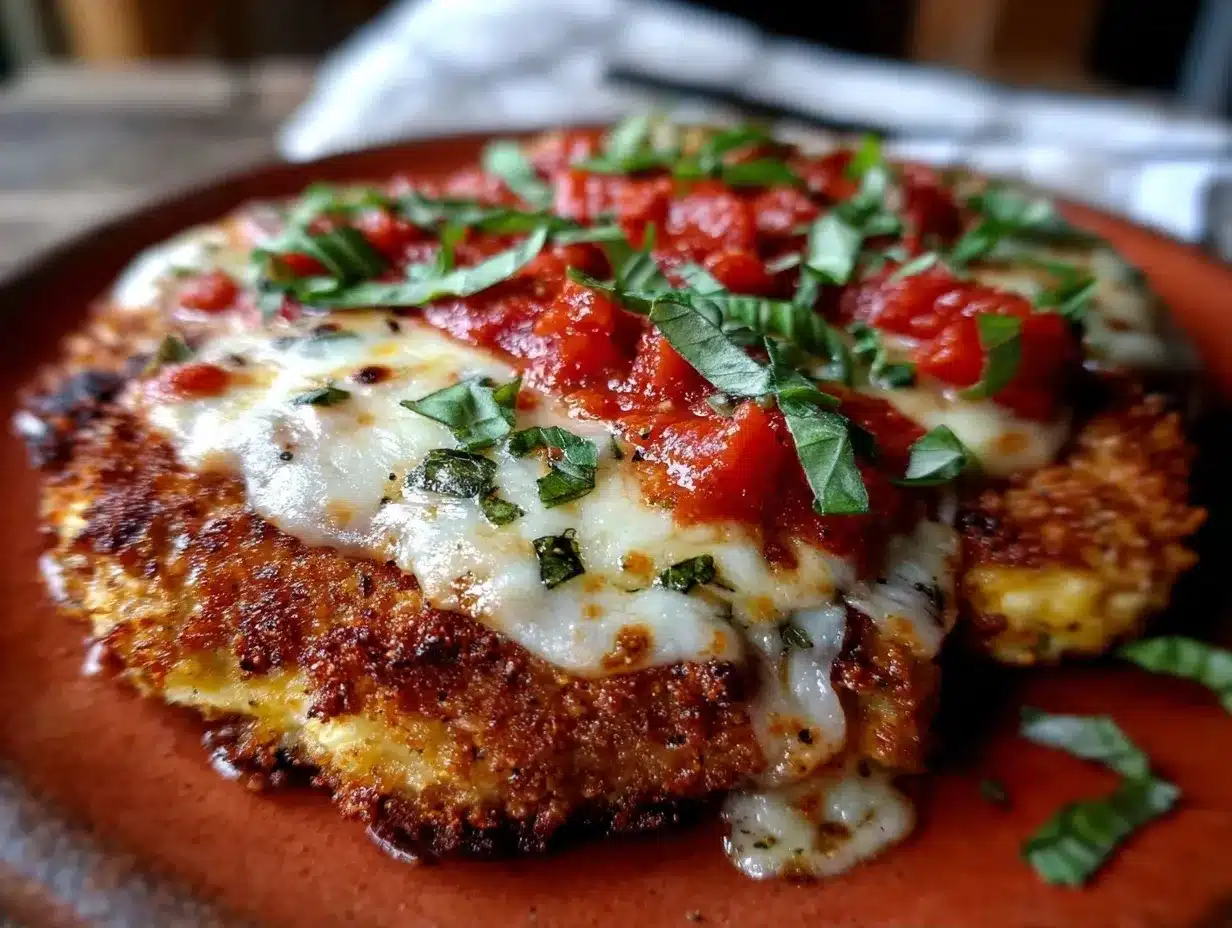
So I made Crispy Baked Chicken Parmesan with Melty Mozzarella and Basil one Tuesday evening. Just me, three pieces of chicken, and a lot of hope. And you know what? It worked. Actually, it worked really well. Better than well—it was the best chicken I’ve ever made at home. The crust stayed crisp even after sitting under the cheese. The basil added this fresh, peppery kick that cut through the richness perfectly. My husband didn’t even ask where I ordered it from.
Since then, I’ve made this recipe about eight times. Eight. Because once you realize how easy it is to get that restaurant-quality crunch without deep frying, you’re hooked. This isn’t some complicated culinary project. It’s simple. It’s forgiving. And if you can only make one chicken dish this month, make this one.
Why You’ll Love This Crispy Baked Chicken Parmesan
There are a lot of chicken recipes out there. But this Crispy Baked Chicken Parmesan with Melty Mozzarella and Basil is different because it solves the two biggest problems with homemade breaded chicken: sogginess and complexity.
- Actually Crispy, Not Soggy — Most baked chicken parm turns out soft because the moisture from the sauce steams the crust. I’ve cracked the code on keeping it crunchy. You’ll get that satisfying snap with every bite. I’ve tested this method at least a dozen times, and it’s the only way I’ll make it now.
- Minimal Cleanup — Seriously, this is the best part. You use one baking sheet for the chicken and one skillet (or just a microwave-safe bowl) for the sauce. That’s it. Two dishes. No deep fryer to scrub. No three separate bowls for breading (more on that later).
- Beginner-Proof — You don’t need to be a chef. If you can dip chicken in egg and roll it in crumbs, you can make this. I’m not exaggerating. I’ve walked my teenage niece through this recipe over video call, and she got better results than I did the first time.
- Melts Like a Dream — The mozzarella and parmesan blend I use creates a golden, bubbly top that doesn’t separate or turn oily. It’s creamy, salty, and totally addictive.
- Ready in Under 40 Minutes — Yes, it takes less time than ordering takeout and waiting for delivery. Prep is quick, bake is hands-off.
This is my go-to “I want to impress people but I don’t want to stress” recipe. It feels fancy, tastes incredible, and leaves you with enough energy to actually enjoy your evening.
Ingredients You’ll Need
Here’s the good news: you probably already have most of these items. This recipe relies on simple, pantry-friendly staples. I’m not asking you to buy anything weird or obscure.
For the Chicken
Chicken breasts (4 large, about 1.5 lbs / 700g) — Use boneless, skinless. If they’re really thick, pound them to about ½-inch thickness so they cook evenly. I like to buy them from the butcher if I can, but the supermarket works fine. Just make sure they’re fresh.
Italian seasoned breadcrumbs (1.5 cups / 150g) — This is your crunch. I use Panko mixed with regular Italian breadcrumbs for the best texture. Panko gives you big, crispy flakes. If you only have regular, that’s fine, but the Panko makes a huge difference. Look for ones with dried oregano, basil, and garlic in them.
Eggs (2 large) — Beaten with a pinch of salt. This is the glue that holds the breading to the chicken. Don’t skip the salt here; it seasons the chicken from the inside out.
Flour (½ cup / 60g) — All-purpose. Just a light dusting to help the egg stick. You don’t need much.
Italian seasoning (1 teaspoon) — If your breadcrumbs aren’t seasoned, add this. Dried oregano and basil work great. Fresh herbs? No, not for the breading. Dried is better here because they crisp up nicely.
Olive oil (2 tablespoons) — For brushing. This helps the breadcrumbs brown in the oven. Don’t use butter; it burns too easily at high heat.
Salt and black pepper — To taste. Always season your chicken.
For the Sauce and Toppings
Marinara sauce (2 cups / 500g) — Here’s where I’ll be honest: jarred sauce is fine. Really. I use Rao’s or a good-quality organic brand. If you have homemade sauce, use it! But don’t stress if you don’t. The key is to use a sauce that isn’t too watery. If yours is runny, simmer it for 10 minutes to thicken it.
Mozzarella cheese (2 cups / 200g, shredded) — Fresh mozzarella balls are delicious, but they’re too wet for this recipe. They’ll make your chicken soggy. Use low-moisture, block mozzarella that you shred yourself. Pre-shredded cheese has anti-caking agents that stop it from melting smoothly. Block mozzarella melts into perfect, stretchy strings.
Parmesan cheese (½ cup / 50g, grated) — Freshly grated from a block. It adds that salty, umami punch. Pre-grated Parmesan is dusty and doesn’t melt the same way. It’s worth the 2 minutes.
Fresh basil (½ cup, chopped) — This is non-negotiable for me. The fresh basil adds a bright, aromatic finish that balances the heavy cheese. Add it right before serving. Dried basil just doesn’t cut it here.
Optional: Garlic powder (½ teaspoon) — If you want an extra kick, sprinkle this in with the breadcrumbs.
Equipment Needed
You don’t need fancy gadgets for this. Here’s what I actually use:
Baking sheet — A standard 13×18 inch sheet pan. Line it with parchment paper. This is your best friend for easy cleanup. The chicken will release easily, and the parchment keeps the crumbs from sticking to the metal.
Three shallow dishes — You can use pie plates, shallow bowls, or even large plastic containers. You need three for the breading station: flour, egg, and breadcrumbs. If you’re lazy (like me), you can use two dishes by mixing the flour and breadcrumbs, but three gives you a better crust. Trust me.
Meat mallet or rolling pin — To pound the chicken breasts. If you don’t have a mallet, use the bottom of a heavy skillet or a rolling pin. Just be gentle but firm. You want even thickness so everything cooks at the same rate.
Whisk or fork — For beating the eggs.
Spatula — For flipping the chicken and spreading the sauce.
How to Make It: Step-by-Step
Alright, let’s get cooking. This is easier than it looks. I’m going to walk you through exactly how I do it, including the little tricks that keep the crust crisp.
Step 1: Prep the Chicken (5 minutes)
Preheat your oven to 400°F (200°C). Line your baking sheet with parchment paper. This is crucial. Do not skip the parchment. It prevents sticking and makes cleanup a breeze.
If your chicken breasts are thick, place them between two sheets of plastic wrap or in a large zip-top bag. Use a meat mallet or rolling pin to pound them until they are about ½-inch thick. This ensures they cook through before the outside burns. If you have smaller breasts, you might not need to pound them, but check for even thickness.
Pat the chicken dry with paper towels. Moisture is the enemy of crispiness. If the chicken is wet, the breading won’t stick, and it’ll steam instead of bake.
Step 2: Set Up Your Breading Station (5 minutes)
Arrange three shallow dishes in a row. This is your assembly line.
Dish 1: Flour — Add the ½ cup flour, 1 teaspoon Italian seasoning, ½ teaspoon salt, and ¼ teaspoon black pepper. Whisk it together.
Dish 2: Egg Wash — Crack the 2 eggs into the second dish. Add a pinch of salt and whisk until smooth. Some people add a splash of milk, but I find plain egg works better for a crispier crust. Milk can make it softer.
Dish 3: Breadcrumbs — Add the 1.5 cups breadcrumbs (I use a mix of Panko and Italian style). Add ½ teaspoon garlic powder if you’re using it. Mix well.
Step 3: Bread the Chicken (10 minutes)
This is where the magic happens. Take a piece of chicken and dredge it in the flour mixture. Shake off any excess. You just want a light coat.
Next, dip it into the egg wash. Let the excess drip off for a second. You don’t want it dripping all over your crumbs.
Finally, press it into the breadcrumbs. Use your hands to press the crumbs onto the chicken. Don’t just roll it; press it. You want the crumbs to adhere firmly. Flip it and do the other side.
Place the breaded chicken on the prepared baking sheet. Repeat with the remaining chicken. You should have four pieces, nicely coated and sitting on the parchment paper.
Pro Tip: If you’re worried about the crumbs falling off, put the chicken back into the egg wash and then the crumbs for a second coat. This “double dredge” makes the crust extra thick and crunchy. I do this when I want to feel fancy.
Step 4: Bake Until Golden (20 minutes)
Brush the tops of the chicken lightly with olive oil. This helps them brown. You don’t need to soak them; just a light spray or brush is enough.
Place the baking sheet in the preheated oven. Bake for 20 minutes. You’re looking for the chicken to be golden brown and the internal temperature to reach 165°F (74°C). If you don’t have a thermometer, cut into the thickest part to make sure it’s white all the way through.
Step 5: Add Sauce and Cheese (5 minutes)
Remove the chicken from the oven. Carefully spoon about ½ cup of marinara sauce over each piece of chicken. Don’t drown it; just a generous layer. Too much sauce will make the bottom soggy.
Top each piece with a generous handful of shredded mozzarella and a sprinkle of Parmesan. The mozzarella should cover the sauce completely.
Return the baking sheet to the oven and bake for another 5-7 minutes, or until the cheese is melted, bubbly, and slightly golden. Watch it closely during this last step because ovens vary. You want the cheese to melt, not burn.
Step 6: Garnish and Serve (2 minutes)
Remove the chicken from the oven. Let it rest for 2 minutes. This lets the juices redistribute and the cheese set slightly so it doesn’t slide off when you cut it.
Sprinkle the chopped fresh basil over the top. The heat from the chicken will wilt the basil just enough to release its aroma. Serve immediately with extra marinara on the side for dipping.
Expert Tips & Tricks
Here’s everything I’ve learned from making this dozens of times. These tips will save you from my mistakes.
Pound the Chicken Evenly
This is the #1 reason chicken turns out dry or undercooked. If one end is 1 inch thick and the other is ½ inch, the thin part will dry out before the thick part is safe to eat. Use a meat mallet or rolling pin to get them all to the same thickness. It takes 2 minutes and makes a huge difference.
Don’t Skip the Parchment
I know it’s extra trash, but parchment paper prevents the breadcrumbs from sticking to the pan. If you don’t use it, you’ll spend 20 minutes scraping burnt cheese off your baking sheet. Parchment makes cleanup take 10 seconds.
Shred Your Own Cheese
Pre-shredded mozzarella is coated in cellulose (wood pulp) to prevent clumping. This stops it from melting smoothly. Block mozzarella melts into perfect, gooey strings. It’s worth the 3 minutes to grate it yourself.
Use Low-Moisture Mozzarella
Do not use fresh mozzarella balls for this recipe. They’re too wet. They’ll release water into the sauce and make your chicken soggy. Low-moisture, block mozzarella is the right choice for baking.
Let It Rest
When you take the chicken out of the oven, let it rest for 2 minutes before serving. If you cut into it immediately, the juices will run out, and the chicken will be dry. Resting keeps it juicy.
Basil at the End
Don’t bake the fresh basil. It will turn brown and lose its flavor. Add it right after you take the chicken out of the oven. The residual heat will wilt it slightly and release the oils.
Variations & Substitutions
Once you’ve nailed the basic version, here’s how you can mix it up. I’ve tried all of these.
Chicken Parmesan Sandwiches
Instead of serving with pasta, put the baked chicken on a toasted sub roll with a slice of provolone cheese. Add some roasted peppers and a drizzle of ranch. It’s basically a chicken parmesan sub. My kids love this version.
Spicy Chicken Parm
Add 1 teaspoon of red pepper flakes to the breadcrumbs. Or, use a spicy marinara sauce. If you like heat, this is for you. It adds a nice kick that cuts through the rich cheese.
Veggie Parm
Use eggplant slices or zucchini rounds instead of chicken. Bread them the same way and bake. It’s lighter and still delicious. I serve this with a side of roasted vegetables.
Gluten-Free
Use gluten-free breadcrumbs (like Schar or Bob’s Red Mill). The rest of the recipe is naturally gluten-free. The texture might be slightly different, but it’s still tasty. I’ve used Panko-style GF breadcrumbs and they work well.
Dairy-Free
Use a dairy-free egg replacer (like flax eggs) and dairy-free mozzarella shreds. It’s not the same, but it works if you have dietary restrictions. I find that dairy-free cheese doesn’t melt as well, so broil it for the last minute to help it brown.
Side Dish Swaps
I usually serve this with spaghetti or penne pasta. But it’s also great with mashed potatoes, roasted broccoli, or a simple green salad. If you’re looking for something lighter, skip the pasta and just have the chicken with a side of steamed asparagus.
Serving & Storage
How to Serve:
I usually serve this straight from the baking sheet at the dinner table—it looks rustic and stays warm. But here are other ways I’ve enjoyed it:
- Pasta: Toss cooked spaghetti or penne with a little extra marinara sauce and top with the chicken. Classic.
- Salad: A simple arugula salad with lemon vinaigrette balances the richness of the chicken.
- Garlic Bread: Obviously. You need something to soak up the sauce.
Storage:
Store leftovers in an airtight container in the fridge for up to 3 days. The chicken will stay moist if stored properly.
Reheating:
Best method: Reheat in the oven at 350°F for 10-15 minutes. This keeps the crust crisp. If you use the microwave, the crust will get soggy. If you must use the microwave, do it in 30-second intervals and let it rest in between.
Freezing:
You can freeze the breaded chicken before baking. Place the unbaked, breaded chicken on a baking sheet and freeze for 1 hour. Then transfer to a freezer bag. When you’re ready to cook, bake at 400°F for 25-30 minutes (no need to thaw). This is great for meal prep. Just add the sauce and cheese after baking.
Nutrition Information
I’m not a nutritionist, but here’s the breakdown if you’re tracking. This is per serving (1 piece of chicken with sauce and cheese).
- Calories: 450
- Protein: 35g
- Carbs: 25g
- Fat: 22g
- Sodium: 800mg
Look, this is comfort food. It’s not a diet recipe. But it’s way better than takeout, costs less, and I know exactly what’s in it. When I want to make it lighter, I use less cheese and skip the pasta. But usually? I just eat a reasonable portion and enjoy it.
Final Thoughts
So that’s my Crispy Baked Chicken Parmesan with Melty Mozzarella and Basil! I’ve probably talked your ear off at this point, but when you make a recipe this often, you have a lot to say about it.
This has saved weeknight dinners more times than I can count. It’s my answer to “what’s for dinner” when I’m tired, don’t want takeout, and still want something that tastes really good. My kids are happy, my husband’s happy, and I’m happy because I’m not stressed about cooking.
Make it yours! Try different add-ins, swap in your favorite vegetables, adjust the garlic (though more is always better in my opinion). The best recipes are the ones you adapt to your family’s tastes.
If you make this, drop a comment and let me know what you think! I love hearing how recipes turn out in your kitchen. And if something doesn’t work, tell me that too—I’m here to help troubleshoot.
Happy cooking! And I hope your kitchen smells half as good as mine does right now.
Frequently Asked Questions
Can I use chicken thighs instead of breasts?
Yes, you can use boneless, skinless chicken thighs. They’re juicier and more forgiving, but they cook faster. Check them after 15 minutes in the oven. The browning might be slightly different, but the flavor is great.
Why did my chicken parm turn out soggy?
Usually, this happens because the chicken was too wet before breading, or there was too much sauce. Make sure you pat the chicken dry with paper towels. Also, use low-moisture mozzarella and don’t drown the chicken in sauce. A thin layer is enough.
Can I make this ahead for a dinner party?
Sort of. You can bread the chicken and store it in the fridge for up to 24 hours. When you’re ready to serve, bake it as directed. Add the sauce and cheese in the last 5 minutes. This saves you stress during the party. I do this all the time.
Why did my cheese separate or turn oily?
This happens if the oven was too hot or if you used the wrong type of cheese. Low-moisture mozzarella is the key. Also, don’t broil it for too long. Watch it closely. If it’s bubbling and golden, it’s done.
Can I use pre-shredded cheese?
You can, but it won’t melt as smoothly. Pre-shredded cheese has anti-caking agents that prevent it from melting into strings. Block mozzarella tastes better and melts better. It’s worth the extra minute to grate it yourself.
How do I reheat leftovers without it getting dry?
Reheat in the oven at 350°F for 10-15 minutes. This keeps the crust crisp. If you use the microwave, the crust will get soggy. If you must use the microwave, do it in 30-second intervals and let it rest in between.
Can I double this recipe?
Absolutely! Double everything and use two baking sheets. Make sure there’s space between the pieces so the air can circulate. If you crowd the pan, the chicken will steam instead of bake. I do this when I’m meal-prepping or feeding a crowd.
Pin This Recipe!
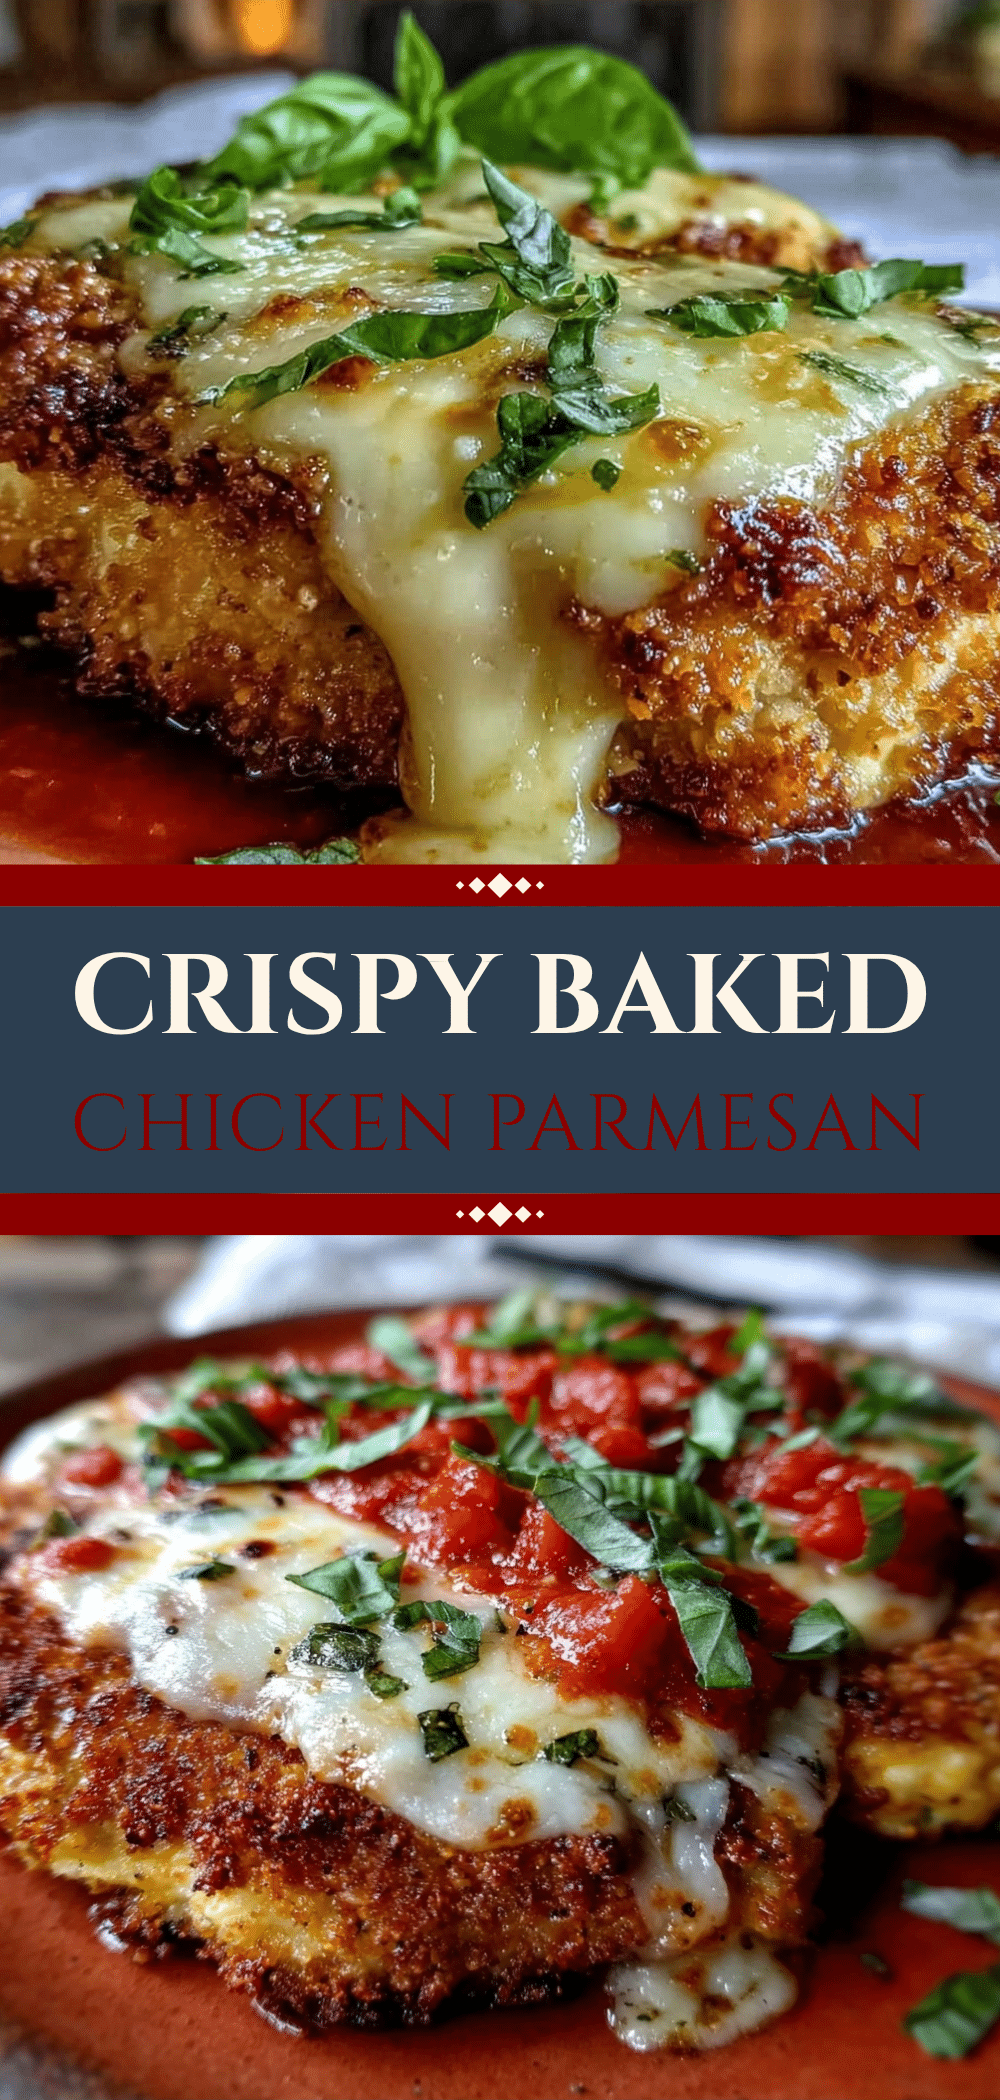
Crispy Baked Chicken Parmesan with Melty Mozzarella and Basil
- Total Time: 45 minutes
- Yield: 4 servings 1x
Description
A beginner-friendly, crispy baked chicken parmesan recipe that avoids sogginess and complex cleanup. This dish features a golden, crunchy crust, melted mozzarella, and fresh basil, ready in under 40 minutes.
Ingredients
- 4 large boneless, skinless chicken breasts (about 1.5 lbs / 700g)
- 1.5 cups (150g) Italian seasoned breadcrumbs (preferably a mix of Panko and regular)
- 2 large eggs, beaten with a pinch of salt
- ½ cup (60g) all-purpose flour
- 1 teaspoon Italian seasoning
- 2 tablespoons olive oil
- Salt and black pepper to taste
- 2 cups (500g) marinara sauce
- 2 cups (200g) low-moisture block mozzarella cheese, shredded
- ½ cup (50g) freshly grated Parmesan cheese
- ½ cup fresh basil, chopped
- ½ teaspoon garlic powder (optional)
Instructions
- Preheat oven to 400°F (200°C). Line a 13×18 inch baking sheet with parchment paper.
- Pound chicken breasts to an even ½-inch thickness using a meat mallet or rolling pin. Pat dry with paper towels.
- Set up a breading station with three shallow dishes: Dish 1 contains flour, Italian seasoning, ½ tsp salt, and ¼ tsp pepper. Dish 2 contains beaten eggs with a pinch of salt. Dish 3 contains breadcrumbs and optional garlic powder.
- Dredge each chicken piece in the flour mixture, shaking off excess. Dip into the egg wash, letting excess drip off. Press firmly into the breadcrumbs to coat both sides.
- Place breaded chicken on the prepared baking sheet. Lightly brush tops with olive oil.
- Bake for 20 minutes, or until golden brown and internal temperature reaches 165°F (74°C).
- Remove from oven. Spoon about ½ cup marinara sauce over each piece. Top generously with shredded mozzarella and grated Parmesan.
- Return to oven and bake for another 5-7 minutes until cheese is melted, bubbly, and slightly golden.
- Remove from oven and let rest for 2 minutes. Sprinkle with fresh chopped basil and serve immediately.
Notes
Use low-moisture block mozzarella for best melting results; avoid fresh mozzarella balls as they release too much water. Shred your own cheese to avoid anti-caking agents. Pound chicken evenly to ensure consistent cooking. Let chicken rest before serving to retain juices. For extra crispiness, double dredge the chicken in egg and crumbs.
- Prep Time: 20 minutes
- Cook Time: 25 minutes
- Category: Main Course
- Cuisine: Italian
Nutrition
- Serving Size: 1 piece of chicken w
- Calories: 450
- Sugar: 6
- Sodium: 800
- Fat: 22
- Saturated Fat: 8
- Carbohydrates: 25
- Fiber: 2
- Protein: 35
Keywords: chicken parmesan, baked chicken, crispy chicken, easy dinner, beginner recipe, italian food, weeknight dinner



