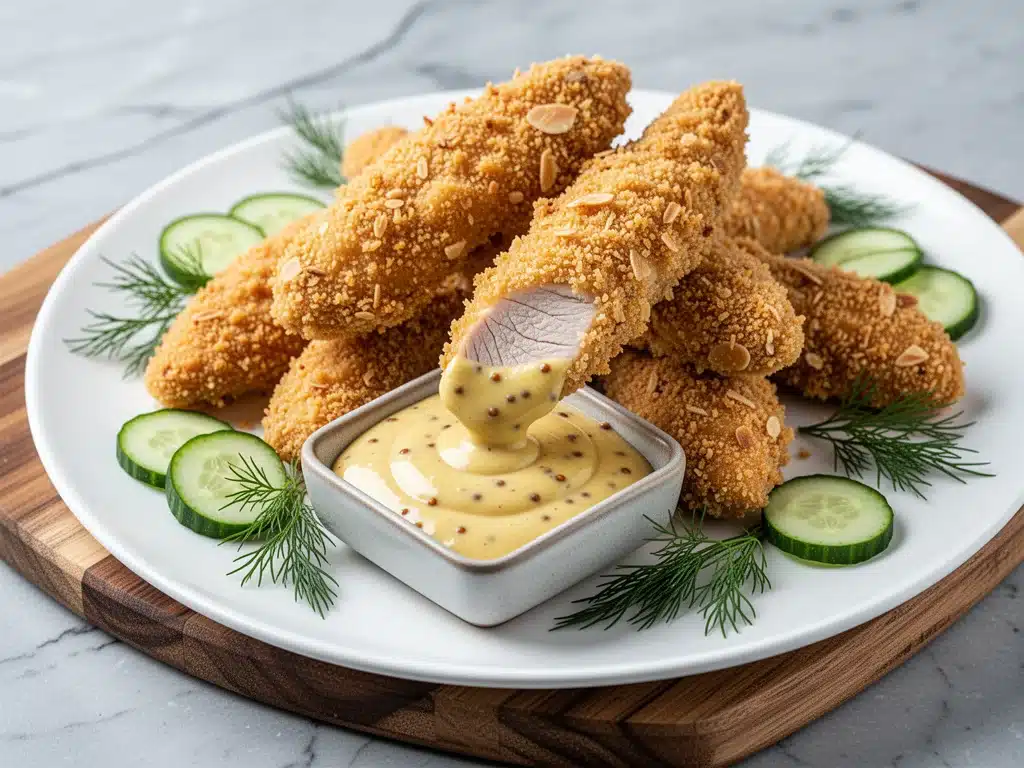
I remember the exact moment I realized my old chicken tender recipe was failing us. It was a Tuesday night, raining hard, and my seven-year-old was staring at his plate with that familiar look of resignation. The “gluten-free” tenders I’d bought from the freezer aisle were tough as leather, and the ones I tried to make from scratch turned out flat and soggy. He pushed them around with his fork. I pushed them around with my fork. We both knew we were going to order pizza.
That was six months ago. Since then, I’ve made these gluten-free crispy chicken tenders at least twenty times. I’ve tested every flour blend, every breading technique, and every frying method in my kitchen. And I’m here to tell you: I finally cracked the code.
This isn’t just “edible” gluten-free chicken. It’s actually crispy. Like, restaurant-quality crispy. The kind of crispy that shatters when you bite into it and leaves you with that satisfying crunch before you hit the juicy, seasoned meat inside. And the best part? It takes 30 minutes from start to finish. That’s less time than it takes to drive to a drive-thru, deal with the rain, and wait for the pizza guy.
I’ve been making these for our busy weeknights, for potlucks where I’m the only one without celiac, and even for weekend snacks when the kids get hangry. My husband, who is not gluten-free and is notoriously picky about texture, asks for these more than any other meal. Even my gluten-free neighbor, who swears she’ll never eat another good chicken tender again, sent me a text saying, “I’m crying in the grocery store aisle. This recipe is magic.”
So, if you’re tired of soggy, bland gluten-free chicken or you just want a weeknight dinner that your whole family will fight over, you’re in the right place. Let’s get cooking.
Why You’ll Love This Gluten-Free Crispy Chicken Tenders Recipe
Look, I get it. Making gluten-free dinner feels like a chore sometimes. You’re worried about cross-contamination, you’re searching for specific ingredients, and you’re hoping the result isn’t cardboard. But this recipe? It’s different. Here’s why it’s become my go-to for stress-free dinners:
- Actually Crispy (Not Just “Good for GF”) — I’ve tried at least eight different flour blends and three different breading techniques. The secret is a specific ratio of rice flour to cornstarch, plus a double-dip method that creates layers of crunch. I’ve made this for my gluten-eating friends, and they literally asked if I’d added wheat flour because it’s that good.
- 30 Minutes Flat — From chopping the chicken to wiping down the counter, it takes 30 minutes. I time it. I’m not lying. This is perfect for those nights when you get home at 6:30 PM, everyone is hungry, and you don’t want to order takeout.
- Simple Ingredients — You probably have most of this in your pantry. Rice flour, cornstarch, garlic powder, paprika, and eggs. No weird, hard-to-find grains or expensive specialty flours that go rancid in your cupboard. Just simple, accessible stuff.
- Kid-Approved — My kids are not known for their enthusiasm about “health food” or “dietary restrictions.” But these tenders? They disappear. I’ve served these with ketchup, ranch, honey mustard, and BBQ sauce. They eat them all. No complaints. No negotiations.
- Easy to Double — I often make double batches. Half for dinner, half for lunch the next day, and half for a quick snack. They reheat surprisingly well in the air fryer, too. If you’re meal prepping, this is a goldmine.
This recipe has saved me from the “what’s for dinner?” panic more times than I can count. It’s reliable, it’s delicious, and it makes everyone happy. Even the picky eaters.
Ingredients You’ll Need for Crispy Gluten-Free Chicken Tenders
Here’s the thing about gluten-free breading: it’s all about the balance. You need something for structure (rice flour), something for crunch (cornstarch), and something for flavor (seasonings). I’m particular about a few of these, so pay attention to the details.
For the Chicken
Chicken breasts (2 large, about 1.5 lbs / 700g) — I use chicken breasts because they’re lean and easy to slice into strips. You can use chicken tenderloins if you’re lucky enough to find them, but breasts work perfectly. Just be sure to slice them evenly so they cook at the same rate.
Buttermilk (1 cup / 240ml) — This is non-negotiable. The acidity in buttermilk tenderizes the chicken and helps the breading stick. If you’re dairy-free, you can make a vegan buttermilk substitute (see below), but traditional buttermilk gives the best texture. Pro tip: If you’re worried about dairy, you can swap this for a thick yogurt mixed with a little lemon juice, but buttermilk is best.
For the Breading
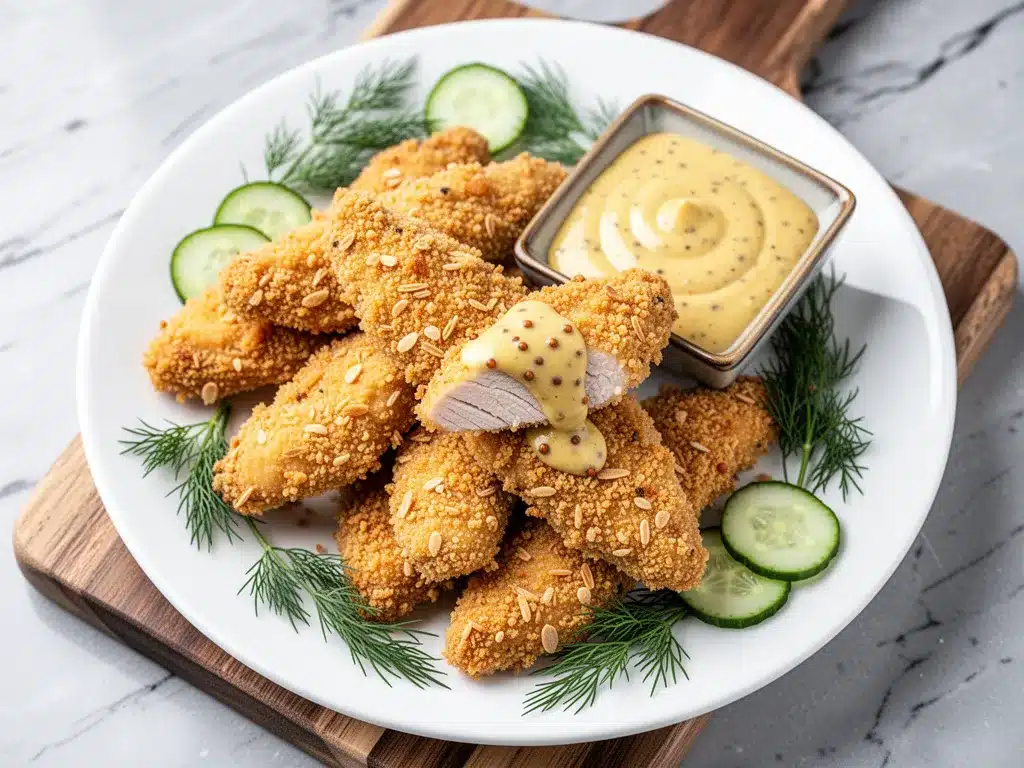
Gluten-free all-purpose flour blend (1.5 cups / 180g) — I use a blend that includes xanthan gum, like Bob’s Red Mill or King Arthur. If your blend doesn’t have xanthan gum, add 1 teaspoon of xanthan gum to the flour. It’s essential for that “glue” that holds the breading together.
Cornstarch (½ cup / 40g) — This is the secret weapon. Cornstarch creates that shatteringly crisp exterior. Without it, the breading can be a bit dense. I use cornstarch in almost all my gluten-free frying recipes.
Garlic powder (1 teaspoon) — Don’t use fresh garlic here; it’ll burn in the oil. Powder gives you that savory, aromatic flavor without the risk of burning.
Onion powder (1 teaspoon) — Complements the garlic and adds depth. Again, powder only.
Smoked paprika (1 teaspoon) — This adds a subtle smokiness that makes the chicken taste like it was fried in a diner. Regular paprika works too, but smoked is better.
Salt and black pepper (1 teaspoon each) — Season the breading well. It’s the only place you’ll get salt besides the chicken itself.
For the Egg Wash
Eggs (2 large) — Whisked with a splash of water or milk. This helps the flour stick. If you’re vegan, see the substitutions below.
For Frying
Neutral oil (for frying) — I use avocado oil or vegetable oil. Avocado oil has a high smoke point, which is crucial for frying. Canola or vegetable oil works too. Avoid olive oil; it has a low smoke point and will burn.
Optional: Gluten-free breadcrumbs (½ cup) — For extra crunch, I sometimes mix the breadcrumbs into the flour blend. It adds a bit more texture, but it’s not strictly necessary.
Equipment Needed
You don’t need fancy gear for this. Here’s what I actually use:
Large skillet or Dutch oven — I use a 12-inch cast-iron skillet. It holds heat well and gives you plenty of room to fry the tenders in batches. A Dutch oven works too, but a skillet is easier for flipping.
Three shallow bowls — For the breading station. One for flour, one for egg wash, one for the final coating (if using breadcrumbs). I use pie dishes.
Wire rack and baking sheet — For resting the fried chicken. This keeps them crispy on the bottom. If you put them on a plate, they’ll get soggy from the steam.
Candy thermometer — Optional, but helpful. You want your oil at 350°F (175°C). If you don’t have one, drop a bit of flour in the oil; if it sizzles immediately, you’re good.
Tongs — For flipping the chicken. Much easier than a fork, and less likely to pierce the coating.
How to Make Gluten-Free Crispy Chicken Tenders
Alright, let’s make this! I’m walking you through exactly how I do it, including the little tricks I’ve picked up over time.
Step 1: Prep the Chicken (5 minutes)
Start by slicing your chicken breasts into strips, about 1-inch thick. You want them uniform so they cook evenly. If you have chicken tenderloins, use those instead—they’re faster and easier. Pat them dry with paper towels. This is crucial. Wet chicken = soggy breading. I can’t stress this enough. Dry chicken is your friend.
Step 2: Marinate in Buttermilk (10-15 minutes)
Place the chicken strips in a bowl and pour the buttermilk over them. Make sure they’re fully submerged. Let them sit for at least 10 minutes. This tenderizes the meat and adds flavor. If you’re in a rush, 10 minutes works. If you have time, let them sit for up to 4 hours in the fridge for maximum tenderness. I usually do this while I prep the breading.
Step 3: Set Up Your Breading Station (5 minutes)
Take three shallow bowls. In the first, mix the gluten-free flour, cornstarch, garlic powder, onion powder, paprika, salt, and pepper. Whisk it well to distribute the spices evenly. In the second bowl, whisk the eggs with a splash of water or milk. If you’re using breadcrumbs, put them in the third bowl.
Step 4: Bread the Chicken (5 minutes)
Take a piece of chicken from the buttermilk, letting the excess drip off. Dredge it in the flour mixture, pressing gently to ensure it sticks. Shake off the excess. Dip it into the egg wash, letting the excess drip off. Then, press it back into the flour mixture (or breadcrumbs) for a second coat. This double-dip method is the secret to that extra crunch. I learned this from a friend who runs a gluten-free bakery, and it changed everything.
Step 5: Heat the Oil (5 minutes)
While you’re breading, heat about ½ inch of oil in your skillet over medium-high heat. You want it to reach 350°F (175°C). If you don’t have a thermometer, test it by dropping a pinch of flour in. If it sizzles and floats, you’re ready.
Step 6: Fry the Tenders (8-10 minutes)
Carefully place the breaded tenders in the hot oil. Don’t overcrowd the pan; fry in batches of 3-4. Cook for 3-4 minutes per side, or until golden brown and cooked through. The internal temperature should reach 165°F (74°C). Use tongs to flip them. Once done, transfer them to a wire rack set over a baking sheet. This keeps them crispy. Do not put them on a plate.
Step 7: Serve and Enjoy
Serve immediately with your favorite dipping sauces. Ketchup, ranch, honey mustard, or BBQ sauce all work great. I usually make a quick garlic aioli by mixing mayo, garlic powder, lemon juice, and a little parsley. It’s amazing with these tenders.
Total time: About 30 minutes. Active time: 20 minutes. Hands-off time: 10 minutes (while the chicken marinates and fries).
Expert Tips & Tricks for Perfect Crispy Tenders
Here’s everything I’ve learned from making this dozens of times. These tips will save you from my mistakes.
Don’t Skip the Double Dip
I know it’s an extra step, but coating the chicken twice creates layers of crunch. One dip is fine, but two dips is better. I’ve tested it. Trust me.
Keep the Oil at 350°F
If the oil is too hot, the breading will burn before the chicken cooks. If it’s too cool, the chicken will absorb oil and become greasy. Use a thermometer if you can. If not, fry in small batches so the oil temperature doesn’t drop too much.
Use a Wire Rack
This is non-negotiable. If you put fried chicken on a plate, the steam gets trapped underneath, and the bottom gets soggy. A wire rack allows air to circulate, keeping the coating crisp on all sides.
Season the Flour, Not Just the Chicken
The breading is where the flavor lives. Don’t be shy with the spices. I usually double the garlic and onion powder because I love that flavor. Adjust to your taste, but don’t under-season.
Cook in Batches
Overcrowding the pan lowers the oil temperature and steams the chicken instead of frying it. Fry in small batches, even if it takes a few minutes longer. It’s worth it for the crispiness.
Reheating Like a Pro
Leftovers are great, but microwaving makes them soggy. To reheat, put them in an air fryer or oven at 375°F for 5-7 minutes. They’ll come out crispy again. I do this all the time for lunch.
Variations & Substitutions
Once you’ve nailed the basic version, here’s how you can mix it up. I’ve tried all of these.
Vegan Version
Swap the buttermilk for oat milk mixed with 1 tablespoon of lemon juice. Let it sit for 5 minutes to curdle. Swap the egg wash for a mixture of ¼ cup flour and ⅓ cup water, whisked until smooth. The breading will be slightly different, but still crispy. My vegan friend loves this version.
Baked Option
For a lighter version, spray the breaded tenders with cooking spray and bake at 400°F for 15-20 minutes, flipping halfway. They won’t be as crispy as fried, but they’re still good. I use this method when I’m trying to eat a bit lighter.
Spicy Kick
Add 1 teaspoon of cayenne pepper or red pepper flakes to the flour mixture. Or, mix hot sauce into the buttermilk marinade. If you like heat, this is a must.
Herb-Crusted
Add 1 tablespoon of dried parsley, thyme, or Italian seasoning to the flour. It adds a fresh, herbal note that complements the chicken well.
Gluten-Free Breadcrumbs
If you want extra crunch, mix ½ cup of gluten-free breadcrumbs into the flour mixture. Panko-style gluten-free breadcrumbs work especially well for that shatteringly crisp texture.
Serving & Storage
How to Serve
I usually serve these straight from the wire rack, hot and crispy. They’re great with:
- Gluten-free french fries or sweet potato fries
- A simple green salad with balsamic vinaigrette
- Coleslaw (make sure it’s gluten-free!)
- Mac and cheese (yes, I know it’s not “healthy,” but it’s delicious)
Storage
Store leftovers in an airtight container in the fridge for up to 3 days. They’re best reheated in the air fryer or oven to maintain crispiness. The microwave will make them soggy, so avoid that if you can.
Freezing
You can freeze the breaded, uncooked tenders. Place them on a baking sheet in the freezer until solid, then transfer to a freezer bag. They’ll keep for up to 2 months. Cook from frozen, adding a few minutes to the cooking time. I do this when I have a lot of chicken to use up.
Nutrition Information
I’m not a nutritionist, but here’s the breakdown if you’re tracking. This is per serving (based on 4 servings).
Per Serving:
- Calories: 380
- Protein: 30g
- Carbs: 25g
- Fiber: 1g
- Sugar: 2g
- Fat: 18g
- Saturated Fat: 4g
- Cholesterol: 120mg
- Sodium: 650mg
What’s Good:
High in protein, which keeps you full. The breading adds carbs, but they’re from gluten-free sources. If you’re watching carbs, skip the breading and just bake the chicken.
What to Know:
Fried chicken is naturally higher in calories and fat. If you’re baking instead, you’ll cut the fat significantly. But honestly? The fried version is worth the occasional indulgence.
Final Thoughts
So that’s my go-to gluten-free crispy chicken tenders! I’ve probably talked your ear off at this point, but when you make a recipe this often, you have a lot to say about it.
This has saved weeknight dinners more times than I can count. It’s my answer to “what’s for dinner” when I’m tired, don’t want takeout, and still want something that tastes really good. My kids are happy, my husband’s happy, and I’m happy because I’m not stressed about cooking.
Make it yours! Try different spices, swap in your favorite dipping sauces, or experiment with baking vs. frying. The best recipes are the ones you adapt to your family’s tastes.
If you make this, drop a comment and let me know what you think! I love hearing how recipes turn out in your kitchen. And if something doesn’t work, tell me that too—I’m here to help troubleshoot.
Happy cooking! And I hope your kitchen smells half as good as mine does right now.
Frequently Asked Questions
Q: Can I use almond flour instead of rice flour?
A: You can, but the texture will be different. Almond flour is finer and doesn’t crisp up the same way. I’ve tried it, and it’s more like a crust than a breading. If you’re on a grain-free diet, this might work for you, but for crunch, rice flour and cornstarch are best.
Q: Why did my breading fall off?
A: Usually, this happens because the chicken was too wet or the oil wasn’t hot enough. Make sure you pat the chicken dry before marinating. Also, ensure the oil is at 350°F before adding the chicken. If the oil is too cool, the breading will slide off.
Q: Can I make these in an air fryer?
A: Yes! Spray the breaded tenders with cooking spray and cook at 375°F for 10-12 minutes, flipping halfway. They’ll be crispy, though not quite as crunchy as fried. I use this method when I want a lighter option.
Q: Is this recipe safe for celiacs?
A: Yes, as long as you use certified gluten-free flour and breadcrumbs. Cross-contamination is the biggest risk, so make sure your utensils and surfaces are clean. I keep a separate set of tongs and bowls for gluten-free cooking to be safe.
Q: Can I freeze the cooked tenders?
A: Yes, but they’re best eaten fresh. If you do freeze them, let them cool completely, then freeze in a single layer on a baking sheet before transferring to a bag. Reheat in the oven or air fryer to restore crispiness.
Q: What dipping sauces go best with these?
A: I love them with ketchup, ranch, honey mustard, and BBQ sauce. I also make a quick garlic aioli by mixing mayo, garlic powder, lemon juice, and a little parsley. It’s amazing with these tenders.
Pin This Recipe!
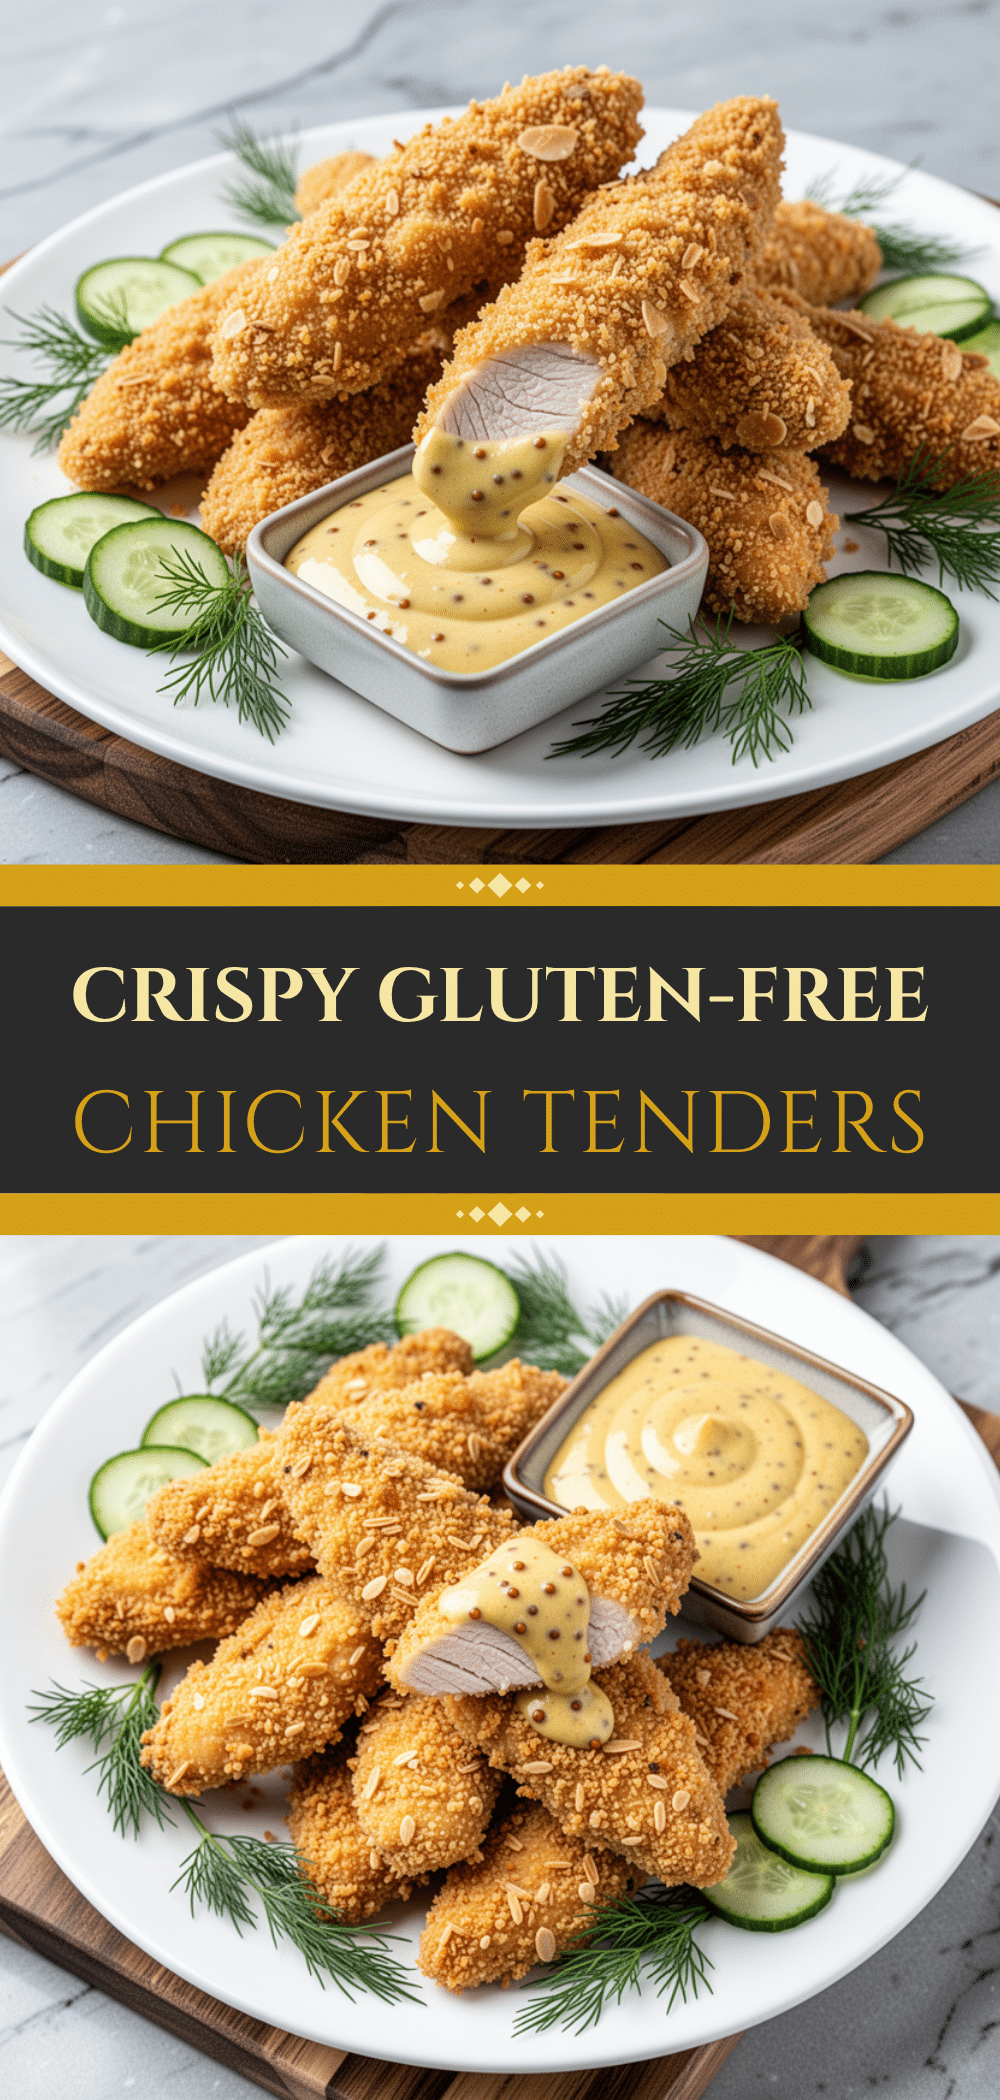

Gluten-Free Crispy Chicken Tenders: 30-Min Meal
- Total Time: 30 minutes
- Yield: 4 servings 1x
Description
These gluten-free crispy chicken tenders are restaurant-quality, shatteringly crunchy, and ready in just 30 minutes. Using a double-dip breading technique with rice flour and cornstarch, they deliver a satisfying crunch without the gluten.
Ingredients
- 2 large chicken breasts (about 1.5 lbs / 700g), sliced into 1-inch strips
- 1 cup buttermilk
- 1.5 cups gluten-free all-purpose flour blend (with xanthan gum)
- 0.5 cup cornstarch
- 1 teaspoon garlic powder
- 1 teaspoon onion powder
- 1 teaspoon smoked paprika
- 1 teaspoon salt
- 1 teaspoon black pepper
- 2 large eggs, whisked with a splash of water or milk
- Neutral oil (avocado or vegetable) for frying
- 0.5 cup gluten-free breadcrumbs (optional, for extra crunch)
Instructions
- Slice chicken breasts into 1-inch thick strips and pat them completely dry with paper towels.
- Place chicken strips in a bowl, cover with buttermilk, and marinate for at least 10 minutes (or up to 4 hours in the fridge).
- Set up a breading station with three shallow bowls. In the first, whisk together gluten-free flour, cornstarch, garlic powder, onion powder, smoked paprika, salt, and pepper.
- In the second bowl, whisk the eggs with a splash of water or milk. If using breadcrumbs, place them in the third bowl.
- Dredge a chicken strip in the flour mixture, shaking off excess. Dip it into the egg wash, then press it back into the flour mixture (or breadcrumbs) for a second coat to ensure a crispy crust.
- Heat about ½ inch of neutral oil in a large skillet or Dutch oven over medium-high heat until it reaches 350°F (175°C).
- Fry the tenders in batches of 3-4, cooking for 3-4 minutes per side until golden brown and the internal temperature reaches 165°F (74°C).
- Transfer fried tenders to a wire rack set over a baking sheet to keep them crispy. Do not place them on a plate.
- Serve immediately with preferred dipping sauces.
Notes
Ensure chicken is completely dry before marinating to prevent soggy breading. Maintain oil temperature at 350°F for best results. For reheating, use an air fryer or oven at 375°F for 5-7 minutes to restore crispiness; avoid the microwave. For a vegan version, substitute buttermilk with oat milk and lemon juice, and egg wash with a flour-water mixture.
- Prep Time: 15 minutes
- Cook Time: 15 minutes
- Category: Main Course
- Cuisine: American
Nutrition
- Serving Size: Approximately 4-5 te
- Calories: 380
- Sugar: 2
- Sodium: 650
- Fat: 18
- Saturated Fat: 4
- Carbohydrates: 25
- Fiber: 1
- Protein: 30
Keywords: gluten-free chicken tenders, crispy chicken, easy weeknight dinner, kid-friendly recipes, gluten-free frying, healthy gluten-free meals



