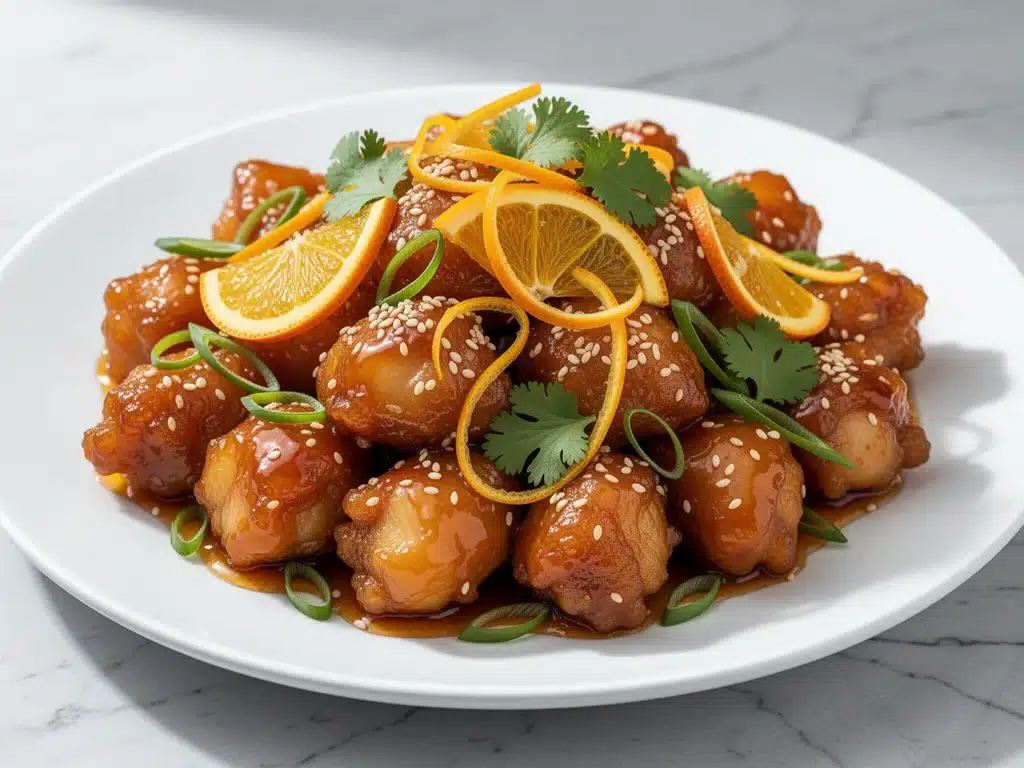
Last Tuesday, I was standing in my kitchen at 7:30 PM, staring at a takeout menu on my phone like it was the only thing keeping me from eating cereal for dinner. My husband had just walked in the door, exhausted from a long day, and my kids were hovering around the island, asking if we could just order in. Again. I’ve been there. That moment when you’re too tired to cook, but you know that greasy, soggy takeout chicken is going to leave you feeling sluggish by bedtime.
But instead of tapping “Order,” I looked at my counter. I had chicken thighs, some orange juice, soy sauce, and a jar of sesame seeds. I thought, “How hard can it be to make that sticky orange chicken everyone loves?” I was wrong. The first time I tried, the sauce was a watery mess that didn’t stick to anything. The second time, the chicken was dry because I’d coated it in too much flour. The third time? I accidentally added a bit more brown sugar than intended, and the result was this incredible, glossy, sticky masterpiece that made my husband ask, “Did you really make this?”
That was three weeks ago. Since then, I’ve made this Sticky Sesame Orange Chicken at least four times. It’s become our go-to weeknight dinner when we want something that feels like a treat but comes together in under 45 minutes. And the best part? It’s actually healthier than the takeout version because you control the sugar and the oil.
People always ask me why restaurant chicken tastes so different from homemade. It’s usually the coating and the sauce balance. Restaurant chicken is often double-fried or battered heavily, while homemade versions often lack that deep, savory-sweet punch. I’ve spent months tweaking the ratio of sweet to savory, finding the perfect cornstarch-to-flour blend for crispiness without heaviness, and mastering a sauce that clings to every bite. If you’ve ever wanted to recreate that addictive takeout flavor at home, you’re going to love this version. It’s crispy, it’s sticky, and it’s honestly better than the real thing.
Why You’ll Love This Sticky Sesame Orange Chicken Recipe
There are a dozen reasons I keep coming back to this recipe, but here’s the honest truth about why it’s replaced takeout in our household:
It’s Actually Crispy — Most homemade versions end up soggy because they steam instead of fry. I use a specific cornstarch and baking powder trick that keeps the chicken crunchy even after tossing it in the hot sauce. I’ve tested this with air fryers, ovens, and shallow frying, and this method wins every time.
Sauce That Actually Sticks — Have you ever ordered orange chicken and gotten a plate of dry chicken with a puddle of sauce on the side? Not here. This sauce is thickened to perfection, coating every piece of chicken evenly. It’s glossy and sticky, just like you want.
Faster Than Delivery — From start to finish, this takes about 35-40 minutes. That’s faster than waiting for a driver to find your house, especially on a rainy night. I time myself, and I can have dinner on the table before the pizza guy even parks.
Healthier Than You Think — Yes, it’s chicken and sugar. But because I bake (or air fry) most of the chicken instead of deep-frying it in a vat of oil, the fat content is significantly lower. Plus, you’re using real orange juice, not artificial flavoring.
Kid-Approved Flavor — My kids are picky. They usually reject anything with “orange” in the name, thinking it’s too sour. But this? They devour it. The sweetness balances the tang perfectly, making it a crowd-pleaser for adults and children alike.
This is my answer to “what’s for dinner” when I want something exciting but don’t have hours to spend. It’s reliable, delicious, and makes your kitchen smell like a Chinese restaurant.
Ingredients You’ll Need for Sticky Sesame Orange Chicken
Before we get cooking, let’s talk about what you need. This recipe relies on a few key ingredients to get that specific takeout texture and flavor. You probably have half of this in your pantry already.
For the Chicken
Chicken thighs (2 lbs / 900g) — Boneless, skinless thighs are non-negotiable here. They stay juicy and flavorful. Breast meat tends to dry out when coated in starch and baked/fried. If you must use breast, cut it into smaller, uniform pieces.
Cornstarch (1/2 cup / 60g) — This is the secret to the crispiness. Cornstarch creates a lighter, crunchier coating than flour. It also helps the sauce cling to the chicken later. Don’t swap this for flour unless you want a doughy texture.
All-purpose flour (2 tablespoons / 15g) — A little flour adds structure to the coating so it doesn’t fall off during cooking.
Baking powder (1 teaspoon) — This tiny addition helps the coating puff up slightly, creating more surface area for that crispy texture.
Egg (1 large) — Acts as the glue for the dry coating. Whisk it with a splash of water or milk.
Soy sauce (1 tablespoon) — Adds umami to the coating, giving the chicken depth even before the sauce is added.
Vegetable oil (for cooking) — If shallow frying, you’ll need about 1/2 cup. If baking or air frying, you’ll just need a light spray.
For the Sticky Sesame Orange Sauce
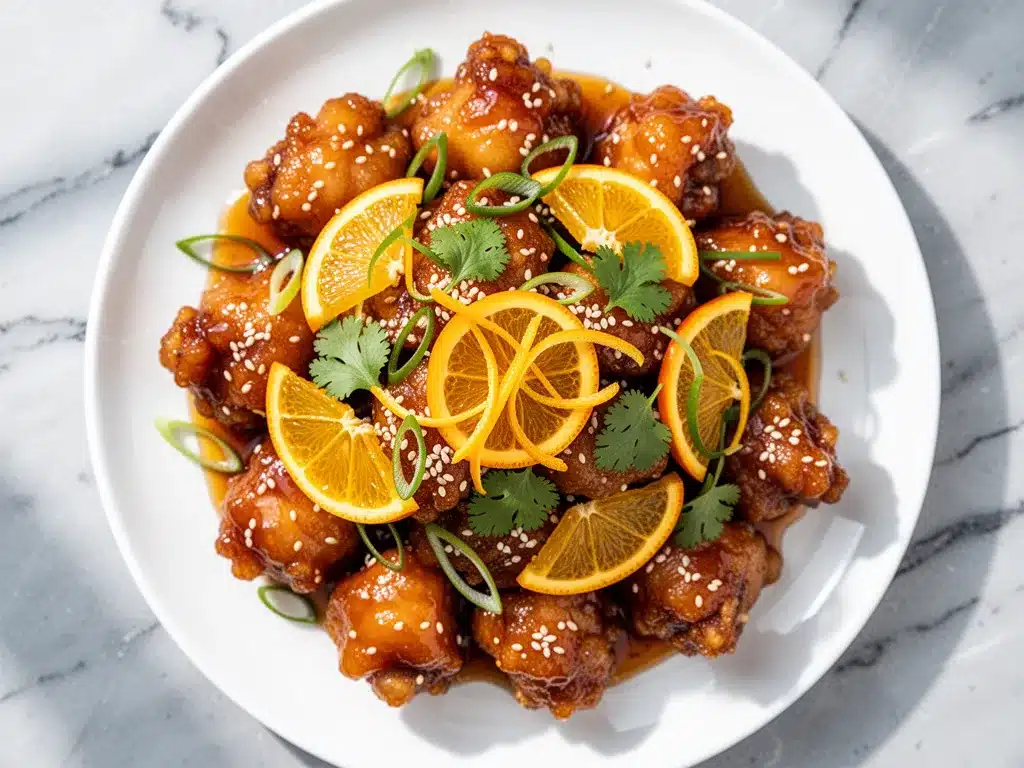
Fresh orange juice (1 cup / 240ml) — Please, I beg you, use fresh juice. Bottled juice often has preservatives that taste flat. If you’re in a pinch, 100% pure concentrate works, but fresh is best.
Orange zest (1 tablespoon) — This is where the bright, aromatic orange flavor lives. The juice provides sweetness; the zest provides the “orange” punch.
Brown sugar (1/2 cup / 100g) — Gives that caramel-like sweetness and helps the sauce thicken and glaze. White sugar works too, but brown adds complexity.
Rice vinegar (2 tablespoons) — Cuts through the sweetness. Essential for balance. Apple cider vinegar is a decent substitute if you’re out.
Soy sauce (3 tablespoons) — Adds saltiness and savory depth.
Garlic (4 cloves, minced) — Fresh garlic is key. Jarred garlic lacks the punch needed here.
Fresh ginger (1 tablespoon, grated) — Grate it yourself. Pre-grated ginger in a tube is too watery and lacks that spicy kick.
Sesame oil (1 teaspoon) — Toasted sesame oil. This is potent. Don’t use the generic “sesame oil” for cooking; use the dark, fragrant kind.
Cornstarch slurry (1 tablespoon cornstarch + 2 tablespoons water) — To thicken the sauce at the end.
Sesame seeds (2 tablespoons, toasted) — For garnish. Toasting them in a dry pan for 2 minutes brings out their nutty flavor.
Green onions (2 stalks, sliced) — For color and a fresh onion bite.
Equipment Needed
You don’t need fancy gadgets, but having the right tools helps.
Large mixing bowls — One for the wet egg mixture, one for the dry coating. I use two separate bowls to keep things organized.
Sheet pan or Air Fryer Basket — If baking or air frying, you need a surface that allows air circulation. Line your sheet pan with parchment paper for easy cleanup.
Large skillet or wok — For making the sauce. A non-stick skillet is easiest here since the sugar can stick.
Whisk — For combining the sauce ingredients smoothly.
Tongs — For flipping the chicken. Using a fork can pierce the coating and make it soggy.
Microplane or zester — For getting that fresh orange zest. If you don’t have one, a regular grater works, just be careful not to get the white pith.
How to Make It: Step-by-Step
Alright, let’s get cooking. This process has three main parts: prepping the chicken, cooking it to crispiness, and making the sauce. Here’s exactly how I do it.
Step 1: Prep the Chicken (10 minutes)
Cut your chicken thighs into 1-inch bite-sized pieces. Try to keep them uniform so they cook evenly. Pat them dry with paper towels. This is crucial—moisture is the enemy of crispiness. If the chicken is wet, the coating will slide off.
In a large bowl, whisk the egg with the 1 tablespoon of soy sauce and a splash of water. In a separate bowl, whisk together the cornstarch, flour, and baking powder. Season the dry mix with a pinch of salt and black pepper.
Dip each piece of chicken into the egg mixture, letting the excess drip off, then toss it in the dry mix. Press the coating onto the chicken gently to ensure it sticks. Place the coated pieces on a wire rack or a clean plate. Don’t stack them yet.
Step 2: Cook the Chicken (15-20 minutes)
You have three options here, depending on your preference for health vs. crunch.
Baking (Healthier): Preheat oven to 400°F (200°C). Place chicken on a parchment-lined sheet pan. Spray lightly with oil. Bake for 20-25 minutes, flipping halfway, until golden and crispy.
Air Frying (Crispiest): Preheat air fryer to 400°F (200°C). Place chicken in a single layer (cook in batches if needed). Spray with oil. Cook for 12-15 minutes, shaking the basket halfway.
Shallow Frying (Most Authentic): Heat 1/2 inch of oil in a skillet over medium-high heat. Fry chicken in batches for 3-4 minutes per side until deep golden brown. Drain on a wire rack. This gives the classic takeout crunch.
While the chicken cooks, let’s make the sauce.
Step 3: Make the Sticky Sesame Orange Sauce (10 minutes)
In your large skillet (or a clean pot), combine the orange juice, orange zest, brown sugar, rice vinegar, soy sauce, minced garlic, and grated ginger. Whisk until the sugar dissolves.
Bring the mixture to a boil over medium-high heat. Let it bubble for 2-3 minutes. It will start to reduce slightly.
Stir the cornstarch slurry (1 tbsp cornstarch + 2 tbsp water) until smooth. Slowly pour it into the simmering sauce while whisking constantly. The sauce will thicken rapidly. Cook for another 1-2 minutes until it’s glossy and coats the back of a spoon. It should look like a thin syrup, not a paste.
Remove from heat. Stir in the sesame oil.
Step 4: Combine and Serve (2 minutes)
Once the chicken is cooked and crispy, add it directly to the skillet with the sauce. Toss gently but quickly to coat every piece. The heat from the chicken will warm the sauce, and the coating will absorb some of the flavor without getting soggy.
Transfer to a serving platter. Sprinkle generously with toasted sesame seeds and sliced green onions. Serve immediately with steamed jasmine rice or fried rice.
Expert Tips & Tricks for Perfect Sticky Sesame Orange Chicken
After making this dozens of times, I’ve learned a few things that save the dish from being mediocre. Here’s how to nail it every time.
Don’t Skip the Zest — The juice is sweet, but the zest is aromatic. Without it, the sauce tastes like sweet soy syrup. Get that yellow peel, not the white pith.
Toast Your Sesame Seeds — Raw sesame seeds are fine, but toasted ones add a nutty depth that elevates the dish. Just put them in a dry pan over low heat for 2-3 minutes, stirring constantly, until they smell fragrant and turn light brown.
Keep the Chicken Separate Until Serving — If you toss the chicken in the sauce too early, it will lose its crunch. Keep the chicken crispy in the oven/air fryer until the very last second, then toss and serve immediately.
Use Thighs, Not Breasts — I know breasts are leaner, but thighs have more flavor and stay juicier. If you use breasts, don’t overcook them. They dry out fast.
Adjust the Sweetness — Orange varieties vary. If your oranges are very tart, add an extra tablespoon of brown sugar. If they’re super sweet, reduce it slightly. Taste the sauce before adding the chicken.
The Cornstarch Slurry Ratio — If your sauce isn’t thickening, add a tiny bit more slurry. If it’s too thick, add a splash of water or orange juice. You want a glossy, clingy consistency, not a gel.
Variations & Substitutions
Once you’ve mastered the base recipe, here are some fun ways to mix it up.
Spicy Orange Chicken — Add 1-2 teaspoons of chili flakes or a dash of Sriracha to the sauce while it simmers. This adds a nice kick that balances the sweetness. My husband loves this version.
Pineapple Orange Chicken — Add 1 cup of fresh pineapple chunks to the sauce in the last 2 minutes of simmering. It adds a tropical twist and extra sweetness. Great for summer.
Vegan Version — Swap chicken for firm tofu or seitan. Press the tofu, coat it in cornstarch, and bake/fry until crispy. Use maple syrup instead of brown sugar if you want, though brown sugar is vegan-friendly. Use vegetable broth instead of water in the slurry if needed.
Gluten-Free — Use tamari instead of soy sauce, and ensure your cornstarch is certified gluten-free. The rest of the ingredients are naturally GF.
Low-Sugar Option — Reduce the brown sugar to 1/4 cup and add a sugar-free sweetener like erythritol if needed. The sauce will be less glossy, but still flavorful.
Serving & Storage
How to Serve: This dish shines with steamed jasmine rice. The rice soaks up the extra sauce, which is delicious. You can also serve it over quinoa for a healthier grain option. A simple side of stir-fried broccoli or snap peas balances the richness.
Storage: Store leftovers in an airtight container in the fridge for up to 3 days. The chicken will soften in the fridge, which is normal.
Reheating: To restore crispiness, reheat in an air fryer or oven at 375°F for 5-7 minutes. Do not microwave, or the chicken will become rubbery. If reheating the sauce separately, warm it gently on the stove and toss with freshly cooked chicken for the best texture.
Freezing: You can freeze the cooked chicken pieces for up to 2 months. Thaw in the fridge and reheat. The sauce does not freeze well; make it fresh.
Nutrition Information
I’m not a nutritionist, but here’s the breakdown per serving (based on 4 servings with rice):
- Calories: 480
- Protein: 35g
- Carbs: 52g
- Fat: 12g
- Fiber: 2g
This is a higher-carb meal due to the sauce and rice, but the protein content is solid. It’s a treat meal, not a daily diet staple, but it’s certainly better than the fried, sodium-loaded version from the restaurant.
Final Thoughts
So there you have it—my version of Sticky Sesame Orange Chicken that’s crispy, sticky, and honestly better than takeout. It’s a recipe that’s saved me from endless takeout orders and has become a favorite in our home. I hope it becomes a favorite in yours too.
Make it your own! Add more ginger if you like spice, or toss in some extra veggies. And if you try this, let me know how it turns out. I love hearing from readers who’ve tried these recipes. Happy cooking!
Frequently Asked Questions
Can I use chicken breast instead of thighs?
You can, but thighs are much more forgiving. Breast meat dries out quickly when coated in starch and cooked. If you use breast, cut the pieces smaller and watch them closely—they’ll cook faster than thighs.
Why is my sauce too thin?
This usually means you didn’t cook the cornstarch slurry long enough. Cornstarch needs to boil to activate its thickening power. Simmer the sauce for another 2-3 minutes after adding the slurry. If it’s still too thin, add a tiny bit more slurry.
Can I make this in an Instant Pot?
The Instant Pot is great for cooking the chicken, but it won’t get it crispy. You’d need to pressure cook the chicken, then release the pressure, and finish it in a skillet or air fryer to get the crunch. The sauce can be made in the Instant Pot using the Sauté function.
Is this recipe spicy?
The base recipe is sweet and savory with a hint of ginger, but not spicy. If you want heat, add chili flakes, Sriracha, or fresh jalapeños to the sauce.
Can I prep the chicken ahead of time?
Yes! You can coat the chicken and keep it on a wire rack in the fridge for up to 4 hours before cooking. This actually helps the coating adhere better. Just don’t leave it overnight, or the coating might get soggy.
What’s the best rice to serve with this?
Jasmine rice is the classic choice because it’s fragrant and slightly sticky. Fried rice is also a great option if you want something heartier. Quinoa is a good healthy alternative.
Pin This Recipe!
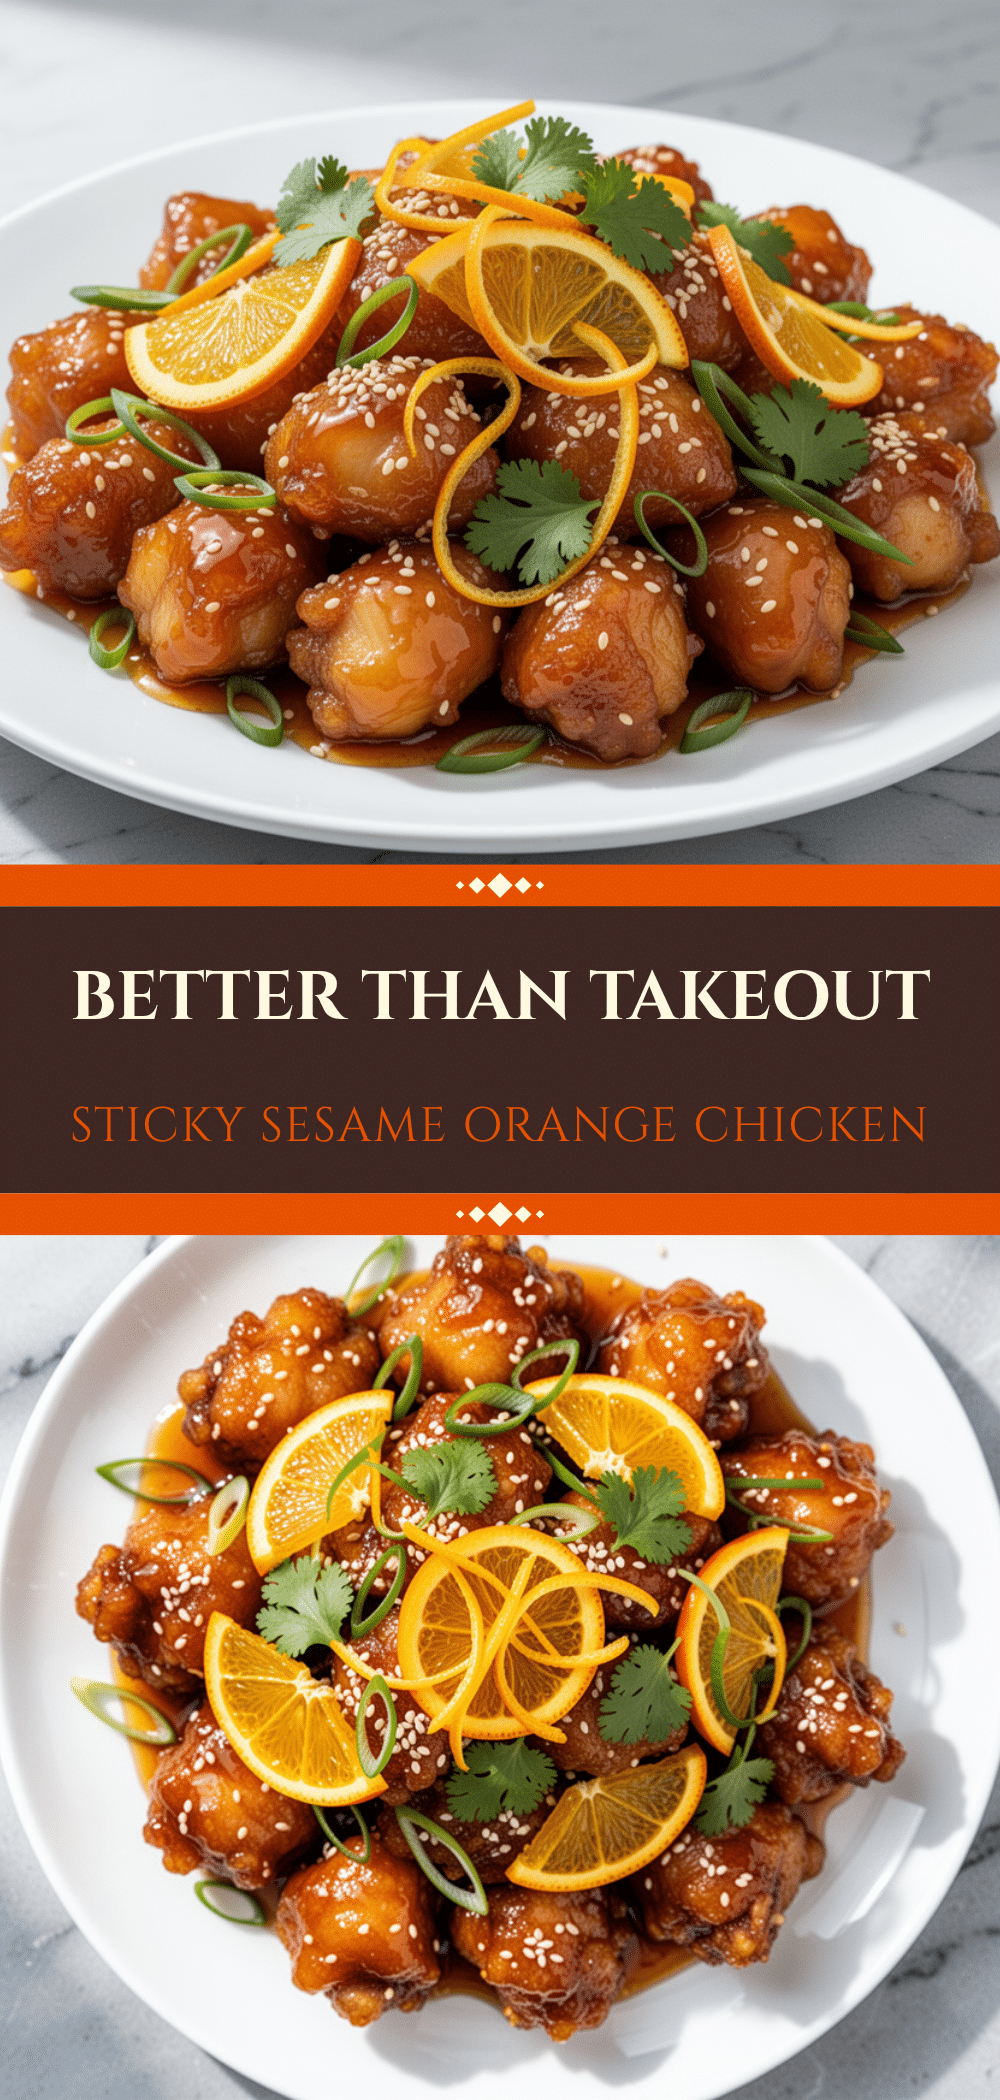
Sticky Sesame Orange Chicken: Easy Better Than Takeout
- Total Time: 30 minutes
- Yield: 4 servings 1x
Description
A homemade version of takeout-style orange chicken that is crispy, sticky, and healthier than restaurant versions. This recipe uses chicken thighs, a sweet and savory orange sauce, and can be baked, air-fried, or shallow-fried for the perfect texture.
Ingredients
- 2 lbs boneless, skinless chicken thighs, cut into 1-inch pieces
- 1 large egg
- 1 tablespoon soy sauce (for chicken)
- 1/2 cup cornstarch
- 2 tablespoons all-purpose flour
- 1 teaspoon baking powder
- Salt and black pepper to taste
- Vegetable oil (for cooking/spraying)
- 1 cup fresh orange juice
- 1 tablespoon orange zest
- 1/2 cup brown sugar
- 2 tablespoons rice vinegar
- 3 tablespoons soy sauce (for sauce)
- 4 cloves garlic, minced
- 1 tablespoon fresh ginger, grated
- 1 teaspoon toasted sesame oil
- 1 tablespoon cornstarch mixed with 2 tablespoons water (slurry)
- 2 tablespoons toasted sesame seeds
- 2 stalks green onions, sliced
Instructions
- Cut chicken thighs into 1-inch bite-sized pieces and pat dry with paper towels.
- In a large bowl, whisk the egg with 1 tablespoon soy sauce and a splash of water.
- In a separate bowl, whisk together cornstarch, flour, baking powder, salt, and pepper.
- Dip each piece of chicken into the egg mixture, then toss in the dry mix, pressing gently to coat. Place on a wire rack.
- Cook the chicken using one of three methods: Bake at 400°F for 20-25 minutes, Air Fry at 400°F for 12-15 minutes, or Shallow Fry in oil for 3-4 minutes per side until golden and crispy.
- While chicken cooks, combine orange juice, orange zest, brown sugar, rice vinegar, 3 tablespoons soy sauce, garlic, and ginger in a large skillet.
- Bring the sauce mixture to a boil over medium-high heat and let bubble for 2-3 minutes.
- Whisk the cornstarch slurry and slowly pour it into the simmering sauce while whisking constantly until thickened and glossy (1-2 minutes).
- Remove sauce from heat and stir in sesame oil.
- Add the cooked chicken to the skillet with the sauce and toss gently to coat evenly.
- Serve immediately, garnished with toasted sesame seeds and sliced green onions.
Notes
For best results, use chicken thighs as they stay juicier than breasts. Toast sesame seeds in a dry pan for 2 minutes for enhanced flavor. Do not toss chicken in sauce too early to maintain crispiness. If sauce is too thin, simmer longer or add more slurry. If too thick, add a splash of water or orange juice.
- Prep Time: 10 minutes
- Cook Time: 20 minutes
- Category: Main Course
- Cuisine: Chinese
Nutrition
- Serving Size: 1 serving with steam
- Calories: 480
- Sugar: 35
- Sodium: 900
- Fat: 12
- Saturated Fat: 3
- Carbohydrates: 52
- Fiber: 2
- Protein: 35
Keywords: orange chicken, sticky sesame chicken, takeout recipe, homemade orange chicken, crispy chicken, easy dinner, weeknight meals, Asian-inspired



