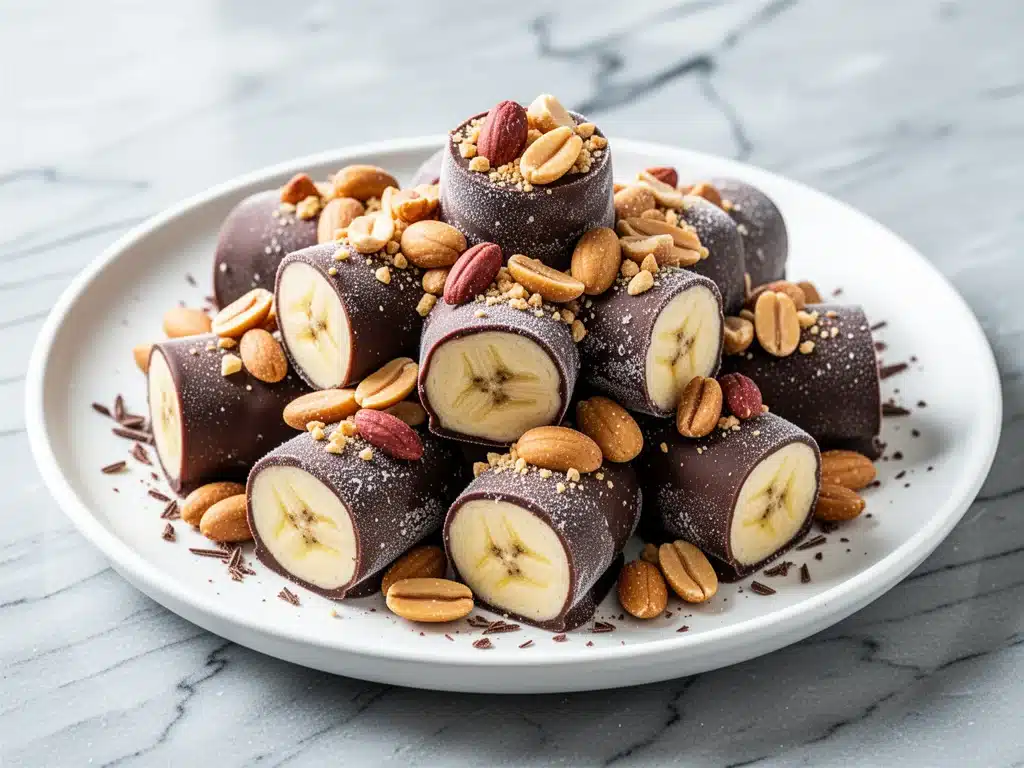
Last July, the kind of heat that makes the asphalt shimmer hit us all at once. We’re talking the kind of day where you open the fridge just to cool your hands off. I was trying to keep my three kids entertained without turning on the oven, because honestly, who wants to bake in 95-degree weather? I was staring at a bunch of brown bananas on the counter—my usual sign that it’s time for banana bread—and then I had a weird idea. What if I didn’t bake them? What if I just froze them?
I’m not going to lie to you. I expected failure. I expected a sticky, mushy mess that would stick to the roof of my kids’ mouths. But then I added chocolate and peanuts. And suddenly, I had created the ultimate summer treat. These frozen chocolate banana bites with peanuts are basically nature’s popsicle, but better. They’re creamy, crunchy, sweet, and they don’t melt in your hand as fast as a regular ice cream bar. I’ve made these dozens of times since that heatwave, and they’ve saved our sanity more than once. It’s weirdly therapeutic to dip bananas in chocolate, and the kids think they’ve hit the jackpot.
So basically, if you’re dealing with a heatwave, a sugar craving, or just a pantry full of overripe fruit, this is your answer. It’s a five-minute prep job that turns into a frozen dessert that tastes like you spent hours in a fancy kitchen. Let’s get into why these bites are about to become your new favorite hot-day hack.
Why You’ll Love This Recipe
There are about ten reasons I keep making these frozen chocolate banana bites with peanuts, but here are the big ones that keep me coming back to this simple method.
- Zero Cooking Required — Seriously. If you can peel a banana and dip it, you can make this. No oven, no stove, no melting chocolate over a double boiler (unless you want to). It’s perfect for lazy summer afternoons when you don’t have the energy to do anything.
- Pantry-Friendly Ingredients — You probably have everything you need right now. Bananas, chocolate chips, and peanuts. I keep chocolate chips stocked specifically for these. If you have overripe bananas in the freezer, you’re already halfway done.
- Healthy-ish Snacking — I’m not gonna pretend this is a salad. But it’s fruit covered in a little bit of chocolate. It’s better than a candy bar, right? My kids think it’s a treat, I feel good about giving them potassium and fiber. Win-win.
- Lightning Fast Prep — It takes about five minutes to prep the bananas and dip them. Then you just toss them in the freezer. You can do this while your other half is watching TV or helping with homework. It’s the ultimate “I need to distract them for 20 minutes” snack.
- Texture Heaven — The combination of the creamy frozen banana, the crunchy peanuts, and the snap of the chocolate is addictive. It’s like a mini Reese’s cup but with fruit. The peanuts add a salty contrast that keeps you from getting sugar fatigue.
- Budget-Smart — Bananas are one of the cheapest fruits out there, especially when they’re brown and on sale. Chocolate chips are cheap. Peanuts are cheap. This snack costs pennies per bite compared to any frozen yogurt or ice cream bar from the store.
This is my go-to when the heat gets me down. No complicated techniques, no weird ingredients, just reliable, delicious food that makes everyone happy. It’s also a great way to use up those bananas that are about to go bad, so you’re reducing waste too. Win-win-win.
Ingredients You’ll Need
Here’s the best part: you probably have most of this already. This isn’t a recipe that requires a trip to the specialty store. It’s simple, honest food.
The Base
Ripe Bananas (4 large) — This is the most important part. You want bananas that are heavily spotted or even brown. The riper they are, the sweeter the bites will be. If your bananas are still yellow, they’ll taste bland and starchy. Freeze them first if they’re not ripe enough, or just wait a few days. Peel them before dipping, obviously. I like to cut them into 1-inch chunks for easier handling, but you can leave them whole if you’re brave.
Chocolate Chips (1 ½ cups / 250g) — I use semi-sweet chocolate chips because they hold their shape well in the freezer and aren’t too sweet. Dark chocolate chips work too if you want a less sweet treat. Milk chocolate is fine, but it melts faster. Pro tip: Don’t use chocolate bars unless you’re experienced with tempering. Chips have stabilizers that help them stay chunky and nice.
Peanut Butter Chips (½ cup / 80g) — This is optional, but I highly recommend it. It adds a salty, nutty layer that balances the sweet chocolate. If you can’t find peanut butter chips, just chop up some roasted peanuts and mix them into the chocolate. Or melt some actual peanut butter and drizzle it on top. I’ve tried all three methods, and the chips are the easiest.
The Crunch & Flavor
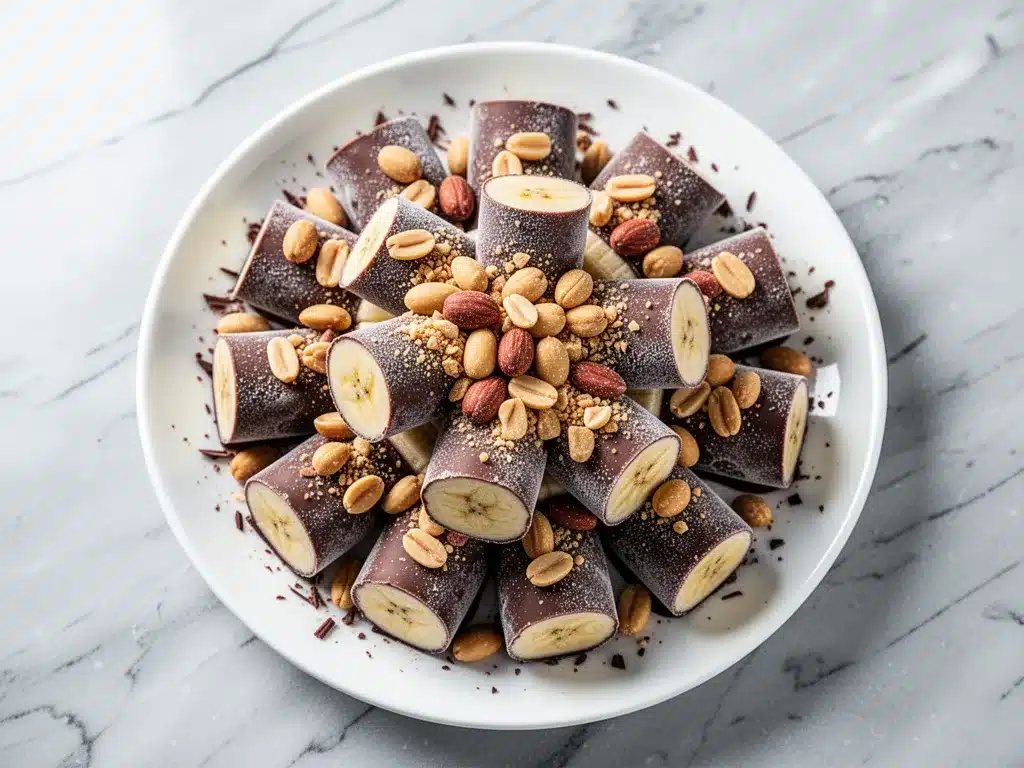
Roasted Peanuts (½ cup / 60g, chopped) — You need these for texture. I buy unsalted roasted peanuts and chop them roughly. You don’t need them tiny; little chunks are better. If you have peanut allergies, you can skip these or swap for chopped almonds or sunflower seeds. But honestly, the peanut flavor pairs perfectly with chocolate and banana. It’s a classic combo for a reason.
Sea Salt Flakes (optional) — A tiny sprinkle of flaky sea salt on top of the chocolate before it hardens makes the chocolate taste richer. It’s a restaurant trick, but it works at home too. If you don’t have flakes, regular kosher salt works fine.
Coconut Oil (1 teaspoon) — I add a tiny bit of coconut oil to the chocolate chips before melting them. This thins the chocolate just enough so it coats the bananas smoothly without being too thick or clumpy. It also helps the chocolate snap nicely when you bite into it. If you don’t have coconut oil, a little butter works too, but coconut oil keeps it vegan-friendly if that matters to you.
Substitutions & Tips
- For a Vegan Version: Use dairy-free chocolate chips and peanut butter chips. Most major brands make vegan chips now. Check the label, but it’s usually pretty easy.
- For Nut-Free: Skip the peanuts and peanut butter chips. Use sunflower seeds or just stick to plain chocolate. It’s still delicious, just less crunchy.
- Chocolate Type: I’ve tried white chocolate too, and it’s great for a sweeter, milder version. But semi-sweet is my personal favorite.
- Banana Prep: If you’re making these for kids, cut the bananas in half lengthwise instead of into chunks. It’s easier for little hands to hold.
I always keep a bag of frozen bananas in my freezer specifically for this. When I see them, I just pull them out and make a batch. It’s so fast that there’s no excuse not to.
Equipment Needed
You don’t need fancy equipment for this. Here’s what I actually use.
Baking Sheet or Parchment Paper — I line a baking sheet with parchment paper. This is non-negotiable. The chocolate will stick to anything else, and you don’t want to be scraping chocolate off metal. Parchment paper makes cleanup instant. Just throw it away when you’re done.
Two Small Bowls — You need one for the chocolate chips and one for the peanut butter chips (if using). Small bowls are better because you don’t want too much chocolate pooling at the bottom. I use my smallest mixing bowls for this.
Microwave-Safe Bowl or Double Boiler — I use the microwave because it’s faster. But if you’re nervous about burning chocolate, use a double boiler. Just make sure your bowl fits over the pot without touching the water. Chocolate burns easily, so low and slow is the way to go.
fork or Toothpicks — I use a fork to dip the bananas. Hold the banana by the top (where the stem was) with your fingers, dip it in the chocolate with the fork, and shake off the excess. If you’re using toothpicks, stick them into the banana before dipping. It’s cleaner but takes a second longer.
Freezer — Okay, you need a freezer. Duh. But make sure you have space. These need about 30 minutes to an hour to set up. If your freezer is packed, you might need to make room or wait.
Knife — You’ll need a knife to chop the peanuts and maybe to cut the bananas if you’re using whole ones. A sharp knife makes quick work of the nuts.
That’s it. No mixer, no stand, no fancy gadgets. Just basic kitchen stuff you probably already own.
How to Make It: Step-by-Step
Alright, let’s make this! I’m walking you through exactly how I do it, including the little tricks I’ve picked up over the years.
Step 1: Prep Your Bananas (5 minutes)
Start by peeling your bananas. If they’re really ripe, they’ll be soft, so handle them gently. Cut them into 1-inch thick rounds or in half lengthwise. If you’re using whole bananas, you might want to stick a toothpick into the top of each one to make dipping easier. Lay them out on a parchment-lined baking sheet. Make sure they’re not touching each other. You want space so they don’t stick together in the freezer. Pop them in the freezer for about 15-20 minutes. This step is crucial. If the bananas are soft and warm, the chocolate will slide right off. You want them firm and cold.
Step 2: Melt the Chocolate (3 minutes)
While the bananas are freezing, melt your chocolate chips. I use the microwave because it’s fast. Put the chocolate chips in a microwave-safe bowl. Add the teaspoon of coconut oil. Microwave on medium power (50%) in 30-second intervals. Stir well after each interval. This is important. If you microwave on high, the chocolate will burn and seize up. You want it smooth and glossy. If it looks too thick, add another tiny bit of coconut oil. If you’re using peanut butter chips, melt them separately in a different bowl. Don’t mix them unless you want a marbled look, which is fine too.
Step 3: Dip the Bananas (5 minutes)
Take the bananas out of the freezer. They should be rock hard now. Pick up a banana (use a fork or toothpick). Dip it into the melted chocolate, coating it completely. Lift it out and let the excess chocolate drip off. You can tap the fork gently on the side of the bowl to help it drip. Place the coated banana back on the parchment-lined baking sheet. Do this quickly because the banana will start to thaw as you work. If you’re using peanut butter chips, you can drizzle them over the chocolate-covered bananas, or dip half of the banana in peanut butter chocolate. I like to do a partial dip—half chocolate, half peanut butter. It looks cool and tastes even better.
Step 4: Add the Crunch (2 minutes)
While the chocolate is still wet, sprinkle the chopped peanuts over the top. Press them in gently with your finger or the back of a spoon so they stick. If you’re using sea salt flakes, add a tiny pinch now. If the chocolate starts to set before you can sprinkle the nuts, just put the tray back in the freezer for 5 minutes to firm up the base layer, then add the nuts. Work fast here, or the nuts won’t stick.
Step 5: Freeze Until Set (30-60 minutes)
Place the tray back in the freezer. Let them sit for at least 30 minutes, but an hour is better. You want the chocolate to be completely hard and snap when you bite it. If you try to eat them too soon, they’ll be soft and messy. I usually make them in the morning and eat them in the afternoon, or make them the night before. If you’re in a huge rush, 30 minutes works, but don’t rush it.
Step 6: Store and Serve
Once they’re fully set, you can eat them right away or store them. Transfer them to an airtight container in the freezer. They’ll last for up to a month. I usually keep them in a ziplock bag to save space. When you’re ready to eat, just grab a few and let them sit for a minute if you want them slightly softer. They’re best eaten straight from the freezer, though.
Total time is about 5 minutes of active work, plus freezing time. It’s as easy as it gets.
Expert Tips & Tricks
Here’s everything I’ve learned from making these dozens of times. These tips will save you from my mistakes.
Freeze the Bananas First
This is the #1 tip. I cannot stress this enough. If you dip warm bananas in chocolate, they will fall apart. The chocolate will slide off, and you’ll have a mess. Freeze them until they’re solid. I usually freeze them for 20 minutes, but if your kitchen is warm, go for 30. Test one—if it’s firm, you’re good.
Don’t Overheat the Chocolate
Chocolate is sensitive. If you microwave it on high, it burns easily. Burnt chocolate tastes bitter and won’t melt smoothly. Use medium power and stir often. If you see steam, it’s too hot. Take it out and stir. The residual heat will finish melting it. Also, if you get water in your chocolate, it will seize up. Make sure your bowl and utensils are completely dry.
Work in Batches
If you’re making a big batch, don’t melt all the chocolate at once. Melt half, dip half, then melt the rest. If you melt it all and wait too long, it will start to thicken and become hard to work with. Freshly melted chocolate is easier to dip with.
Use Ripe Bananas
Again, this matters. Brown bananas are sweeter. If you use yellow bananas, the bites will taste bland. If you don’t have ripe bananas, you can peel them and freeze them for a few days until they turn brown. Then use them for this recipe. It’s a great way to use up fruit that’s about to go bad.
Common Mistakes (and how to avoid them)
Mistake: Chocolate is too thick
Fix: Add more coconut oil or a tiny drop of vegetable oil. Stir until smooth. If it’s too thick, it won’t coat the banana evenly.
Mistake: Nuts don’t stick
Fix: The chocolate was starting to set. Work faster, or put the tray back in the freezer for 2 minutes to firm up the chocolate before adding nuts.
Mistake: Bananas are too soft to handle
Fix: They weren’t frozen enough. Freeze them longer. Or use toothpicks to handle them more easily.
Pro Tricks I’ve Learned
For a Fancy Look
Drizzle melted white chocolate over the top in thin lines after the chocolate has set. It looks like a bakery treat.
For Extra Flavor
Add a pinch of cinnamon to the chocolate before dipping. It adds a warm spice that goes well with banana.
For Better Texture
Chop the peanuts into uneven sizes. Some big chunks, some small pieces. It adds visual interest and varied crunch.
Variations & Substitutions
Once you’ve nailed the basic version, here’s how you can mix it up. I’ve tried all of these.
Almond Butter Version
Swap peanut butter chips for almond butter chips or melted almond butter. Sprinkle with slivered almonds. It’s slightly more sophisticated and less sweet.
Coconut Lover’s
After dipping in chocolate, roll the banana in shredded coconut. It’s tropical and delicious. Add a drizzle of white chocolate for extra sweetness.
Red Velvet
Use red velvet chocolate chips or add a drop of red food coloring to the white chocolate. Sprinkle with white sprinkles. Great for holidays.
Mini M&M’s
Instead of peanuts, press mini M&M’s into the chocolate. It’s colorful and fun for kids. I make these for birthdays.
Butterscotch
Use butterscotch chips instead of chocolate. It’s weirdly amazing with banana. The caramel flavor pairs perfectly.
Gluten-Free
This recipe is naturally gluten-free if you use GF chocolate chips and peanuts. Check labels, but most chips are GF.
Dairy-Free
Use dairy-free chocolate and peanut butter chips. Most brands make these now. It’s just as good.
Nut-Free
Skip the nuts entirely. Use sunflower seeds or just plain chocolate. It’s still tasty, just less crunchy.
Double Dip
Dip in chocolate, freeze for 5 minutes, then dip again in a different flavor (like peanut butter). It creates layers of flavor. I love this one.
Serving & Storage
How to Serve:
I usually serve these straight from the freezer at the dinner table—it looks rustic and stays cold. But here are other ways I’ve enjoyed them:
- As a Dessert: Serve with a scoop of vanilla ice cream for a hot-cold contrast. It’s like a banana split in bite form.
- As a Snack: Keep them in the freezer for a quick afternoon snack. They’re perfect for after school or work.
- With Coffee: Have one with your morning coffee. It’s a sweet treat that doesn’t feel too heavy.
Storage Instructions:
Refrigerator:
Don’t store these in the fridge. They’ll get soft and sticky. The freezer is the only place for these.
Freezer:
Store in an airtight container or ziplock bag for up to 1 month. They might get a little frosty if you leave them too long, but they’re still good. I usually eat them within two weeks.
Reheating:
Don’t reheat them. Eat them frozen. If you want them softer, let them sit at room temperature for 2-3 minutes. They’ll soften up nicely.
Pro tip:
If you’re meal-prepping, make a big batch and portion them into individual bags. That way, you don’t have to dig through a big container every time you want a snack.
Nutrition Information
I’m not a nutritionist, but here’s the breakdown if you’re tracking.
Per Bite (based on 12 bites):
- Calories: 110
- Protein: 2g
- Carbs: 14g
- Fiber: 2g
- Sugar: 9g
- Fat: 6g
- Saturated Fat: 3g
- Cholesterol: 0mg
- Sodium: 15mg
- Calcium: 20mg
What’s Good:
– Decent fiber from the banana
– Potassium from the banana
– Healthy fats from the peanuts
– Lower calorie than ice cream
What to Know:
– Higher in sugar from chocolate
– Contains nuts
– Moderate fat from chocolate
My Take:
Look, this is a treat. It’s fruit and chocolate. It’s not a diet recipe. But it’s way better than a candy bar, costs less, and I know exactly what’s in it. When I want to make it lighter, I use dark chocolate and skip the peanut butter chips. But usually? I just eat a reasonable portion and enjoy it.
Final Thoughts
So that’s my go-to frozen chocolate banana bites with peanuts! I’ve probably talked your ear off at this point, but when you make a recipe this often, you have a lot to say about it.
This has saved summer afternoons more times than I can count. It’s my answer to “what’s for dessert” when I’m tired, don’t want to cook, and still want something that tastes really good. My kids are happy, my husband’s happy, and I’m happy because I’m not stressed about cooking.
Make it yours! Try different add-ins, swap in your favorite nuts, adjust the chocolate. The best recipes are the ones you adapt to your family’s tastes. If you like these, you might also enjoy my dark chocolate raspberry truffles for a no-bake dessert, or my banana cream pudding if you want something creamy and warm.
If you make this, drop a comment and let me know what you think! I love hearing how recipes turn out in your kitchen. And if something doesn’t work, tell me that too—I’m here to help troubleshoot.
Happy cooking! And I hope your kitchen smells half as good as mine does right now.
Frequently Asked Questions
Can I use fresh bananas instead of frozen?
You can, but the chocolate won’t stick as well. Fresh bananas are soft and warm, so the chocolate will slide off. I recommend freezing them first for at least 20 minutes. If you’re in a rush, freeze them for 10 minutes, but they’ll be trickier to handle.
Why did my chocolate seize up?
Water is the enemy of chocolate. If even a drop of water got into the bowl, or if the bowl was wet, the chocolate will seize up and become grainy. Make sure your bowl and utensils are completely dry. Also, if you overheated it, it might have seized. Take it out of the heat and stir in a little oil to save it.
Can I make these ahead for a party?
Absolutely! Make them up to a week ahead and store them in the freezer. They’ll keep their flavor and texture. Just make sure they’re in an airtight container so they don’t absorb freezer smells. I make a big batch for parties and keep them in the freezer until guests arrive.
Why did my nuts fall off?
The chocolate was starting to set before you added the nuts. Work faster, or put the tray back in the freezer for 2 minutes to firm up the chocolate base, then add the nuts and press them in gently. If the chocolate is too thick, it won’t hold the nuts. Add a little more oil to thin it.
Can I use almond butter instead of peanut butter?
Yes! Almond butter chips or melted almond butter work great. It’s slightly less sweet and has a different flavor profile, but it’s delicious. You can also use cashew butter or sunflower seed butter if you have nut allergies.
How do I store leftovers without them getting freezer burn?
Use an airtight container or a heavy-duty ziplock bag. Squeeze out as much air as possible before sealing. They’ll last for up to a month. If you leave them in a thin bag, they might get frosty, but they’re still safe to eat.
Can I double this recipe?
Yes! Double everything and use a larger baking sheet. The cooking times stay the same. I do this when I’m meal-prepping or feeding a crowd. Just make sure you have enough room in the freezer for the extra tray.
Pin This Recipe!
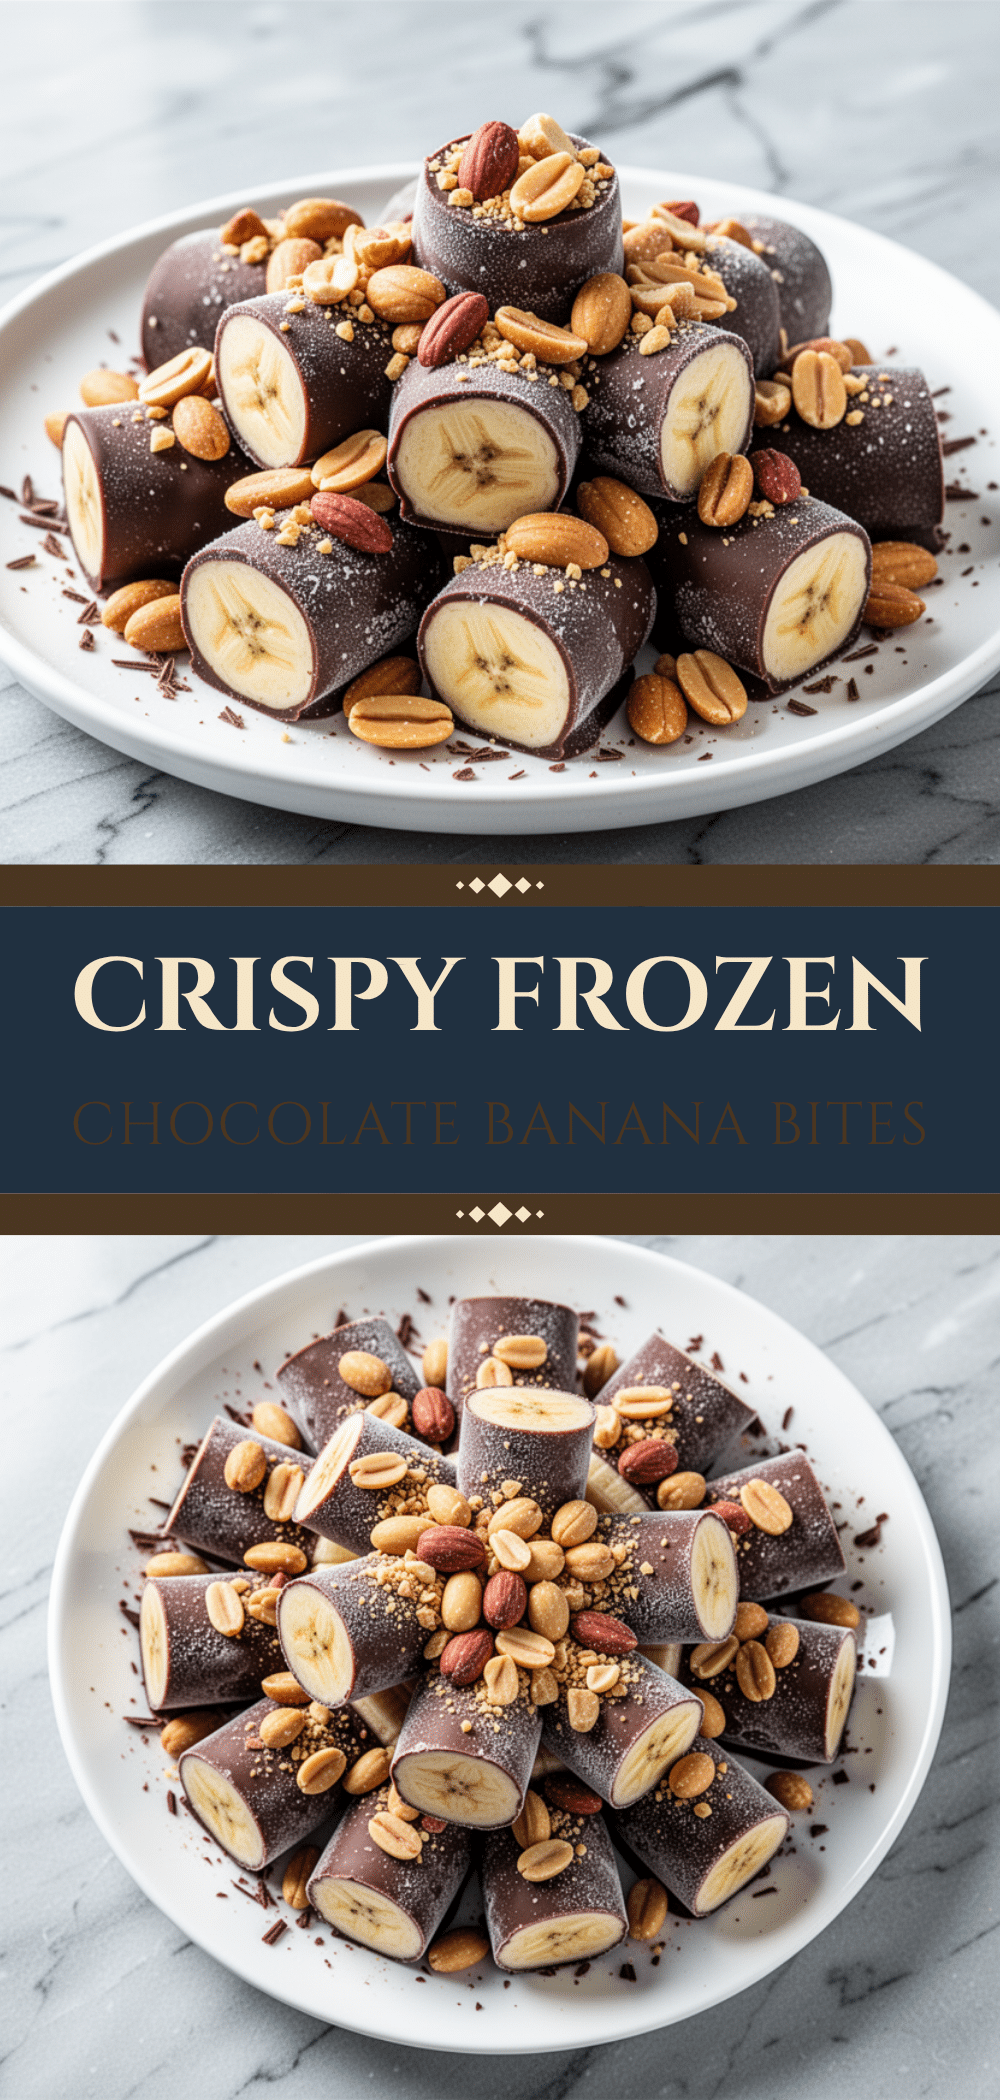
Frozen Chocolate Banana Bites with Peanuts
- Total Time: 35 minutes
- Yield: 12 servings 1x
Description
A quick, no-bake summer treat made by dipping frozen banana chunks in chocolate and peanuts. These creamy, crunchy bites are ready in minutes and perfect for hot days.
Ingredients
- 4 large ripe bananas (heavily spotted or brown)
- 1 ½ cups (250g) semi-sweet chocolate chips
- ½ cup (80g) peanut butter chips (optional)
- ½ cup (60g) roasted peanuts, chopped
- 1 teaspoon coconut oil
- Sea salt flakes (optional)
Instructions
- Peel the bananas and cut them into 1-inch thick rounds or in half lengthwise. Place them on a parchment-lined baking sheet, ensuring they are not touching.
- Freeze the bananas for 15-20 minutes until firm and cold.
- While bananas freeze, place chocolate chips and coconut oil in a microwave-safe bowl. Microwave on medium power (50%) in 30-second intervals, stirring well after each interval, until smooth and glossy.
- If using peanut butter chips, melt them separately in a different bowl.
- Remove bananas from the freezer. Using a fork or toothpick, dip each banana into the melted chocolate, coating completely. Let excess drip off and place back on the parchment-lined sheet.
- While the chocolate is still wet, sprinkle chopped peanuts over the top and press gently to adhere. Add a tiny pinch of sea salt flakes if desired.
- Return the tray to the freezer for 30-60 minutes until the chocolate is completely hard and snaps when bitten.
- Store in an airtight container or ziplock bag in the freezer for up to one month.
Notes
Ensure bananas are fully frozen before dipping to prevent the chocolate from sliding off. Do not overheat chocolate in the microwave; use medium power and stir frequently to avoid seizing. For a vegan version, use dairy-free chocolate and peanut butter chips. For nut-free, substitute peanuts with sunflower seeds or omit.
- Prep Time: 5 minutes
- Cook Time: 0 minutes
- Category: Dessert
- Cuisine: American
Nutrition
- Serving Size: 1 bite
- Calories: 110
- Sugar: 9
- Sodium: 15
- Fat: 6
- Saturated Fat: 3
- Carbohydrates: 14
- Fiber: 2
- Protein: 2
Keywords: frozen banana bites, chocolate covered bananas, no bake dessert, summer treats, healthy snacks, peanut butter chocolate, easy dessert, kid friendly snacks



