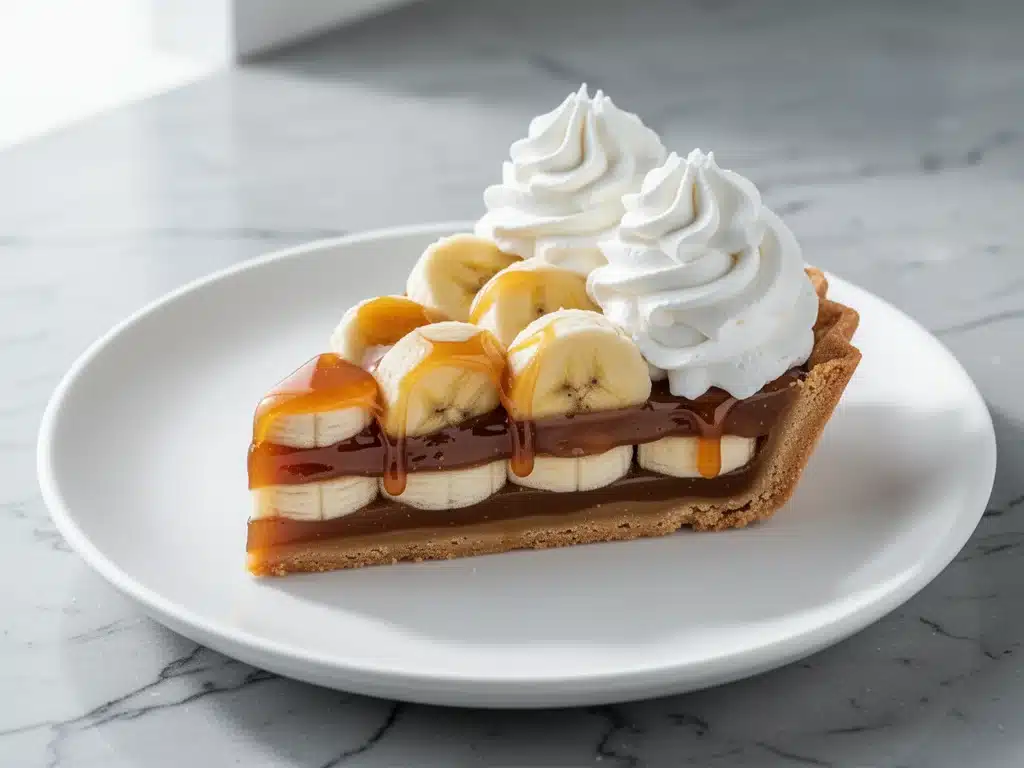
I still remember the first time I tried banoffee pie. It was at a tiny, dimly-lit café in London, and I was trying to look sophisticated while eating a slice of dessert that was essentially a sugar bomb wrapped in chocolate. I loved it. I was hooked. Fast forward a few years, and I’ve made it dozens of times—sometimes with fancy biscuit bases, sometimes with store-bought cream, and sometimes with shortcuts that would make a traditionalist scream. But the version I’m sharing with you today? This is the one that actually works in a real kitchen. It’s the one I make when I need to impress guests without spending all day standing over a stove.
This homemade banoffee pie isn’t just about the layers; it’s about that perfect balance of textures. You’ve got the crunch of the base, the soft chew of the caramel, the fresh sweetness of the bananas, and the airy lightness of the whipped cream. It’s messy, it’s indulgent, and it’s honestly the easiest dessert you’ll ever make. I’ve tested this recipe so many times that I can probably make it with my eyes closed (though I don’t recommend trying that, especially with the hot caramel). The secret isn’t in complex techniques; it’s in the quality of your ingredients and knowing exactly when to stop.
Whether you’re celebrating a birthday, hosting a dinner party, or just need to satisfy a serious sweet tooth on a Tuesday night, this banoffee pie delivers. It’s got that restaurant-quality look that makes people ask, “Did you buy this?” before they take the first bite. Spoiler alert: they’ll be disappointed to find out you made it in under an hour. Let’s get into why this specific version is the best one to try, and what you’ll need to pull it off.
Why You’ll Love This Recipe
There are about ten reasons I keep coming back to this homemade banoffee pie, but let’s be real—you probably only need two to get you to buy the ingredients. Here’s the deal:
- Zero Baking Required — Seriously. This is a no-bake dessert. If you can open a tin, peel a banana, and whip some cream, you can make this. I’ve made this while hosting a dinner party where I was simultaneously managing grilled meats and talking to guests. It’s that low-stress.
- Actually Crisp Base — The biggest failure of homemade banoffee pie is usually a soggy bottom. I’ve figured out the trick to keeping that biscuit base crunchy even after the cream and caramel sit on top overnight. It’s all about how you press it and what you add to the mix.
- Restaurant-Quality Caramel — You don’t need to make dulce de leche from scratch (though you can if you’re feeling fancy). This recipe uses a clever method to get that rich, deep caramel flavor without the mess of boiling a tin of condensed milk for hours. It’s fast, safe, and tastes incredible.
- Make-Ahead Friendly — This pie actually gets better after sitting in the fridge for a few hours. The flavors meld together, the caramel softens slightly, and the whole thing sets up perfectly. I usually make it the morning of the party, so the only thing I have to do when guests arrive is slice it.
- Visual Wow Factor — With the chocolate shavings on top and the neat layers visible from the side, this looks like something you’d pay $12 for in a high-end patisserie. It’s photogenic, messy in a good way, and just begs to be served.
This isn’t just another dessert recipe. It’s a crowd-pleaser that works for kids and adults alike. It’s my go-to when I want to feel like a pro baker without the actual work.
Ingredients You’ll Need
Here’s the best part: you probably have most of this already, or it’s a quick trip to the store. I’m particular about a few things here, and I’ll tell you exactly why.
For the Base
Digestive biscuits (300g / about 2.5 cups crumbs) — This is non-negotiable. Graham crackers work in a pinch if you’re in the US and can’t find digestives, but they’re sweeter and softer. Digestives give you that buttery, slightly savory crunch that balances the sweet filling. If you’re using a food processor, pulse them until they’re fine sand. No chunks.
Unsalted butter (100g / ½ cup / 7 tablespoons) — Melted. Use good quality butter here. It’s the glue holding your base together. If your butter is too soft or margarine, the base will be greasy and won’t set properly.
Granulated sugar (2 tablespoons) — Optional, but I add it because digestive biscuits aren’t super sweet, and it helps crisp up the base. If your biscuits are already sweet, skip it.
For the Caramel Layer
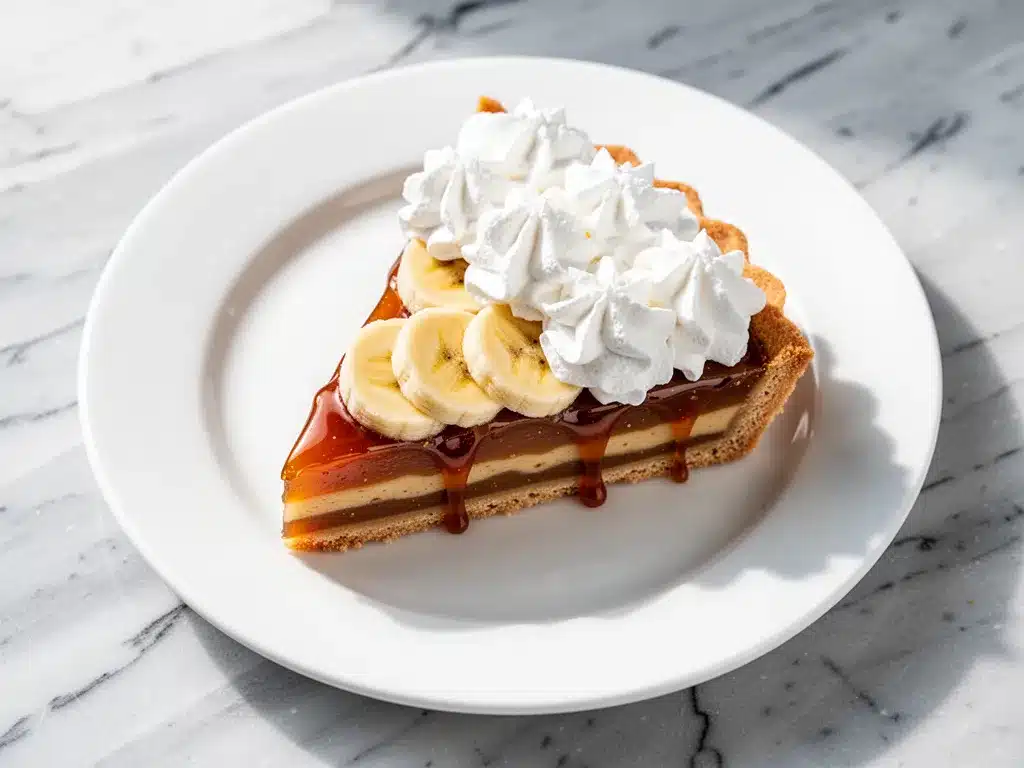
Condensed milk (1 can / 397g) — Full fat only. Do not use sweetened condensed milk alternatives unless you want a weird texture. This is the star of the show.
Dark chocolate (100g / 3.5 oz) — Chopped. Yes, the caramel is chocolate-covered. This adds a bitter contrast to the sweet caramel and bananas. Use a bar of decent chocolate, not chips. Chips have stabilizers that make them melt weirdly.
For the Topping
Ripe bananas (4 medium) — This is crucial. They need to be ripe but not mushy. Yellow with a few brown spots. If they’re too green, they’re starchy and bland. If they’re black, they’ll turn to mush when you slice it. Peel and slice them lengthwise, not rounds. Lengthwise slices look more elegant and stack better.
Heavy cream (400ml / 1 ⅔ cups) — Cold. Whip it to stiff peaks. Don’t over-whip it into butter, but don’t under-whip it into soup either. It needs to hold its shape.
Dark chocolate (50g / 1.75 oz) — For shavings. Use a vegetable peeler to get those pretty curls. If you chop it, it looks messy. Curls look professional.
Equipment Tips
I use a 9-inch springform pan. It makes slicing and serving so much easier. If you don’t have one, a deep pie dish works, but serving becomes a bit trickier. Also, get a good vegetable peeler for the chocolate. The cheap ones slip and are dangerous. The good ones glide.
Equipment Needed
You don’t need fancy equipment for this. Here’s what I actually use:
- 9-inch Springform Pan — I use a 3-inch deep one. It needs to fit the layers comfortably. My old springform leaks a little, so I always put the pan on a baking sheet just in case. Cheaper pans work fine; just don’t expect them to look pretty on the outside.
- Food Processor — For crushing the biscuits. If you don’t have one, put them in a ziplock bag and smash them with a rolling pin. It takes effort, but it works.
- Heavy-Bottomed Saucepan — For melting the chocolate. Or just use a microwave-safe bowl. I prefer the saucepan because I can control the heat better, but the microwave is faster.
- Hand Mixer or Stand Mixer — For whipping the cream. A whisk works if you have strong arms, but a mixer saves your biceps. I use a hand mixer because it’s easier to clean.
- Vegetable Peeler — For the chocolate shavings. This is the one tool I’d recommend spending a little extra on. A sharp peeler makes the chocolate shavings look like restaurant-quality curls.
- Offset Spatula — For spreading the caramel and cream. Or just a regular spoon. I’m not a snob about tools, but an offset spatula makes the top layer look smooth and pretty.
Don’t have a springform pan? Use a deep pie dish. Just know that you’ll have to scoop the slices out with a spoon rather than cutting neat wedges. It’s still delicious, just less elegant.
How to Make It: Step-by-Step
Alright, let’s make this! I’m walking you through exactly how I do it, including the little tricks I’ve picked up so you don’t end up with a soggy mess.
Step 1: Make the Base (5 minutes)
Preheat your oven to 350°F (175°C). Crush your digestive biscuits into fine crumbs. If they’re too chunky, your base will be uneven. Mix the crumbs with the melted butter and sugar until it looks like wet sand. Press this mixture firmly into the bottom of your springform pan. Use the bottom of a glass to pack it down tight. A loose base means a crumbly pie. Bake for 8-10 minutes until it smells buttery and looks slightly darker. Let it cool completely. If you put the filling on a warm base, everything melts together, and you lose the texture contrast.
Step 2: Prepare the Bananas
While the base cools, peel your bananas. Slice them lengthwise. This is important. Rounds look nice, but lengthwise slices create a better surface area for the caramel to cling to, and they stack in a way that makes slicing easier later. Arrange them neatly on a plate. If you’re not assembling right away, cover them with plastic wrap to prevent browning. Bananas oxidize fast.
Step 3: Make the Caramel Layer
This is the fun part. You have two options. Option A: Buy a tin of dulce de leche. Option B: Make it. I prefer making it because it’s fresher. Pour the can of condensed milk into a heavy-bottomed saucepan over medium-low heat. Stir constantly. It will start to bubble and darken. Keep stirring! It takes about 10-15 minutes. You want it to turn a deep golden amber color and thicken slightly. It will continue to thicken as it cools. Do not walk away. Burnt caramel tastes bitter and ruins the whole pie. Once it’s the color of maple syrup, remove from heat. Let it cool for 5 minutes.
Step 4: Melt the Chocolate
Chop your 100g of dark chocolate. Melt it gently. I use a double boiler method (bowl over simmering water) because it’s hard to burn. If you use the microwave, do it in 20-second bursts, stirring in between. You want it smooth and glossy. Let it cool for a minute so it’s not hot enough to melt the cream later, but still pourable.
Step 5: Assemble the Layers
Now, build the pie. Pour half the caramel over the cooled biscuit base. Spread it evenly. Arrange half the banana slices on top of the caramel. Pour the rest of the caramel over the bananas. Spread it gently. Arrange the remaining bananas on top. You’re essentially sandwiching the bananas in caramel. This keeps them fresh and adds flavor to every bite.
Step 6: Whip and Spread the Cream
Whip your heavy cream to stiff peaks. Don’t overdo it. Spread it over the top layer of bananas. Use an offset spatula to make it look smooth, or leave it rustic with swirls. I like swirls because they look homemade and inviting. Refrigerate for at least 2 hours. This is non-negotiable. If you cut it too soon, it’ll be a mess.
Step 7: The Chocolate Finish
Melt the remaining 50g of chocolate. Drizzle it over the cream in a zigzag pattern. Then, use your vegetable peeler to shave more chocolate over the top. The combination of drizzle and shavings looks incredible. Slice with a hot knife for clean cuts. Dip your knife in hot water and wipe it dry between slices. This prevents the cream from sticking and tearing.
Total Time: About 45 minutes active, plus 2 hours chilling.
Expert Tips & Tricks
Here’s everything I’ve learned from making this dozens of times. These tips will save you from my mistakes.
- Cool the Base Completely — I cannot stress this enough. If your base is even slightly warm, the caramel will melt into it, and you’ll lose the crunch. Patience pays off here.
- Don’t Skip the Chocolate Layer — Some recipes skip the chocolate and just do caramel and cream. Don’t. The chocolate adds a necessary bitterness that cuts through the sweetness of the condensed milk and bananas. It’s the balance that makes it not too cloying.
- Use Room Temperature Cream — No, wait, cold cream. I made that mistake in my head. Cold cream whips better. Take it out of the fridge 10 minutes before whipping, not hours. If it’s too warm, it won’t stiffen.
- Hot Knife Slicing — This is the pro move. Dip your knife in boiling water, wipe it dry, and cut. Repeat for every slice. Your slices will look like they came from a bakery, not a home kitchen.
- Make Ahead is Best — This pie tastes better the next day. The caramel softens slightly, and the flavors meld. Make it the morning of the party, or even the night before.
Common Mistake: Soggy Base — Fix: Make sure your biscuit crumbs are fine, and press them down hard. If you’re worried, brush the cooled base with a thin layer of melted chocolate before adding the caramel. It creates a waterproof barrier. I do this sometimes, and it works wonders.
Common Mistake: Mushy Bananas — Fix: Use bananas that are ripe but firm. If they’re too soft, they’ll break down under the weight of the cream. Slice them just before assembling to prevent browning.
Variations & Substitutions
Once you’ve nailed the basic version, here’s how you can mix it up. I’ve tried all of these.
- Gluten-Free — Use gluten-free digestive biscuits. They’re widely available now. The base might be slightly more crumbly, so press it down extra hard. The rest of the recipe is naturally gluten-free.
- Dairy-Free — Use coconut cream instead of heavy cream. It whips up nicely if you chill the can overnight. Use dairy-free chocolate and dairy-free condensed milk (available in some health food stores). It’s not exactly the same, but it’s still delicious.
- Coffee Banoffee — Add a tablespoon of espresso powder to the caramel. It enhances the chocolate flavor and adds a nice depth. Great for coffee lovers.
- Salted Caramel — Add a pinch of flaky sea salt to the caramel layer. The salt contrasts beautifully with the sweet cream and bananas. This is my favorite variation.
- Chocolate Base — Mix 2 tablespoons of cocoa powder into the biscuit crumbs before adding the butter. It turns the base into a chocolate biscuit crust. Richer and more intense.
Dietary Modifications:
- Lower Sugar — Use sugar-free condensed milk (hard to find but exists) and dark chocolate with 70% cocoa or higher. It’s less sweet but still satisfying.
- Vegan — Use coconut cream, dairy-free chocolate, and vegan condensed milk (made from coconut milk and sugar). It’s a bit of an experiment, but it works.
Serving & Storage
I usually serve this straight from the fridge at the dinner table. It looks rustic and stays cold. But here are other ways I’ve enjoyed it:
Side Dishes
Since this is a rich dessert, I usually pair it with something simple. A cup of black coffee cuts through the sweetness perfectly. Or a glass of cold milk. If you’re feeling fancy, serve it with a dollop of fresh berries on the side to add acidity. It balances the heavy cream.
Toppings Bar
When I have guests, I put out: extra chocolate shavings, a few whole hazelnuts, and maybe some crushed toffee bits. Everyone customizes their slice. It’s fun and interactive.
Storage Instructions
Refrigerator: Store in the fridge, covered with plastic wrap or in an airtight container, for up to 3 days. The cream will hold up fine, and the caramel won’t harden too much. After 3 days, the bananas might start to brown slightly, so try to eat it up.
Freezing: Honestly, this doesn’t freeze well. The cream separates when thawed, and the bananas get mushy. Make it fresh. If you must, freeze the base and caramel separately, but it’s not worth the hassle.
Meal Prep: Make the base and caramel ahead. Store them separately. Assemble the pie the day of. This ensures the best texture.
Pro tip: If you’re serving this at a party, slice it into 12 pieces. It’s rich enough that no one needs more than one slice. Unless it’s a special occasion. Then everyone gets two.
Nutrition Information
I’m not a nutritionist, but here’s the breakdown if you’re tracking. Per serving (based on 12 slices):
- Calories: 380
- Protein: 5g
- Carbs: 45g
- Fiber: 2g
- Sugar: 35g
- Fat: 20g
- Saturated Fat: 12g
- Cholesterol: 45mg
- Sodium: 180mg
What’s Good: It has some calcium from the dairy and potassium from the bananas. It’s a source of quick energy.
What to Know: It’s high in sugar and saturated fat. It’s a treat, not a health food. Enjoy it in moderation. If you want to make it lighter, use less cream or a lighter caramel, but you’ll lose some of the indulgence.
My Take: Look, this is banoffee pie. It’s supposed to be rich and sweet. It’s not a salad. When I make this, I enjoy it fully without worrying about the calories. It’s a special occasion dessert, and that’s what it’s for.
Final Thoughts
So that’s my homemade banoffee pie! I’ve probably talked your ear off at this point, but when you make a recipe this often, you have a lot to say about it. This has saved me from dessert disasters more times than I can count. It’s my answer to “I want something fancy but I’m tired” when I don’t want to order takeout or bake a complicated cake. My family is obsessed, and my friends always ask for the recipe.
Make it yours! Try different chocolates, add nuts, or play with the caramel consistency. The best recipes are the ones you adapt to your tastes. If you make this, drop a comment and let me know what you think! I love hearing how recipes turn out in your kitchen. And if something doesn’t work, tell me that too—I’m here to help troubleshoot.
Happy baking! And I hope your kitchen smells half as good as mine does right now.
Frequently Asked Questions
Can I use graham crackers instead of digestive biscuits?
You can, but the flavor will be different. Graham crackers are sweeter and have a honey flavor that might clash with the caramel. Digestives are more neutral and buttery, which lets the caramel shine. If you use graham crackers, reduce the added sugar in the base. I’ve tried it, and it’s okay, but digestives are better.
Why did my caramel turn out hard?
You probably cooked it too long. Condensed milk caramelizes quickly. If you cook it until it’s dark brown, it will harden into toffee. You want it to be the color of amber and thick enough to coat the back of a spoon. It will continue to thicken as it cools. If it’s too hard, you can warm it slightly to make it spreadable again.
Can I make this without a springform pan?
Yes, use a deep pie dish or a round cake tin lined with parchment paper. Just know that serving will be harder. You’ll have to scoop it out rather than slicing it cleanly. It’s still delicious, just messier.
How long does this pie last?
It lasts up to 3 days in the fridge. After that, the bananas start to brown and the cream loses its freshness. I usually eat it all within 2 days because it’s that good.
Can I use dulce de leche from a jar?
Absolutely. If you’re in a hurry, buy a jar of dulce de leche. Spread it directly over the base. It saves time and tastes just as good. The only difference is that homemade caramel has a fresher, slightly cooked flavor that some people prefer.
Why did my cream collapse?
You probably over-whipped it. Heavy cream can turn into butter if you whip it too long. Stop as soon as you see stiff peaks. If it’s already collapsed, you can’t fix it, but you can use it as a sauce for other desserts. Lesson learned!
Can I add nuts to this pie?
Yes! Crushed hazelnuts or pecans add a great crunch and flavor. Sprinkle them over the caramel layer or mix them into the biscuit base. I love the combination of banana, caramel, and hazelnuts. It’s like a praline flavor.
Pin This Recipe!
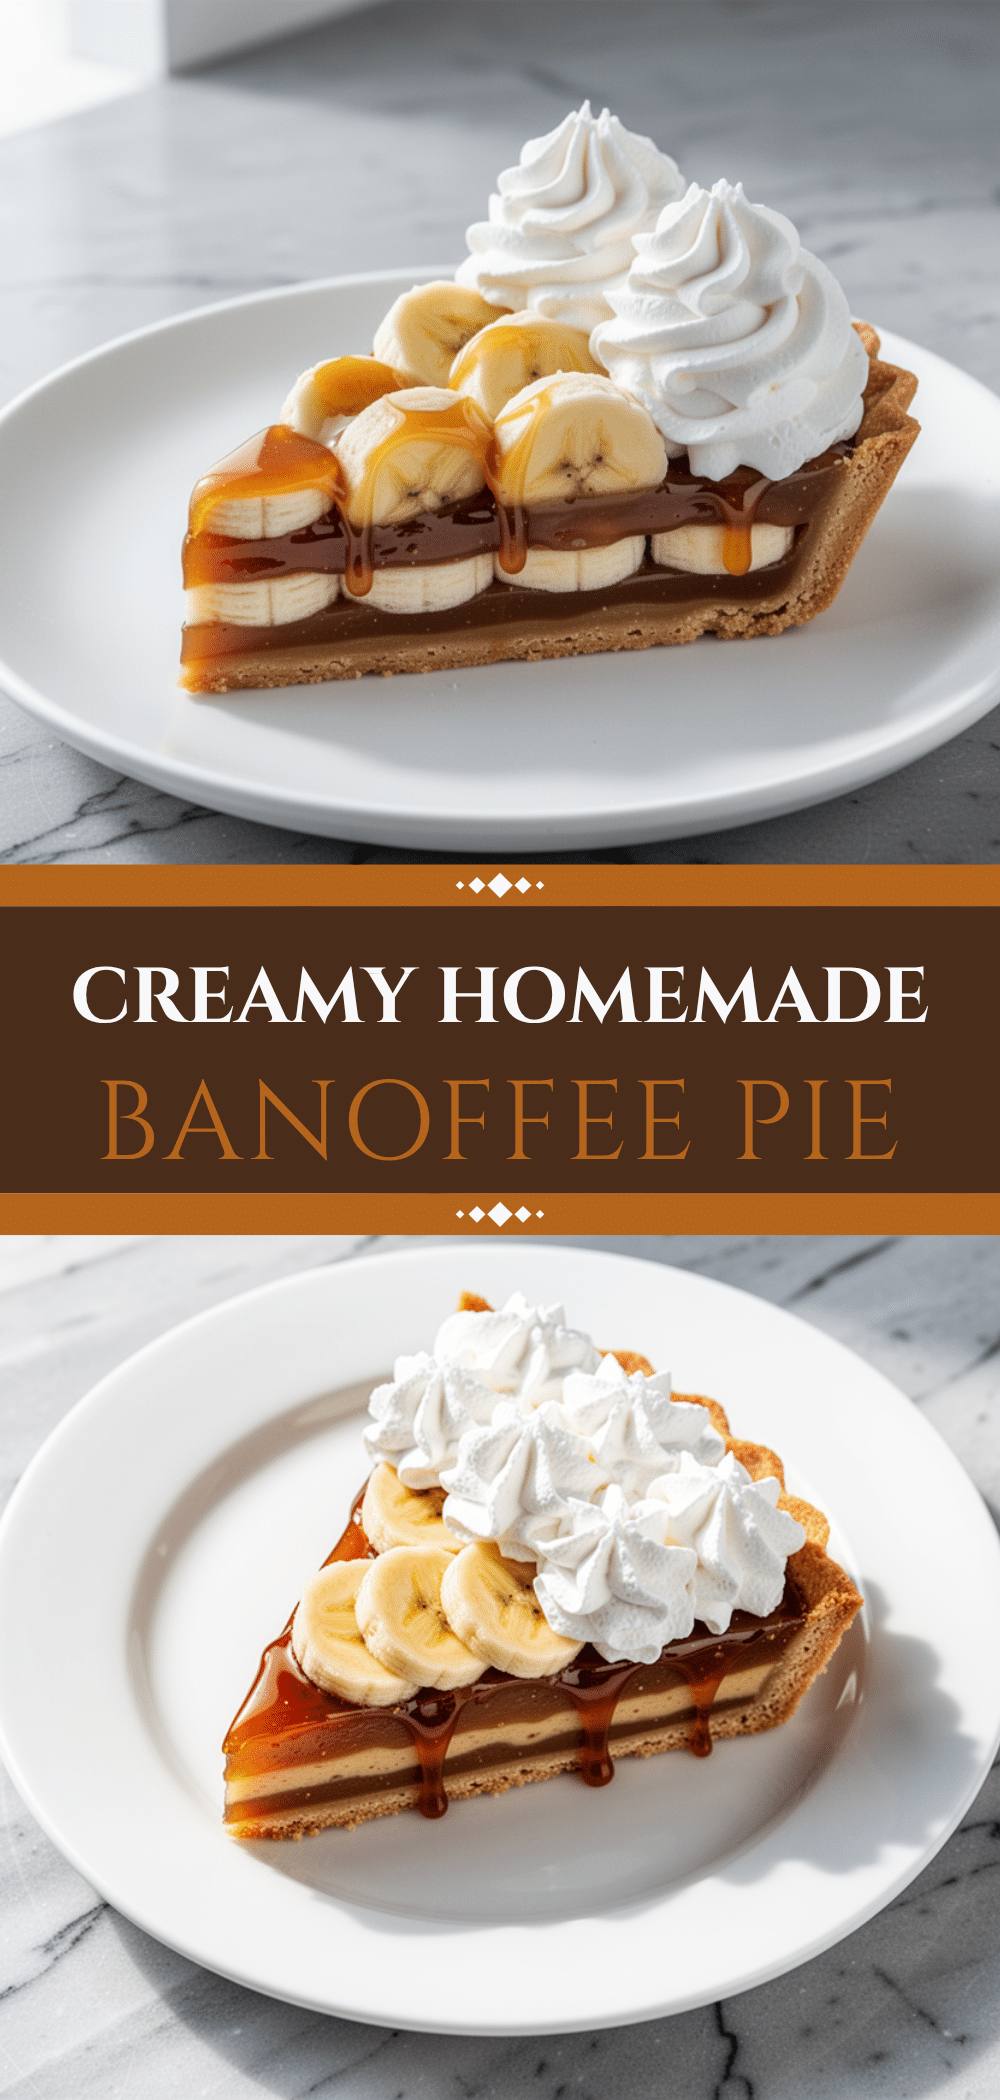

Homemade Banoffee Pie: 3-Step Easy Dessert
- Total Time: 45 minutes
- Yield: 12 servings 1x
Description
A no-bake banoffee pie featuring a crisp digestive biscuit base, homemade caramel, fresh bananas, and whipped cream, finished with chocolate shavings.
Ingredients
- 300g digestive biscuits (about 2.5 cups crumbs)
- 100g unsalted butter (melted)
- 2 tablespoons granulated sugar
- 1 can (397g) full-fat condensed milk
- 100g dark chocolate (chopped)
- 4 medium ripe bananas (sliced lengthwise)
- 400ml heavy cream (cold)
- 50g dark chocolate (for shavings)
Instructions
- Preheat oven to 350°F (175°C). Crush digestive biscuits into fine crumbs and mix with melted butter and sugar until resembling wet sand.
- Press the biscuit mixture firmly into the bottom of a 9-inch springform pan. Bake for 8-10 minutes until slightly darker and buttery. Let cool completely.
- While the base cools, peel and slice bananas lengthwise. Arrange on a plate and cover with plastic wrap if not assembling immediately.
- Pour condensed milk into a heavy-bottomed saucepan over medium-low heat. Stir constantly for 10-15 minutes until it turns deep golden amber and thickens. Remove from heat and let cool for 5 minutes.
- Melt 100g dark chocolate gently using a double boiler or microwave in 20-second bursts. Let cool slightly.
- Pour half the caramel over the cooled base. Arrange half the bananas on top. Pour remaining caramel over bananas, then arrange remaining bananas.
- Whip heavy cream to stiff peaks. Spread over the top layer of bananas. Refrigerate for at least 2 hours.
- Melt remaining 50g chocolate. Drizzle over cream and use a vegetable peeler to shave chocolate curls on top. Slice with a hot knife.
Notes
Ensure the biscuit base is completely cool before adding filling to prevent melting. Use ripe but firm bananas to avoid mushiness. For clean slices, dip a knife in hot water and wipe dry between cuts. The pie tastes better after chilling overnight.
- Prep Time: 15 minutes
- Cook Time: 30 minutes
- Category: Dessert
- Cuisine: British
Nutrition
- Serving Size: 1 slice
- Calories: 380
- Sugar: 35
- Sodium: 180
- Fat: 20
- Saturated Fat: 12
- Carbohydrates: 45
- Fiber: 2
- Protein: 5
Keywords: banoffee pie, no-bake dessert, homemade caramel, banana dessert, easy dessert, chocolate dessert, party dessert



