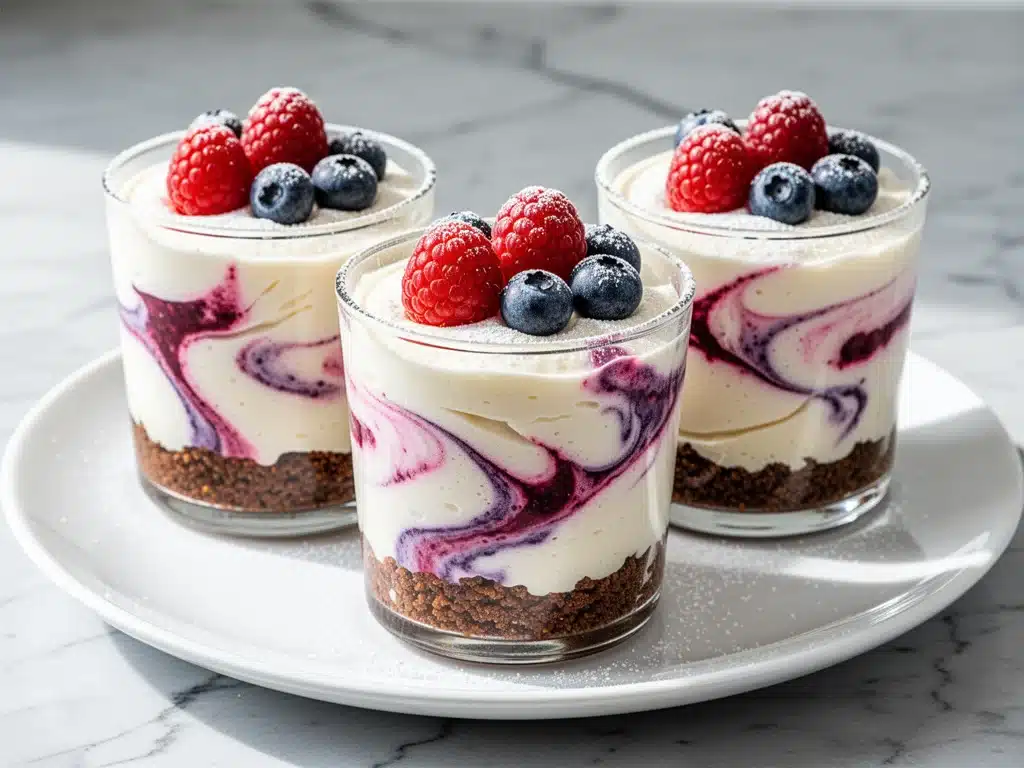
Last Tuesday, I was standing in my kitchen at 7:45 PM, staring into the open refrigerator. The light was flickering (which I promise I’ll fix soon), and I was hunting for something to satisfy my afternoon sugar crash without feeling like I was sabotaging my dinner plans. I didn’t want to bake. I didn’t want to heat up the oven. I barely even wanted to wash a bowl. All I wanted was that rich, creamy, tangy sweetness of a cheesecake, but I didn’t have an hour to wait for it to chill.
So I did what any desperate home cook does: I grabbed the nearest tub of Greek yogurt, a packet of instant pudding mix, and a handful of crushed cookies. I mixed it up in a mug, threw it in the freezer for five minutes, and took a bite. It was… okay. But it was also weirdly thick and tasted like artificial vanilla.
That was the moment I realized I was overcomplicating snack time. I spent the next two weeks tweaking ratios, testing different yogurts, and figuring out how to get that authentic cheesecake texture without the heavy cream or the hour-long chill time. The result? These High-Protein Greek Yogurt Cheesecake Cups. They’re my new obsession. They’re creamy, they’re tangy, they’re packed with protein, and they take literally five minutes to assemble. I’ve made them for my kids after soccer practice, I’ve had them as a late-night treat when I’m working late, and I’ve even served them to friends who couldn’t believe they weren’t baked. This is the easiest way to get your dessert fix without the guilt or the cleanup.
Why You’ll Love These Greek Yogurt Cheesecake Cups
I know what you’re thinking. “Another yogurt bowl?” Hear me out. This isn’t just yogurt. It’s a structured, creamy, dessert-like treat that feels indulgent but fuels your body. Here’s why these cups have completely replaced my go-to ice cream stash:
- Zero Baking Required — Seriously. No oven, no mixer, no waiting for batter to set overnight. If you can stir, you can make this. I’ve made these while helping my kids with homework, and they were ready before the math sheet was done.
- High Protein Powerhouse — Each cup packs about 15-20 grams of protein (depending on the yogurt). That’s huge for keeping you full. I usually have one of these high-protein chicken and quinoa bowl for lunch, but these cups are the perfect post-dinner protein hit that doesn’t leave me feeling heavy or sluggish.
- Actually Tastes Like Cheesecake — The secret is the ratio of Greek yogurt to cream cheese (or just extra thick yogurt if you’re keeping it lighter). It hits that exact sweet-and-tangy note you crave. It’s not just “sweet yogurt.” It’s dessert.
- Meal Prep Friendly — I make a batch of four cups on Sunday night. They stay good in the fridge for three days. That means when Wednesday hits and I’m tired, I just grab a cup from the fridge. It’s like having homemade dessert pre-portioned and ready to go.
- Customizable Toppings — This is where the fun comes in. You can keep it classic with graham cracker crumbs, or get wild with fruit compotes and nuts. It’s a blank canvas for your cravings.
Real talk: These have saved my weeknights. When I don’t have energy to cook a real dessert but still want something special, these cups are my lifeline. They’re light enough that I don’t feel guilty, but rich enough that I feel satisfied. If you’re looking for other easy, family-friendly treats, you might also enjoy these mango coconut chia pudding parfaits for a breakfast twist, but for pure dessert satisfaction? These cups are unmatched.
Ingredients You’ll Need
Here’s the best part: you probably have most of this already. I’m not asking you to go to three different stores for obscure ingredients. This is pantry-friendly, fridge-staple cooking. Here’s exactly what you need to make the perfect batch.
For the Cheesecake Base
Greek Yogurt (2 cups / 450g) — This is the star. You need full-fat, plain Greek yogurt. I swear by Fage Total 5% or Chobani Complete for the best texture. Low-fat yogurt tends to be watery and doesn’t whip up as thick. Don’t skimp on the fat—it’s what makes it creamy.
Cream Cheese (4 oz / 115g, softened) — This is the secret to the authentic cheesecake flavor. It adds that dense, rich mouthfeel. If you want to keep it lighter, you can skip this, but I highly recommend it. Let it sit on the counter for 10 minutes so it’s soft enough to mix easily.
Maple Syrup (3 tablespoons / 45ml) — I prefer maple syrup over white sugar because it adds a subtle depth of flavor that mimics the complexity of a real cheesecake. It’s also a bit less processed. If you’re strict about sugar, use a zero-calorie sweetener like Monk fruit, but the texture might be slightly different.
Vanilla Extract (1 teaspoon) — Use real vanilla, not imitation. It makes a noticeable difference in the flavor profile. If you’re out, a pinch of almond extract works too, but vanilla is classic.
Lemon Juice (1 teaspoon) — Just a splash. This brightens up the yogurt and balances the sweetness. It’s what gives it that “tang” you love in cheesecake.
For the Toppings & Assembly
Graham Cracker Crumbs (½ cup / 50g) — You can use store-bought crumbs or crush them yourself. I like to pulse a few sheets of graham crackers in a food processor for that fresh-baked taste. If you’re gluten-free, use gluten-free graham crackers or crushed almonds.
Fresh Berries (1 cup / 150g) — Strawberries, raspberries, or blueberries. I use whatever is in season. Fresh berries add acidity and texture. Frozen berries work too, but thaw and drain them first so your cups don’t get watery.
Mini Chocolate Chips (2 tablespoons / 30g) — Optional, but I’m a sucker for chocolate. Semi-sweet chips balance the sweetness of the yogurt perfectly.
Crushed Cookies (¼ cup / 30g) — For the “crust” layer, I like using crushed Nilla Wafers or even shortbread cookie crumbs for a buttery twist. It adds that crunch that mimics a traditional cheesecake crust.
Whipped Cream (Optional) — If you’re feeling fancy, top with a dollop of whipped cream. But honestly? These are so creamy you don’t need it. I usually skip it to keep the protein high.
Equipment Needed
You don’t need fancy equipment for this. Here’s what I actually use in my daily kitchen:
Mixing Bowls — I use a medium bowl for the yogurt mixture and a small one for the toppings. A simple 4-cup glass bowl works perfectly. I like glass because I can see the consistency as I mix.
Fork or Whisk — You don’t even need a mixer. A sturdy fork is all you need to blend the cream cheese and yogurt until smooth. If you have a small handheld whisk, that works too. I usually just mash the cream cheese with the fork first, then whisk in the yogurt.
Serving Cups — I use 6-ounce glass ramekins or mason jars. Ramekins look elegant if you’re serving guests, but mason jars are easier for meal prep because they stack well in the fridge. You can also use silicone muffin liners if you want single-serve portions that are easy to grab.
Food Processor or Ziplock Bag — If you’re making your own crumbs from cookies, a food processor is fastest. If you don’t have one, put the cookies in a ziplock bag and crush them with a rolling pin or a heavy pan. It’s a great way to burn off stress after work.
Measuring Spoons — Pretty standard stuff. Dollar store versions work fine for this. Accuracy matters less here than in baking, so “eyeball it” is mostly okay, but measuring the syrup helps keep the sweetness consistent.
How to Make It: Step-by-Step
Alright, let’s make this! I’m walking you through exactly how I do it, including the little tricks I’ve picked up to ensure your cups are thick, creamy, and absolutely delicious.
Step 1: Soften Your Cream Cheese (2 minutes)
Take your block of cream cheese out of the fridge and cut it into small cubes. Place them in your mixing bowl and let them sit while you prep the other ingredients. If you’re impatient like me, microwave them for 15 seconds on low power. They should be soft enough to press with your finger but not melted. This step is crucial—if the cream cheese is cold and lumpy, your mixture will be grainy.
Step 2: Mix the Base (3 minutes)
Add the Greek yogurt, maple syrup, vanilla extract, and lemon juice to the bowl with the softened cream cheese. Using a fork or whisk, mix vigorously. You want to mash the cream cheese into the yogurt until the mixture is completely smooth and uniform. There should be no streaks of white cream cheese left. This takes about 2-3 minutes of elbow grease. If you’re using a hand mixer, do this on low speed for 30 seconds. The mixture should look thick and glossy, like a loose frosting.
Step 3: Prepare Your Toppings
While you’re mixing, get your toppings ready. Crush your graham crackers or cookies into fine crumbs. Wash and slice your fresh berries. If you’re using chocolate chips, measure them out. Having everything prepped before you start assembling makes the process feel less like a chore and more like fun.
Step 4: Assemble the Cups
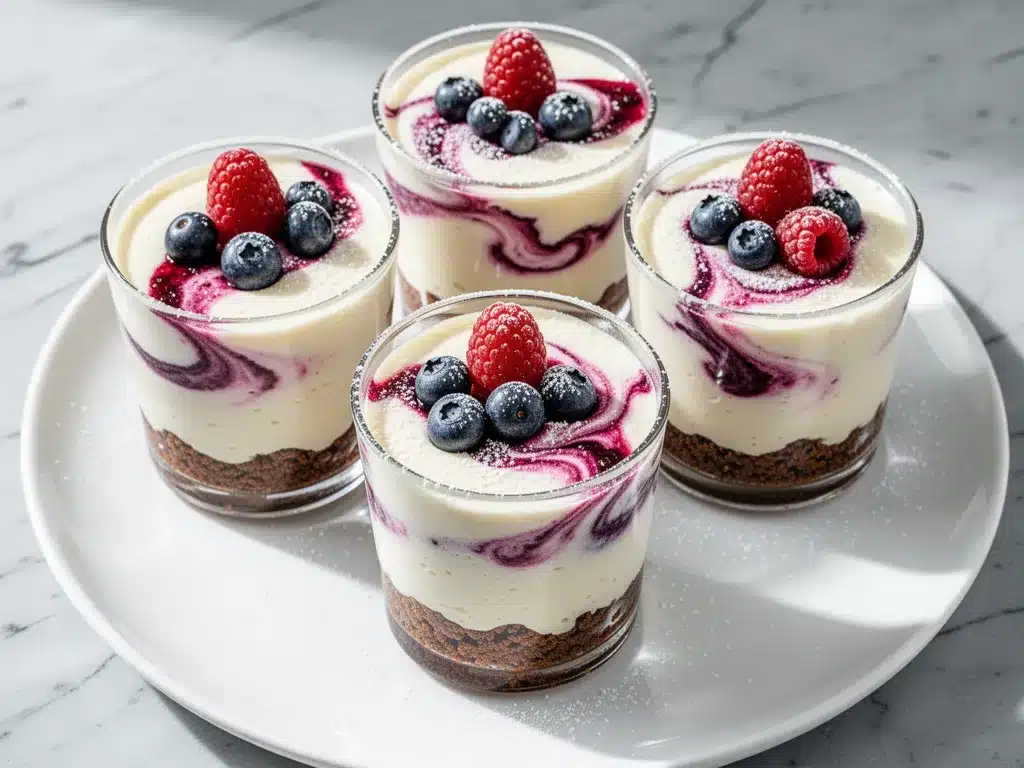
Take your serving cups (ramekins, jars, or muffin liners) and start layering. I like to start with a spoonful of the yogurt mixture—about 2 tablespoons. Then, sprinkle a thin layer of crumbs on top. Add another 2-3 tablespoons of the yogurt mixture. This creates a nice marbled effect. Finally, top with fresh berries, a sprinkle of chocolate chips, and a final dusting of crumbs. You want each cup to have a bit of everything in every bite.
Step 5: Chill and Set (5 minutes minimum)
Place the assembled cups in the fridge. While you can eat them immediately, chilling them for at least 30 minutes (or up to 4 hours) helps the flavors meld and the texture firm up slightly. It makes the yogurt feel even more like a solid cheesecake. If you’re in a rush, throw them in the freezer for 15 minutes. Just don’t leave them in too long, or the yogurt might get icy.
Visual Cue: Your finished cups should look tall and creamy, with visible layers of white yogurt, golden crumbs, and bright red berries. The mixture should hold its shape when you scoop it, not run off the spoon.
Expert Tips & Tricks
Here’s everything I’ve learned from making these dozens of times. These tips will save you from my early mistakes and ensure your cups turn out perfect every time.
Don’t Skip the Lemon Juice
I know it’s a small amount, but it’s non-negotiable for me. The lemon juice cuts through the richness of the yogurt and cream cheese, giving it that bright, tangy “cheesecake” flavor. Without it, it just tastes like sweet yogurt. Trust me—add the lemon.
Use Full-Fat Greek Yogurt
I tried low-fat once to save calories, and the texture was soupy. It didn’t set up nicely and felt watery. Full-fat yogurt has the necessary fat content to create that thick, luxurious mouthfeel. If you’re watching calories, just control the portion size (use smaller cups) rather than compromising the texture.
Drain Your Berries
If you’re using frozen berries, thaw them completely and then drain them in a fine-mesh strainer for 10 minutes. Excess water from the berries can make your yogurt cups watery and dilute the flavor. Fresh berries are best, but if you use frozen, dry them off!
Customize the Crust
Graham crackers are classic, but don’t be afraid to experiment. I’ve used crushed gingersnaps for a spicier kick, crushed amaretti cookies for a nutty flavor, or even crushed pretzels for a sweet-and-salty combo. The base layer is your chance to get creative.
Make Ahead Strategy
These cups actually get better after a day in the fridge. The flavors meld together, and the texture firms up. I often make a batch of four on Sunday night, and by Wednesday, they’re even more delicious. Just keep them covered in the fridge for up to 3 days.
Common Mistake: Lumpy Mixture
If your mixture is lumpy, it’s because the cream cheese wasn’t softened enough. Next time, let it sit out longer or microwave it briefly. You can also strain the mixture through a fine-mesh sieve if you’re feeling fancy, but usually, just mixing longer fixes it.
Variations & Substitutions
Once you’ve nailed the basic version, here’s how you can mix it up. I’ve tried all of these, and they’re all winners.
Berry Bliss Version
Add ½ cup of mashed strawberries directly into the yogurt mixture before mixing. It turns the whole base pink and adds a natural sweetness. Top with whole berries for extra texture. This is my favorite for summer.
Chocolate Peanut Butter Cup
Swirl 2 tablespoons of peanut butter into the yogurt mixture. Top with mini chocolate chips and a drizzle of peanut butter. It’s like a healthy version of a Reese’s Cup. My kids lose their minds over this one.
Matcha Green Tea
Whisk 1 teaspoon of matcha powder into the yogurt mixture. It adds a beautiful green color and a subtle earthy flavor. Top with white chocolate chips and crushed pistachios. It’s sophisticated and unique.
Low-Carb/Keto Friendly
Use full-fat, unsweetened Greek yogurt and swap the maple syrup for Monk fruit sweetener. Use crushed almonds or pecans instead of graham crackers for the crust. It’s still creamy and satisfying, just without the sugar.
Vegan Option
Use coconut yogurt (full-fat) and vegan cream cheese. Top with crushed vegan cookies and fresh fruit. It’s not exactly the same, but it’s surprisingly close. I’ve made this for my vegan friends, and they loved it.
Gluten-Free
Simply use gluten-free graham crackers or gluten-free cookies for the crumbs. Everything else is naturally gluten-free. I use Kinnikinnick brand for the best texture.
Serving & Storage
These cups are incredibly versatile. Here’s how I serve and store them to keep them fresh and delicious.
How to Serve
I usually serve these straight from the fridge in small glass cups. They look elegant enough for a dinner party dessert but casual enough for a weeknight snack. I like to garnish with a single fresh berry or a mint leaf for a pop of color. They pair well with a cup of tea or a glass of black coffee if you want a less sweet experience.
Storage Instructions
Store the cups in an airtight container in the refrigerator for up to 3 days. The yogurt will continue to firm up slightly over time, which is fine. If you’re meal prepping, make them on Sunday and eat them throughout the week. Do not freeze them for long periods, as the texture of the yogurt may change and become grainy upon thawing. They’re best eaten fresh or chilled.
Reheating
You don’t need to reheat these. They’re best served cold. If you accidentally left them out too long, just pop them back in the fridge for 30 minutes to re-chill.
Pro Tip
If you’re making these for kids, let them decorate their own cups. Give them small bowls of toppings—sprinkles, crushed cookies, mini chips—and let them layer it themselves. It makes dessert time more fun and ensures they eat it.
Nutrition Information
I’m not a nutritionist, but here’s the breakdown if you’re tracking. These numbers are approximate and based on using full-fat Greek yogurt and standard graham cracker crumbs.
| Nutrient | Per Cup (approx. 1/4 of batch) |
|---|---|
| Calories | 180 |
| Protein | 15g |
| Carbs | 18g |
| Fiber | 1g |
| Sugar | 14g (natural from yogurt + added syrup) |
| Fat | 8g |
What’s Good: High protein content helps with satiety. Lower in sugar than traditional cheesecake. No baked goods or refined flour.
What to Know: Contains dairy. If you use maple syrup, it’s still a form of sugar, but it’s less processed than white sugar. You can reduce the syrup to 1 tablespoon to cut calories further.
Final Thoughts
So that’s my go-to High-Protein Greek Yogurt Cheesecake Cups! I’ve probably talked your ear off at this point, but when you make a recipe this often, you have a lot to say about it. These cups have saved my weeknights more times than I can count. They’re my answer to “what’s for dessert?” when I’m tired, don’t want to bake, and still want something that tastes really good. My kids are happy, my husband’s happy, and I’m happy because I’m not stressed about cooking.
Make it yours! Try different toppings, swap in your favorite fruits, adjust the sweetness to your taste. The best recipes are the ones you adapt to your family’s tastes. If you make this, drop a comment and let me know what you think! I love hearing how recipes turn out in your kitchen. And if something doesn’t work, tell me that too—I’m here to help troubleshoot.
Happy cooking! And I hope your kitchen smells half as good as mine does right now.
Frequently Asked Questions
Can I use low-fat Greek yogurt?
You can, but the texture will be thinner and less creamy. Low-fat yogurt often has more water content, which can make the cups watery. If you must use it, strain the yogurt through a cheesecloth for 30 minutes to remove excess liquid first. But honestly, full-fat is worth it for the texture.
Why did my mixture turn out watery?
This usually happens if you used low-fat yogurt or if your berries released too much juice. Make sure to drain any thawed berries thoroughly. Also, ensure your cream cheese is fully incorporated and not lumpy. If it’s still too thin, chill it for longer or add a bit more cream cheese.
Can I make this ahead for a party?
Absolutely! These are perfect for meal prep. Make them up to 2 days ahead and store them in the fridge. The flavors actually meld and improve over time. Just add fresh toppings right before serving to keep them crunchy.
How do I get the crumbs to stick?
The natural moisture in the yogurt helps the crumbs stick. If you’re finding they fall off, try pressing them gently into the yogurt layer. You can also mix a teaspoon of melted butter into the crumbs for extra stickiness and flavor.
Can I freeze these cups?
I don’t recommend freezing them for long-term storage. The yogurt can separate and become grainy when thawed. They’re best eaten fresh or chilled for up to 3 days. If you must freeze, consume within 2 weeks and thaw in the fridge overnight.
What if I don’t have cream cheese?
You can skip it, but the flavor won’t be as rich. To compensate, add an extra tablespoon of Greek yogurt and a teaspoon of lemon juice to boost the tang. Or, try using a dairy-free cream cheese alternative if you’re vegan.
Can I use honey instead of maple syrup?
Yes, honey works great. It has a stronger flavor, so use slightly less (2 tablespoons). Agave nectar is another good substitute if you want a neutral sweetness.
Pin This Recipe!
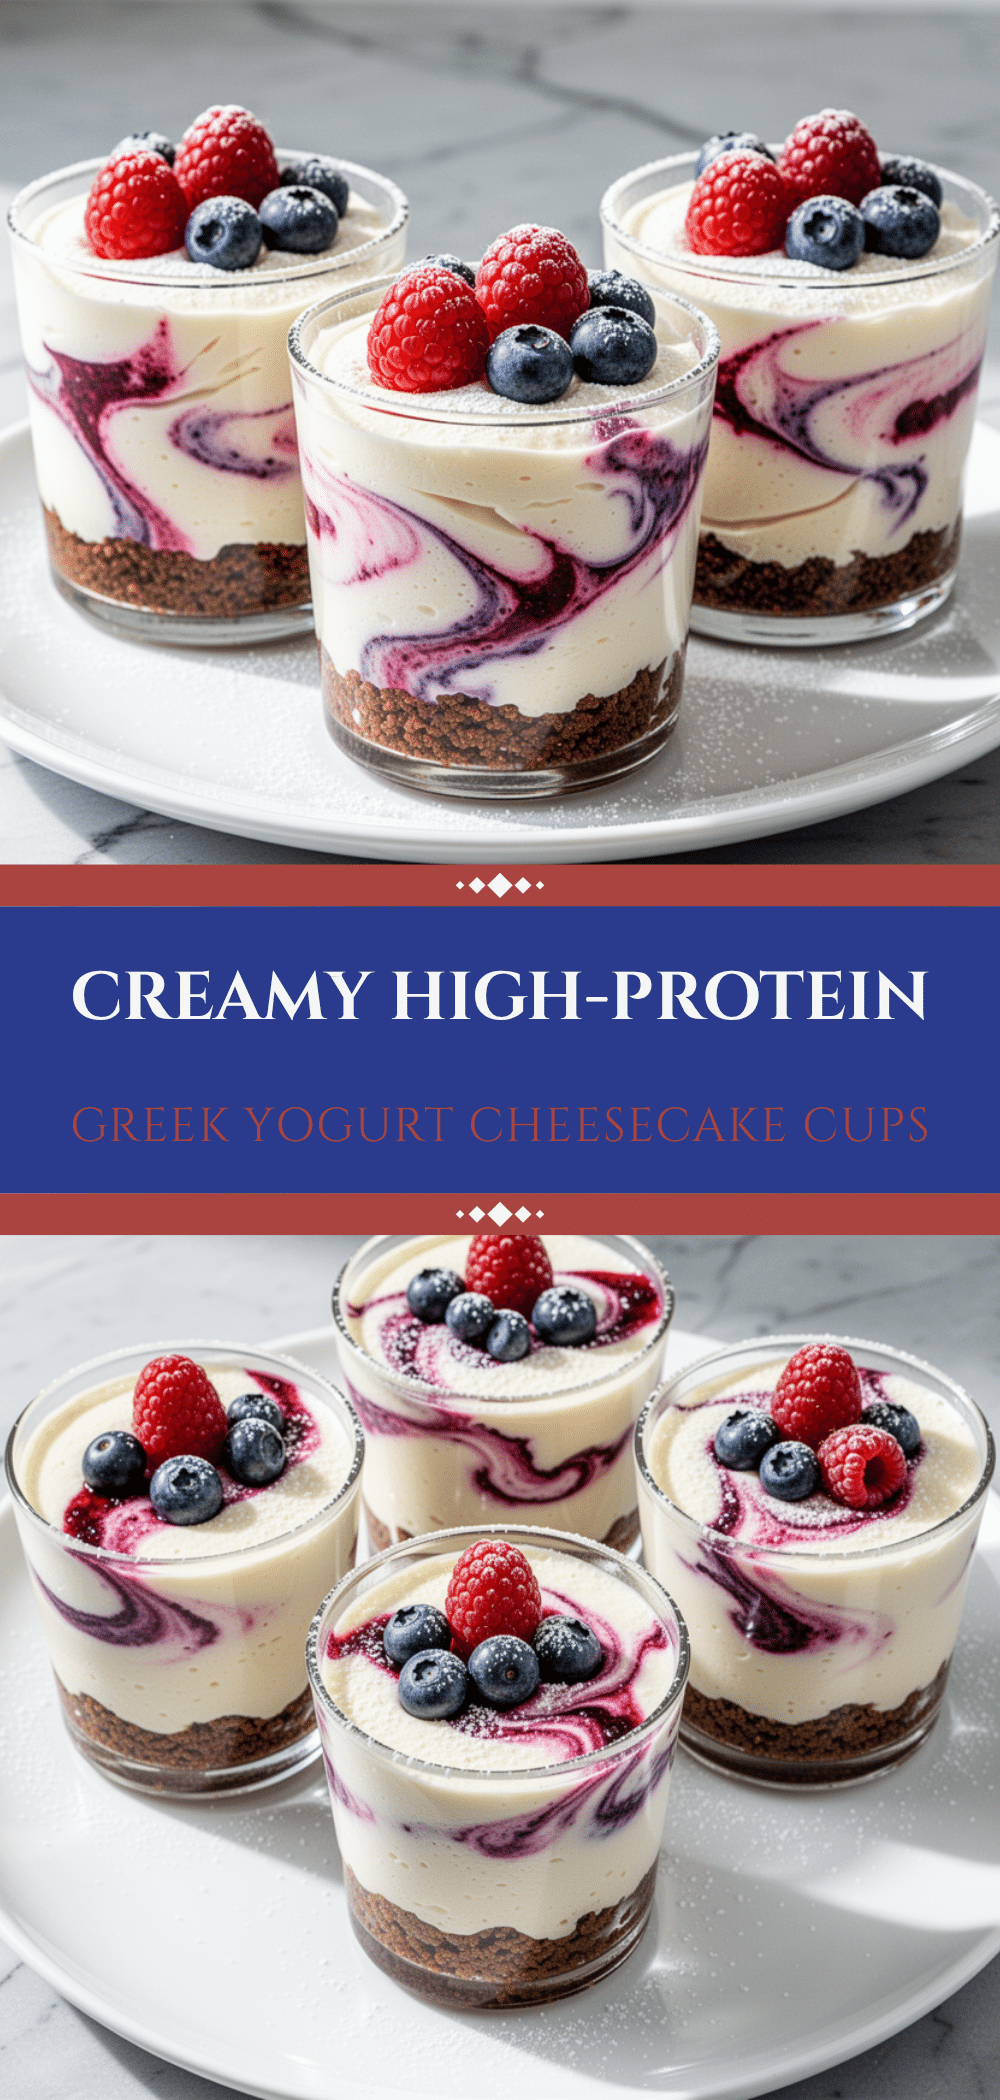
High-Protein Greek Yogurt Cheesecake Cups
- Total Time: 35 minutes
- Yield: 4 servings 1x
Description
A no-bake, high-protein dessert that mimics the creamy, tangy flavor of cheesecake using Greek yogurt and cream cheese. Ready in just five minutes of assembly time, these cups are perfect for meal prep and satisfy sweet cravings without the guilt.
Ingredients
- 2 cups (450g) full-fat plain Greek yogurt
- 4 oz (115g) cream cheese, softened
- 3 tablespoons (45ml) maple syrup
- 1 teaspoon vanilla extract
- 1 teaspoon lemon juice
- ½ cup (50g) graham cracker crumbs
- 1 cup (150g) fresh berries (strawberries, raspberries, or blueberries)
- 2 tablespoons (30g) mini chocolate chips
- ¼ cup (30g) crushed cookies (e.g., Nilla Wafers or shortbread)
- Whipped cream (optional)
Instructions
- Softening the cream cheese: Cut the cream cheese into small cubes and let them sit at room temperature for 10 minutes, or microwave for 15 seconds on low power until soft but not melted.
- Mixing the base: In a medium bowl, combine the softened cream cheese, Greek yogurt, maple syrup, vanilla extract, and lemon juice. Mash and whisk vigorously with a fork or whisk until the mixture is completely smooth, thick, and glossy with no streaks of cream cheese.
- Preparing toppings: Crush graham crackers or cookies into fine crumbs. Wash and slice fresh berries. Measure out chocolate chips.
- Assembling the cups: In serving cups (ramekins, jars, or muffin liners), add a spoonful of yogurt mixture (about 2 tablespoons). Sprinkle a thin layer of crumbs. Add another 2-3 tablespoons of yogurt mixture to create a marbled effect. Top with fresh berries, chocolate chips, and a final dusting of crumbs.
- Chilling: Refrigerate the assembled cups for at least 30 minutes to allow flavors to meld and texture to firm up. For a quicker set, freeze for 15 minutes.
Notes
Use full-fat Greek yogurt for the best creamy texture; low-fat yogurt can result in a watery consistency. Ensure cream cheese is fully softened to avoid lumps. If using frozen berries, thaw and drain them thoroughly to prevent excess moisture. These cups keep well in the fridge for up to 3 days.
- Prep Time: 5 minutes
- Cook Time: 0 minutes
- Category: Dessert
- Cuisine: American
Nutrition
- Serving Size: 1 cup (approx. 1/4 o
- Calories: 180
- Sugar: 14
- Sodium: 60
- Fat: 8
- Saturated Fat: 5
- Carbohydrates: 18
- Fiber: 1
- Protein: 15
Keywords: high protein, greek yogurt, no bake, cheesecake cups, healthy dessert, meal prep, quick snack, gluten-free option, keto friendly



